
Stripping furniture can be a daunting task, especially if you’re dealing with complex finishes or intricate woodworking. However, a surprising yet effective method involves using oven cleaner, a product typically reserved for banishing stubborn grease and grime in our kitchens. This affordable and accessible approach allows you to remove old paint or varnish with relative ease without resorting to harsh chemicals or cumbersome tools.
In this guide on how to strip furniture with oven cleaner, we’ll walk you through the steps of stripping furniture with oven cleaner, highlighting the benefits and precautions to ensure you achieve a smooth, ready-to-refinish surface every time.
Why Use Oven Cleaner?
Before we dive into the process, let’s briefly discuss why oven cleaner is a suitable option for stripping furniture. Firstly, it contains powerful chemicals that can break down and dissolve stubborn layers of paint or varnish. Additionally, oven cleaner is designed to cling to surfaces without dripping or running, making it an ideal solution for vertical surfaces like chair legs or table corners.
Moreover, many brands of oven cleaners contain active ingredients such as sodium hydroxide (also known as lye) which help to soften and loosen tough coatings on wood furniture. As compared to other chemical strippers, oven cleaner has a lower concentration of these harsh chemicals, making it a safer option for DIY projects.
Necessary Materials
- Oven Cleaner (Make Sure to Choose a Brand With Lye as an Active Ingredient)
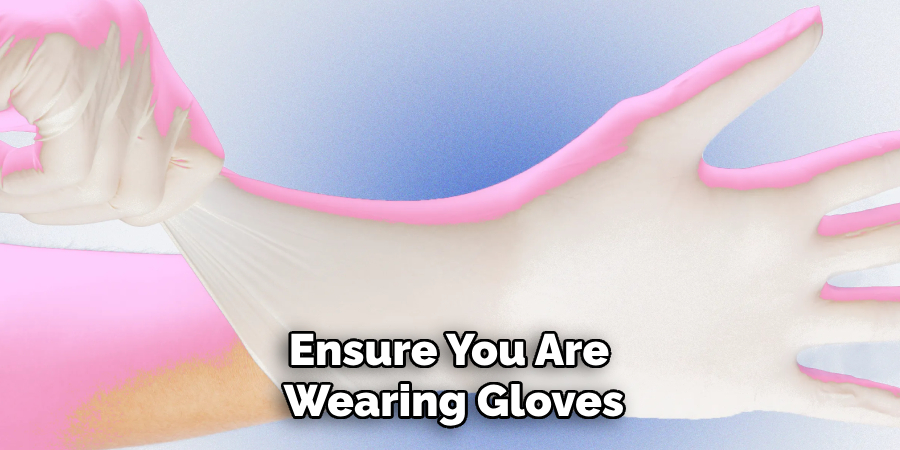
- Gloves
- Safety Glasses
- Protective Clothing or Apron
- Drop Cloths or Newspapers to Protect Your Work Area
- Scraper or Putty Knife
- Fine Steel Wool or Sandpaper (Optional)
8 Step-by-step Guidelines on How to Strip Furniture With Oven Cleaner
Step 1: Preparation
Begin by finding a well-ventilated area to work in, preferably outdoors or in a garage with the door open, as the fumes from the oven cleaner can be quite strong. Lay down drop cloths or newspapers to protect the surrounding area from any overspray or drips. Ensure you are wearing gloves, safety glasses, and protective clothing to shield yourself from the oven cleaner.
Once your workspace is ready and you are properly equipped, you can proceed to prepare the piece of furniture by cleaning it with a damp cloth to remove any dust or loose debris. This will help the oven cleaner adhere evenly to the surfaces you are working on.
Step 2: Test a Small Area
Before applying oven cleaner to the entire piece of furniture, it’s essential to test a small, inconspicuous area first. This helps ensure that the cleaner reacts as expected with the wood and existing finish, and that it does not cause damage or unwanted discoloration. Spray a light coat of oven cleaner on a small section, let it sit for approximately 10 to 15 minutes, and then gently scrape it with a putty knife or scraper.
Observe how well the finish comes off and check for any adverse reactions. If everything looks good, you can proceed with confidence to treat the rest of the furniture. If you notice any discoloration or damage, it’s best to consider an alternative method for stripping the furniture.
Step 3: Apply Oven Cleaner
Once you have done your test patch and are satisfied that it will work safely on your piece of furniture, apply a generous coat of oven cleaner to the surface. Ensure that the entire area, including nooks and crevices, is evenly covered. You can use a spray bottle filled with oven cleaner for smaller pieces or pour it directly from the bottle onto larger surfaces.
It’s worth noting that the oven cleaner will start to work immediately upon contact, so it’s essential to work efficiently and quickly.
Step 4: Wait
After you have applied the oven cleaner, give it time to do its job. Most brands recommend leaving it on for about 15 minutes, but you can refer to the instructions on your chosen product for specific timing recommendations. During this time, the chemicals in the oven cleaner will penetrate and dissolve multiple layers of paint or varnish, making them easier to remove.
It’s crucial not to let the oven cleaner dry out during this stage; otherwise, it will be less effective. If you notice any spots starting to dry out, reapply a little oven cleaner to keep the surface moist.
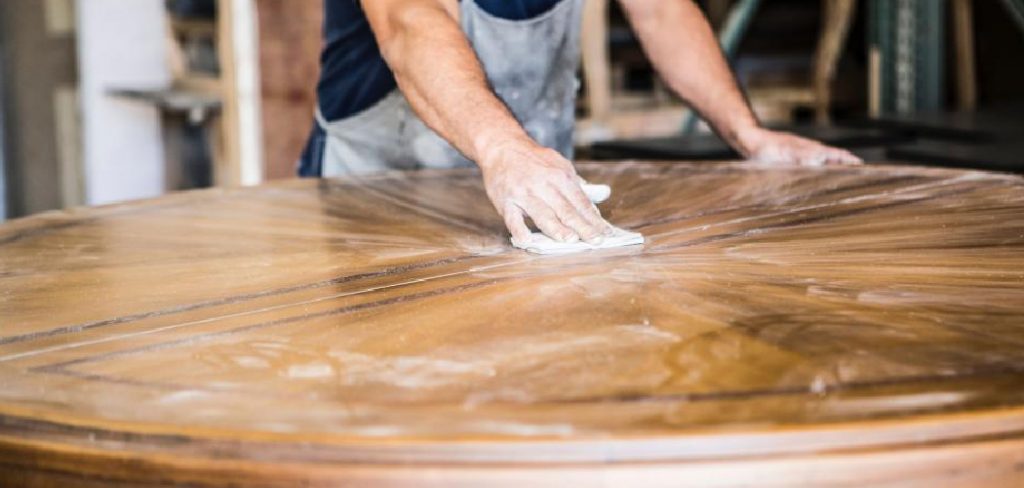
Step 5: Scrape Off the Old Finish
Using a scraper or putty knife, gently scrape off the softened paint or varnish. Be careful not to apply too much pressure as this may damage the wood underneath. If you encounter any stubborn areas, you can spray a little more oven cleaner and let it sit for a few minutes longer before scraping again.
The old finish should come off relatively easily at this stage, leaving you with a clean and smooth surface.
Step 6: Remove Residue
After scraping off the old finish, there may be some residue or bits of paint still left on the wood. You can use fine steel wool or sandpaper to gently scrub away these remnants. Be sure to follow the grain of the wood when using sandpaper to avoid damaging its natural texture.

Once you have removed all the residue, wipe down the entire piece of furniture with a damp cloth to remove any remaining oven cleaner and debris.
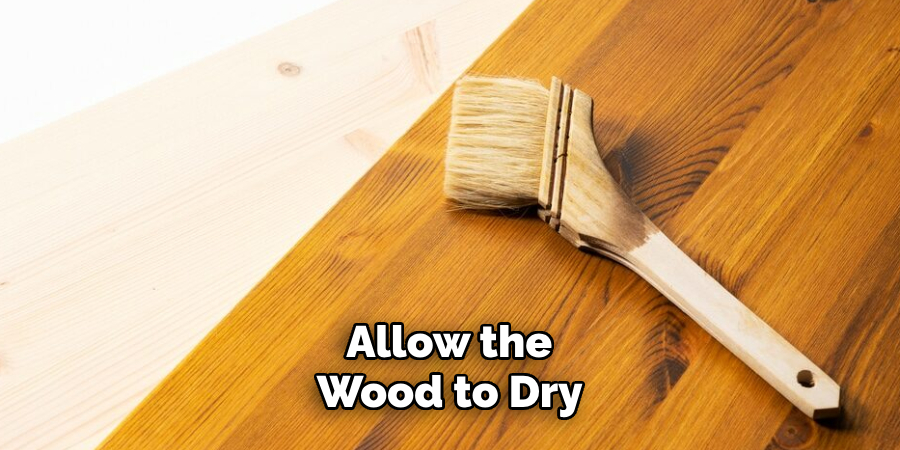
Step 7: Let It Dry
After thoroughly removing all residues and cleaning the furniture piece, it’s essential to allow the wood to dry completely. This drying period is crucial because it ensures that any moisture left by the oven cleaner or damp cloth evaporates, preventing potential damage or warping of the wood. Place the furniture in a well-ventilated area, preferably in a space with good air circulation.
Depending on the humidity and temperature, the drying process may take several hours to a full day. Once the wood is completely dry to the touch and no longer feels cool or damp, it’s ready for the final refinishing touches.
Step 8: Protect Your Hands and Dispose of the Oven Cleaner Properly
Once you have successfully stripped the furniture and the wood is dry, it’s crucial to dispose of the used oven cleaner safely. First, make sure your gloves and protective gear remain on to prevent skin contact with any residual chemicals. Carefully collect any leftover cleaner and residue that might have accumulated on your drop cloths or newspapers. If local waste regulations allow it, you can dispose of these materials in your regular garbage, ensuring they are securely wrapped.
Alternatively, check with your local waste management authority for guidelines on the proper disposal of hazardous materials. Remember to thoroughly wash your hands and any tools used during the process with soap and water after handling the chemicals. These steps on how to strip furniture with oven cleaner are a tried and tested method for removing old finishes, making it easier to refinish or repaint your furniture pieces. Remember to always follow safety precautions and instructions on the product label for best results. Happy refinishing! I

Frequently Asked Questions
Q1: Can You Use Oven Cleaner on All Types of Furniture?
A: No, it’s essential to do a test patch first as some woods and finishes may react negatively with the oven cleaner. It’s best to avoid using it on antiques or valuable pieces of furniture. The method is suitable for most modern furniture made of pine, oak, or other types of wood commonly used in furniture making.
Q2: Is Stripping Furniture with Oven Cleaner Safe?
A: When used correctly and with proper safety precautions, stripping furniture with oven cleaner is generally safe. However, it’s crucial to always wear protective gear and work in a well-ventilated area to avoid inhaling any fumes.
Q3: How Long Does It Take for the Oven Cleaner to Work?
A: The recommended time for leaving oven cleaner on furniture varies depending on the brand and product. Generally, it’s best to follow the instructions on your chosen product for specific timing guidelines. Leaving it on for too long can damage the wood, so it’s crucial not to exceed the recommended time.
Q4: Can I Refinish My Furniture Immediately After Stripping It?
A: No, it’s essential to allow the wood to dry completely before refinishing. Depending on humidity and temperature, this may take several hours or even a full day. Make sure the wood is dry to the touch and no longer feels cool or damp before proceeding with any refinishing steps.
Conclusion
In conclusion, stripping furniture with oven cleaner is an effective and relatively safe method compared to other chemical strippers available in the market. By following these step-by-step guidelines on how to strip furniture with oven cleaner, you can achieve a clean and ready-to-refinish surface with minimal effort and time. However, it’s essential to take proper precautions and test a small area before applying oven cleaner to the entire piece of furniture.
Always dispose of the used oven cleaner properly and wash your hands and tools thoroughly after handling chemicals. With these tips, you can confidently tackle any furniture refurbishing project and give your old pieces a new lease on life. Happy refinishing!