Are you looking to stain cane webbing for your furniture? Staining cane is a great way to add color and depth to the natural material while still allowing its texture and beauty to shine through.
Staining cane webbing is a rewarding process that can transform the look of furniture or decorative pieces, bringing warmth and character to any space. Cane webbing, known for its natural beauty and intricate patterns, can take on a whole new appearance with the application of stain, allowing it to match or complement surrounding decor. Whether refreshing an antique chair or customizing a modern piece, staining cane webbing requires careful preparation and attention to detail.
In this guide on how to stain cane webbing, we’ll walk through the essential steps to properly stain cane webbing, ensuring a beautiful, durable result.
What Will You Need?
Before you start staining cane webbing, ensure you have all the necessary materials and tools. Here’s what you’ll need:
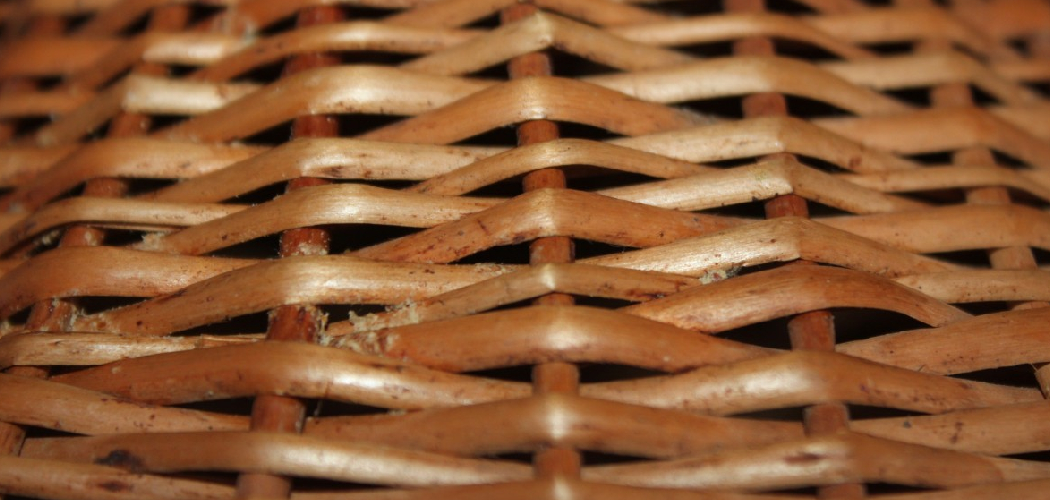
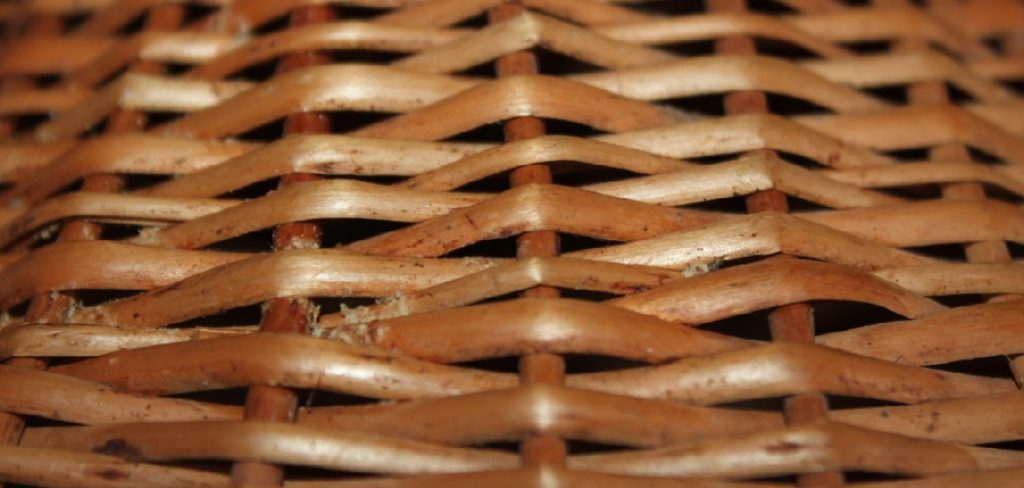
- Cane webbing (already attached to your furniture or a separate piece)
- Sandpaper or sanding block
- Clean cloth
- The wood stain of your choice
- Paintbrush or foam brush
- Protective gloves and goggles
- Drop cloth or newspapers to protect your work surface
It’s important to note that not all stains are suitable for cane webbing. Water-based stains are usually recommended as they are less likely to bleed through the fibers and cause uneven coloring.
10 Easy Steps on How to Stain Cane Webbing
Step 1. Prepare Your Workspace
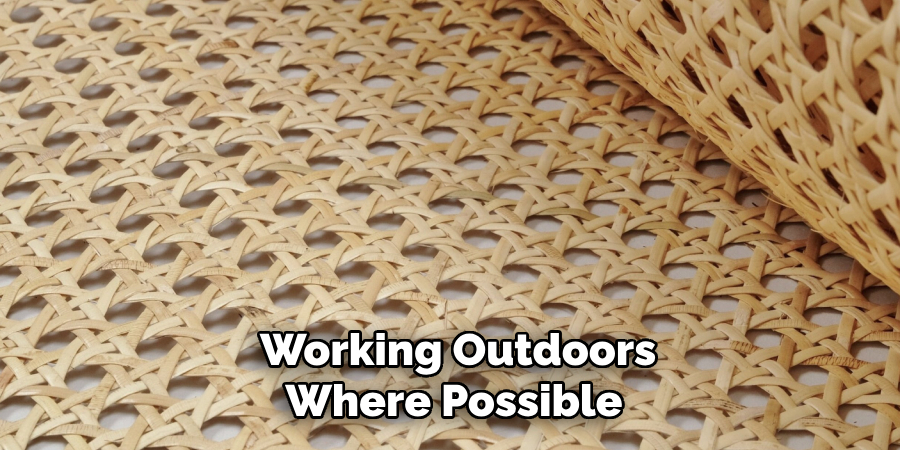
Begin by choosing a well-ventilated area for your workspace, as working with stains can release fumes that may be harmful if inhaled. Open windows and doors, or consider working outdoors where possible. Lay down a drop cloth or newspaper to protect the surrounding area from accidental spills or splatters.
Ensure that your workspace is free from dust and debris, as these can interfere with the staining process and mar the surface of your cane webbing. It’s also wise to organize your materials and tools within easy reach to streamline the process. Don your protective gloves and goggles to safeguard your hands and eyes, ensuring a safe and clean working environment.
Step 2. Sand the Cane Webbing
Sanding is a crucial step in the staining process, as it opens up the fibers of the cane webbing to absorb the stain better. Use fine-grit sandpaper or a sanding block to lightly sand the cane’s surface. Be gentle to avoid damaging the intricate patterns of the webbing. The goal is to create a smooth, even surface that will take the stain evenly. After sanding, use a clean cloth to remove any dust and debris generated during the sanding process. This ensures that the paint adheres properly and results in a uniform finish.
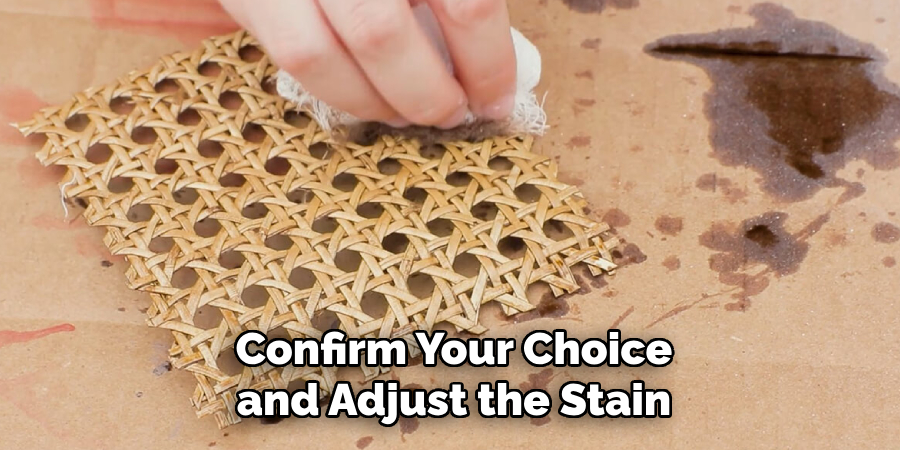
Step 3. Choose and Test the Stain
Select a wood stain that suits your desired color and finish. Testing the stain on a small, inconspicuous section of the cane webbing or a scrap piece, if available, is recommended. This allows you to preview the color and ensure it interacts with the cane as expected, avoiding surprises in larger, more visible areas. Apply a small amount of the stain using a paintbrush or foam brush, and let it dry completely to evaluate the color and coverage. Testing the stain first helps confirm your choice and adjust the stain or technique if necessary, ensuring the final result aligns with your vision.
Step 4. Apply the First Coat of Stain
Once you are satisfied with the chosen stain, it’s time to apply the first coat to the cane webbing. Start by dipping a paintbrush or foam brush into the stain, ensuring it is not overly saturated to avoid drips. Apply the stain in even strokes following the grain of the cane webbing. Take your time to cover all areas thoroughly, making sure the stain penetrates the fibers.
Wipe away any excess stain with a clean cloth to prevent blotches or streaks. Allow the first coat to dry completely, following the drying time recommended by the stain manufacturer. This initial coat will serve as the foundation, setting the tone for subsequent applications and gradually building up depth and richness in the color.
Step 5. Apply Additional Coats (Optional)
If you desire a deeper color or more intense finish, you can apply additional coats of stain to the cane webbing. Before doing so, ensure that the previous coat is completely dry. Apply subsequent coats using the same technique as the first, with even strokes and careful attention to coverage.
Remember that each additional coat may slightly darken the overall appearance, so apply with consideration to achieve the exact tone you’re aiming for. Be sure to wipe away any excess stains after each application to maintain a smooth, uniform finish. Allow each coat to dry fully before proceeding to the next. Once the desired color is achieved, allow the final coat to cure thoroughly.
Step 6. Seal the Stain
Sealing your stained cane webbing is important to protect the finish and enhance its longevity. After the final coat of stain has dried completely, apply a clear protective finish such as polyurethane or varnish. This will safeguard the webbing from moisture, UV rays, and everyday wear and tear.
Use a clean brush to apply the sealer in thin, even coats, ensuring complete coverage without over-saturating the cane. Allow the sealer to dry according to the product instructions before handling the piece. Sealing protects the stain and adds a subtle sheen, highlighting the color’s richness and the cane webbing’s natural beauty.
Step 7. Buff the Surface
Once the sealer has completely dried, the next step is to buff the surface of the cane webbing. Use a soft, clean cloth or a buffing pad to rub the sealed surface in a circular motion gently. Buffing helps smooth out imperfections and enhances the overall sheen, giving the webbing a polished, professional look.
It also ensures that the sealer is evenly spread and fully integrated into the fibers of the cane. Be careful not to apply too much pressure, as this could damage the webbing’s finish or the intricate weave. After buffing, the cane webbing should have a consistent, lustrous finish, ready to be showcased in your living space.

Step 8. Maintenance and Care
Proper maintenance is crucial to preserving the beauty and integrity of your stained cane webbing. Regular cleaning will help keep the webbing looking fresh and vibrant. Dust the surface gently with a soft, dry cloth or a feather duster. Avoid using harsh chemicals or abrasive cleaners that could damage the finish. If necessary, dampen the cloth slightly with water or a mild, non-abrasive cleaner, but ensure the webbing dries completely to prevent moisture damage. Inspect the cane periodically for signs of wear or damage, addressing any issues promptly to maintain its condition.
Step 9. Inspect and Touch-up
Over time, the cane webbing may require minor touch-ups to maintain its appearance. Regularly inspect the webbing for any signs of fading, scratches, or wear. If needed, gently sand the affected area with fine-grit sandpaper to eliminate imperfections without damaging the surface.
Apply a small amount of stain using a brush or foam applicator, ensuring a seamless blend with the existing finish. Follow up with a touch-up of the sealer to protect the newly restored area. These periodic touch-ups will help ensure that your cane webbing retains its beauty and lasts for many years in excellent condition.
Step 10. Enjoy Your Finished Piece
Once you have completed all the previous steps and ensured that your cane webbing is in pristine condition, it’s time to enjoy the results of your hard work. Whether used in furniture, a decorative panel, or any other project, your newly stained and sealed cane webbing should now radiate a refined elegance and showcase your craftsmanship.
I appreciate the transformation and vibrancy the staining process brought to the cane. Placement in a suitable location that complements other elements in your space can enhance your surroundings’ aesthetic appeal and functionality. Celebrate the accomplishment and delight in the beauty and functionality of your finished piece; be proud of the skills you have developed and the dedication you have shown to achieve these results.

By following these steps and being attentive to detail, you can confidently stain cane webbing and achieve stunning results.
5 Things You Should Avoid
- Don’t Use Too Much Stain: When applying stain to cane webbing, avoiding over-saturating the material is essential. Too much stain can lead to drips, imperfections, and an uneven finish. Instead, apply thin, even coats and wipe away any excess with a clean cloth.
- Don’t Rush Between Coats: Allow each coat of stain to dry completely before applying subsequent coats. Rushing between coats can result in an uneven finish and may affect the final color of the webbing.
- Don’t Forget to Protect Your Work Area: Staining can be messy, so it’s important to protect your work area and surroundings from potential stains or spills. Cover any nearby surfaces or furniture with drop cloths or newspapers, and wear protective gloves to avoid getting stains on your skin.
- Don’t Skip Sealing the Cane Webbing: Sealing your stained cane webbing protects the finish and enhances its durability and appearance. Skipping this step could damage the webbing over time, requiring more frequent maintenance and touch-ups.
- Avoid Using Harsh Cleaners or Abrasives: When cleaning stained cane webbing, it’s important to use gentle methods and non-abrasive cleaners. Harsh chemicals or abrasives can strip away the stain and damage the webbing, causing it to lose its beauty and integrity.
Conclusion
How to stain cane webbing is an art that requires careful attention to detail and patience to achieve the desired results.
Following the recommended steps, you can transform plain cane into a vibrant, durable component of your decor. Understanding each phase, from applying stain evenly to properly sealing the surface, ensures your work looks aesthetically pleasing and stands the test of time. Avoiding mistakes like over-saturation, skipping drying times, and neglecting proper maintenance will help preserve your finished piece. With these guidelines, your stained cane webbing will remain a beautiful and long-lasting addition to your space.
Embrace the satisfaction of your craftsmanship and enjoy the elegance your hard work has brought to your environment.