
Are you looking to add hardwood flooring to your home? Are you looking for a quick and easy way to install hardwood flooring in your home? If so, you may be considering the option of planks. Well, then, look no further! Plank flooring is a great option for those who want more of an at-home, rustic feel.
Planks offer an aesthetically pleasing look as well as a strong sense of durability and stability. Installing plank flooring can also completely change the character of any room in your home!
However, if you are unfamiliar with how it’s done, properly laying out plank flooring can sometimes feel like quite a daunting task—especially when it comes to figuring out how best to stagger them.
Don’t worry—this blog post will give you the information and tips that you need in order to accurately place each plank for stunning results. Keep reading and learn all about how to stagger plank flooring correctly! With just a bit of practice and the right supplies, you’ll be ready to transform your living space into something extraordinary!
What is Staggering?
When laying out plank flooring, one of the most important things to consider is the pattern. Different patterns can create different looks, and one such pattern is known as “staggering.” Staggering involves alternating planks so that they are offset from each other—rather than being laid out in a straight line with no breaks or variation. This technique helps increase stability in the flooring and can make it look much nicer than a straight, uniform pattern.
What is Plank Flooring?
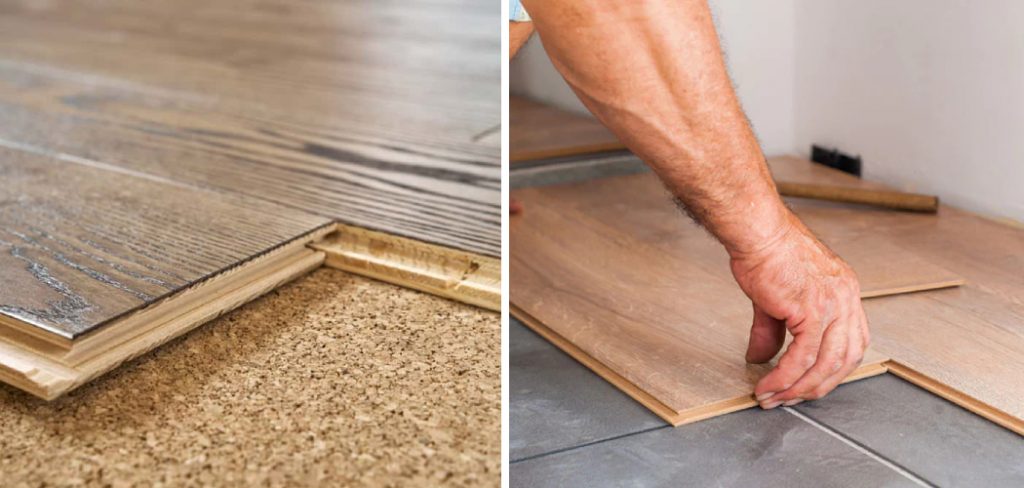
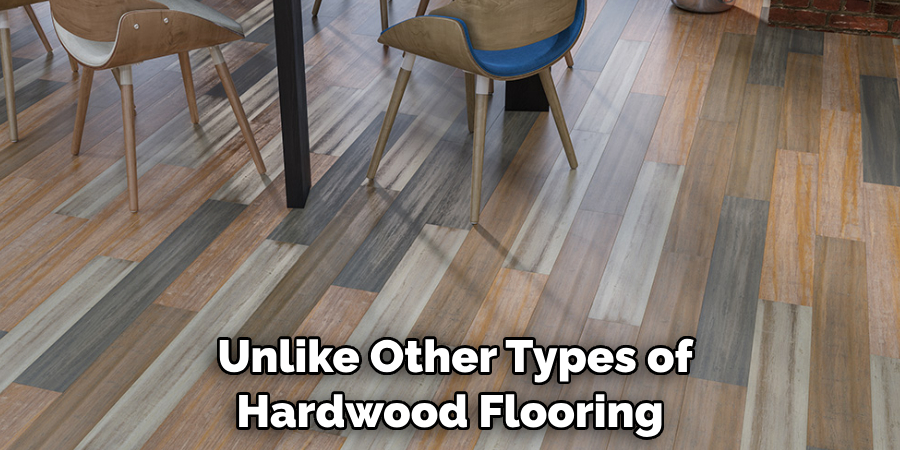
Plank flooring consists of individual wooden boards that are installed to cover a particular area. Planks come in different sizes and shapes, and they can be made from various types of wood, such as oak, maple, cherry, and walnut.
Unlike other types of hardwood flooring, planks do not need to be nailed down or glued together—they simply fit together like puzzle pieces. This makes them easy to install and replace, and it also gives your flooring a unique look that is sure to impress!
Choosing the Best Stagger for Plank Flooring
1. Distance
When it comes to choosing the best stagger for your plank flooring, there are a few things that you should keep in mind. First and foremost, it is important to make sure that the planks are staggered far enough from each other so that they can expand and contract with changes in temperature or humidity. A good rule of thumb is to stagger each plank at least 6 inches (15 cm) from the next one.
2. Height
The height of the planks is also an important factor when it comes to staggered flooring. To create a more aesthetically pleasing look, it is best to stagger the planks so that they are at varying heights—this helps add texture and depth to your flooring. Depending on how you want the floor to look, you may choose to stagger the planks at different heights or keep them all around the same height.
3. Length
The length of the planks is also an important factor when it comes to staggered plank flooring. When laying out your planks, try to mix and match various lengths so that not all boards are exactly the same size. This will give your flooring more of a unique and rustic feel.
Required items for a Successful Stagger
1. Tape Measure- A tape measure will be necessary when it comes to accurately measuring the distance between each plank and ensuring that they are staggered correctly.
2. Pencil or Marker- To mark where you want each plank to go, you will need either a pencil or marker so that you can draw lines on the ground. This will help you visualize where each plank should go and make the installation process much easier.
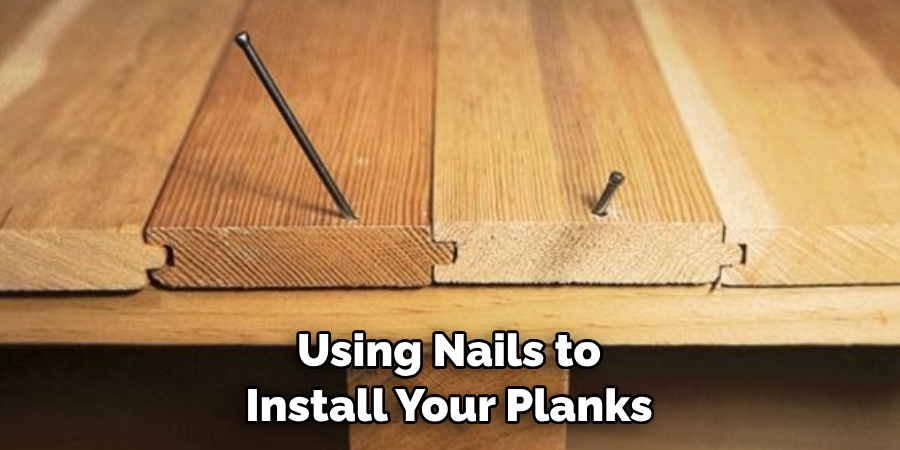
3. Hammer and Nails- If you are using nails to install your planks, then a hammer will be necessary in order to drive them into the ground securely.
4. Level- Before installing the planks, it is important to make sure that the ground is level. To do this, you will need to use a level so that each plank is installed on an even surface.
5. Wood Glue- If planks need to be glued together for extra security, then wood glue will be necessary in order to keep them firmly attached.
10 Ways How to Stagger Plank Flooring
1. Measurement
Measure the distance between each plank so that they are at least 6 inches (15 cm) apart. It is important to make sure that the planks are not too close together so that they can expand and contract with changes in temperature or humidity.
2. Mark the Floor
Using a pencil or marker, draw lines on the ground where you want each plank to go. This will help you visualize where each plank should go and make installation easier. Making sure to properly measure the distance between each plank will also help make this process easier.
3. Level the Ground
Before installing any planks, it is important to make sure that the ground is level so that each plank can be installed on an even surface. To do this, you should use a level and make small adjustments as needed.
4. Secure the Planks
Once you have correctly measured and marked where each plank should go, it is time to secure them. Depending on your style and preferences, you may choose to use nails or wood glue in order to keep the planks firmly attached.
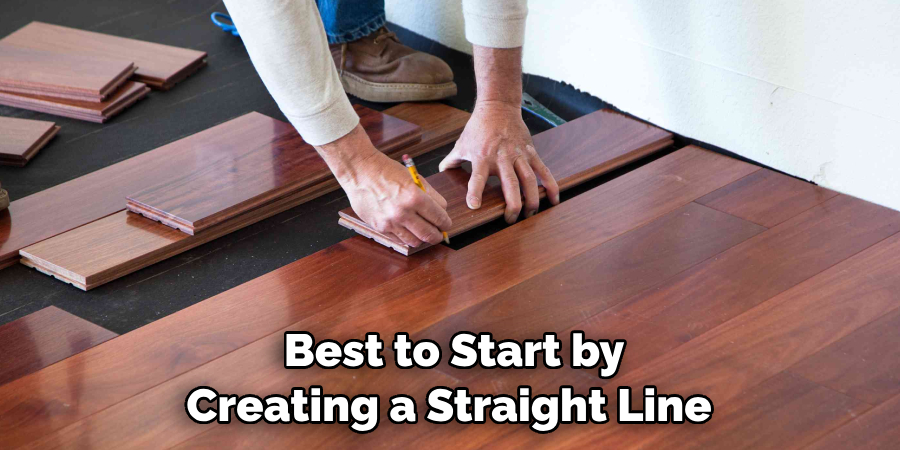
5. Start with a Straight Line
When laying out your planks, it is best to start by creating a straight line. Begin in one corner of the room and start laying out planks, making sure that they are staggered as you move along. Starting with a straight line will help you create a more uniform and aesthetically pleasing pattern.
6. Mix Up the Lengths
When it comes to staggered plank flooring, mixing up the lengths of each plank is key! Not only does this give your flooring a unique look, but it can also make installation much easier. Try to create an even distribution of different lengths throughout the entire room.
7. Vary the Heights
When laying out your planks, try to create a staggered pattern that has varying heights for each plank. This helps add texture and depth to your flooring and gives it more of a unique feel. Make sure that you are not staggering them too much, as this can create an uneven surface.
8. Check for Gaps
Once you have installed all of the planks, it is important to make sure that there are no gaps in between them. If you notice any gaps, try to fill them with wood filler or caulk in order to create a smoother and more uniform surface.
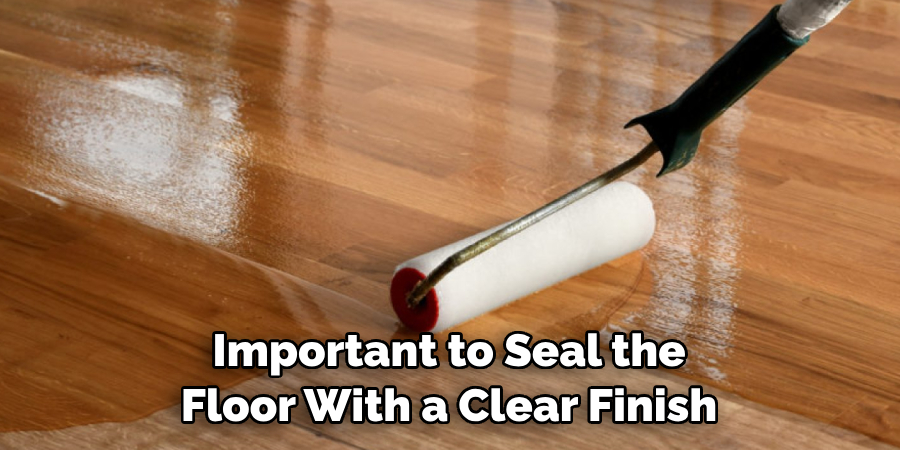
9. Seal the Floor
To protect your staggered planks and keep them looking great for many years to come, it is important to seal the floor with a clear finish. This will help prevent any dirt or dust from getting into the planks and make them easier to clean.
10. Enjoy Your Floor!
Once you have correctly installed all of the planks and sealed the floor, all that’s left to do is enjoy it! Staggered plank flooring adds texture and depth to any room, so make sure to take the time to admire your hard work.
We hope that this guide has helped you understand how to stagger plank flooring and provided some useful tips for installation. With the right tools, measurements, and techniques, you can create a beautiful and unique floor that you’ll be proud of.
7 Additional Tips to Make the Staggering Gorgeous
1. Measure the room’s length and width to determine the best way to cut your planks and stagger them for a uniform fit.
2. Always start board installation from the center of the room, making sure that each plank is properly aligned with its adjacent boards. It is an important part of the installation process to make sure that each plank is parallel to its neighbors.
3. Be sure to use spacers between the boards for a consistent gap while installing so that you can achieve an even stagger pattern. If you don’t use spacers, you may end up with irregular seams.
4. It is important to ensure that the planks all run in the same direction. This will help create visual continuity and make the room look larger.
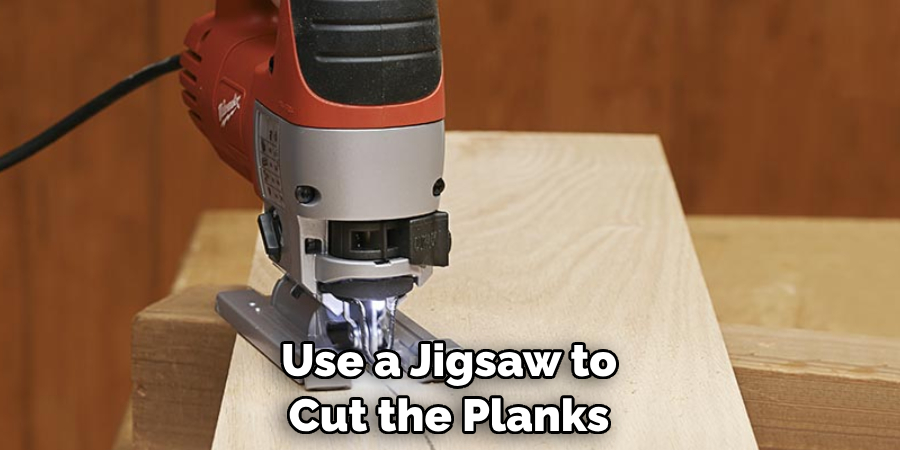
5. Use a jigsaw to cut the planks around door frames, radiators, or other fixtures so they fit precisely. Be careful not to cut them too short.
6. When staggering planks, make sure to begin the second row with a plank that is at least 8 inches longer than the first. This will prevent alignment issues and keep your pattern looking uniform and consistent throughout the room.
7. Once you have finished laying down all of the planks, use a flooring nailer to secure them in place. This will create a stronger bond between the planks and make the flooring more durable in the long run.
With these tips, you can easily learn how to stagger plank flooring for a beautiful finished look! Your room is sure to impress with its professional-looking flooring installation. Let us know if you have any questions about the process – we’re here to help.
Frequently Asked Questions
How Long Will It Take to Finish the Project?
The time it takes to finish a plank flooring project depends on the size and scope of the space. Generally, the installation process can take anywhere from one day for smaller spaces to two or three days for larger areas.
Do I Need Professional Installation?
Whether or not you need professional installation depends on the size of the space, as well as your skill level. If you’re comfortable with DIY projects, then you may be able to install the planks yourself. However, for larger spaces and more complex installations, it’s recommended that you hire a professional to complete the job.
Conclusion
Installing plank flooring can be a daunting task but knowing how to stagger it correctly is key. For an authentic look, opt for wood planks that have varying lengths and widths so you can vary the pattern and make it appear more natural.
When staggering your plank flooring, it’s important to pick up from any random point and work in both directions in order to achieve a complete, balanced look. You can also create an offset pattern – alternating short and long pieces of planks – or a Tetris-style pattern for added interest.
It’s best practice to always leave a 5/16-inch gap between each plank for extra stability. Professional installation or DIY? No matter what route you decide to take, with the right tools and techniques, you can transform even the smallest room into something special.
Having made all due preparations to stagger your planks as seamlessly as possible – go ahead – enjoy your brand-new sagging floor! Follow these tips on how to stagger plank flooring, and you’ll be well on your way to having a unique and stylish plank floor.