
Spraying polyurethane is a convenient and efficient way to apply a protective finish to wood surfaces, providing durability and a smooth, professional-looking result. Whether you’re refinishing furniture, cabinets, or wooden floors, mastering the technique of spraying polyurethane can yield impressive results with minimal effort.

From choosing the right equipment and preparing the workspace to achieving even coverage and avoiding common mistakes, there are essential steps to follow for successful application. With the proper tools, techniques, and safety precautions in place, spraying polyurethane can be a rewarding DIY project that enhances the beauty and longevity of your woodwork. This article will serve as a comprehensive guide on how to spray on polyurethane, offering practical tips, step-by-step instructions, and expert advice to help you achieve a flawless finish and protect your wood surfaces with confidence.
Understanding Polyurethane
Polyurethane is a versatile and durable synthetic resin used as a coating for wood surfaces, providing a high level of protection against wear, moisture, and various environmental factors. There are two main types of polyurethane: oil-based and water-based. Oil-based polyurethanes are known for their rich, deep color and durability, making them an excellent choice for high-traffic areas or surfaces that require a robust finish.
However, they tend to have a longer drying time and emit stronger fumes. On the other hand, water-based polyurethanes dry quickly, have low odor, and offer a clear, non-yellowing finish, which is ideal for light-colored woods and quick turnaround projects. Understanding the differences and selecting the appropriate type of polyurethane for your specific needs is essential for achieving the best results in your woodworking projects.
10 Methods How to Spray on Polyurethane
1. Prepare the Work Area
Before spraying on polyurethane, it’s essential to prepare the work area to ensure a smooth and successful application. Start by selecting a well-ventilated space, such as a garage or outdoor area, to minimize the risk of fumes and overspray. Cover surrounding surfaces and furniture with plastic sheeting or drop cloths to protect them from overspray and drips.

Ensure that the temperature and humidity levels are within the recommended range for polyurethane application, as specified by the manufacturer. Proper preparation of the work area will help create an optimal environment for spraying on polyurethane and achieve professional-quality results.
2. Choose the Right Polyurethane
Selecting the right type of polyurethane is crucial for achieving the desired finish and durability. Polyurethane comes in various formulations, including water-based and oil-based options, as well as different sheens such as satin, semi-gloss, and gloss. Consider factors such as the type of wood, desired finish, and application method when choosing polyurethane. Water-based polyurethane dries faster and has a lower odor, making it ideal for indoor projects, while oil-based polyurethane offers a more durable finish and enhances the natural beauty of wood. Choose a polyurethane that suits your project requirements and preferences for the best results.
3. Prepare the Surface
Proper surface preparation is essential for ensuring adhesion and a smooth finish when spraying on polyurethane. Start by sanding the surface with fine-grit sandpaper to remove any roughness or imperfections and create a smooth, even surface for the polyurethane to adhere to.
Wipe the surface clean with a tack cloth or lint-free cloth to remove any dust or debris. If the surface has previously been finished with stain or sealer, ensure that it is fully cured before applying polyurethane. Any existing finish should be sanded lightly to promote adhesion. Proper surface preparation is critical for achieving professional-quality results when spraying on polyurethane.
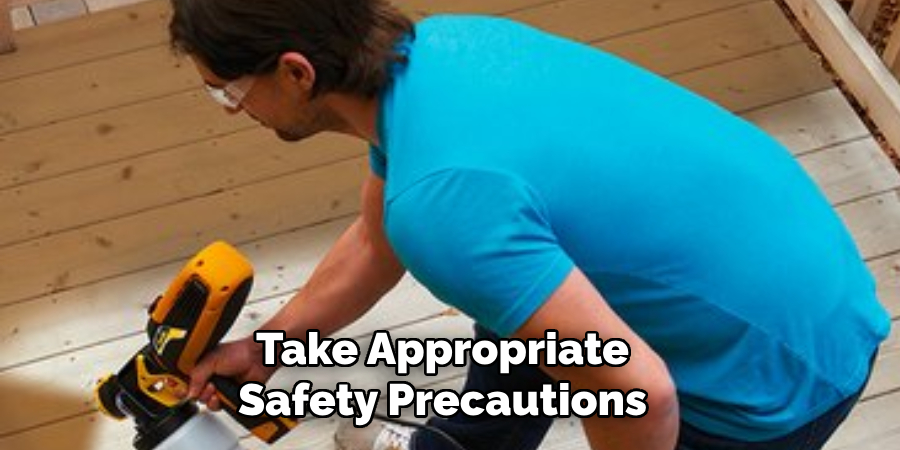
4. Practice Proper Safety Precautions
When spraying on polyurethane, it’s essential to take appropriate safety precautions to protect yourself and others from exposure to fumes and overspray. Wear a respirator mask or ventilator to prevent inhalation of harmful fumes and use safety goggles or glasses to protect your eyes from overspray.
Wear long sleeves, pants, and gloves to protect your skin from contact with polyurethane. Ensure that the work area is well-ventilated to minimize the accumulation of fumes and overspray. Follow all safety guidelines and recommendations provided by the manufacturer to minimize the risk of accidents or injury when spraying on polyurethane.
5. Use the Right Equipment
Using the right equipment is key to achieving professional-quality results when spraying on polyurethane. Invest in a high-quality spray gun or paint sprayer designed for use with polyurethane to ensure even coverage and smooth application. Choose a spray tip or nozzle size appropriate for the viscosity of the polyurethane and the desired finish.
Practice using the spray gun on a test surface or scrap piece of wood to familiarize yourself with its operation and adjust the spray pattern and pressure as needed. Proper equipment selection and setup are essential for achieving consistent and uniform coverage when spraying on polyurethane.
6. Thin the Polyurethane (if necessary)
Depending on the type of polyurethane and the spray equipment being used, it may be necessary to thin the polyurethane to achieve the desired consistency for spraying. Follow the manufacturer’s recommendations for thinning polyurethane, as over-thinning can affect the finish and durability of the final coat.
Use the appropriate thinner or solvent specified by the manufacturer and mix it with the polyurethane according to the recommended ratio. Test the thinned polyurethane on a test surface or scrap piece of wood to ensure that it sprays evenly and smoothly. Adjust the thinning ratio as needed to achieve the desired consistency for spraying on polyurethane.
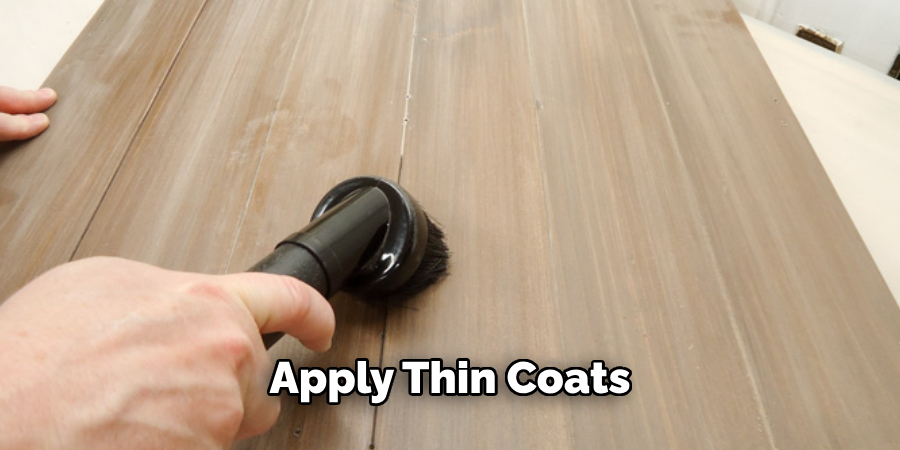
7. Apply Thin, Even Coats
When spraying on polyurethane, it’s crucial to apply thin, even coats to achieve a smooth and professional-looking finish. Start by holding the spray gun or paint sprayer approximately 6 to 8 inches away from the surface and apply the polyurethane in long, overlapping strokes.
Move the spray gun smoothly and steadily across the surface, ensuring consistent coverage without stopping or hesitating. Avoid spraying too much polyurethane in one area, as this can result in runs, drips, or uneven buildup. Instead, apply multiple thin coats, allowing each coat to dry completely before applying the next. This method helps to build up the finish gradually and achieve a smooth, uniform appearance.
8. Maintain Proper Distance and Speed
Maintaining the proper distance and speed when spraying on polyurethane is essential for achieving even coverage and avoiding runs or drips. Hold the spray gun or paint sprayer at a consistent distance from the surface, typically 6 to 8 inches, and move it smoothly and steadily across the surface at a steady pace.
Avoid holding the spray gun too close to the surface or moving too quickly, as this can result in uneven coverage or overspray. Practice controlling the spray gun on a test surface or scrap piece of wood to develop a steady hand and achieve consistent results. Proper technique and control are key to achieving a smooth and professional finish when spraying on polyurethane.
9. Sand Between Coats (if necessary)
For optimal adhesion and a smooth finish, it may be necessary to sand between coats of polyurethane. Wait until each coat has dried completely according to the manufacturer’s instructions before sanding. Use fine-grit sandpaper, such as 220-grit, to lightly sand the surface, focusing on any imperfections or rough areas. Wipe the surface clean with a tack cloth or lint-free cloth to remove any sanding dust before applying the next coat of polyurethane.
Sanding between coats helps to smooth out the finish and promote adhesion between layers, resulting in a more professional-looking final result. Be careful not to sand too aggressively, as this can remove too much finish and affect the final appearance.
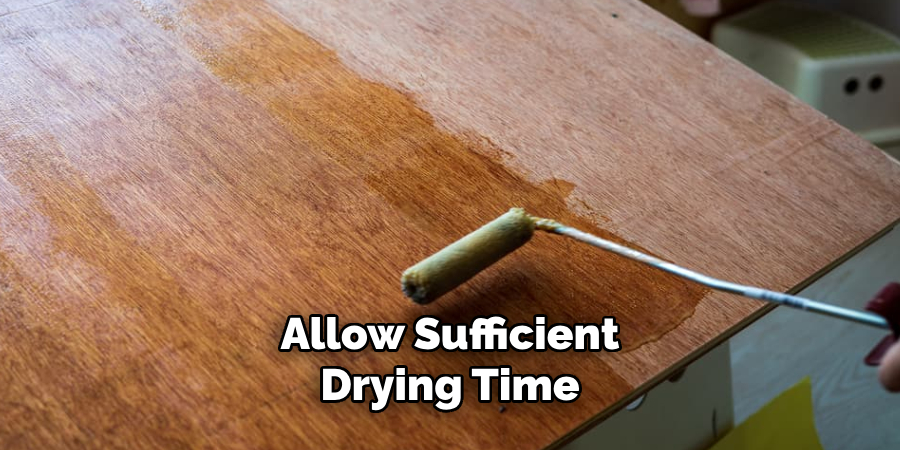
10. Allow Sufficient Drying Time
After applying the final coat of polyurethane, allow sufficient drying time before handling or using the finished surface. Follow the manufacturer’s recommendations for drying time and curing time, as these can vary depending on the type of polyurethane and environmental conditions. Avoid touching or disturbing the surface until the polyurethane has dried completely to prevent smudges or blemishes. Once the polyurethane has dried and cured fully, the surface will be ready for use. Proper drying time is essential for achieving a durable and long-lasting finish when spraying on polyurethane.
Conclusion
Spraying on polyurethane can significantly enhance the appearance and durability of your wood projects, but achieving professional-quality results requires careful attention to detail and adherence to best practices. By properly preparing the surface, practicing safety precautions, using the right equipment, and applying thin, even coats, you can create a smooth and long-lasting finish. Remember to follow the manufacturer’s guidelines for thinning, drying, and sanding between coats to ensure optimal adhesion and a flawless final look.
With patience and the right techniques, spraying on polyurethane can be a rewarding and effective method for finishing your woodworking projects. Now that you know how to spray on polyurethane. While it does take a few steps each time, hopefully now you understand the process and why it’s worth taking the extra step to make sure your floor is properly cared for. So don’t wait any longer, take action today!