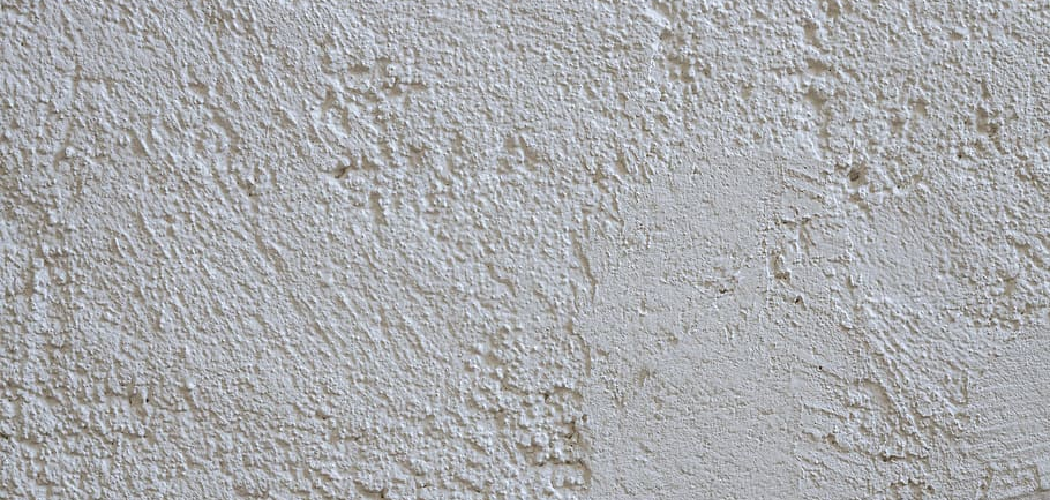
Do you have a textured ceiling in your home that you find unsightly? Are you considering updating it, but don’t know where to start? Whether the texture is bumpy and rough or even orange-peel like, there are several ways to smooth out your textured ceiling.
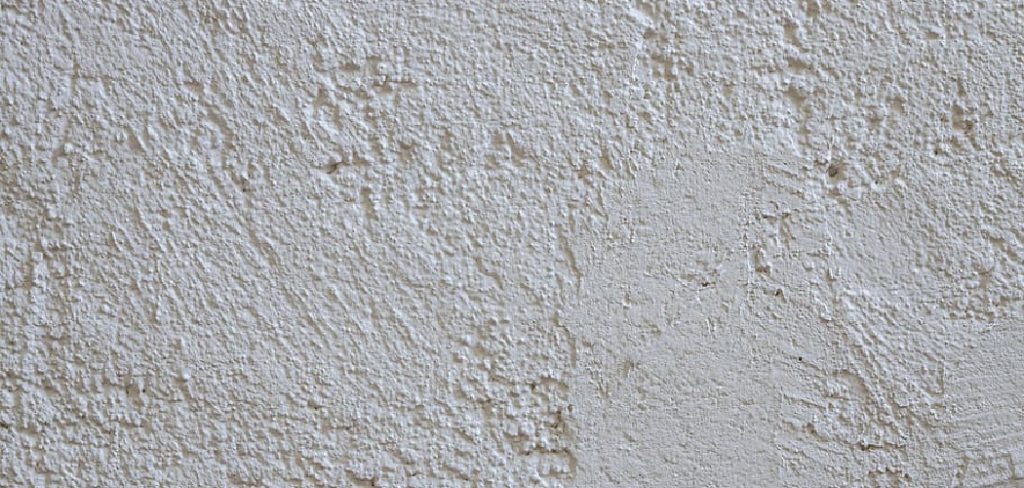
But before we get to how best to achieve this goal of having a smoother ceiling, let’s take a look at what textured ceilings are and why they’re popular in interior design.
If you want to make your ceilings look smoother and brighter, learning how to smooth textured ceiling can be a great solution. Textured ceilings are often cold and unflattering in homes and, if done properly, smoothing them out can dramatically improve the overall aesthetic of your space.
Here, we’ll share some tips for smoothing that uninviting texture on your ceiling while ensuring it looks good afterwards without compromising on quality or safety. By the end you should have all the knowledge necessary to complete the job yourself (although it might be wise to call in an expert).
Why May You Want to Smooth Textured Ceiling?
1. To Create a More Modern Aesthetic in Your Home
One of the reasons to smooth a textured ceiling is to give your home a more modern, sleek look. Textured ceilings are popular in homes built prior to the 1990s, and can make a room feel outdated and old-fashioned. Smoothing the texture eliminates this look and gives you a much cleaner finish that’s sure to please any visitors who come to your home.
2. To Prepare for Painting the Ceiling
If you’re painting your ceiling, it’s important to have a smooth surface in order for the paint to look its best and last as long as possible. Textured ceilings don’t provide this kind of surface, so smoothing is necessary if you want to give your ceiling a fresh new coat of paint.

3. To Make Cleaning Easier
Smoothing a textured ceiling makes it much easier to clean – no more having to scrub individual nooks and crannies! This can save you time when it comes to deep cleaning, as well as make day-to-day cleaning much easier and less tedious.
Now that you know some reasons why you may want to smooth your textured ceiling, let’s take a look at how to get the job done!
How to Smooth Textured Ceiling in 5 Easy Steps
Step 1: Gather All The Materials
The very first step is to make sure that you have the necessary supplies on hand for this project. You need a putty knife, spackling compound, painter’s tape, sandpaper, and a paint roller.
Step 2: Prep The Surface
Once all of your materials are gathered, it is time to start prepping the surface. Using your painter’s tape, cover the edges of the ceiling near walls or other areas that you don’t want to contact spackling compound.

Step 3: Apply Spackling Compound
Next, take your putty knife and start applying a thin layer of spackling compound over the textured area. Make sure to cover the entire area evenly, and use light pressure.
Step 4: Smooth Out The Surface
Once you have applied a thin layer of spackling compound, let it dry for the specified time on the packaging. Once it has dried, take your sandpaper and lightly sand down any rough spots or ridges.
Step 5: Paint
Finally, it is time to paint the ceiling. Using your paint roller, apply a thin coat of paint over the entire textured area. Let it dry for at least 24 hours before adding another coat if necessary.
Following these five easy steps will help you transform any textured ceiling into a smooth and even surface in no time!
Some Tips to Smooth Textured Ceiling
1. Do Not Use Any Sharp Tools
Avoid using any sharp tools, such as blades and knives, to remove texture from the ceilings. This can cause damage to your ceiling and you may not be able to fix it once it is done. Also, you have to make sure that the tool you use does not cause any damage to your walls.
2. Use Acoustic Ceiling Texture Powder
Acoustic ceiling texture powder is a special material that can be used to help smooth a textured ceiling. This powder should be applied over the existing texture and it helps to create a smooth finish on the ceiling.
3. Sand the Ceiling
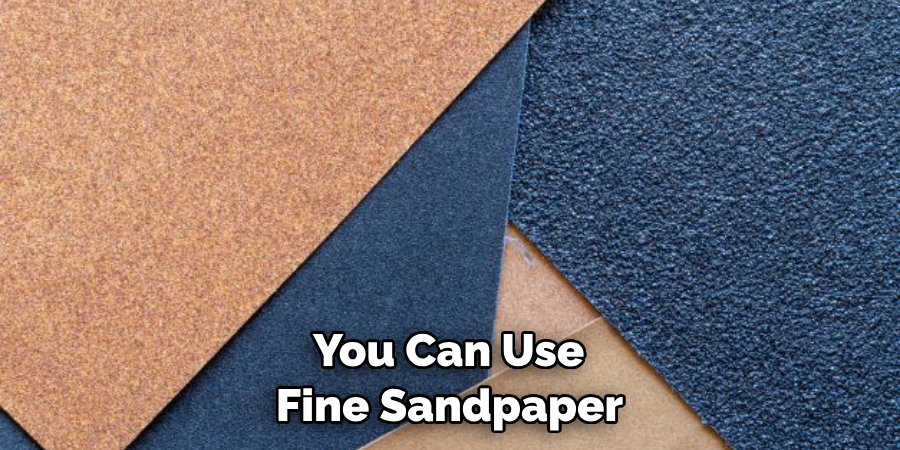
If you have a textured ceiling, you can use fine sandpaper to help smooth it out. Start in one corner of the room and work your way around until the entire ceiling has been sanded down. Make sure not to use too much pressure when sanding, as this can damage the surface of your ceiling.
4. Apply Joint Compound
Joint compound or drywall mud can also be used to help smooth out the textured ceiling. This material should be applied in a thin layer and then sanded down until it is completely smooth. You may need to apply multiple layers of joint compound before you reach the desired finish.
5. Use a Texture Patching Compound
Texture patching compounds are another great option for smoothing out textured ceilings. This material can be used to fill in any cracks or holes and then it can be sanded down until it is completely smooth.
6. Paint the Ceiling
Once you have achieved the desired finish on your ceiling, you can paint it to match the rest of the walls in your room. Use a primer before applying any paint to ensure that it will adhere properly and last for a long time.
7. Hire a Professional
If all else fails, you may want to consider hiring a professional to help smooth out your textured ceilings. They have the right tools and experience to get the job done quickly and efficiently.
Following these tips should help you to achieve a smooth, uniform texture on your ceiling that will look great for years to come. Good luck!
Frequently Asked Questions
What Precautions Should Be Taken When Smoothing a Textured Ceiling?
When smoothing a textured ceiling, it’s important to take certain precautions to ensure your safety. Wear protective clothing such as long sleeves, pants, and gloves. Make sure the room is well-ventilated by opening windows and doors. Additionally, wear a respirator or face mask to prevent inhalation of any particles or dust created by sanding.
What Tools Are Needed to Smooth a Textured Ceiling?
The tools needed for smoothing a textured ceiling include sander, joint compound, drywall knife, primer and paint. Additionally, you may need items such as painter’s tape, drop cloths, and sandpaper.
How Long Does It Take to Smooth a Textured Ceiling?
The time it takes to smooth a textured ceiling can vary depending on the size and complexity of the job. On average, it may take several hours or more to complete the task. Additionally, you may also need to take breaks if the process becomes tiring. It’s best to spread out the work over multiple days if possible.
What Is the Best Way to Apply Primer and Paint After Smoothing a Textured Ceiling?
When applying primer and paint after smoothing a textured ceiling, it is important to use a roller brush. Paint rollers ensure an even application of paint, which is important for preventing any texture from re-emerging.
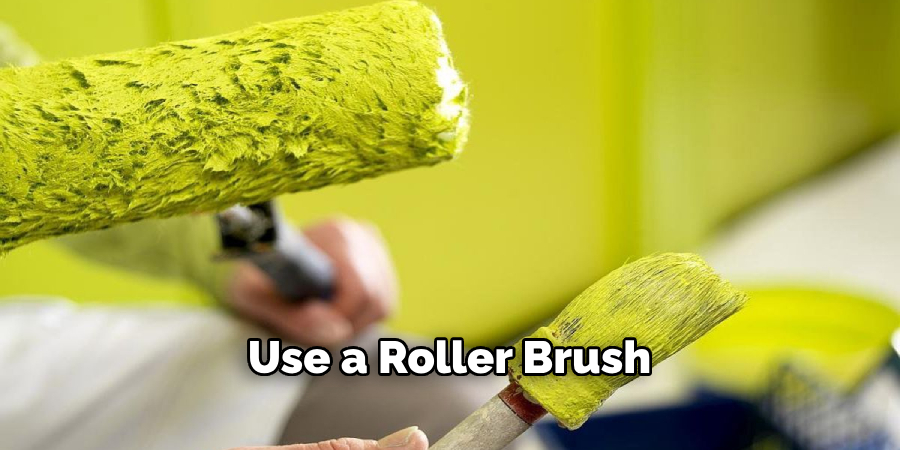
Additionally, use painter’s tape to protect the walls and ceiling trim from being covered in paint. Allow each layer of primer or paint to dry before applying another coat. Finally, inspect the newly smoothed ceiling for any imperfections and touch up as needed.
Can I Smooth a Textured Ceiling Myself?
It is possible to smooth a textured ceiling yourself, but it’s important to take the necessary safety precautions and use the right tools. If you feel uncomfortable taking on this type of project, it may be best to hire a professional contractor or painter who has experience with smoothing textured ceilings. This will ensure the job is done properly and reduce the risk of any issues occurring in the future.
Can I Use a Texture Spray to Smooth Out a Textured Ceiling?
No, texture spray should not be used to smooth out a textured ceiling. Instead, use sandpaper and joint compound to achieve a smooth finish. Additionally, it’s important to inspect the ceiling for any imperfections and touch up as needed. Finally, use primer and paint to protect and enhance the newly smoothed ceiling.
Can I Texture a Smooth Ceiling?
Yes, it is possible to texture a smooth ceiling. You can use textured paint or an aerosol texture spray. For best results, apply several thin coats of the product to the ceiling and allow each layer to dry completely before applying another coat. Additionally, make sure the room is well-ventilated and wear a respirator or face mask to prevent inhalation of any particles or dust created by the texturing process.
Conclusion
If you’ve decided to take on the task of smoothing out a textured ceiling, remember these key steps. First, scrape off any loose bits of texture with a putty knife or drywall scraper. Second, wet the texture down by spraying it with water or an acrylic mixture. Finally, use joint compound to fill in the rest of the textured surface until it is completely even.
Now you know how to smooth textured ceiling! While some individuals can find success completing this job alone, others may prefer to enlist the help of a professional contractor to ensure that everything goes smoothly and safely. Taking on projects like this can be very rewarding but always seeks professional guidance if needed to help make sure all safety precautions are taken!
