
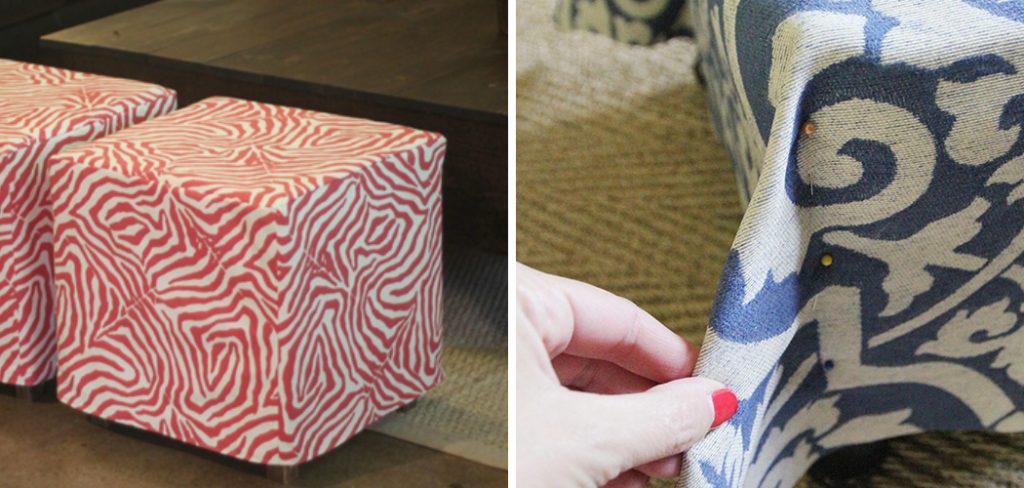
Sewing an ottoman cover is a practical and creative way to update the look of your ottoman and protect it from wear and tear. Making your own cover allows you to customize the fabric, style, and size to match your decor and preferences. Whether you want to refresh an old ottoman or coordinate with new furniture, learning how to sew an ottoman cover can be a rewarding and budget-friendly project.
This article aims to provide a detailed, step-by-step guide on how to sew an ottoman cover, suitable for sewists of all skill levels. We will offer tips and techniques to ensure a professional-looking finish and a snug fit for your ottoman, making the process easy and enjoyable from start to finish.
Materials and Tools Needed
Materials:
- Fabric: The amount depends on the size of your ottoman. Choose a durable upholstery fabric for long-lasting results.
- Matching Thread: Ensure the thread complements your chosen fabric.
- Velcro or Zipper (optional): For closures that make it easy to remove and wash the cover.
- Upholstery Foam (optional): Ideal for creating a cushioned cover.
- Batting (optional): Adds padding if you prefer extra comfort.
- Decorative Trim or Piping (optional): Enhances the look of the finished cover.
Tools:
- Sewing Machine: Essential for sewing the fabric pieces together.
- Scissors: Used for cutting the fabric to the required size.
- Pins or Clips: Help hold the fabric in place while sewing.
- Measuring Tape: Necessary for accurate measurements of the fabric and ottoman.
- Iron and Ironing Board: Important for pressing seams and fabric.
- Fabric Marker or Chalk: Useful for marking where to cut and sew.
- Upholstery Needle (for hand-sewing): Handy for any detailed or final hand stitches.
- Seam Ripper: To help correct any mistakes made during sewing.
Preparation and Measuring
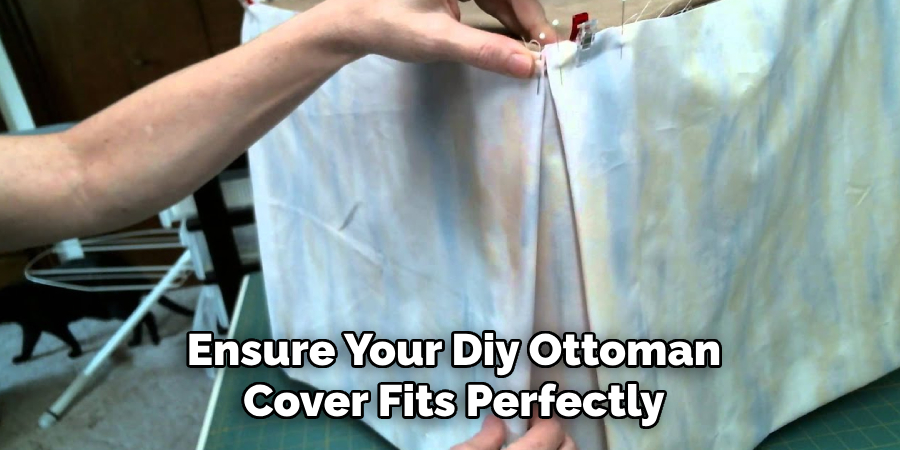
To ensure your DIY ottoman cover fits perfectly, follow these steps for preparation and measuring.
Measuring the Ottoman:
- Measure the Length, Width, and Height: Start by measuring the length, width, and height of your ottoman with a measuring tape. These dimensions will form the basis for your cover pattern.
- Add Seam Allowances and Ease: Add an extra 1 to 2 inches to each measurement for seam allowances and ease. This additional fabric will allow for a comfortable fit and accommodate any minor discrepancies in your cutting and sewing.
Choosing Fabric:
- Select Durable, Washable Fabric: Choose a durable and washable fabric that complements your ottoman’s functionality and home decor. Heavyweight cotton, canvas, or upholstery fabric are good choices for durability.
- Consider Weight and Texture: Pay attention to the weight and texture of the fabric. Heavier fabrics provide better coverage and durability, while textures and patterns can add an aesthetic appeal to your ottoman cover.
Preparing the Fabric:
- Wash and Iron Your Fabric: Before you cut the fabric, wash it to pre-shrink it and iron it to remove wrinkles. This step ensures that any future washing won’t alter the dimensions of your cover and makes cutting more precise.
Following these guidelines will prepare you for the next steps in crafting a well-fitting and stylish ottoman cover.
How to Sew an Ottoman Cover: Cutting and Sewing
1.Cutting the Fabric:
- Use Your Measurements to Cut Out the Fabric Pieces for the Cover. You’ll need a top piece, side panels, and any additional pieces for closures or decorative elements.
- Add Seam Allowances to All Pieces. Make sure to add an extra 1 to 2 inches to each piece for seam allowances to ensure that your cover will fit comfortably over the ottoman.
2.Sewing the Side Panels:
- Sew the Side Panels Together to Form a Loop. Match the short ends of the side panels and sew them together with a straight stitch.
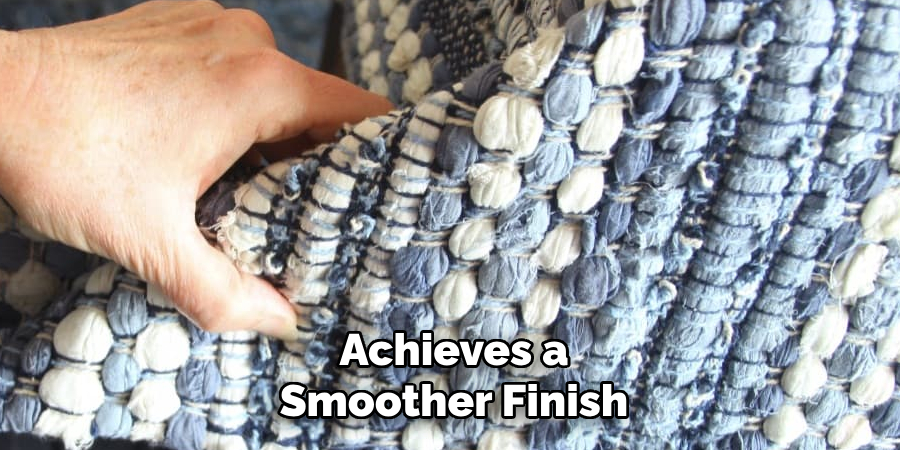
- Press the Seams Open With an Iron. This helps to reduce bulk and achieves a smoother finish.
3.Attaching the Side Panels to the Top Piece:
- Pin or Clip the Side Panels to the Top Piece, Right Sides Together. Align the raw edges and use fabric pins or clips to secure the pieces in place.
- Sew Around the Edges With a Straight Stitch. Carefully sew around the entire perimeter, leaving the bottom edge open. This will create the basic shape of your ottoman cover.
4.Fitting the Cover on the Ottoman:
- Turn the Cover Right Side Out and Fit It Over the Ottoman to Check the Fit. Ensure that the cover fits snugly but not too tight.
- Make Any Adjustments as Needed. Trim any excess fabric or adjust the seam allowances to achieve the perfect fit.
5.Adding Closures (Optional):
- If Using Velcro or a Zipper for Closures, Sew Them to the Bottom Edge of the Cover. Follow the manufacturer’s instructions for attaching these closures, ensuring they are securely fastened to allow for easy removal and washing of the cover.
6.Finishing Touches:
- Hem the Bottom Edge of the Cover. Fold the bottom edge under twice and sew with a straight stitch to create a clean, finished hem.
- Press the Hem With an Iron for a Crisp Finish. This will give them a professional appearance.
- Add Any Decorative Trim or Piping. Attach these elements to enhance the ottoman cover’s overall look, ensuring they are securely sewn in place.
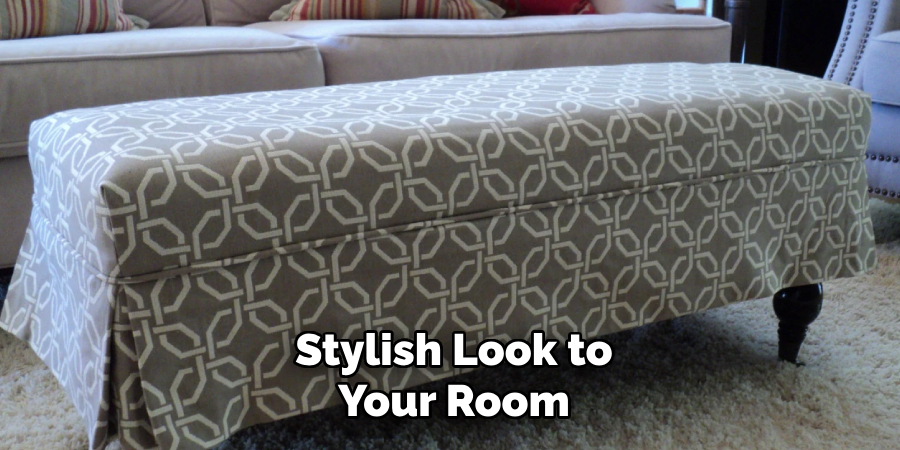
After completing these steps, your custom ottoman cover should fit perfectly and add a fresh, stylish look to your room.
Final Inspection and Installation
Inspecting the Cover:
- Check the Seams and Closures for Any Loose Threads or Mistakes: Before final installation, carefully inspect all seams and closures to ensure there are no loose threads, gaps, or other sewing mistakes that could compromise the cover’s fit and appearance.
- Make Any Necessary Repairs or Adjustments: If you find any issues during the inspection, take the time to make the necessary repairs. This may involve re-stitching loose seams, reinforcing closures, or trimming excess threads.
Installing the Cover:
- Place the Cover Over the Ottoman, Ensuring a Snug Fit: Once you are satisfied with the quality of the cover, carefully place it over the ottoman. Ensure the cover fits snugly, aligning the corners and edges for a proper fit.
- Smooth Out Any Wrinkles or Creases for a Polished Look: After positioning the cover, take a moment to smooth out any wrinkles or creases. Use your hands to gently press and adjust the fabric, ensuring a neat and polished appearance.
By following these steps, you will achieve a professional-looking ottoman cover that enhances your decor and offers a custom fit. Enjoy your revamped ottoman and the satisfaction of a DIY project well done!
Frequently Asked Questions
Q1: Can I Use Any Type of Fabric for My Ottoman Cover?
A1: While you can technically use any fabric, it’s best to choose a durable, washable fabric suitable for upholstery. Heavyweight cotton, canvas, and upholstery fabrics are ideal choices as they offer both durability and aesthetic appeal.
Q2: Do I Need Any Special Tools to Make an Ottoman Cover?
A2: Basic sewing tools such as scissors, measuring tape, a sewing machine, pins or clips, a seam ripper, and an iron are essential. For added convenience, you may also benefit from using a fabric marker and a rotary cutter with a cutting mat.
Q3: How Much Fabric Will I Need for My Ottoman Cover?
A3: The amount of fabric you’ll need depends on your ottoman’s dimensions and the fabric’s pattern. Measure the length, width, and height of your ottoman, and add seam allowances and ease. Generally, having a little extra fabric is better than not having enough.
Q4: Can I Wash My Ottoman Cover After It’s Made?
A4: Yes, if you select washable fabric and pre-wash it before sewing, you can wash your ottoman cover. Follow the care instructions for the specific fabric you choose to ensure longevity and maintain the cover’s appearance.
Q5: How Do I Ensure the Cover Fits My Ottoman Perfectly?
A5: Precise measuring, adding appropriate seam allowances, and careful sewing are key to achieving a perfect fit. Try the cover on the ottoman before making final adjustments, and make any necessary tweaks to ensure a snug and professional-looking finish.

Conclusion
In this guide on how to sew an ottoman cover, we covered several essential steps to ensure your finished product is both stylish and functional. We began with Preparation and Measuring, stressing the importance of accurate dimensions and selecting the right fabric. Next, we moved to Cutting and Sewing, where we detailed cutting the fabric pieces, sewing the side panels, attaching them to the top piece, and fitting the cover on your ottoman. We also included instructions for adding optional closures and finishing touches.
Take on this sewing project with confidence, even if you are a beginner. The process may seem intricate at first, but by following each step meticulously, you’ll find it both manageable and rewarding. Creating a custom cover not only refreshes the look of your ottoman but also adds a personal touch that reflects your style.
Sewing an ottoman cover is a fun and rewarding DIY project that allows for creativity and personalization. With the right materials, tools, and techniques, anyone can sew a professional-looking cover for their ottoman. Enjoy the satisfaction of completing a project that enhances your home’s decor and showcases your newfound sewing skills.