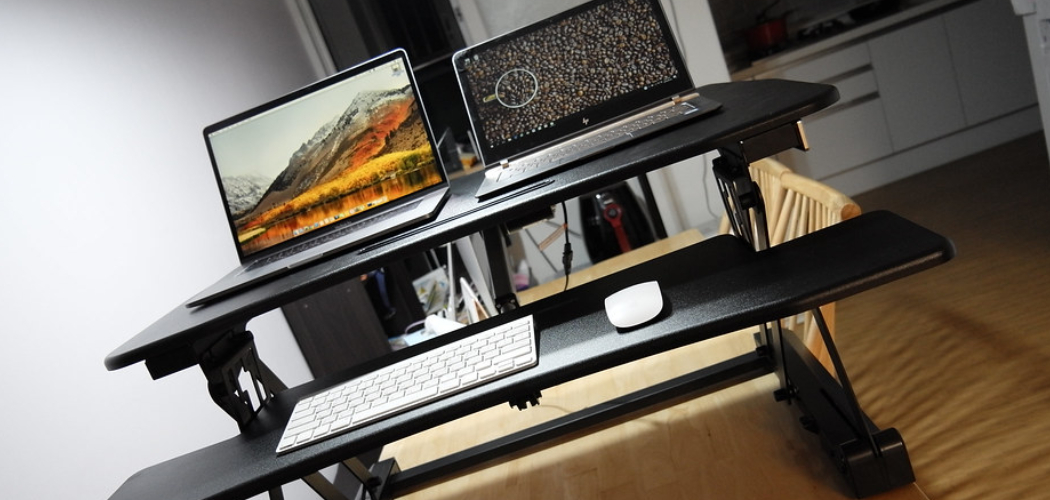
Are you tired of sitting at your desk all day? Do you want to improve your posture and reduce the risk of health problems associated with prolonged sitting? An adjustable desk could be the solution for you. This type of desk allows you to alternate between sitting and standing, promoting movement and reducing sedentary behavior. As a result, it can improve your overall health and well-being.
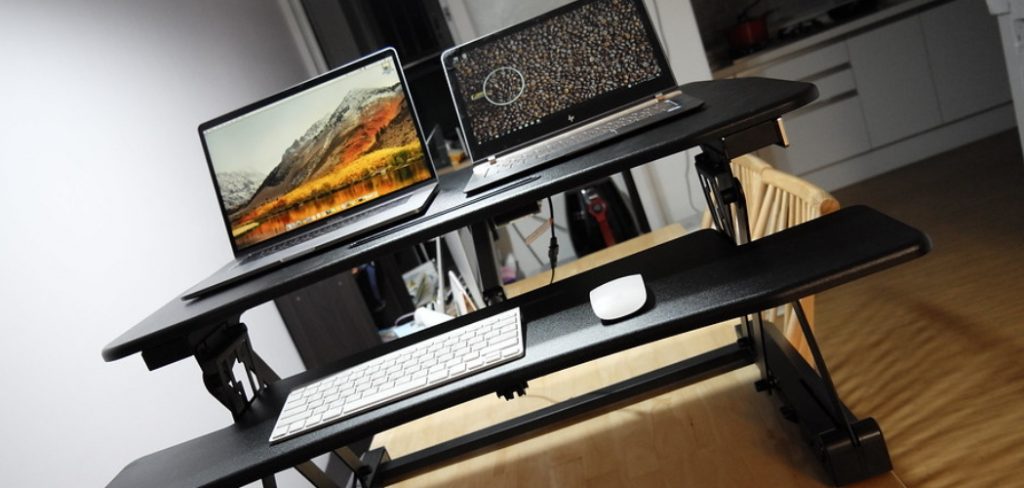
Adjustable desks have become increasingly popular, offering flexibility and comfort for various working positions. Whether you prefer sitting or standing while you work, setting the correct desk height is crucial for maintaining proper posture and preventing discomfort or strain.
This guide will walk you through the simple steps on how to set adjustable desk height, ensuring that it suits your individual needs and promotes a healthy, ergonomic workspace.
What Will You Need?
Before starting the process, make sure you have the following items on hand:
- An adjustable desk
- A chair or stool with adjustable height
- A measuring tape or ruler
- Comfortable shoes (optional but recommended)
Having these materials will help you adjust your desk to the correct height without any inconvenience. Now, let’s get started!
10 Easy Steps on How to Set Adjustable Desk Height
Step 1. Set Up Your Chair
Begin by adjusting your chair to an appropriate height. Your feet should be flat on the ground, your knees should be at a 90-degree angle, and your thighs should be parallel to the floor. This initial step ensures that your sitting posture is correct and creates a solid foundation for setting your desk height. If you are using a stool, follow the same principles to ensure you are seated comfortably.
Step 2. Measure the Ideal Desk Height
Next, measure the ideal desk height for your sitting position. Sit up straight with your elbows at a 90-degree angle and measure the distance from the floor to your elbows. This measurement will guide you in adjusting the desk to the proper height where your arms can comfortably rest on the desk without slouching or reaching too high.
Step 3. Adjust the Desk Height
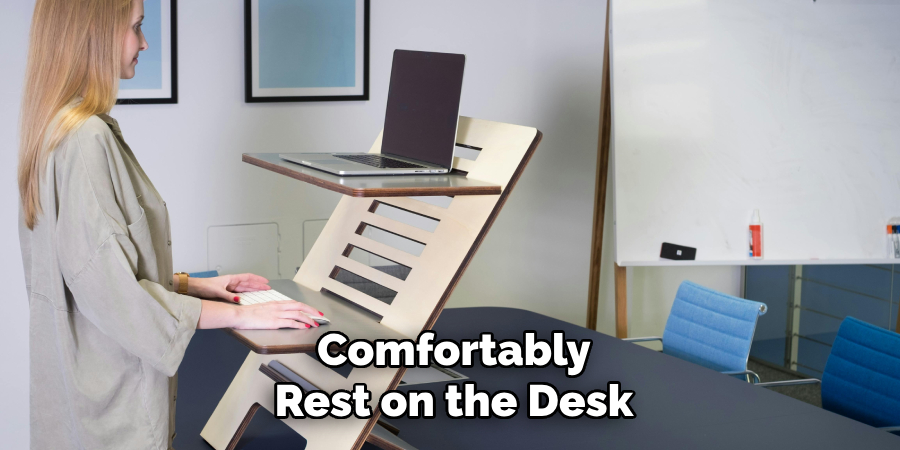
Using the measurement you obtained in the previous step, adjust the height of your desk. Most adjustable desks have a lever or button that you can use to change the height. Raise or lower the desk until the surface aligns with your elbows when they are bent at a 90-degree angle. Ensure that your arms are relaxed and that your shoulders are not lifted to avoid strain. This adjustment is key to maintaining ergonomic posture and comfort while working.
Step 4. Test the Desk Height
After adjusting the desk height, test the new setting for a few moments. Sit at your desk and place your hands on the surface to ensure that your arms and wrists are in a neutral and relaxed position. There should be no undue pressure on your wrists, and your forearms should be parallel to the desk surface. If you feel any discomfort or tension, make small adjustments until you find the optimum height. Ensuring a relaxed posture is crucial for preventing repetitive strain injuries.
Step 5. Stand and Adjust the Desk Height
Switching to a standing position is the next step. Stand straight with your feet shoulder-width apart, and let your arms hang naturally by your sides. Bend your elbows to a 90-degree angle and measure the distance from the floor to your elbows. This measurement will help you set the desk height for a comfortable standing position. Adjust the desk accordingly, ensuring that your arms can rest on the desk without causing strain to your shoulders or back.
Step 6. Test the Standing Desk Height
Once you have adjusted the desk height for standing, test the new setting by standing at your desk and placing your hands on the surface. Ensure that your wrists remain in a neutral position and your forearms are parallel to the desk. There should be no strain on your shoulders, neck, or back. If you feel any discomfort, make small adjustments to the desk height until you achieve a comfortable standing posture. This step is critical for ensuring that you can work efficiently and without pain while standing.
Step 7. Alternate Between Sitting and Standing
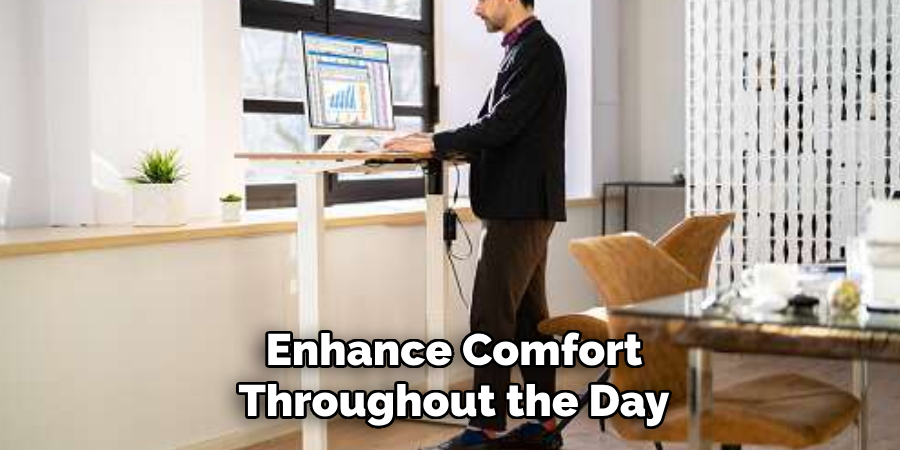
It is important to regularly alternate between sitting and standing throughout your workday to avoid the negative effects of prolonged static postures. Experts recommend switching positions every 30 to 60 minutes. Use a timer or reminder to help you remember to change your position. Transitioning between sitting and standing can help maintain flexibility, reduce muscle fatigue, and improve circulation. Making these changes frequently can boost productivity and enhance comfort throughout the day.
Step 8. Customize Your Workspace
Beyond adjusting the desk height, personalizing your workspace can further enhance ergonomics and comfort. Ensure that your monitor is at eye level to prevent neck strain, and place frequently used items within easy reach to avoid unnecessary stretching or twisting. Consider using a footrest, anti-fatigue mat, or ergonomic accessories that can provide additional support and comfort. Customizing your workspace to fit your needs can help create an environment that promotes health and efficiency.
Step 9. Maintain Good Posture
Whether you are sitting or standing, maintaining good posture is crucial for preventing discomfort and injury. Keep your back straight and shoulders relaxed, and avoid slouching. When sitting, ensure that your lower back is supported, and when standing, distribute your weight evenly between both feet. Good posture helps alleviate strain on muscles and joints, reducing the risk of musculoskeletal problems.
Step 10. Review and Adjust Regularly
Your ergonomic needs may change over time, so it is important to review and adjust your workspace regularly. Take note of any discomfort or strain and make necessary adjustments to your desk height, chair, or accessories. Periodic reviews help ensure that your workstation remains ergonomic and comfortable, enabling you to work effectively without compromising your health.
By following these steps, you can set your adjustable desk to the ideal height for both sitting and standing, creating a versatile and ergonomic workspace that promotes health and productivity.
5 Additional Tips and Tricks
- Start at Elbow Height: Begin by adjusting your desk so that your elbows are at a 90-degree angle when you are sitting or standing. This ensures that your arms and shoulders remain relaxed while typing or using the mouse.
- Monitor at Eye Level: Adjust the height of your monitor so that the top of the screen is at or just below eye level. This helps to prevent neck strain by ensuring you maintain a neutral head position.
- Foot Support: Whether you are sitting or standing, make sure your feet are well-supported. If your feet do not comfortably reach the floor when seated, use a footrest, or consider an anti-fatigue mat for standing.
- Adjust Regularly: Don’t stay in one position for too long. Alternate between sitting and standing throughout your day to promote better circulation and reduce fatigue. Set a timer to remind you to change positions every 30 minutes.
- Personal Comfort: Lastly, adjust your desk height according to your personal comfort. Everyone’s body is different, and what works for others might not work for you. Pay attention to how your body feels and make adjustments as necessary to avoid discomfort and maintain good posture.
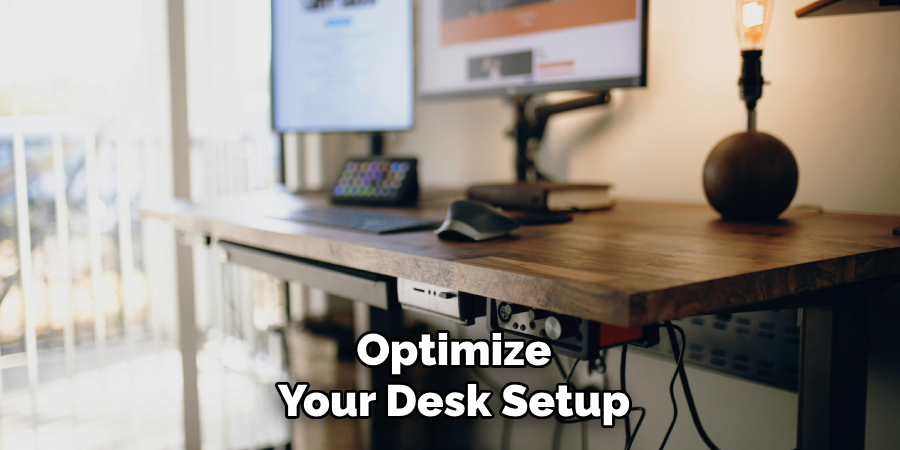
With these additional tips and tricks, you can optimize your desk setup for better ergonomics and comfort. Remember to also take breaks throughout the day to stretch and move around, as well as incorporating regular exercise into your routine.
5 Things You Should Avoid
- Ignoring Your Body’s Signals: It’s crucial not to ignore any signs of discomfort or pain. If you feel strain in your back, neck, or wrists, it may indicate that your desk height is not properly adjusted. Pay attention to your body’s signals and make necessary adjustments promptly.
- Setting the Desk Too High or Too Low: Avoid setting your desk at an extreme height. A desk that is too high will cause you to lift your shoulders and strain your arm muscles, while a desk that is too low will push you to hunch over, straining your back and neck.
- Neglecting Proper Chair Adjustment: Just focusing on desk height without considering the height and position of your chair can lead to poor ergonomics. Ensure that your chair provides adequate support and that your feet are flat on the floor or on a footrest.
- Overlooking Keyboard and Mouse Placement: Positioning your keyboard and mouse at awkward angles can cause strain and repetitive stress injuries. Make sure your keyboard and mouse are within easy reach and at a height that allows your wrists to remain in a neutral position.
- Failing to Maintain Proper Posture: Even with the perfect desk height, poor posture can lead to discomfort and injury. Avoid slouching or leaning excessively forward. Keep your back straight, and shoulders relaxed, and use a lumbar support cushion if necessary to maintain the natural curve of your spine.
By avoiding these common mistakes, you can ensure that your adjustable desk height contributes to a healthier and more productive work environment.

Conclusion
Setting the correct height for your adjustable desk is essential for fostering an ergonomic and comfortable work environment.
You can reduce the risk of strain and discomfort by starting with critical factors such as elbow and eye level, providing proper foot support, and regularly adjusting your position. Personal comfort is paramount, so always pay attention to how your body feels and make necessary changes. Additionally, avoiding common mistakes like ignoring your body’s signals, setting the desk at incorrect heights, neglecting chair adjustments, and poor posture will further enhance your workspace.
Hopefully, the article on how to set adjustable desk height has provided valuable insights and tips for improving your work setup.
