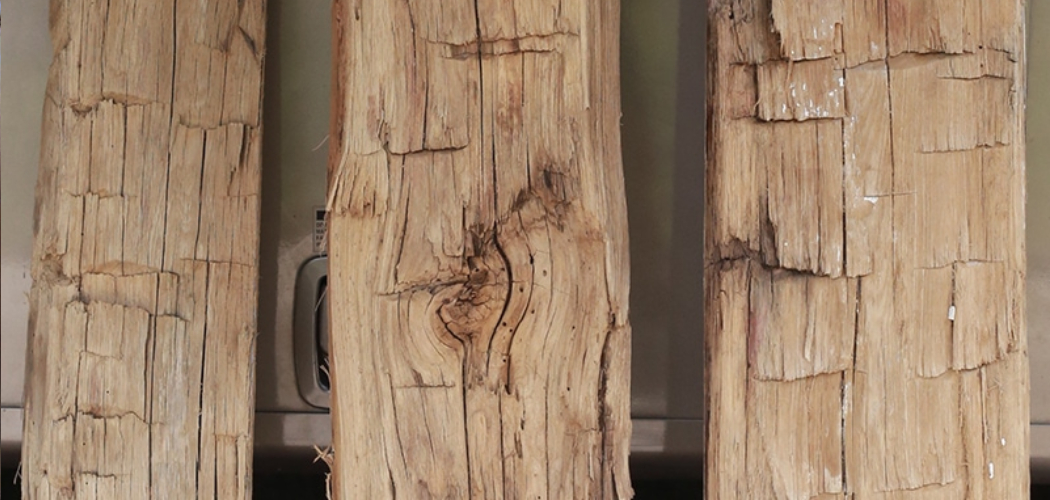
Sealing barn wood for indoor use is an excellent way to bring rustic charm and character into your home. Barn wood, with its rich history and unique texture, can be transformed into stunning furniture, accent walls, or decorative pieces that add warmth and a touch of nostalgia to any interior space. However, to ensure that barn wood looks its best and remains durable, it’s crucial to properly seal it.
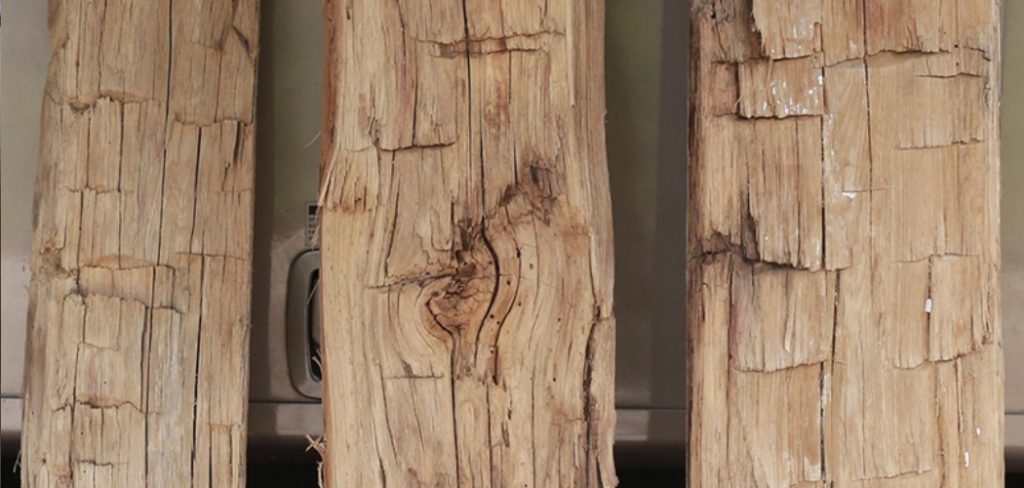
This process not only enhances the wood’s natural beauty but also protects it from moisture, dust, and potential damage, extending its lifespan. Sealing barn wood involves several key steps: cleaning and prepping the wood, choosing the right sealant, and applying it correctly to achieve a smooth, lasting finish. This article will guide you through how to seal barn wood for indoor use, providing tips on selecting the best products and techniques to ensure your barn wood projects are both beautiful and long-lasting. Whether you’re a DIY enthusiast or a seasoned woodworker, sealing barn wood effectively will help you create stunning indoor features that stand the test of time.
Importance of Sealing Barn Wood
Sealing barn wood is crucial for several reasons, ensuring that this reclaimed material remains both aesthetically pleasing and structurally sound when used indoors. First and foremost, sealing the wood protects it from moisture, which can cause warping, cracking, and general degradation over time. Moisture can also lead to the growth of mold and mildew, posing health risks and deteriorating the wood’s integrity. Additionally, barn wood often contains dirt, insects, and other impurities from its previous outdoor environment. Properly cleaning and sealing the wood eliminates these contaminants, making it safe and suitable for indoor use.
10 Methods How to Seal Barn Wood for Indoor Use
1. Thorough Cleaning and Debris Removal
Before sealing barn wood for indoor use, the first crucial step is to thoroughly clean the wood and remove any debris. Barn wood often accumulates years of dirt, dust, cobwebs, and even insect infestations. Start by using a stiff brush to scrub off loose dirt and debris. For more ingrained dirt, use a mild detergent mixed with water and a soft-bristled brush to clean the wood.
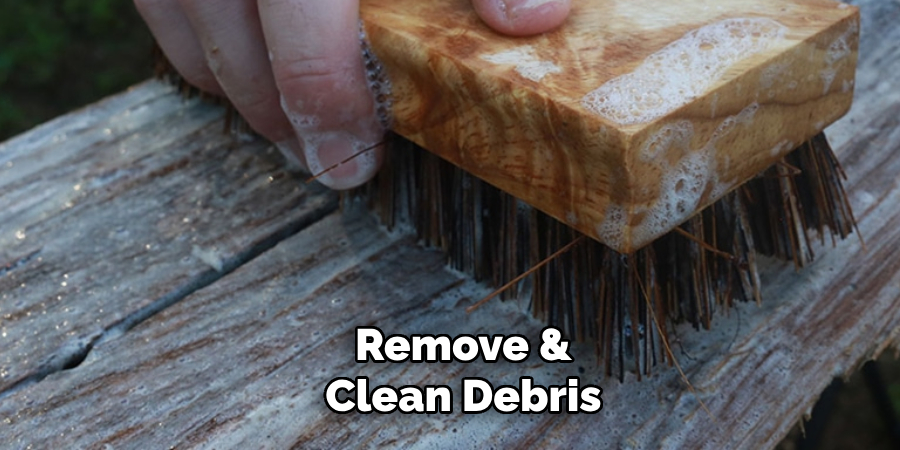
Be cautious not to soak the wood as excessive moisture can cause warping or promote mold growth. After scrubbing, rinse the wood with clean water and allow it to dry completely. Ensuring that the barn wood is clean and dry provides a solid foundation for the sealing process and prevents contaminants from affecting the final finish.
2. Sanding the Surface
Sanding is essential for preparing barn wood to accept a sealer and for achieving a smooth, uniform surface. Depending on the condition of the wood, you may need to start with a coarse-grit sandpaper (such as 80-grit) to remove rough spots and old finishes. Progress to a finer grit (such as 120-grit or 220-grit) to smooth out the surface. Sand along the grain of the wood to avoid scratches. Pay special attention to any splintered areas or rough edges. After sanding, wipe the wood with a tack cloth to remove any sanding dust. This step ensures the wood is smooth and ready for sealing, which will help the sealer adhere better and result in a more polished finish.
3. Applying a Wood Conditioner
Wood conditioner is particularly important when working with reclaimed barn wood, which often has uneven porosity. Applying a wood conditioner helps to even out the wood’s absorption, ensuring a consistent application of stain and sealer. Use a brush or cloth to apply the conditioner evenly across the surface, following the manufacturer’s instructions.
Allow the conditioner to penetrate the wood for the recommended time, usually around 15 minutes, and then wipe off any excess. This step is particularly beneficial if you plan to stain the wood, as it prevents blotchiness and enhances the final appearance. Proper conditioning of the wood prepares it for a more uniform and attractive finish.
4. Choosing the Right Sealer
Selecting the appropriate sealer for barn wood is crucial for both protection and aesthetics. There are several types of sealers available, including polyurethane, varnish, lacquer, and oil-based finishes. Each type has its advantages and specific uses. Polyurethane is durable and provides excellent protection against moisture and wear, making it ideal for high-traffic areas.
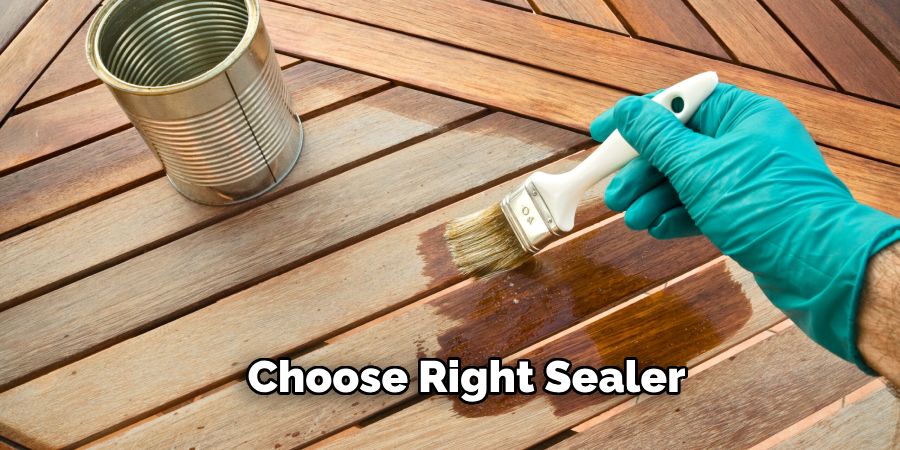
Varnish offers a more natural look and is great for preserving the wood’s rustic character. Lacquer dries quickly and provides a smooth, hard finish. Oil-based finishes penetrate deeply into the wood, enhancing its natural beauty and providing long-lasting protection. Choose a sealer that matches the intended use and appearance of the barn wood in your indoor space.
5. Staining the Wood (Optional)
Staining barn wood before sealing it can enhance its natural beauty and add a desired color tone. Choose a wood stain that complements the interior decor and brings out the wood’s grain patterns. Apply the stain with a brush or cloth, working along the grain of the wood. Allow the stain to penetrate for the recommended time, usually 5-15 minutes, and then wipe off any excess with a clean cloth. For a darker color, you can apply additional coats, allowing each to dry before applying the next. Staining is an optional step, but it can significantly enhance the aesthetic appeal of the barn wood, giving it a rich, vibrant look.
6. Applying the First Coat of Sealer
Once the wood is cleaned, sanded, and optionally stained, it’s time to apply the first coat of sealer. Using a high-quality brush, foam applicator, or sprayer, apply a thin, even coat of the chosen sealer. Work in long, smooth strokes along the grain of the wood to avoid bubbles and streaks. Ensure that all surfaces, including edges and ends, are covered. Allow the first coat to dry completely, which may take several hours to overnight, depending on the product and environmental conditions. The first coat seals the wood pores and provides a base layer for subsequent coats, enhancing the wood’s durability and appearance.
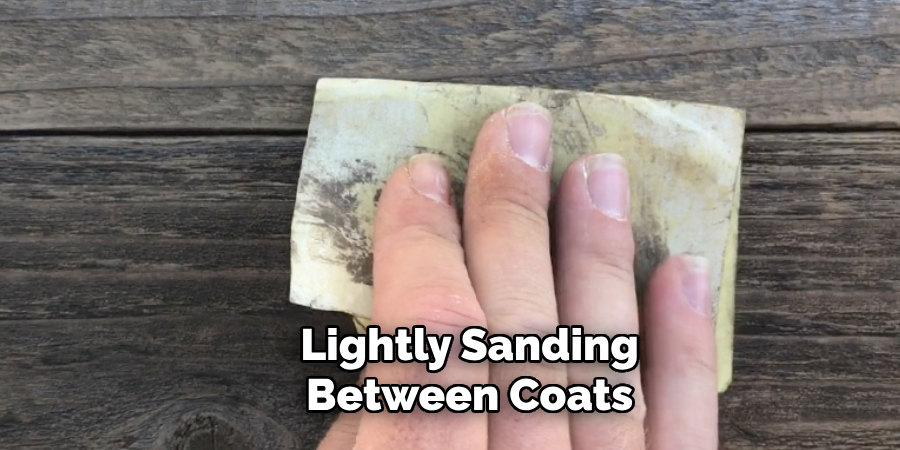
7. Lightly Sanding Between Coats
For a smooth and professional finish, lightly sanding between coats of sealer is essential. Once the first coat is dry, use fine-grit sandpaper (such as 220-grit) to lightly sand the surface. This step removes any raised grain, dust particles, or imperfections that occurred during the drying process. Wipe the wood with a tack cloth to remove any sanding dust before applying the next coat. Sanding between coats ensures that each layer adheres properly and that the final finish is smooth and even. This attention to detail is key to achieving a high-quality, durable seal on your barn wood.
8. Applying Additional Coats of Sealer
Typically, two to three coats of sealer are recommended for optimal protection and finish. Apply each subsequent coat in the same manner as the first, using long, smooth strokes and ensuring even coverage. Allow each coat to dry completely and lightly sand between coats to achieve a smooth finish. The additional coats build up the protective layer, enhancing the wood’s durability and resistance to moisture, stains, and wear. Be patient and thorough in this step, as the quality and longevity of the finish depend on proper application and drying times between coats.
9. Final Inspection and Touch-Ups
After the final coat of sealer has dried, conduct a thorough inspection of the wood. Look for any areas that may need additional sealing or touch-ups, such as edges, corners, or spots where the sealer may have been applied too thinly. Use a fine brush to apply touch-ups as needed, ensuring that the entire surface is uniformly sealed. Check for any imperfections such as dust particles or bubbles and address them with light sanding and additional sealer if necessary. This final inspection and touch-up process ensures that the barn wood is perfectly sealed and ready for indoor use, with a finish that is both beautiful and durable.
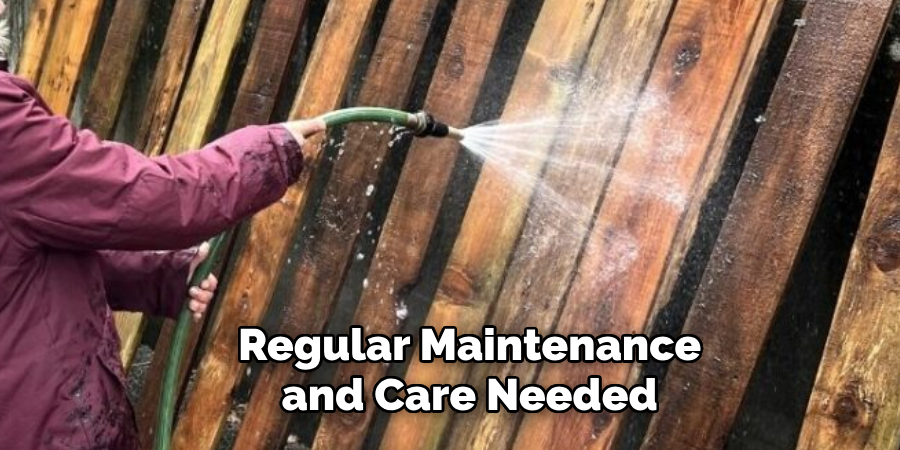
10. Regular Maintenance and Care
To maintain the beauty and durability of your sealed barn wood, regular maintenance and care are essential. Clean the wood periodically with a damp cloth to remove dust and dirt. Avoid using harsh chemicals or abrasive cleaners that can damage the finish. Inspect the wood regularly for signs of wear or damage, and apply touch-up sealer as needed to maintain its protective barrier. For high-traffic areas, consider applying an additional coat of sealer every few years to refresh the finish and ensure continued protection. Proper maintenance and care will keep your barn wood looking beautiful and lasting for many years in your indoor space.
Conclusion
Sealing barn wood for indoor use is a meticulous process that demands attention to detail and patience. However, the effort invested in properly cleaning, sanding, conditioning, staining, and sealing the wood significantly enhances its durability and aesthetic appeal. By choosing the right sealer and carefully applying multiple coats, the wood is protected against moisture, wear, and other potential damage. Regular maintenance and touch-ups ensure that the wood maintains its beauty and functionality over time. Thanks for reading, and we hope this has given you some inspiration on how to seal barn wood for indoor use!
