When it comes to sanding floors, most homeowners aren’t experienced enough to do so without creating a significant mess. Dust from the sanding process is often unavoidable and can be difficult to clean up. This is why learning to sand floors without dust is essential for any DIY-minded homeowner.
One of the main advantages of sanding a floor without dust is that it’s much cleaner than traditional methods. You won’t have to worry about making a mess, as all of the debris will be contained within a vacuum system. This makes it much easier to keep your space clean and saves time cleaning up after the job is done. In this blog post, You will learn how to sand floors without dust.
Importance of How to Sand Floors Without Dust
- Cost Savings: Sanding floors without dust can save money in the long run. The cost of replacing damaged or worn flooring due to dust is high, and using a dustless sanding method prevents this unnecessary expense.
- Health Benefits: Dustless sanding eliminates airborne particles that can cause health concerns such as asthma and allergies. This type of sanding also reduces the amount of cleaning needed after the dustless sanding process is complete.
- Improved Air Quality: Dustless sanding eliminates the need for air purifiers and other dust-eliminating products, which can improve overall indoor air quality and reduce health risks.
- Safer Workplace: When floors are sanded without dust, workers can safely complete tasks without any risk of irritation or breathing in harmful particulates.
- Time Savings: When sanding is done without creating dust, there is less time required for cleanup after work is completed. This saves valuable time and allows for faster completion of projects.
- Faster Completion: Dustless sanding is generally faster than traditional sanding methods because there is no need for cleanup or waiting for the dust to settle before continuing. This can result in a quicker overall floor project completion.
By understanding sand floors without dust, projects can be completed safely and efficiently with cost savings, improved air quality, and time savings.
Step-by-step Instructions for How to Sand Floors Without Dust
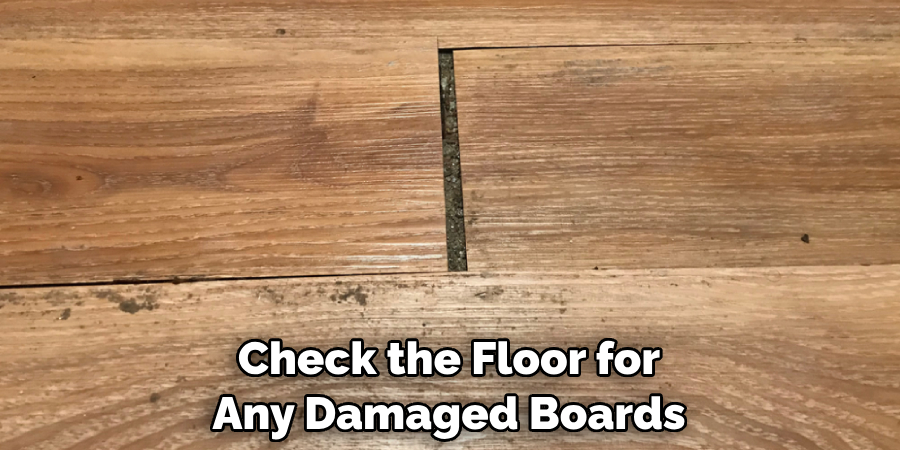
Step 1: Inspect the Floor for Damage
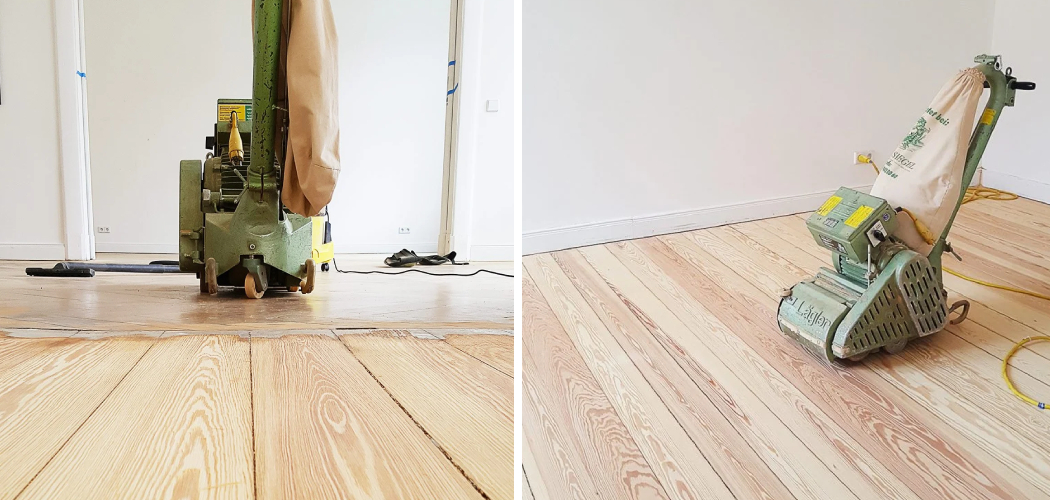
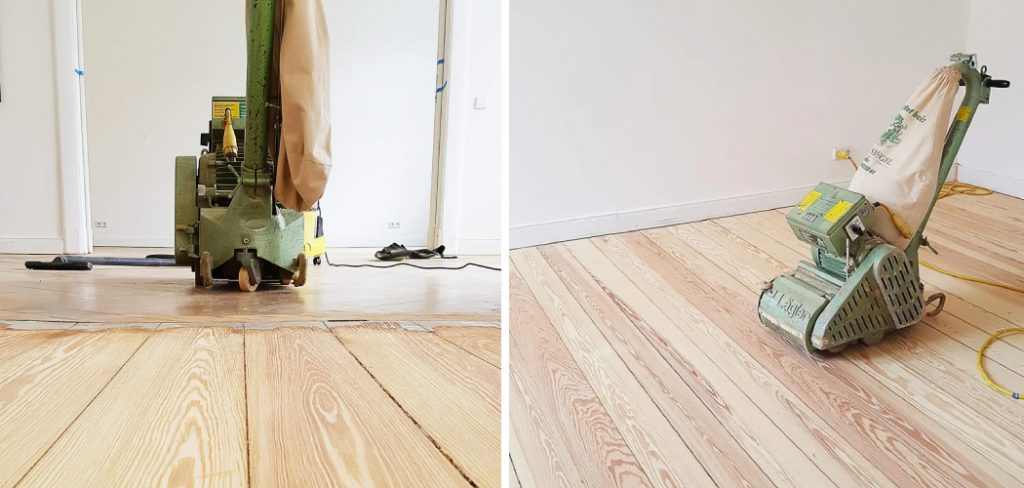
Before sanding, check the floor for any damaged boards or loose nails. If there is damage, it should be repaired before proceeding with sanding. There are several sanders to choose from when deciding on sanding floors without dust. For example, drum and orbital (also known as square buff) sanders are the most popular for refinishing hardwood floors.
Step 2: Prepare the Room
Make sure to vacuum and then mop the room before beginning to sand. This will help ensure that no dust is created while sanding. Additionally, remove any items from the room that could be damaged by the sander or debris that may fly up during sanding.
Choose an appropriate sandpaper grit for your floor based on its condition and the desired finish. Typically, coarser sandpapers are used on rougher floors, while finer grades are used on smoother ones. Ensure the sander is in good working order and securely attached to a vacuum cleaner hose.
Step 3: Begin Sanding
Start sanding in the farthest corner of the room and move systematically across the entire floor, overlapping each pass by several inches. Once you have completed one area, proceed to the next until the entire floor is sanded.
Take care not to stay in any place too long, as this can create a divot or groove in the floor. This will help ensure that the sander does not miss any spots. You should also change directions every few passes, alternating between moving with and against the wood grain to create a uniform finish.
Step 4: Vacuum as You Go
As you sand, vacuum up all of the dust that is created. This will help to keep the dust from getting airborne and ensure a clean finish. As you progress across the room, change sandpaper grades to achieve a smoother finish. Start with a coarser grit and move up to finer grits as needed.
Step 5: Inspect Your Work
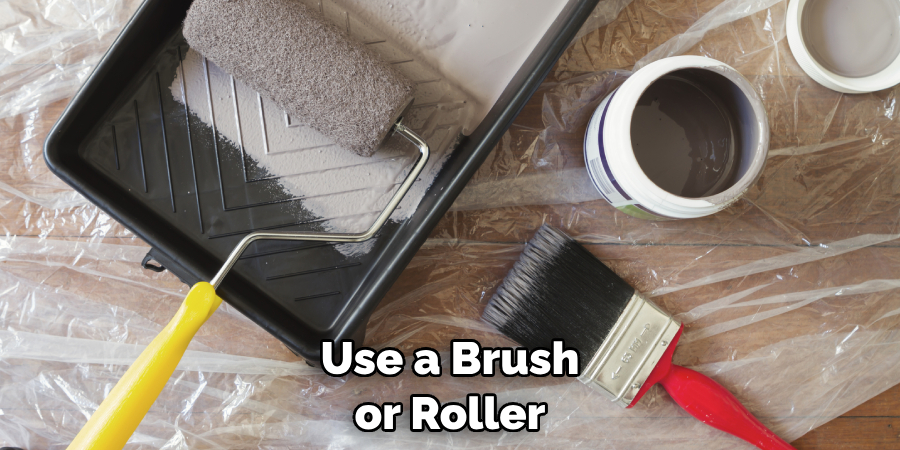
Once you’ve finished sanding the entire floor, take a moment to inspect your work. Ensure there are no rough patches or uneven surfaces before proceeding to the next step. After the floor is ready, apply the appropriate finish, such as polyurethane or wax. Use a brush or roller and ensure that the finish is evenly applied. Allow it to dry completely before walking on the floor or moving furniture back into place.
By following these steps, you should be able to sand floors without creating a lot of dust in the process. The key is to take your time and vacuum up as much dust as possible while you work. With a little patience and effort, you can achieve a beautiful, dust-free finish for your floor.
Tips for How to Sand Floors Without Dust
- When sanding, wear a dust mask and protective eyewear to protect yourself from airborne particles.
- Cover furniture, vents, and doorways with plastic or canvas drop cloths to keep the dust contained in one area.
- Wet the floor before sanding it to minimize dust particles flying through the air.
- Use an electric sander connected to a vacuum cleaner or a dustless sander if possible.
- Clean your sandpaper often with a damp rag to remove built-up debris and keep the surface even.
- Move the sander slowly so you don’t kick up too much sawdust as you go.
- Sweep away any remaining sawdust from the area after sanding is complete.
Following these tips, you can sand your floors without creating a mess and irritating your allergies or breathing problems. Always wear the proper safety gear and use the right tool for the job.
Are There Different Techniques That Can Reduce the Amount of Dust Created During Sanding?
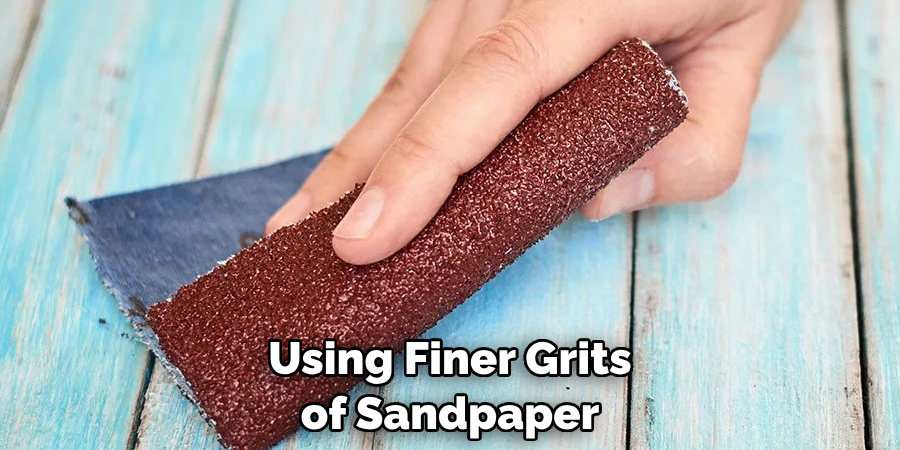
Yes, different techniques can reduce the amount of dust created during sanding. One way to do this is to use a vacuum-assisted sander. This type of sander has an attachment that captures most of the dust as it is released from the sandpaper and deposits it into a sealed container, keeping your work area much cleaner. Additionally, using finer grits of sandpaper will produce less dust, as the particles are smaller.
Inspecting your floor regularly for any nail heads or staples that may have been missed before the sanding process can also help reduce the dust created. If these items are not removed before sanding, they will create an extreme amount of dust in your work area. Finally, keeping your windows closed in the room you are sanding in will also help keep the dust from spreading to other areas of your home.
An air filter can also be used to reduce the amount of dust that spreads throughout the entire house. Taking these precautions while sanding can make a huge difference in reducing dust levels during this process.
How Much Time Does It Take to Complete a Project Involving the Sanding of Floors Without Dust?
It depends on the size of the floor and the condition of the floor. If you have a large area to sand, or if the floors are particularly damaged, you will likely need multiple days or even weeks to finish sanding without creating dust.
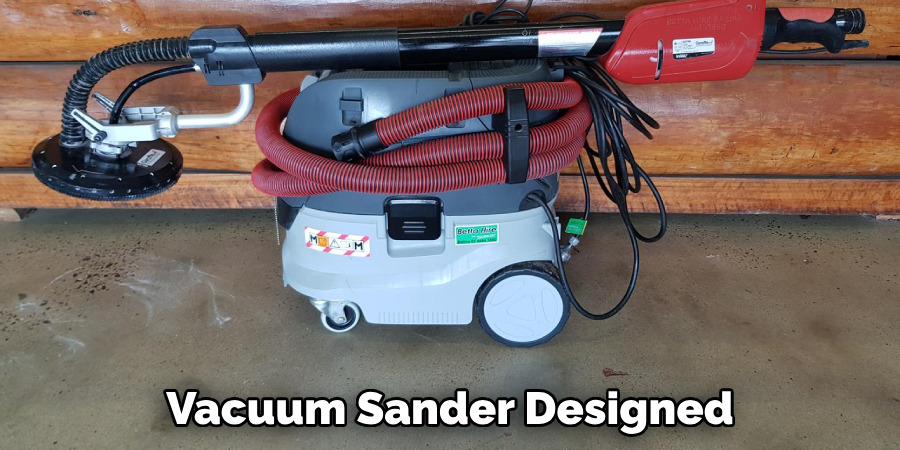
However, for smaller floors in relatively good condition, you may be able to complete the project in less than one day. To maximize the efficiency of sanding without dust, consider investing in a vacuum sander designed to capture dust as you work.
This will help minimize your time spent on the project while still ensuring no dust is left behind. Additionally, don’t forget to wear protective gear such as goggles and a respirator when working with potentially harmful particles or substances like wood dust. This will keep you safe and help ensure the success of your project. No matter how long it takes, sanding floors without dust is possible and worth investing time into for a better overall result.
Are There Any Special Instructions That Should Be Followed When Sanding Floors Without Dust?
Yes. It’s important to follow the instructions provided by the manufacturer of your chosen floor sander. Generally, you’ll want to start with a coarser grit sandpaper and progress to finer grades. Be sure to keep an eye on the dust levels and only sand when it is necessary, especially in high-traffic areas.
Always wear a dust mask and safety glasses to protect yourself from any wayward airborne particles. You should also avoid sanding near walls and other objects that the machine can damage. Finally, it’s important to vacuum or sweeps away the dust after each sander pass to ensure that no dust remains on the floor surface. Following these tips will help you ensure a successful job with minimal mess.
What Type of Safety Equipment Should Be Used When Sanding Floors Without Dust?
When sanding floors without dust, it is important to use the proper safety equipment. This includes wearing protective eyewear and a respirator or face mask. It is also advisable to wear gloves and long pants to protect one’s skin from any small particles that may be released into the air during the process. It is also a good idea to have ventilation in the room to prevent dust particles from building up in the air.

Finally, it is important to cover any furniture or other items that may be in the area with plastic sheets or drop cloths before beginning the sanding process. Taking these preventative measures will help ensure a safe and successful project. In addition to safety equipment, ensure you have all of the correct sanding tools for the job. This includes a sander, as well as various grits of sandpaper. Having the correct tools will ensure that you can properly prepare your floor for staining or refinishing.
Conclusion
The biggest disadvantage of sanding floors without dust is the cost associated with the equipment and materials necessary. Since most household vacuums are not designed to successfully capture fine dust particles, a specialized vacuum must be purchased or rented for this purpose.
In conclusion, sanding your floors without creating a huge dust mess is not impossible. By using the right tools and techniques like wet sanding, fitting sander to vacuums, and cleaning up regularly during the process, you can make sure that your floor looks great without worrying about excessive dust.
As with any do-it-yourself project, proper preparation before starting is key to ensure a successful, dust-free sanding job. I hope reading this post has helped you learn how to sand floors without dust. Make sure the safety precautions are carried out in the order listed.