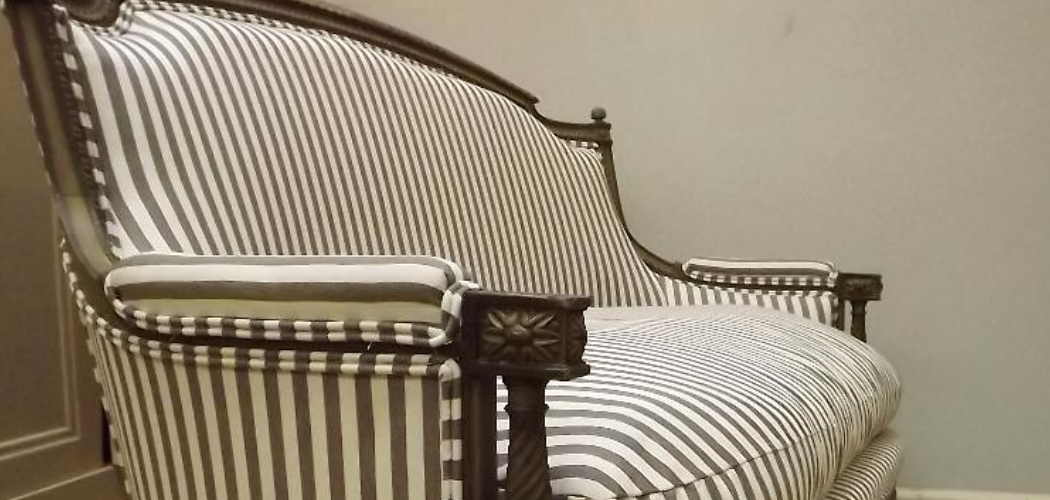
Antique settees possess a unique charm and historical value that make them treasured pieces of furniture in any household. The intricate craftsmanship, ornate designs, and the stories they hold from past generations make them irreplaceable. Reupholstering these settees not only preserves their aesthetic appeal but also rejuvenates them, giving them a new lease on life.

The process of reupholstering can significantly enhance the comfort and appearance of the antique settee, making it a practical and stylish addition to modern interiors. However, reupholstering antique furniture requires careful handling and meticulous attention to detail, ensuring that the original frame and structure remain intact throughout the process.
This article provides a comprehensive, step-by-step guide on how to reupholster an antique settee. It aims to equip readers with the necessary knowledge and techniques to achieve a professional-looking result. Additionally, we will offer valuable tips and best practices to help you navigate the challenges of reupholstering antique pieces while maintaining their historical integrity.
Gathering Materials and Tools
Before beginning the re-upholstering process, it’s important to gather all the necessary materials and tools. Having everything at hand will make the project smoother and more efficient. Below is a detailed list of the materials and tools you will need.
List of Materials:
- New Upholstery Fabric: Choose a durable and visually appealing fabric that complements the antique settee. Ensure you have enough fabric to cover the entire settee, accounting for seams and patterns.
- Upholstery Foam and Batting: These will add cushioning and comfort to the settee. Select high-quality foam and batting to ensure longevity.
- Upholstery Tacks or Staples: These are essential for securing the fabric to the frame. Opt for high-quality tacks or staples to ensure they hold the fabric securely.
- Upholstery Trim or Piping: Adds a finishing touch to the edges and seams of the upholstery, providing a polished look.
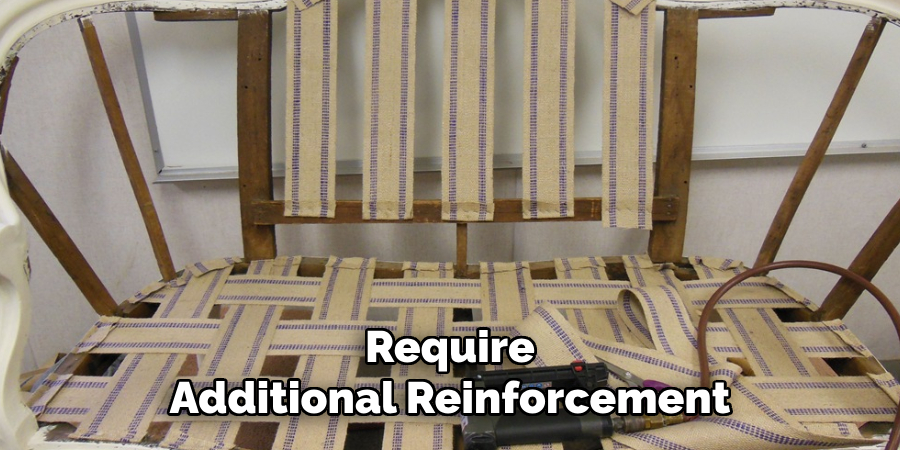
- Upholstery Thread and Needles: For hand-sewing areas that require additional reinforcement.
List of Tools:
- STaple Gun and Staples: A heavy-duty staple gun is crucial for attaching the new fabric securely to the wooden frame.
- Screwdriver: Necessary for removing any screws or bolts holding the old upholstery in place.
- Pliers: Useful for pulling out old staples, tacks, or nails.
- Scissors: High-quality fabric scissors are essential for cutting the upholstery fabric accurately.
- Fabric Measuring Tape: Vital for measuring the fabric pieces to ensure precise fitting.
- Upholstery tack remover or flathead screwdriver: To carefully pry out the old tacks and staples without damaging the frame.
- NEedle-nose Pliers: These are used to manipulate and handle small elements during the reupholstering process.
Having these materials and tools prepared before starting the project will streamline your reupholstering process and help you achieve a professional finish on your antique settee.
Preparing the Settee
Removing Old Upholstery:
- Use a Screwdriver and Pliers to Carefully Remove Any Screws or Tacks Securing the Old Upholstery: Start by locating and removing all the screws, tacks, or staples that are holding the fabric in place. Work methodically to ensure that you do not miss any fasteners, which could make removing the fabric more difficult.
- Carefully Strip Away the Old Fabric, Taking Care Not to Damage the Wood Frame or Padding Underneath: Gently pull away the fabric, ensuring not to apply excessive force that might damage the wooden frame or any remaining padding. If the fabric is stubborn, use pliers to remove it without tearing the wood or padding.
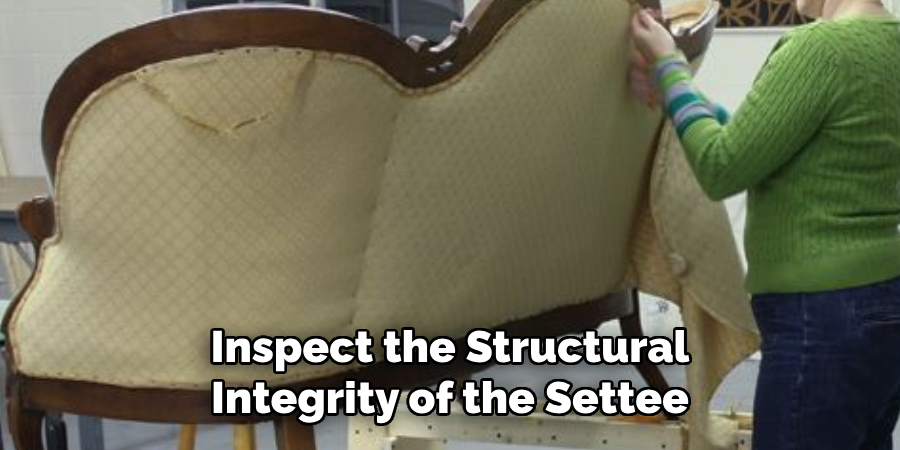
- REmove Old Padding and Batting, if Necessary, to Inspect the Condition of the Settee’s Frame and Springs: Once the fabric is removed, evaluate the padding and batting. If they are in poor condition or if you want to start fresh, remove them to expose the frame and springs. This will allow you to thoroughly inspect the structural integrity of the settee.
Cleaning and Repairing the Frame:
- Clean the Wooden Frame With a Suitable Wood Cleaner or a Mild Soap and Water Solution: Use a soft cloth and a wood cleaner or a mild soap solution to clean the frame. Remove any dust, grime, or remnants of old upholstery materials to prepare the wood for any necessary repairs and the new upholstery.
- Inspect the Frame for Any Damage, Such as Loose Joints or Broken Springs, and Repair as Needed Using Wood Glue, Clamps, or Replacement Springs: Carefully examine the frame for signs of wear and tear. Look for loose joints, cracks, or broken springs. Use wood glue to secure any loose joints and clamps to hold them in place until the glue dries. Replace any broken springs to ensure the settee is comfortable and sturdy once reupholstered.
Following these steps will ensure that the settee is in the best possible condition before you begin the re-upholstering process, setting a strong foundation for a high-quality finish.
Measuring and Cutting the Fabric
Measuring the Settee:
- Use a Measuring Tape to Measure the Dimensions of the Settee, Including the Seat, Back, Arms, and Any Cushions: Begin by measuring the length, width, and height of each section of the settee. Make sure to measure the seat, backrest, arms, and any separate cushions individually. Precision is crucial to ensure that the new fabric fits properly.
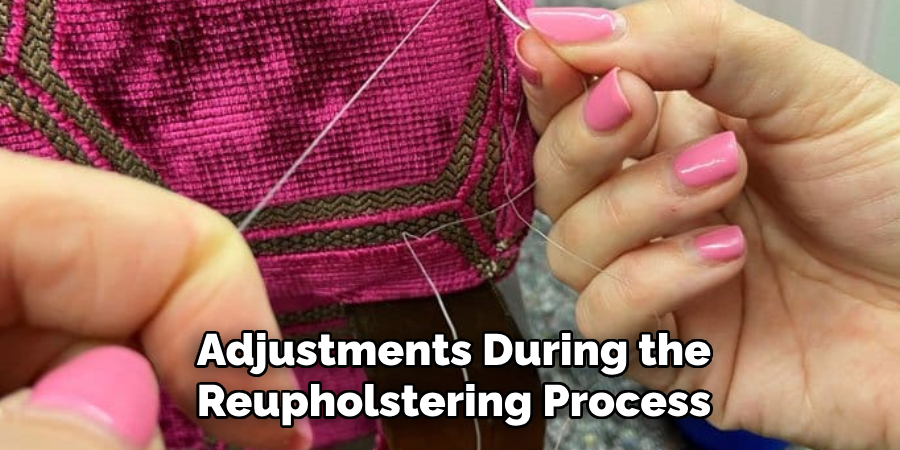
- Add a Few Extra Inches to Each Measurement to Allow for Wrapping and Stapling the Fabric to the Frame: Once you have the exact measurements, add an additional 2-3 inches to each dimension. This extra fabric will be essential for wrapping around the edges and securing it to the frame with staples or tacks. This ensures a tight, professional finish and allows for minor adjustments during the reupholstering process.
Cutting the Fabric:
- Lay Out the New Upholstery Fabric on a Flat Surface: Place the upholstery fabric on a large, clean surface. Ensure that the fabric is smooth and free of wrinkles or folds. It’s best to do this on a surface that can be easily marked, such as a large table or the floor.
- Mark and Cut the Fabric Pieces According to the Measurements, Ensuring Precise Cuts for a Snug Fit: Using fabric chalk or a fabric pen, carefully mark the dimensions on the fabric based on your measurements, remembering to include the extra inches added for wrapping. Double-check your marks for accuracy. Using high-quality fabric scissors, make precise cuts along the marked lines. Accurate cutting is essential for a snug fit and a professional appearance.
- Cut Upholstery Foam and Batting to Fit the Seat, Back, and Arms, if Needed: Once the fabric is cut, use it as a guide to cut the upholstery foam and batting. Lay the foam and batting on a flat surface and place the cut fabric pieces on top as a template. Use a sharp knife or scissors to cut the foam and batting to the appropriate size, ensuring they will fit comfortably within the fabric pieces and provide a plush, cushioned feel.
By carefully measuring and cutting the fabric, foam, and batting, you’ll be well-prepared to start the next phase of reupholstering your antique settee, ensuring a refined and polished result.

How to Reupholster an Antique Settee: Reupholstering the Settee
1. Attaching the New Fabric:
- Begin With the Seat: Place the foam and batting on the seat, ensuring they are properly aligned and cover the entire seating area. Then, lay the fabric over the foam and batting, making sure it is centered.
- Pull the Fabric Tight and Staple It to the Underside of the Seat Frame, Starting From the Center and Working Your Way Out to Ensure Even Tension: Begin stapling in the center of one side, then move to the opposite side, pulling the fabric tight to eliminate any wrinkles. Continue stapling toward the corners, alternating sides, and ensuring even tension throughout. Check the fabric regularly for any creases or folds and adjust as necessary.
- For the Back and Arms: Repeat the process for the back and arms. If applicable, place the foam and batting, then carefully lay the fabric over these sections, ensuring it is centered and covers the entire area.
- Pull the Fabric Tight and Staple It to the Back or Underside of the Frame, Again Starting From the Center and Working Outwards: Start in the center and work your way out to maintain even tension. For the back, staple along the frame’s top edge first, then the sides, and finally the bottom edge. For the arms, start in the middle of the inner edge, then pull and staple the fabric towards the sides and, finally, the outer edges.
- Smooth Out Any Wrinkles and Adjust the Fabric as Needed to Ensure a Smooth, Tight Fit: Continuously check the fabric as you staple, smoothing out any wrinkles by gently pulling and adjusting before securing with more staples. This careful approach ensures a professional, snug fit for a polished look.
2. Creating and Attaching Piping or Trim:
- If Using Piping or Trim, Measure and Cut Pieces to Fit the Edges and Seams of the Settee: Measure the edges and seams where you intend to place the piping or trim. Add a little extra length to each piece to account for any adjustments needed during the attachment.
- Attach the Piping or Trim Using a Staple Gun or Upholstery Tacks, Ensuring It is Straight and Secure: Lay the piping or trim along the edges and seams, ensuring it is straight and properly aligned. Use a staple gun or upholstery tacks to secure it in place, starting from one end and working your way to the other. Keep the edges neat and check regularly to ensure the trim is correctly positioned and tightly secured.

By following these steps, you will achieve a meticulously reupholstered settee that combines comfort with a refined, professional appearance.
Conclusion
Reupholstering an antique settee involves several detailed steps, starting with careful preparation, which includes inspecting and cleaning the settee. The next crucial step is measuring and cutting the fabric, where precision in marking dimensions and cutting ensures a proper fit.
The actual reupholstering process involves attaching the new fabric, foam, and batting to the settee, ensuring even tension and a smooth finish. Finally, adding piping or trim provides a refined and polished look.
Take your time and follow each step carefully to achieve a professional-looking result. The satisfaction of reviving a cherished piece of furniture and the customization possibilities with new fabric and details make the process worthwhile. Embrace the opportunity to refresh the look of your settee while preserving its antique charm.
Patience and attention to detail are paramount when working with antique furniture. If any part of the process feels too challenging or if the settee has significant structural issues, consider seeking professional assistance. By adhering to these guidelines on how to reupholster an antique settee, you can bring new life to a beloved piece of furniture, ensuring it remains a centerpiece in your home for years to come.