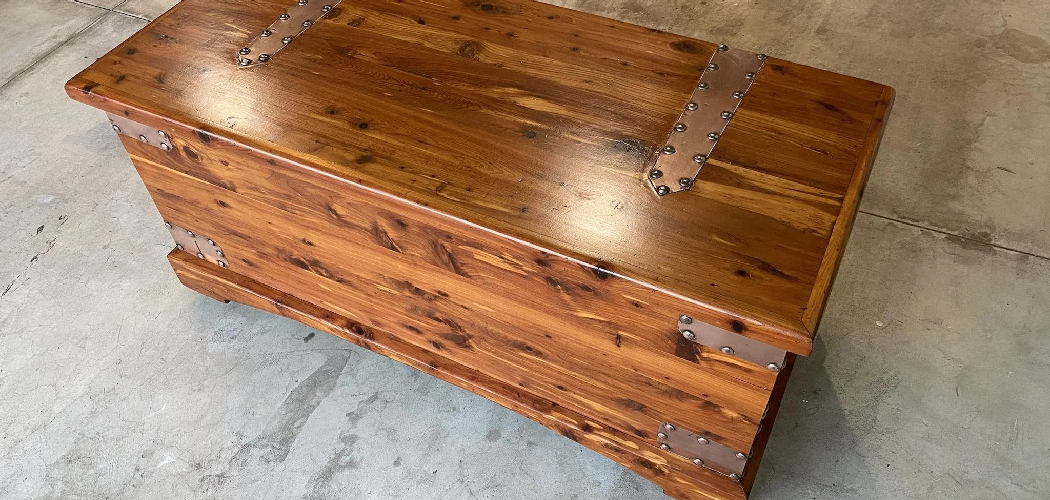
Are you tired of the dull and weathered look of your cedar chest? Do you want to restore its original beauty and protect it from further damage? If so, this guide is for you!
Restoring the outside of a cedar chest can breathe new life into a cherished piece of furniture, preserving its beauty and functionality for years to come. Whether the chest has been passed down through generations or discovered at a thrift shop, the process of restoration involves a few key steps to ensure the wood’s longevity and maintain its aesthetic appeal.
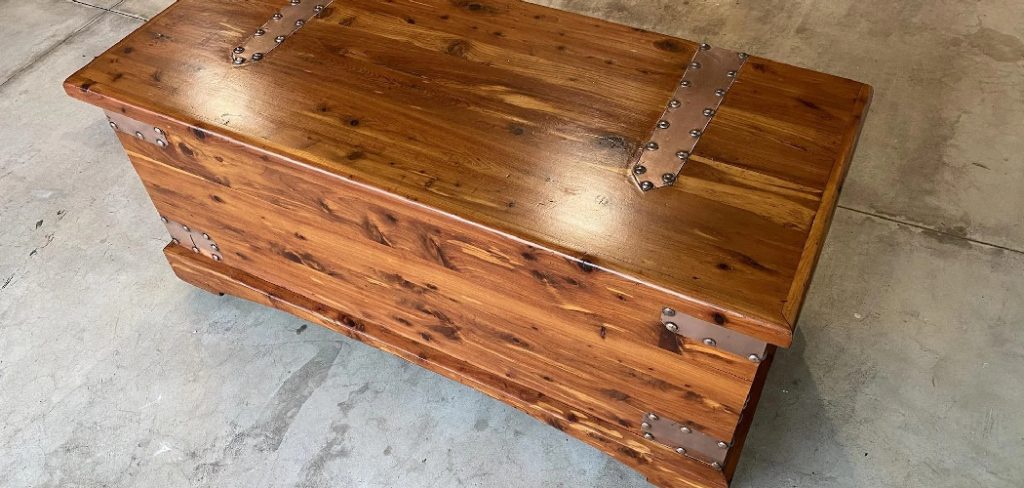
This guide will walk you through the necessary steps on how to restore the outside of a cedar chest, offering tips and techniques to achieve a professional-looking result. With patience and care, you can transform a worn-out chest into a stunning focal point in your home.
Why Restore Your Cedar Chest?
Restoring your cedar chest is more than just an aesthetic endeavor; it’s an investment in preserving a piece of history and functionality. Over time, cedar chests can become marred by scratches, dents, and the dulling effects of exposure to light and air. These imperfections not only diminish the chest’s visual appeal but can also compromise the wood’s integrity.
Restoration helps to restore the chest’s natural luster and richness, protecting it from further damage caused by environmental factors. Additionally, by bringing the chest back to its former glory, you maintain the aromatic qualities of the cedar wood, which is known for its natural insect-repellent properties. This ensures that your chest remains a protective storage space for your precious belongings.
Ultimately, the restoration process enhances the chest’s durability, prolongs its life, and allows you to cherish and utilize this beautiful piece of furniture for many more years.
What Will You Need?
Before diving into the restoration process, gather all the necessary materials to ensure a successful outcome. Here are some essential tools and supplies you’ll need:
- Sandpaper (course and fine grit)
- Wood stain of your choice
- Polyurethane or varnish
- Clean cloths
- Paintbrushes
- Mineral spirits or paint thinner
- Protective gear (gloves, safety glasses)
- Optional: wood filler and putty knife for repairing damages
Now that you have all the necessary materials let’s dive into the step-by-step process of restoring the outside of a cedar chest.
10 Easy Steps on How to Restore the Outside of a Cedar Chest
Step 1: Clean the Chest
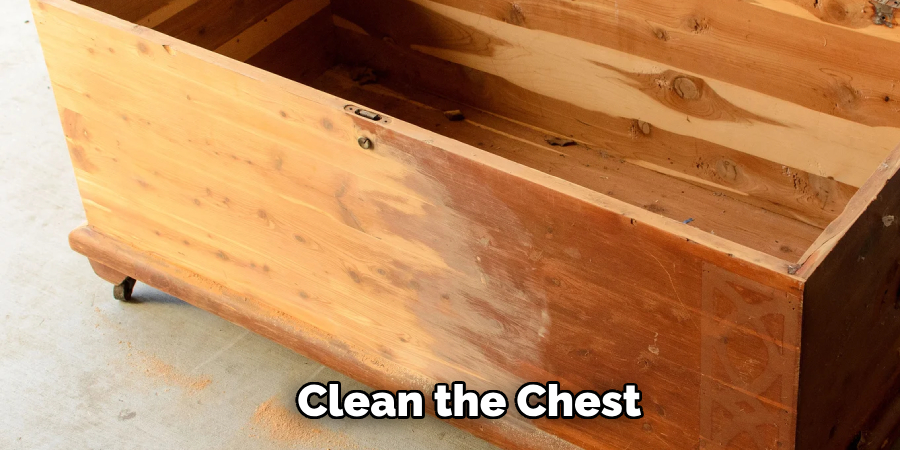
Begin by cleaning the outside of the cedar chest to remove any dust, dirt, or old polish. Use a clean cloth dipped in a mixture of mild soap and water, making sure not to saturate the wood. Gently wipe down the entire surface, paying close attention to any crevices or carved details. This step ensures that you start with a clean slate, allowing the restoration materials to adhere properly. Once cleaned, let the chest dry completely before moving on to the next step.
Step 2: Sand the Surface
Once the chest is clean and dry, the next step is to sand the surface. Sanding is crucial because it removes the existing finish, smooths out any imperfections, and helps the new stain or varnish to adhere better. Begin by using coarse-grit sandpaper (around 80 grit) to tackle any rough spots, scratches, or previous varnish layers. Work in the direction of the wood grain to prevent any scratching or cross-grain marks.
After the initial sanding with coarse-grit paper, switch to finer-grit sandpaper (around 220-grit) to achieve a smooth surface. This fine sanding helps to open up the wood pores, allowing them to absorb the stain more evenly. Make sure to sand all areas thoroughly, including any carved or intricate details. For these finer details, you might need to use a sanding sponge or flexible sandpaper that can conform to the curves and contours of the chest.
During this process, regularly check your progress by running your hand over the surface to ensure it’s smooth and even. Any missed spots will be more apparent once you apply the stain, so taking the time to do a thorough job at this stage is essential.
Once you have completed the sanding, wipe down the entire chest with a clean cloth dampened with mineral spirits or paint thinner. This step removes any residual dust and oils from the sanding process. Allow the chest to dry fully before moving on to the staining stage. This meticulous preparation will set the foundation for a beautifully restored cedar chest.
Step 3: Apply the Wood Stain
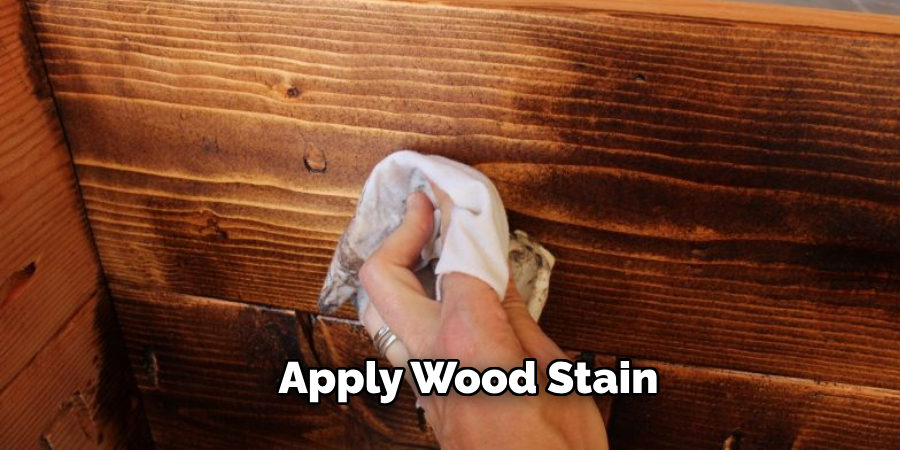
With the surface properly prepared, it’s time to apply the wood stain. Start by choosing a wood stain that complements the natural color of the cedar. Stir the stain well before applying it to ensure an even color.
Using a clean paintbrush or a soft cloth, apply the stain in the direction of the wood grain, working in manageable sections. Be generous but careful to avoid pooling or dripping. After allowing the stain to sit for a few minutes (per the manufacturer’s instructions), use a clean cloth to wipe off any excess stain. This helps to achieve an even color and prevents blotchiness.
For a deeper color, you can apply additional coats of stain, allowing each coat to dry completely before applying the next. Always follow the specific drying times and instructions given by the stain manufacturer for the best results.
Step 4: Apply a Protective Finish
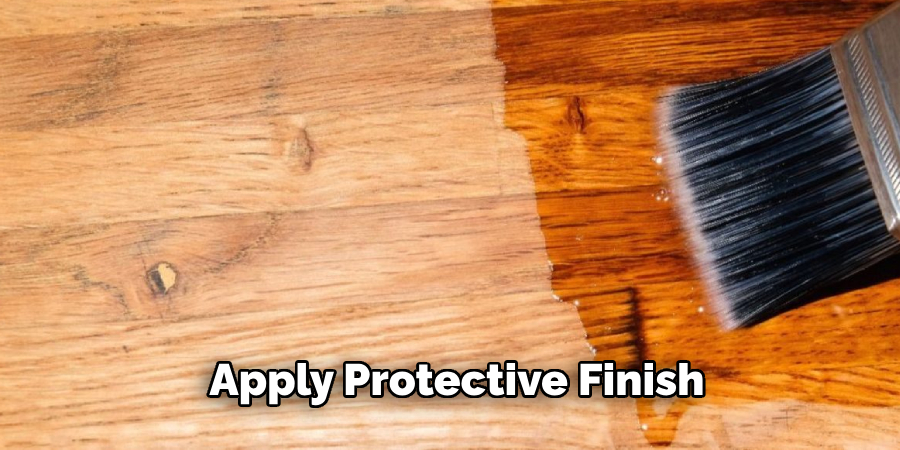
After the stain has thoroughly dried, the next step is to apply a protective finish to seal the wood and enhance its appearance. Polyurethane and varnish are both excellent choices for this purpose, offering durable protection against moisture and wear. Make sure to choose a finish that suits your desired sheen, whether it be matte, satin, or glossy.
Begin by stirring the polyurethane or varnish thoroughly to ensure an even consistency. Using a clean paintbrush, apply a thin, even coat of the finish in the direction of the wood grain. Work methodically to avoid any drips or bubbles, and make sure to cover all areas, including any carved or intricate details.
Allow the first coat to dry completely according to the manufacturer’s instructions. Depending on the product used and environmental conditions, this may take several hours or overnight. Once the first coat is dry, lightly sand the surface with fine-grit sandpaper (around 220-grit). This step helps to smooth out any imperfections and provides a better surface for the next coat to adhere to. Wipe away any dust with a clean, dry cloth.
Apply additional coats of the polyurethane or varnish, following the same process of applying, drying, and lightly sanding between coats. Typically, two to three coats are sufficient for adequate protection and an aesthetically pleasing finish. However, always follow the recommendations on the product label for the best results.
Step 5: Buff the Surface
Once you have applied the final coat of protective finish and it has dried thoroughly, the next step is to buff the surface. Buffing helps to smooth out any remaining imperfections and brings out a beautiful shine. Use a high-quality, soft cloth or an electric buffer if available. Gently buff the entire surface in circular motions, paying attention to achieving an even shine without putting too much pressure on any single area.
Step 6: Repair Any Damage
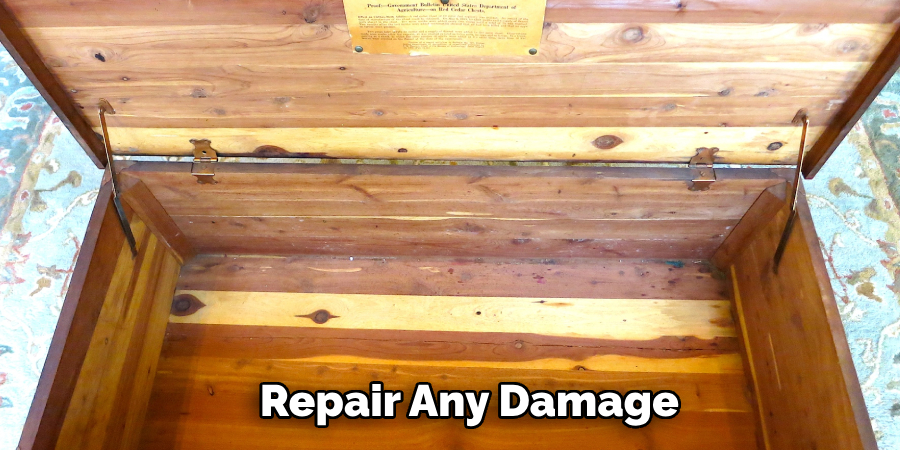
If there are any noticeable dents, scratches, or other imperfections that still need attention, now is the time to repair them. Use wood filler to address these issues. Apply the wood filler with a putty knife, making sure it is level with the surrounding surface. Allow it to dry completely before proceeding. Once dry, sand the repaired areas with fine-grit sandpaper until smooth. Wipe away any dust with a clean cloth before moving on.
Step 7: Reassemble Hardware
After completing the restoration and repair steps, the final touch is to reassemble the hardware. This step involves carefully reattaching any hardware pieces that were removed earlier, such as hinges, handles, and decorative elements like locks or keyholes. Before attaching, it’s important to clean and polish these hardware pieces to match the newly restored chest.
- Clean the Hardware: Use a gentle metal cleaner suitable for the type of metal your hardware is made from, whether it’s brass, bronze, or another material. Apply the cleaner with a soft cloth, working it into any crevices or detailed areas. For stubborn tarnish or dirt, a soft-bristled brush can be helpful. Once cleaned, thoroughly rinse and dry each piece.
- Polish (Optional): If you prefer a polished look, now is the time to use metal polish. Apply the polish according to the product instructions to bring out the metal’s natural shine. Buff each piece with a soft cloth to achieve a high sheen.
- Inspect Hardware: Before reattaching, inspect each piece to ensure there are no missing screws or damaged components. If any pieces are damaged beyond repair, consider replacing them with new hardware that matches the look and style of the original.
- Reattach Hardware: Begin by aligning each piece with its corresponding position on the chest. Use the original screws or new ones if necessary, carefully tightening each screw to secure the hardware in place. Ensure each piece is firmly attached, but be cautious not to over-tighten, which could damage the wood.
- Test Functionality: Once all hardware is reattached, test each piece to ensure it works correctly. Open and close hinges to make sure they move smoothly without creaking or sticking. Check handles, knobs, and locks to ensure they operate properly and are securely fastened.
Reassembling the hardware carefully and correctly completes the restoration process by restoring the chest’s functionality and enhancing its aesthetic appeal.
Step 8: Final Inspection and Touch-Ups
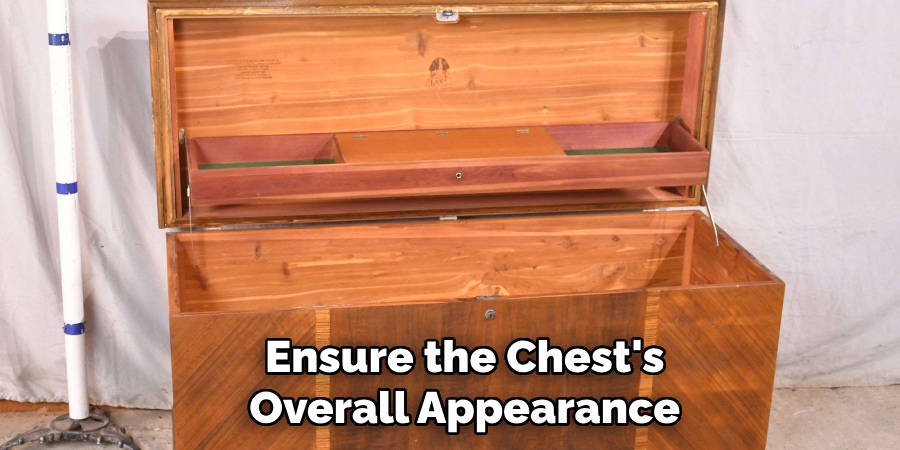
Once all restoration steps are complete, take the time to conduct a final inspection of the chest. Carefully examine the entire piece, checking for any remaining imperfections, areas that may need additional buffing, or spots that require minor touch-ups. Pay close attention to the following:
- Surface Quality: Look for any inconsistencies in the finish and ensure all areas are smoothly sanded and evenly coated. If you notice any rough patches, lightly sand and reapply a thin layer of finish as needed.
- Hardware Alignment: Double-check the alignment and secure attachment of all hardware components. Ensure that handles, hinges, and other decorative pieces are firmly in place and function as intended.
- Aesthetic Details: Ensure the chest’s overall appearance matches your desired expectations. Check for uniformity in color, sheen, and overall presentation.
Performing a meticulous final inspection ensures that the restored chest reaches its fullest potential in both beauty and functionality. Making any necessary touch-ups at this stage will help achieve a professional and polished finish that highlights the craftsmanship and care invested in the restoration process.
Step 9: Maintain Your Restored Chest
Regular maintenance is essential to ensure the longevity and pristine condition of your newly restored chest. Here are some tips to help keep your chest looking its best:
- Dust Regularly: Use a soft, dry cloth to dust the surface of the chest frequently. Avoid using feather dusters as they can leave small scratches on the surface.
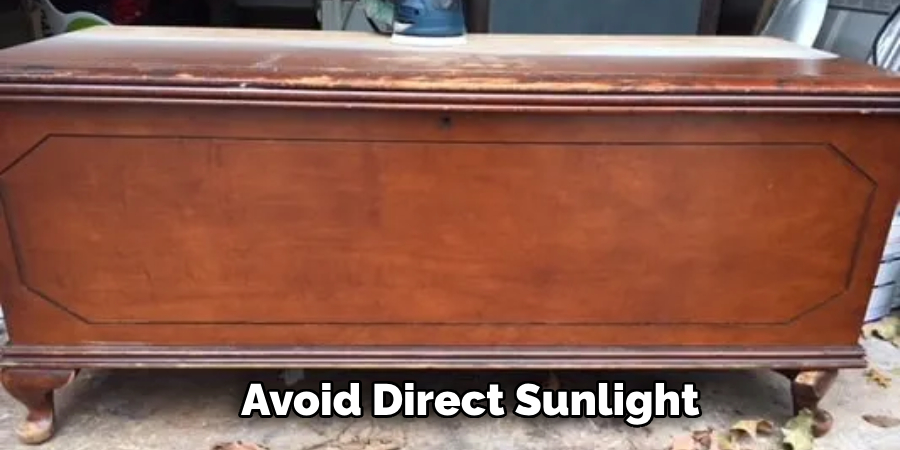
- Avoid Direct Sunlight: Prolonged exposure to direct sunlight can cause fading and damage to the wood and finish. Place the chest in a location that receives indirect sunlight or use curtains or blinds to shield it from harsh sunlight.
- Control Humidity Levels: Wood can expand and contract with changes in humidity. Maintain a consistent indoor humidity level, ideally between 40-60%, to prevent warping or cracking.
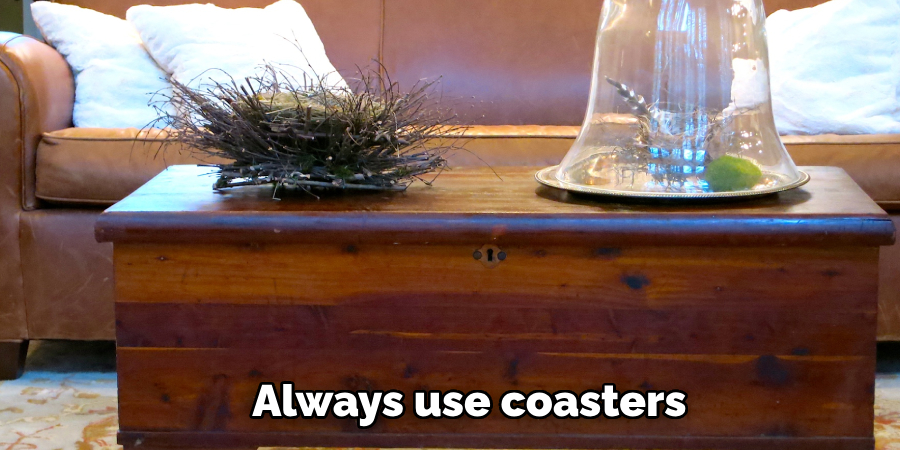
- Use Coasters and Mats: Always use coasters under glasses and mats or cloths under decorative items to protect the chest’s surface from stains and damage.
- Polish Periodically: Depending on the type of finish, periodic polishing can help maintain the shine and prevent the wood from drying out. Use a high-quality furniture polish suitable for the finish you’ve applied.
- Inspect Hardware: Periodically check the hardware to ensure that screws remain tight and components are functioning correctly. Tighten any loose screws and address any issues promptly to avoid further damage.
- Address Spills Immediately: If any liquid spills on the chest, wipe it up immediately with a soft, dry cloth to prevent stains or damage to the finish.
By following these maintenance tips, you can preserve the beauty and functionality of your restored chest for years to come.
Step 10: Document Your Restoration Process
Documenting your restoration process can be immensely beneficial, both for personal reference and for sharing your journey with others. Whether you are an experienced restorer or a beginner, keeping a detailed record of each step can help you replicate successful techniques in future projects, and it can also serve as inspiration and guidance for others looking to undertake similar projects.
- Take Photos: Take before, during, and after photos of the chest. Highlight significant changes and detailed areas of your work. These images will provide a visual record of your progress and the chest’s transformation.
- Keep Notes: Maintain a journal or digital log of each step you took, including the materials and products used, techniques applied, and any challenges faced. Note what worked well and what didn’t, as this can inform and improve your future restoration efforts.
- Create a Blog or Social Media Post: If you’re inclined, share your project on a blog or social media platform. Documenting your process online can help connect you with a community of like-minded individuals who offer support, advice, and feedback.
- Save Product Information: Keep the labels or details of the products and tools you used. This information can be invaluable if you need to purchase supplies for future maintenance or need to recommend products to others.
Documenting your restoration process thoroughly not only preserves your achievements but also contributes to a broader community of restoration enthusiasts. Your detailed records and insights can be a valuable resource for yourself and others in the realm of furniture restoration.
By following these ten steps, you can successfully restore a wooden chest to its former glory. Every aspect of the process is essential for achieving a beautiful and functional restoration, from preparation and stripping to sanding, staining, finishing, and maintenance.
5 Additional Tips and Tricks
- Clean the Surface Thoroughly: Begin by cleaning the cedar chest with a gentle soap and water solution. Use a soft cloth to remove any dirt, grime, or dust. Make sure to dry it completely to avoid any water damage.
- Assess and Repair Damage: Inspect the chest for any signs of damage such as cracks, gouges, or warping. Use wood filler to repair minor imperfections, and sand the area smooth once it has dried.
- Don’t Use Harsh Chemicals: Avoid using harsh chemicals or abrasive cleaners on the cedar chest. These can strip away the natural oils and damage the wood.
- Condition the Wood: Apply a wood conditioner to rehydrate and nourish the cedar. This step is especially important if the wood appears dry or brittle. Leave it to soak into the wood as per the product instructions.
- Avoid Direct Sunlight and Moisture: Keep the cedar chest away from direct sunlight and moisture to prevent the wood from fading or warping. Consider placing it in a shaded area or using curtains to block out UV rays. If storing items inside, use desiccants to absorb any excess moisture.
With these additional tips and tricks, you can ensure the outside of your cedar chest remains in top condition for years to come.
Conclusion
How to restore the outside of a cedar chest not only revives its natural beauty but also extends its lifespan, allowing it to become a cherished piece for generations.
By following these practical tips — cleaning thoroughly, repairing any damage, avoiding harsh chemicals, conditioning the wood, and protecting it from direct sunlight and moisture — you can ensure that your cedar chest remains both functional and visually appealing. Regular maintenance and mindful care are key to preserving the chest’s unique qualities and the memories it holds.
Whether it’s a family heirloom or a newly acquired piece, proper restoration will keep your cedar chest looking splendid and robust for years to come.
