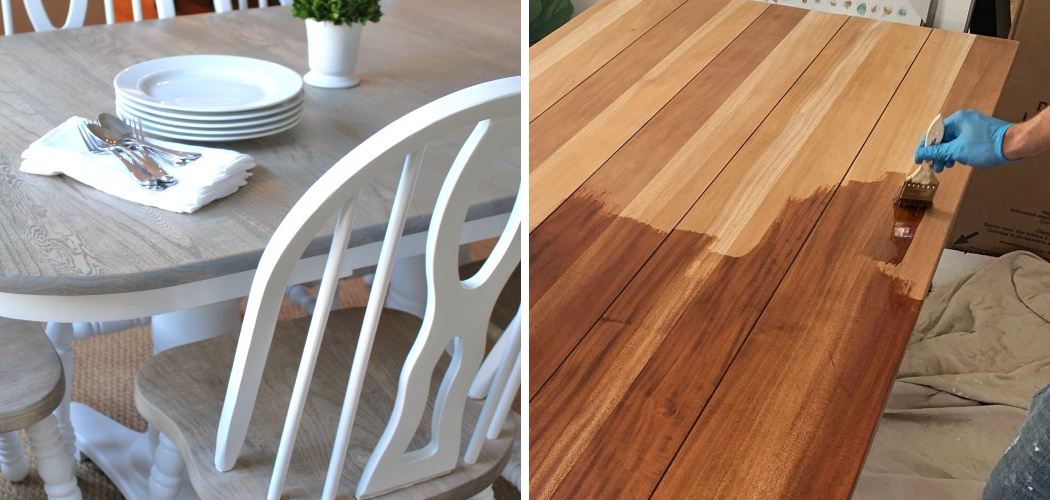
Restaining a kitchen table can significantly enhance its appearance, adding a fresh and rejuvenated look to your dining area. Over time, even the most well-crafted tables can suffer from wear and tear, including scratches, stains, and discoloration. By learning how to restain a kitchen table, you can restore its original beauty and extend its lifespan. Maintaining the table’s appearance is crucial not only for aesthetic purposes but also for its durability.
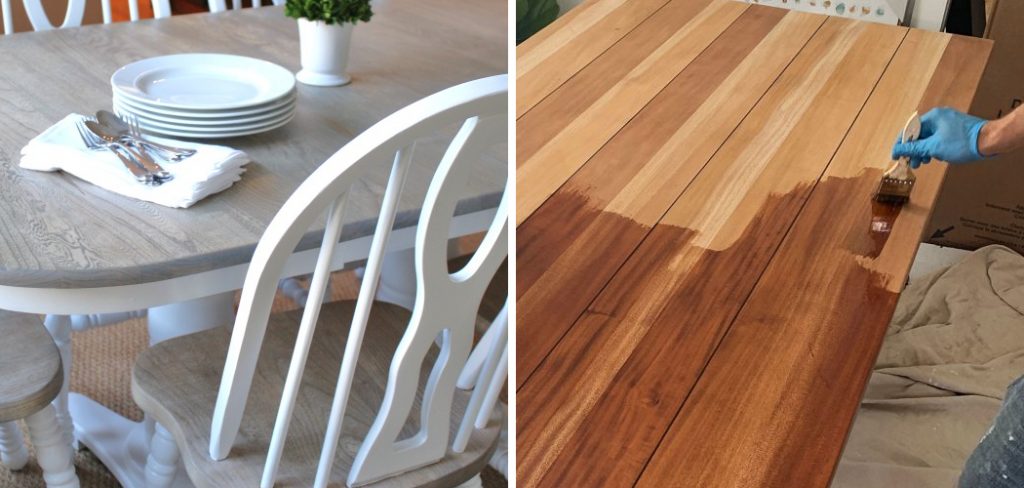
A well-maintained table resists damage better and can withstand daily use for many more years. The purpose of this article is to provide a comprehensive, step-by-step guide on how to restain a kitchen table. With the right tools and techniques, you can achieve professional-looking results and enjoy a stunning, like-new table that complements your kitchen’s decor.
Assessing the Table
Before embarking on the restaining process, it is essential to thoroughly assess your kitchen table’s condition. Start by examining the surface for any significant damage such as deep scratches, cracks, or areas that may require minor repairs. These imperfections need to be addressed before sanding and applying the new stain.
Next, identify the type of wood and the current finish on your table. This step is crucial because different wood types require specific care and methods for staining. Knowing the existing finish will help you determine whether you need to strip it completely or if light sanding will suffice.
After assessing the table’s condition and determining the wood type, it’s time to decide on the new stain color and finish. Consider the overall aesthetic of your kitchen and choose a color that harmonizes with your decor. Test a small amount of stain on an inconspicuous area of the table to ensure it achieves the desired look.
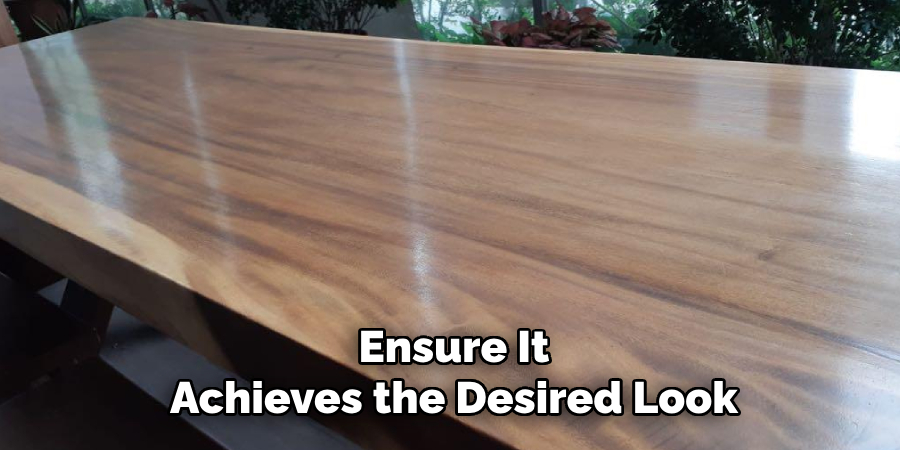
Additionally, decide on the type of finish you want to apply — options range from glossy to matte, each providing a different look and level of protection. Careful planning at this stage ensures a smooth restaining process and a beautifully finished table that enhances your kitchen’s appeal.
Gathering Materials and Tools
Having the proper materials and tools on hand is essential for a successful restaining project. Here is a comprehensive list of the necessary items you’ll need:
Materials
- Sandpaper (various grits): Different grits will be needed for initial sanding and finishing touches.
- Wood Stain: Choose a stain color that complements your kitchen’s decor.
- Wood conditioner (if necessary): Helps to prepare the wood for an even stain application.
- Brushes or Cloths: Used for applying the wood conditioner and stain.
- Protective Gear (gloves, mask): Protect your skin and lungs from dust and chemicals.
- Sealant or Topcoat: Provides a protective layer to maintain the durability and appearance of the stained table.
Tools
- Electric Sander (optional): Speeds up the sanding process and ensures an even surface.
- Screwdriver (to remove table legs or hardware): Allows for easier access to all table parts during the restaining process.
Preparation
Proper preparation is crucial for achieving the best results before starting the restaining process. Taking the time to adequately prepare your work area and the table itself will ensure a smoother and more efficient restaining experience.
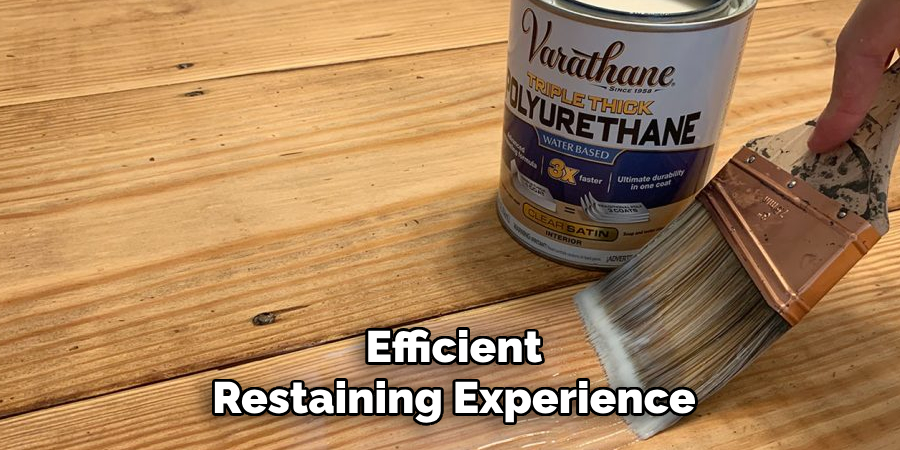
1.Clearing the Work Area and Protecting Surroundings
Start by selecting a well-ventilated area for your project, preferably with good lighting and plenty of space to move around. It’s important to work in a place where dust and fumes can disperse easily, such as a garage with the door open or an outdoor patio. Clear the work area of any unnecessary items that could get in the way, and cover the surrounding surfaces with drop cloths or plastic sheets to protect them from dust and staining products. If you’re working indoors, be sure to open windows and doors to maintain proper ventilation.
2.Removing Any Hardware or Detachable Parts
Next, carefully remove any hardware or detachable parts from the table. This includes items such as screws, knobs, handles, and table legs, if applicable. Use a screwdriver to remove the hardware, and keep all pieces in a labeled container so they don’t get misplaced. Removing these components makes it easier to sand and stain the table evenly and prevents any hardware from getting damaged during the process.
3.Cleaning the Table Surface
One of the most critical steps in preparation is cleaning the table surface thoroughly. Over time, tables can accumulate dirt, grease, and old polish, which can interfere with the adhesion of the new stain. Start by wiping down the table with a clean, dry cloth to remove any loose debris.
4.Removing Dirt, Grease, and Old Polish
For tougher dirt and grease, use a mild cleaner or a wood cleaner specifically designed for furniture. Apply the cleaner to the surface using a soft cloth, and gently scrub to lift away any stubborn spots. Be sure to follow the manufacturer’s instructions for the cleaner, and avoid using harsh chemicals that could damage the wood.
5.Using a Mild Cleaner or Wood Cleaner
Consider using a wood polish remover if the table has old polish or wax buildup. Apply the remover with a cloth, working in small sections, and follow up with a clean, damp cloth to wipe away any residue. Allow the table to dry completely before moving on to the next steps. Properly cleaning the table sets the foundation for a smooth and even staining process, ensuring that the new stain adheres well and results in a beautiful finish.
6.Sanding the Table
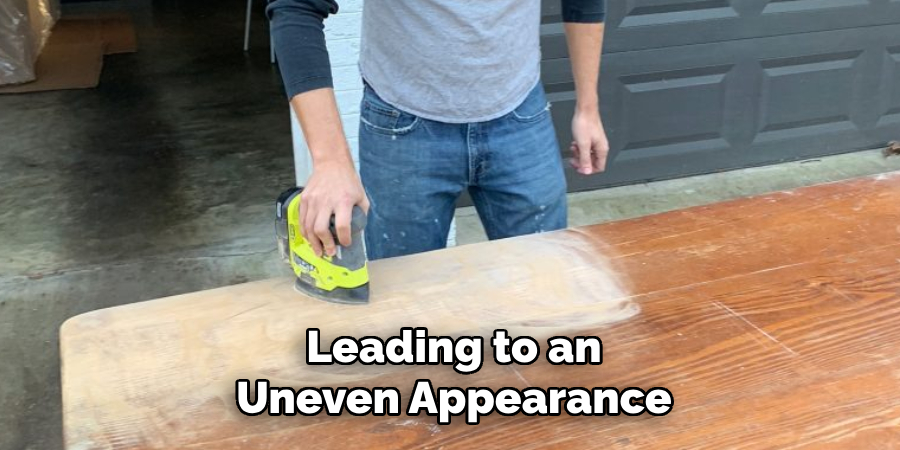
Sanding is a vital step in the restaining process as it preps the surface to better absorb the new stain, ensuring an even and professional finish. Proper sanding removes any old finishes, scratches, or blemishes, creating a smooth canvas on which to apply the stain. The new stain may not adhere correctly without adequate sanding, leading to an uneven appearance.
7.Choosing the Right Grit of Sandpaper
Selecting the appropriate grit of sandpaper is essential for a successful sanding process. Sandpaper grits range from coarse to fine:
- Coarse Grit (60-80): Ideal for removing old finishes and significant imperfections.
- Medium Grit (120-150): Suitable for smoothing out the surface after initial sanding.
- Fine Grit (220-320): Perfect for final sanding to achieve a silky smooth surface.
Step-by-Step Sanding Process
1.Starting with Coarse Grit and Moving to Finer Grits
Begin by using coarse-grit sandpaper, such as 60 or 80 grit, to strip away the old finish and level out any deep scratches or uneven areas. Attach the sandpaper to an electric sander for efficiency or use a sanding block if working by hand. Apply steady, even pressure while sanding to avoid creating new gouges or uneven spots.
Once the surface is free of the old finish and major imperfections, switch to medium-grit sandpaper (120-150 grit). Sand the entire surface again, this time focusing on smoothing out the roughness left by the coarse grit. This step further prepares the wood for the final fine sanding.
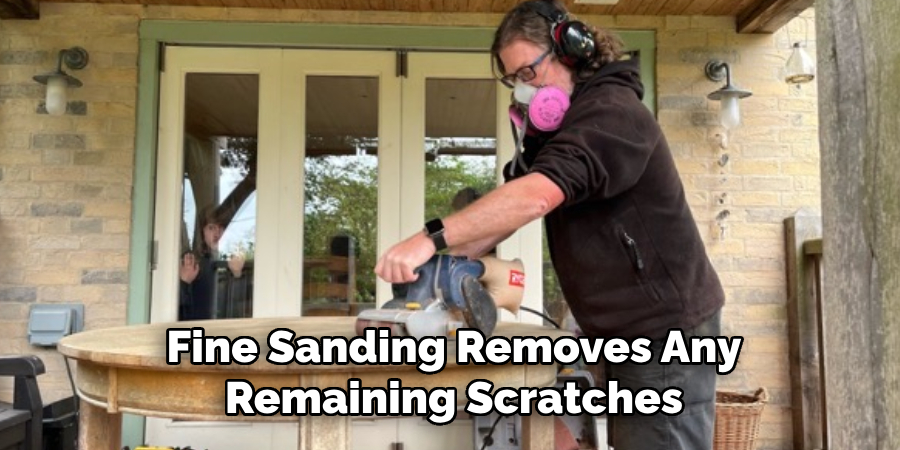
Finish with fine-grit sandpaper (220-320 grit) to achieve a smooth, even surface that is ready for staining. Fine sanding removes any remaining scratches and gives the wood a polished look.
2.Sanding in the Direction of the Wood Grain
Always sand in the direction of the wood grain rather than against it. Sanding with the grain helps prevent scratches and grooves that can be difficult to eliminate later. It also ensures that the surface remains smooth and ready for a consistent stain application.
5.Ensuring a Smooth, Even Surface
Continually feel the surface with your hands throughout the sanding process to check for smoothness and evenness. Address any remaining rough spots or imperfections before moving on to finer grits. A consistent and thorough approach to sanding will result in a table surface that looks and feels even.
4.Cleaning the Dust After Sanding
After completing the sanding process, cleaning off all the dust is crucial to ensure the new stain adheres properly. Use a vacuum with a brush attachment to remove the bulk of the dust from the table’s surface. Follow up with a tack cloth or a lightly dampened cloth to wipe away any remaining fine dust particles. Ensuring the surface is free of dust prevents irregularities in the final finish and allows for a clean and smooth staining process.
Applying Wood Conditioner
Applying a wood conditioner is a crucial step in achieving a professional and evenly stained finish. The primary purpose of a wood conditioner is to penetrate the wood and create a uniform surface that facilitates the even absorption of stains. This is particularly important for softwoods like pine and other types of wood that tend to absorb stain unevenly, leading to blotchy or streaky finishes.
1.Purpose of Wood Conditioner
Wood conditioner helps to mitigate the differences in wood grain density, which can result in varying stain absorption rates. By creating a more consistent surface, the conditioner ensures that the stain penetrates evenly, enhancing the overall appearance of the final finish.
2.When and How to Use It
Wood conditioner should be used before applying the stain, particularly on woods known for their uneven stain absorption. It is advisable to apply the conditioner shortly before staining, typically within two hours. To start, thoroughly read the manufacturer’s instructions on the conditioner product to ensure best results.
3.Applying the Conditioner Evenly and Letting It Soak In
Begin by using a clean, lint-free cloth or a high-quality brush to apply an even coat of wood conditioner to the entire surface of the table. Work in manageable sections, ensuring full coverage while avoiding puddles or overly saturated areas. As you apply the conditioner, follow the wood grain to help it penetrate more effectively.
After application, allow the conditioner to soak in for the time specified by the manufacturer, usually about 15-30 minutes. Wipe off any excess conditioner with a clean cloth, and then proceed to apply the stain while the conditioner is still active. This step will ensure that the stain adheres uniformly, resulting in a beautiful, professional-quality finish.
How to Restain a Kitchen Table: Staining the Table
1.Choosing the Right Stain Type (Oil-Based vs. Water-Based)
Selecting the appropriate type of stain is critical to achieving the desired finish and ensuring the durability of your table. Oil-based stains tend to penetrate deeper into the wood, offering a richer finish and enhanced durability. They are slower to dry, providing more time to work, but they do emit stronger fumes and require mineral spirits for cleanup.
On the other hand, water-based stains dry faster and have milder odors, making them easier to use indoors. They are also easier to clean up, usually just needing soap and water. Your choice between oil-based and water-based stains will ultimately depend on your specific needs and working conditions.
2.Testing the Stain on a Small, Inconspicuous Area
Before applying the stain to the entire table, it’s wise to test it on a small, inconspicuous area. This test allows you to see how the wood type reacts to the stain and ensures you are satisfied with the color and finish. Apply a small amount of stain to the test area, let it dry, and evaluate the results. If adjustments are needed, you can try a different stain or adjust your application technique before proceeding.
3.Step-by-Step Staining Process
Stirring the Stain Thoroughly
Before applying the stain, ensure it is thoroughly stirred to mix the pigments evenly. Avoid shaking the can, as this can introduce bubbles that may affect the finish. Use a stirring stick to mix the stain well, reaching the bottom of the can to lift any settled pigment.
Applying the Stain with a Brush or Cloth
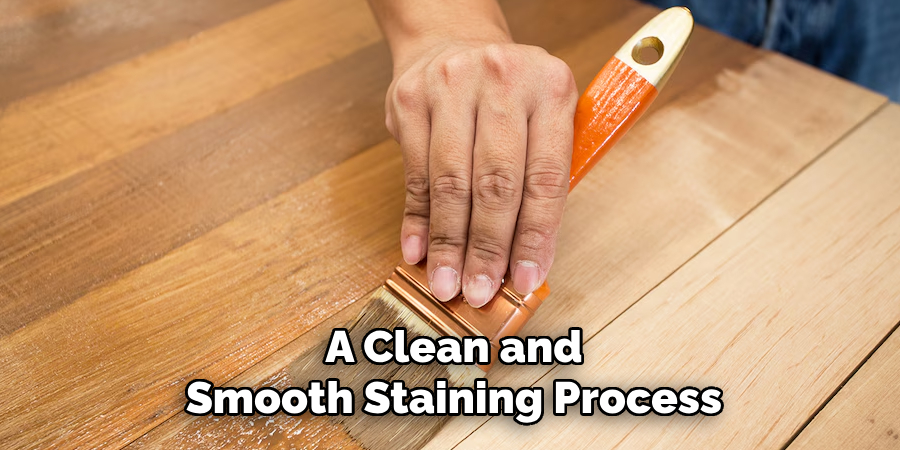
Apply the stain to the table’s surface using a quality brush or a clean, lint-free cloth. Work in small sections to maintain control and ensure even application. Follow the wood grain to help the stain penetrate more naturally into the wood fibers.
Working in Small Sections to Avoid Streaks
To avoid streaks and lap marks, work in small, manageable sections. Apply the stain evenly, overlapping slightly with each stroke to blend the edges. This technique ensures a smooth and uniform finish across the entire table surface.
Wiping Off Excess Stain with a Clean Cloth
Allow the stain to sit for a few minutes, then use a clean, lint-free cloth to wipe off any excess. Wipe in the direction of the wood grain to remove any extra stain from the surface, helping to achieve a consistent tone. The longer the stain sits before wiping off, the darker the final color will be.
4.Allowing the Stain to Dry Completely
Once the entire table is stained and the excess has been wiped off, allow the stain to dry completely according to the manufacturer’s instructions. Drying times can vary based on the type of stain and environmental conditions. Ensure the table is in a dry, well-ventilated area to facilitate proper drying.
5.Applying Additional Coats if Needed for the Desired Color Depth
If the initial stain application does not achieve the desired color depth, additional coats can be applied. After the first coat is dry, lightly sand the surface with fine-grit sandpaper (220 grit), then clean off the dust. Apply the second coat using the same technique and wipe off any excess. Continue this process until you achieve the perfect depth of color for your table.
Conclusion
Recapping the remaining process, we prepared the table, sanded it down, and cleaned it thoroughly. We then applied a wood conditioner to ensure an even stain absorption, selected the appropriate stain type, and followed a meticulous staining process.
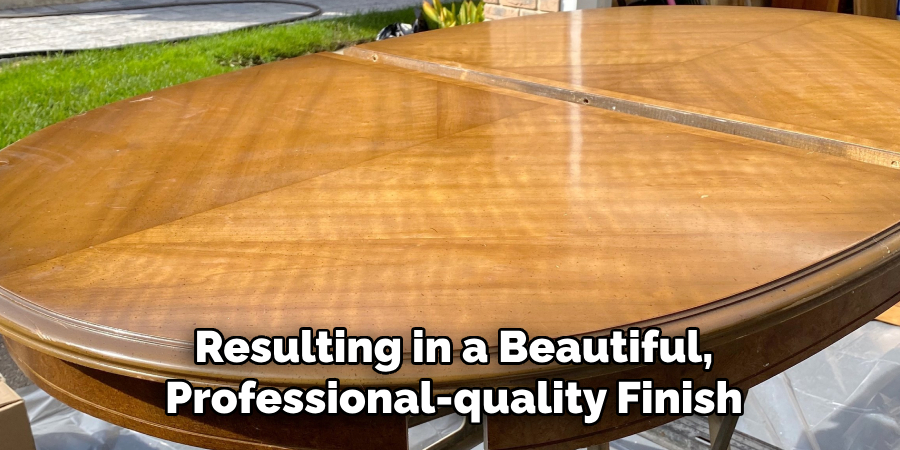
By understanding “how to restain a kitchen table,” you can transform an old piece into something vibrant and renewed. Enjoy the satisfaction of having a beautifully restained kitchen table, which not only enhances the aesthetics of your space but also extends the life of your furniture. Restaining offers a cost-effective and gratifying way to breathe new life into your beloved pieces.
