Replacing drawer pulls can significantly enhance the aesthetic appeal of your furniture with minimal effort and expense. Whether you’re updating a vintage dresser or giving new life to kitchen cabinetry, the process is straightforward and can be done with just a few basic tools. This guide on how to replace drawer pulls will walk you through the steps required to successfully replace drawer pulls, ensuring that your project is completed smoothly and efficiently.

What is a Drawer Pull?
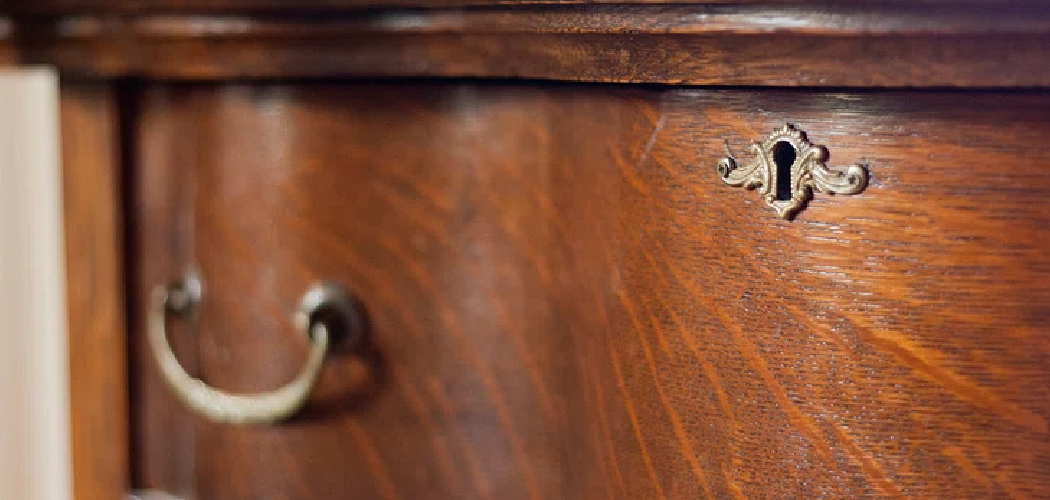
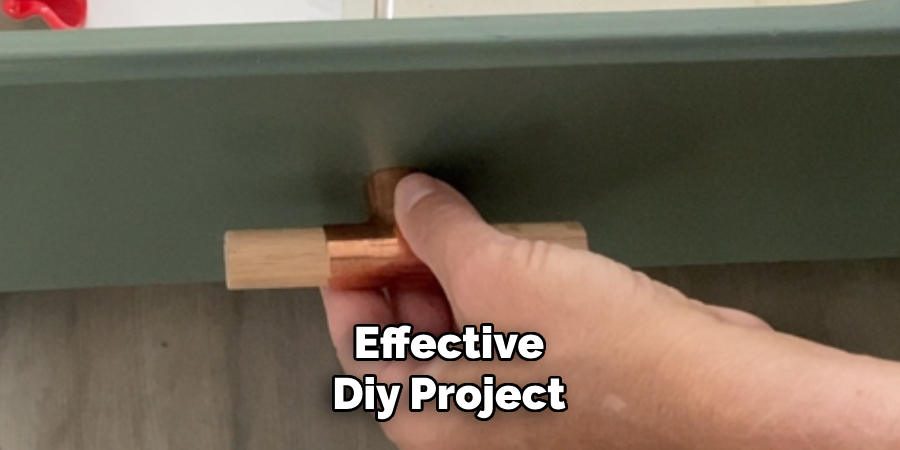
A drawer pull, also known as a cabinet handle or knob, is a hardware component that is attached to the front of drawers and cabinets. It is used to open and close the drawer or cabinet by providing a grip for the fingers. Drawer pulls come in various shapes, sizes, materials, and designs, allowing you to choose one that complements your furniture style.
You can find drawer pulls made from metal, wood, glass, and even leather. They can be plain and simple or intricately designed with patterns and textures. Before replacing your drawer pulls, consider the overall style of your furniture and choose a pull that matches or complements it.
Tools Required for Replacing Drawer Pulls
Before you begin replacing your drawer pulls, make sure you have the necessary tools on hand. These include:
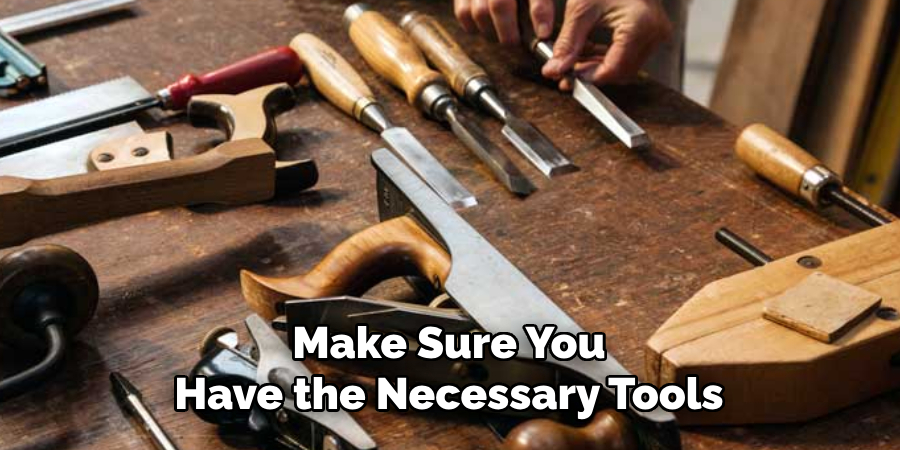
1.Screwdriver:
A screwdriver is the most important tool you will need to replace drawer pulls. Choose a screwdriver with the appropriate head for your screws, whether they are Phillips or flathead.
2.Measuring Tape:
You’ll need a measuring tape to ensure that your new drawer pull aligns correctly with the existing holes in the drawer front. This will also help you determine the size of the new pull needed for your project.
3.Pencil:
A pencil can be used to mark where you want your new drawer pulls to be placed on the drawer front before drilling.
4.Drill:
If you’re replacing old pulls with larger ones, or if there are no pre-existing holes, you may need a drill to create new holes for the screws to attach the pull. Make sure to use the appropriate drill bit for the type of material your furniture is made of.
9 Steps on How to Replace Drawer Pulls
Now that you have all the necessary tools, here are the steps to follow when replacing drawer pulls:
Step 1: Remove Old Pulls
Start by removing the old drawer pulls from your furniture. Using your screwdriver, carefully unscrew the old pulls by turning the screws counterclockwise. If the screws are difficult to remove or are stuck, gently wiggle the handle while unscrewing, but take care not to damage the drawer front. Once the screws are removed, pull the old handles away from the drawer and set them aside.
Make sure to keep the screws in a safe place in case you need them for another project or to compare them with the new screws.

Step 2: Measure the Distance Between Screws
With the old pulls removed, measure the distance between the centers of the screw holes on your drawer front. This measurement, known as the “center-to-center” or “CC” measurement, is crucial for selecting new drawer pulls that will fit your existing holes. Using your measuring tape, record the distance in millimeters or inches, depending on the measurement system you are using.
If the new drawer pulls require a different center-to-center measurement than the existing holes, you’ll need to fill the old holes and drill new ones. For standard drawers, common center-to-center measurements are 3 inches (76 mm), 4 inches (102 mm), and 5 inches (128 mm). Always double-check your measurements to ensure accuracy and to avoid any fitting issues.
Step 3: Choose Your New Drawer Pulls
Selecting the right drawer pulls is an essential step in this process. Start by considering the style and design that will best complement your furniture. Modern, minimalist designs may suit contemporary furniture, while ornate, vintage pulls can enhance more traditional pieces. Think about the material as well—metal pulls offer durability and a sleek appearance, while wooden or leather pulls can add warmth and a touch of rustic charm.
Pay attention to the center-to-center measurement you took in Step 2 to ensure your new pulls will fit the existing holes, or be prepared to drill new ones if necessary. Once you’ve chosen your new drawer pulls, make sure to purchase enough for all the drawers you plan to update, keeping any necessary screws and hardware in mind.
Step 4: Mark the Placement of New Pulls
Using your pencil, mark where you want to place the new drawer pulls on the drawer front. This will ensure that all pulls are aligned and evenly spaced. For larger pieces with multiple drawers, it may be helpful to use a level or ruler to ensure straight lines.
If you’re replacing old pulls with new ones that have a different center-to-center measurement, measure and mark the new holes accordingly before drilling.
Step 5: Drill New Holes (if necessary)
If you need to drill new holes for your drawer pulls, make sure to use an appropriate drill bit for the material of your furniture. Start with a smaller bit first and gradually increase in size until you reach the desired hole diameter.
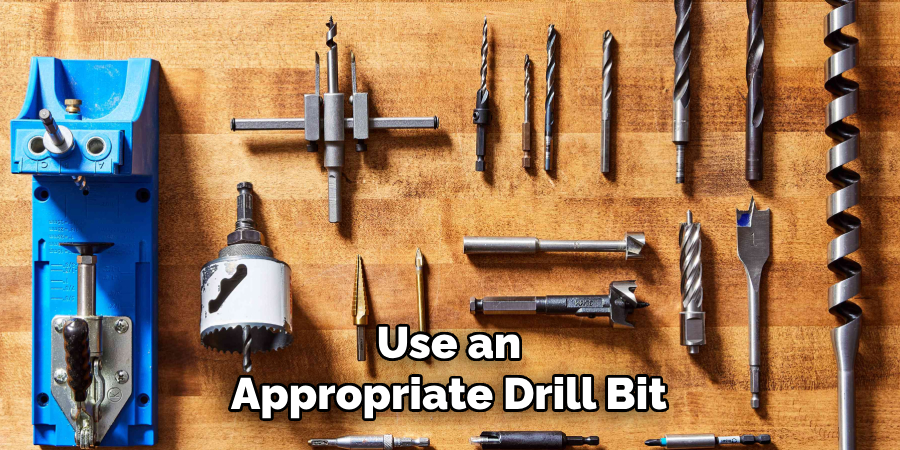
Be careful not to drill too deep and damage the other side of the drawer front. Also, make sure to drill straight to avoid any crooked or misaligned holes.
Step 6: Attach New Pulls
With your new pulls and screws ready, it’s time to attach them to the drawers. Place the pull over the drilled hole and insert the screw into the back of the drawer front. Use your screwdriver to tighten the screw by turning it clockwise until it is securely in place. Make sure not to overtighten as this can strip or damage the screw or drawer front.
Repeat this process for all remaining pulls, making sure they are all aligned correctly with their corresponding marks on the drawer fronts.
Step 7: Test the Pulls
Once you have attached the new drawer pulls, it’s essential to test them to ensure they are secure and functioning correctly. Open and close each drawer several times, making sure the pulls are firmly attached and do not wobble. Check that the drawers open smoothly and that the pulls feel comfortable in your hand.
If you encounter any issues, such as loose screws or misalignment, address these problems immediately. Tighten any loose screws, and if necessary, reposition the pulls to achieve the desired alignment. Testing the pulls ensures that they are not only aesthetically pleasing but also practical and durable for everyday use.
Step 8: Clean and Polish
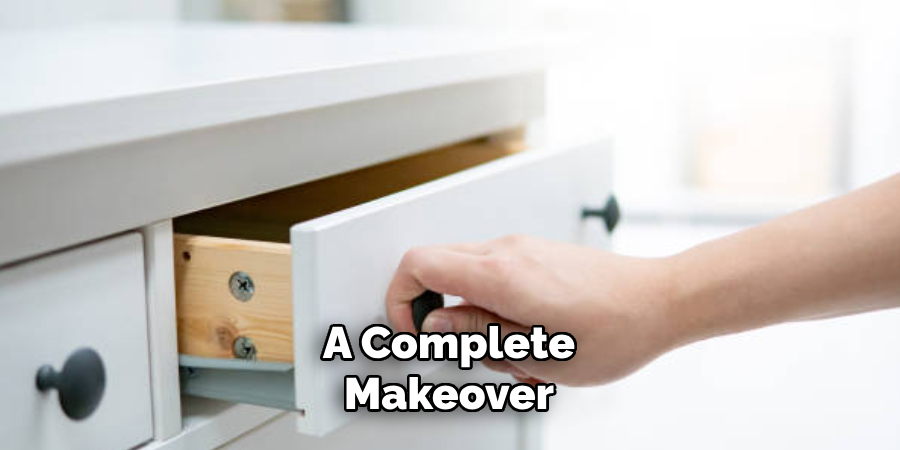
After replacing the drawer pulls, take the time to clean and polish your furniture. Wipe down the surfaces with a damp cloth to remove any dust or debris, and then use an appropriate cleaner or polish for the material of your furniture. This will not only make your newly replaced pulls shine but also refresh the entire piece of furniture.
You can also take this opportunity to make any necessary repairs or touch-ups on the rest of the furniture for a complete makeover.
Step 9: Admire Your Handiwork
Congratulations! You have successfully replaced your old drawer pulls with new ones. Take a step back and admire how the new pulls have transformed your furniture and given it a fresh new look. This simple DIY project can make a significant impact on the overall appearance of your furniture, so don’t be afraid to experiment with different styles and designs for a unique touch.
With these steps on how to replace drawer pulls in mind, you can now confidently tackle any drawer pull replacement project with ease. Remember to take accurate measurements, choose the right pulls, and pay attention to details for a professional-looking finish every time. Happy upgrading!
Additional Tips and Considerations
- When measuring for new drawer pulls, make sure to account for any decorative elements or obstructions on the drawer front that may affect the placement or installation of the pulls.
- If you are unsure about drilling new holes yourself, consider hiring a professional for assistance.
- Don’t be afraid to mix and match different styles or finishes of drawer pulls for a unique and personalized look.
- Consider replacing all the hardware on your furniture, such as knobs and hinges, for a cohesive and updated appearance.
- Take care when using power tools and always follow safety precautions.
- Keep old drawer pulls in case you want to switch back to them in the future or use them for another project.
- Consider adding felt pads or bumpers to the backs of your new drawer pulls before installation to prevent scratches on your furniture.
- If your new pulls have exposed screws at the front, consider using decorative screw covers for a more polished look.
- For an eco-friendly option, look for sustainable and repurposed materials when choosing new drawer pulls.
- Remember to regularly clean and maintain your drawer pulls to keep them looking their best.
- Don’t be afraid to get creative with your drawer pull placement, such as using two smaller pulls on a larger drawer or placing pulls horizontally instead of vertically.
- Consider adding backplates or washers behind your drawer pulls for added support and style.
- For a more budget-friendly option, consider refinishing or painting old wooden drawer pulls instead of purchasing new ones.
- When attaching the screws, make sure they are tight enough to secure the pull but not so tight that they damage the furniture.
- Take inspiration from other sources, such as interior design magazines or online tutorials, for different ways to upgrade your furniture with new drawer pulls. Overall, have fun and get creative with this simple yet effective DIY project! So go ahead and give your furniture a fresh new look by replacing those old and worn-out drawer pulls today.
Conclusion
Replacing drawer pulls is a simple yet impactful DIY project that can instantly refresh and modernize your furniture. By carefully selecting new pulls, accurately measuring and marking for installation, and paying attention to the finer details, you can achieve a professional and stylish finish. Whether you’re aiming to update a single piece of furniture or giving an entire room a cohesive makeover, the effort you put into this task will be well worth it.
With the added tips and considerations on how to replace drawer pulls in mind, you’re equipped with the knowledge to tackle this project confidently and creatively. So, take the plunge, experiment with different styles, and enjoy the satisfaction of enhancing your living space with beautifully replaced drawer pulls. Happy renovating!