Are you frustrated by water damaged wood kitchen cabinets? Not to worry, with a few simple steps you can repair them and have them looking as good as new. In this guide, we will walk you through the process on how to repair water damaged wood kitchen cabinets.

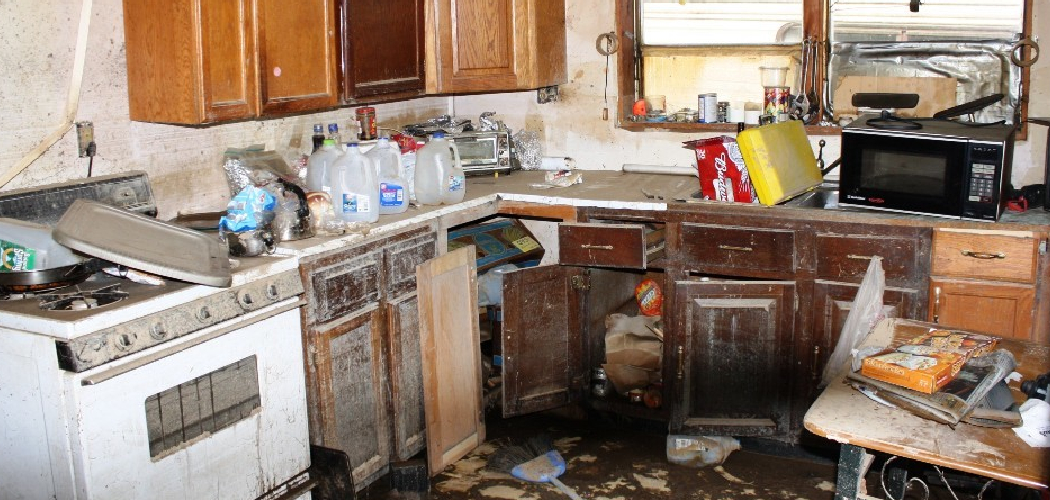
Water damage to kitchen cabinets can be a homeowner’s nightmare, leading to unsightly blemishes, weakened structures, and even mold growth if not addressed promptly. Fortunately, repairing water-damaged wood kitchen cabinets is a manageable task that can restore both their functionality and aesthetic appeal.
Whether you’re dealing with minor surface issues or more severe structural problems, this introduction aims to equip you with the knowledge needed to bring your kitchen cabinets back to their former glory.
What Will You Need?
Before getting started, it’s important to gather all the necessary tools and materials for the repair process. Here are some essentials that you should have on hand:
- Clean cloth or sponge
- Sandpaper (various grits)
- Wood putty or filler
- Paint scraper or putty knife
- Wood glue
- Clamps
- Stain or paint (depending on the finish of your cabinets)
- Polyurethane topcoat (if staining)
- Paintbrushes
- Protective gear (gloves, safety glasses)
It’s also crucial to have proper ventilation and a well-ventilated workspace, as some of these materials can emit strong fumes.
10 Easy Steps on How to Repair Water Damaged Wood Kitchen Cabinets
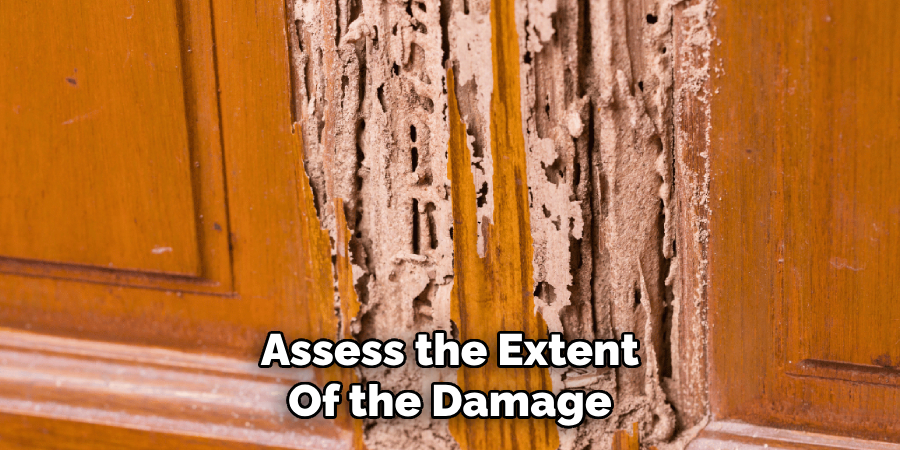
Step 1: Assess the Damage
Before you begin the repair process, it’s vital to thoroughly assess the extent of the damage. This initial step will help you determine the appropriate course of action and the materials you’ll need. Examine the cabinets carefully, looking for signs of warping, swelling, discoloration, and mold. Use a flashlight to inspect dark or hard-to-reach areas. Gently press on suspected damaged areas with your fingers; soft or spongy wood typically indicates more severe water damage that may require additional steps to fix.
Pay close attention to the joints and seams, as these areas are particularly vulnerable to water intrusion. Note any areas where the wood veneer is peeling away or where the wood itself has started to delaminate. If you find mold, be sure to address it promptly with appropriate cleaning agents, and consider wearing a mask to avoid inhaling spores.
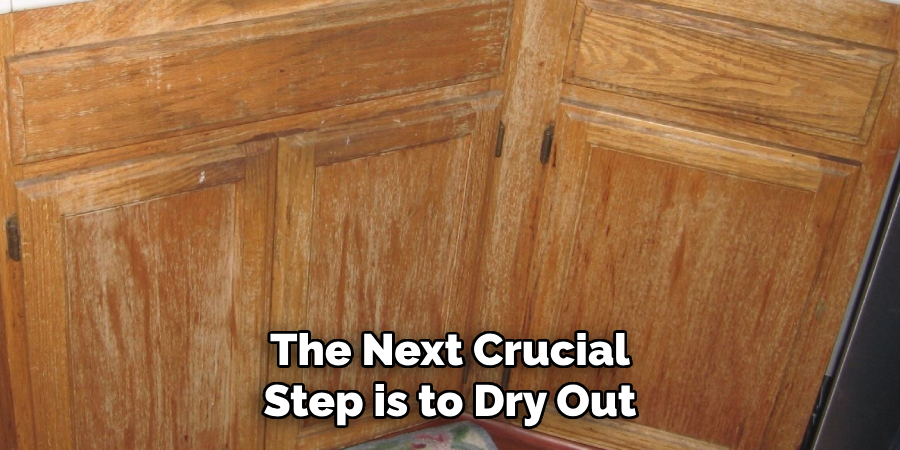
Step 2: Dry the Affected Area
Once you have assessed the damage, the next crucial step is to dry out the affected area thoroughly. Start by wiping away any excess water with a clean cloth or sponge. Then, use fans, dehumidifiers, or even a hair dryer in a low-heat setting to speed up the drying process. Ensure that the cabinets are completely dry before you proceed to the next step, as any remaining moisture can further damage the wood and hinder the repair work.
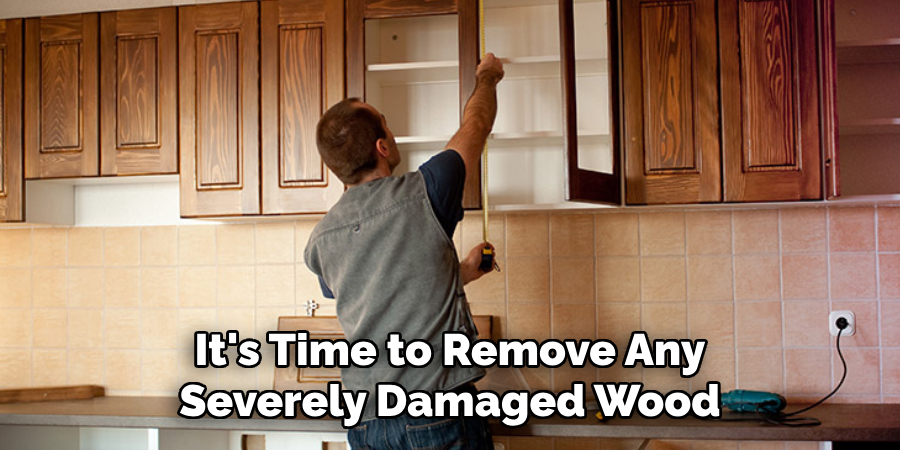
Step 3: Remove Damaged Wood
Once the area is dry, it’s time to remove any severely damaged wood. Use a paint scraper or putty knife to gently peel away any loose or delaminated veneer. The underlying wood may need to be cut out and replaced if it is soft, crumbly, or extensively rotted. For small areas of damage, a chisel can be used to carefully remove the affected wood. Ensure that you remove all compromised wood to create a solid foundation for the repair. After removing the damaged wood, use sandpaper to smooth the edges and prepare the area for filling.
Step 4: Fill the Gaps
With the damaged wood removed, the next step is to fill any gaps or holes left behind. Use wood putty or filler to carefully fill the affected areas. Apply the filler with a putty knife, ensuring that you push it into the gaps firmly to create a solid fill. Smooth the surface of the filled area with the putty knife, removing any excess putty. Let the filler dry according to the manufacturer’s instructions. Once dry, lightly sand the filled areas with fine-grit sandpaper until they are smooth and flush with the surrounding wood.
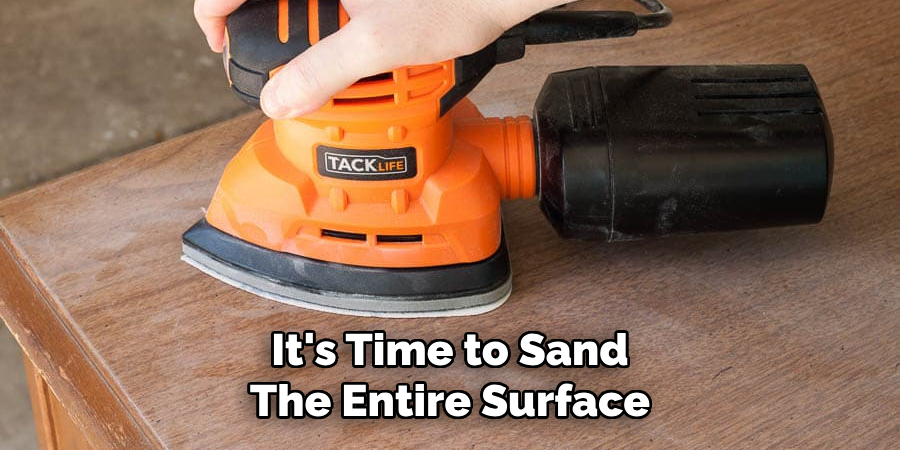
Step 5: Sand the Surface
After the wood filler has dried and you’ve ensured it is smooth and flush with the surrounding area, it’s time to sand the entire surface. Use medium-grit sandpaper to start, rubbing the patched areas gently to blend them seamlessly with the rest of the cabinet. This step helps ensure an even surface for staining or painting.
Once the patched areas are smooth, switch to fine-grit sandpaper to sand the entire surface of the cabinet. This helps remove any minor imperfections and prepares the wood for the next steps in the repair process. Always sand in the direction of the wood grain to avoid scratching the surface. After sanding, wipe the cabinets with a clean cloth to remove any dust and debris.
Step 6: Apply Wood Glue
If there are any loose joints or seams in the cabinet structure, now is the time to address them. Apply wood glue to the loose areas, making sure to spread it evenly for a strong bond. Use clamps to hold the pieces together tightly while the glue dries. Follow the manufacturer’s drying time instructions to ensure the best results. Properly glued joints will help restore the cabinet’s structural integrity and extend its longevity. Remember to wipe away any excess glue with a damp cloth before it dries to keep the surface clean.
Step 7: Prime the Surface
Once the wood glue has dried and the cabinet structure is secure, the next step is to prime the surface. Priming is essential, especially if you plan to paint the cabinets, as it helps improve the paint’s adhesion and ensures an even finish. Choose a high-quality wood primer suitable for your cabinets. Use a paintbrush to apply a thin, even coat of primer, covering all the repaired and sanded areas thoroughly.
Step 8: Paint or Stain the Cabinets
With the primer fully dry, you can now proceed to paint or stain your cabinets. If you have chosen to paint, select a high-quality paint specifically designed for wood surfaces. Apply the paint using a paintbrush or a roller, depending on the size of your cabinets and your personal preference. Start with a thin, even coat and let it dry completely before applying additional coats as needed to achieve your desired finish.
If you opted for staining, choose a stain that complements your kitchen’s color scheme. Use a clean cloth or brush to apply the stain, following the wood grain’s direction for a uniform look. Allow the stain to penetrate the wood for the recommended time, then wipe away any excess stain with a clean cloth. You may need to apply multiple coats to achieve the desired depth of color, allowing each coat to dry between applications.
Step 9: Apply a Protective Topcoat
Once the paint or stain has dried thoroughly, the next important step is to protect the surface with a topcoat. For painted cabinets, a clear polyurethane sealer provides excellent durability and protects the paint from wear and tear. For stained cabinets, a polyurethane or varnish topcoat enhances the wood’s natural beauty while providing a protective barrier. Use a clean paintbrush to apply the topcoat in thin, even layers, allowing each layer to dry completely before applying the next.
Step 10: Reassemble and Reinstall the Cabinets
After the topcoat has fully cured, you’re ready to reassemble and reinstall your cabinets. Begin by reattaching any hardware, such as handles and hinges, and then carefully reinstalling the cabinet doors. Ensure that all components are securely fastened and properly aligned. Take a moment to admire your repaired cabinets, now revitalized and ready to serve as a functional and aesthetically pleasing part of your kitchen.
By following these simple steps, you can effectively repair and restore damaged wood cabinets, saving money and extending the lifespan of your cabinetry.
5 Things You Should Avoid
- Skipping the Drying Process: Never begin the repair work without thoroughly drying the affected area. Moisture left in the wood can lead to recurring damage, mold growth, and weakening of the cabinet structure.
- Using the Wrong Type of Wood Filler: Not all wood fillers are created equal. Using a filler not suited for the type of wood or the extent of the damage can result in poor adhesion, visible patch marks, or future cracking.
- Neglecting Surface Preparation: Preparation is key for successful repair. Skipping steps like sanding the surface or smoothing the filled areas can lead to an uneven finish that fails to blend with the rest of the cabinet.
- Applying Thick Coats of Primer, Paint, or Stain: While it might seem like applying thick coats would speed up the process, it can actually lead to drips, an uneven finish, and longer drying times. Apply thin, even coats of primer, paint, or stain, allowing each layer to dry completely before applying the next.
- Ignoring Safety Precautions: When working with chemicals like wood fillers, paints, stains, and sealers, neglecting safety precautions can be hazardous. Always work in a well-ventilated area, wear protective gear such as gloves and masks, and follow the manufacturer’s safety guidelines.
Conclusion
How to repair water damaged wood kitchen cabinets is a meticulous process that can restore both the functionality and the aesthetic appeal of your cabinetry. You ensure a thorough and effective restoration by following the detailed steps outlined—from assessing the damage and removing moisture to sanding, priming, and applying the final protective topcoat. Each stage, whether it be using wood filler for seamless repairs or choosing the right paint or stain, contributes to the longevity and strength of your cabinets.
Through careful execution and attention to detail, you can breathe new life into your kitchen cabinets, making them not only look brand-new but also ready to withstand daily wear and use for many more years.
This process, while requiring patience and precision, ultimately offers satisfying and lasting results, enhancing the beauty and functionality of your kitchen space.