Laminate furniture is a popular choice for many homeowners due to its affordability, durability, and variety of styles. However, despite its resilience, laminate surfaces can still suffer from chips and damage over time. If you’re dealing with chipped laminate furniture, you might feel discouraged by the unsightly blemish.

But don’t worry! Repairing chipped laminate furniture is easier than you might think. In this blog post on how to repair chipped laminate furniture, we’ll guide you through the process step-by-step, offer some helpful tips, and answer common questions you may have about laminate furniture repair.
What is Laminate Furniture?
Laminate furniture is made by attaching a thin layer of printed plastic (the laminate) to a core of particleboard or fiberboard. This method creates a sturdy, cost-effective piece of furniture that mimics the look of wood or other materials. The laminate layer is durable and resistant to scratches and stains, making it a practical choice for busy households.
You can find laminate furniture in a wide range of styles, from simple and modern to ornate and traditional. It’s often used for kitchen cabinets, countertops, desks, and tables.
Why Does Laminate Chip?
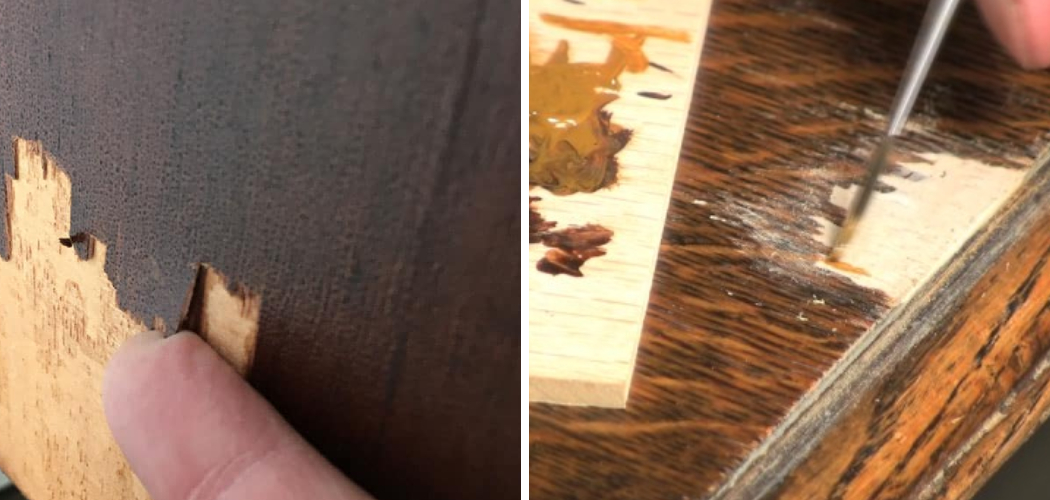
Even though laminate is resilient, it can chip due to heavy impact, sharp objects, or regular wear and tear. When the laminate layer breaks, it exposes the less attractive core material beneath, which can degrade the overall look of your furniture. Addressing chips promptly not only restores the appearance but also prevents further damage.
You may also notice minor chips in the edges or corners of your laminate furniture due to moisture or heat exposure. These issues can cause the laminate layer to separate from the base, creating an unappealing gap.
Benefits of Repairing Laminate Furniture
Repairing chipped laminate furniture has several advantages:
Cost Savings:
Fixing a chip is much cheaper than replacing an entire piece of furniture.

Aesthetic Appeal:
A well-repaired surface looks almost as good as new.
Longevity:
Repairs can extend the life of your furniture.
Sustainability:
Repairing rather than replacing is an environmentally friendly choice.
Needed Materials
Before you begin repairing your laminate furniture, gather the following materials:
Laminate Repair Paste or Putty:
A repair paste or putty that closely matches the color of your furniture’s laminate layer.
Sandpaper:
Fine-grit sandpaper (around 220 grit) is used to smooth any rough edges and buff the repaired area.
Putty Knife:
A putty knife is useful for applying the repair compound to the damaged area.
Cleaning Supplies:
Mild soap, warm water, and a clean cloth are needed to clean the damaged area before and after repairs.
Step-by-step Guide on How to Repair Chipped Laminate Furniture:
Step 1: Clean the Area
Start by cleaning the chipped area with a damp cloth to remove any dust or debris. This will help the repair materials adhere better to the surface. If the chip is in a high-traffic area, you may want to clean the entire surface for a more uniform finish. Let the surface dry completely before moving on to the next step. The moisture might affect the bonding process of the repair materials.
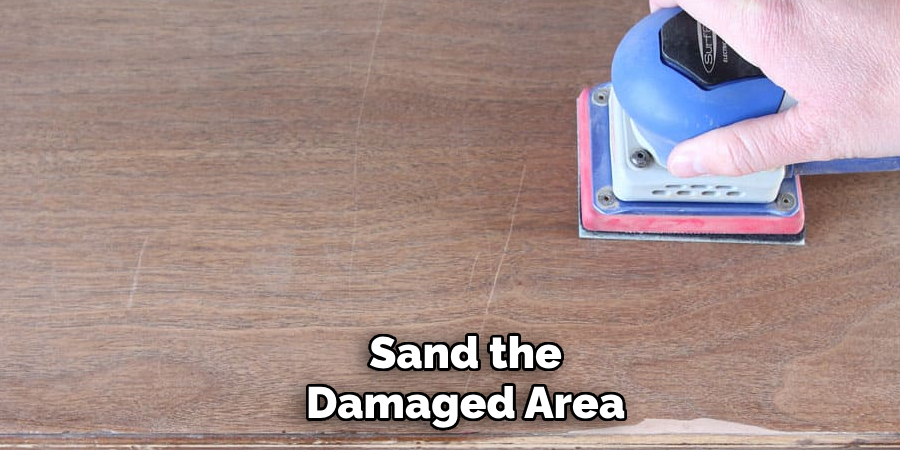
Step 2: Sand the Damaged Area
Using fine-grit sandpaper, gently sand the chipped area to smooth out any rough edges. Be careful not to sand too much, as you want to avoid damaging the surrounding laminate. Wipe away any dust with a clean cloth. You may also want to use a tack cloth for better results. It’s important to have a clean, smooth surface for the repair materials to adhere correctly.
Step 3: Apply Laminate Repair Paste
Take a small amount of laminate repair paste or putty and apply it to the chipped area using a putty knife. Spread it evenly, filling in the chip completely. Make sure the paste is level with the surrounding surface. If the chip is deep, you may need to apply multiple layers, allowing each layer to dry before adding another. Some repair products require heat or UV light for curing. Follow the instruction on the product label for best results.
Step 4: Let the Paste Dry
Allow the repair paste to dry completely. Drying times can vary, so refer to the product’s instructions for guidance. This step is crucial to ensure a strong and lasting repair. Once the paste is dry, use fine-grit sandpaper to smooth out any bumps or unevenness. You can also use a buffing pad or cloth for a polished finish.
Step 5: Sand the Repaired Area
Once the paste is dry, gently sand the repaired area again with fine-grit sandpaper to ensure a smooth and even finish. Wipe away any dust with a clean cloth. If the repaired area is slightly raised, you can use a razor blade to carefully shave it down until it’s level with the surrounding surface. Be sure to sand lightly and evenly to avoid making any new chips.
Step 6: Apply Matching Paint or Marker
To blend the repair with the rest of the furniture, use matching paint or a furniture marker to color the repaired area. Apply carefully and let it dry completely. You may need to apply multiple coats for a seamless finish. You can also use a clear topcoat to protect the repaired area and give it a glossy finish.
Step 7: Seal the Repair
To protect your repair and give it a polished look, apply clear furniture polish or sealant over the repaired area. This will also help the repair blend seamlessly with the rest of the surface. Buff the area with a clean cloth for best results. The repair should now be almost invisible, and your laminate furniture will look as good as new!
Step 8: Inspect and Touch Up
After the sealant has dried, inspect your work. If necessary, touch up any areas with additional paint or sealant to achieve a perfect finish. Once you’re satisfied with the results, let the furniture sit for at least 24 hours before using it or placing any items on top of it.
Following these steps on how to repair chipped laminate furniture will ensure successful repairs and a long-lasting finish for your chipped laminate furniture. Remember to address any chips as soon as possible to prevent further damage and maintain the beauty of your furniture. With the right materials and methods, you can easily fix minor chips and keep your laminate furniture looking brand new for years to come.
Additional Tips for Repairing Laminate Furniture
Test Colors First: Always test paint or markers on a hidden area of the furniture to ensure a good color match.
Use Quality Materials:
Invest in high-quality repair products for a longer-lasting fix.
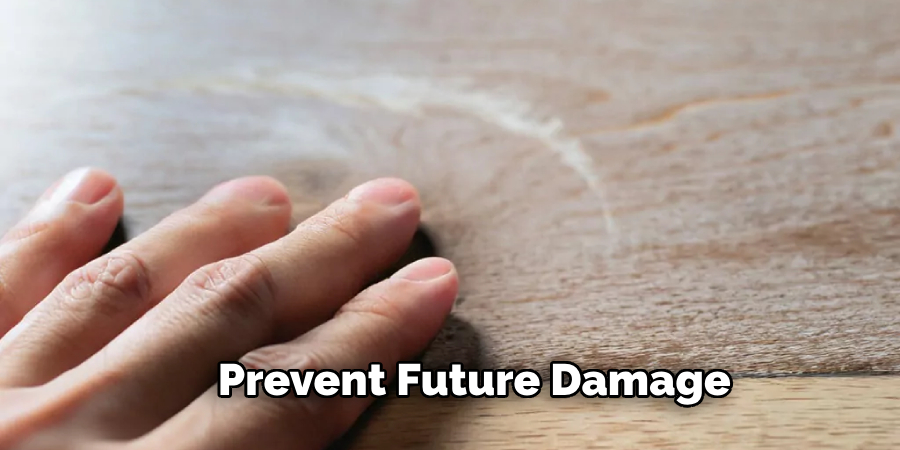
Prevent Future Damage:
Use coasters and placemats to protect your furniture from scratches and impacts. Regularly clean and maintain your furniture to prevent any chips or damage.
Practice Makes Perfect:
If you’re new to repairing laminate furniture, practice on a less visible area first to get the hang of it before moving on to more prominent areas.
Frequently Asked Questions
Q: Can I Use Wood Filler to Repair Laminate Furniture?
A: While wood filler can be used in a pinch, it’s better to use products specifically designed for laminate repair. These products offer better adhesion and a more seamless finish.
Q: How Can I Prevent My Laminate Furniture From Chipping Again?
A: Preventing future chips involves careful handling and regular maintenance. Avoid placing heavy or sharp objects directly on the surface and use protective coverings when necessary.
Q: Is It Possible to Repair Larger Chips or Cracks in Laminate Furniture?
A: Yes, larger chips or cracks can be repaired using similar techniques, but you may need to apply multiple layers of repair paste and more extensive sanding to achieve a smooth finish.
Q: Can I Use a Heat Gun to Repair Laminate Furniture?
A: Heat guns can be useful for fixing minor laminate issues, such as wrinkles or bubbles, but they are not recommended for repairing chips. For chips, stick to the paste and putty method.
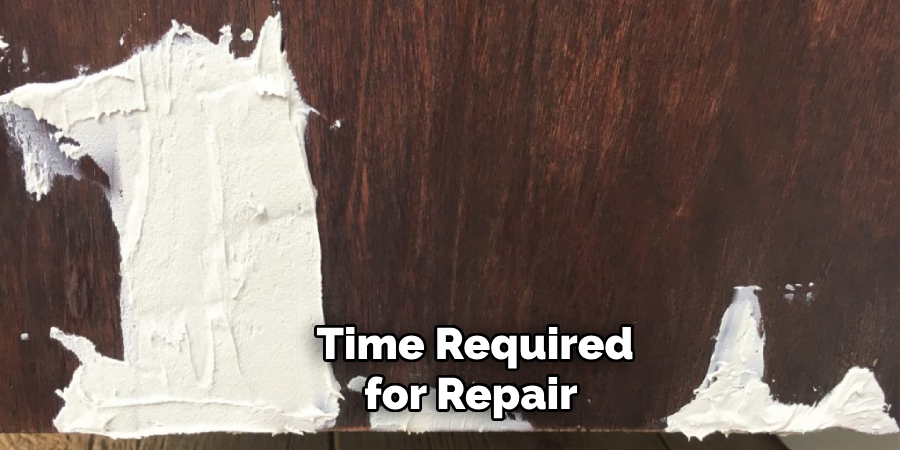
Q: How Long Does It Take to Repair a Chip in Laminate Furniture?
A: The time required for repair depends on the drying times of the products used. Generally, the entire process can take a few hours to a day, allowing for thorough drying between steps.
Conclusion
Chipped laminate furniture doesn’t have to be a permanent eyesore in your home. With the right materials and a little patience, you can restore your furniture to its former glory. Not only will this save you money, but it also extends the life of your beloved pieces and contributes to a more sustainable lifestyle.
Remember, understanding why laminate chips and how to fix them empowers you to maintain your furniture effectively. Follow our step-by-step guide on how to repair chipped laminate furniture, utilize the additional tips, and refer to the FAQ section whenever needed. By doing so, you’ll become proficient in repairing laminate, keeping your furniture looking pristine for years to come.
For more DIY repair guides and home improvement tips, stay tuned to our blog. Happy repairing!