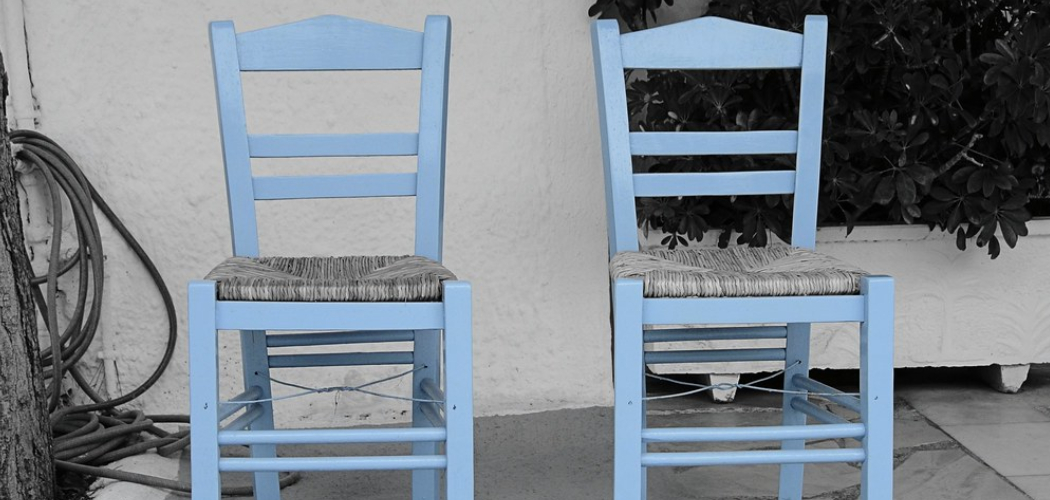
Repainting dining chairs is an excellent way to refresh and update the look of your dining room without the expense of buying new furniture. This simple yet impactful project allows you to customize the color and finish of your chairs to perfectly match your decor and personal style. Whether your dining chairs are showing signs of wear or you simply want a change, learning how to repaint dining chairs can breathe new life into your space.

The purpose of this article is to provide you with a comprehensive, step-by-step guide on how to repaint dining chairs, ensuring you achieve a professional and durable finish. Along the way, we will offer tips and techniques to make the process as smooth and effective as possible, helping you transform your dining area with ease and confidence.
Materials and Tools Needed
Materials:
- Sandpaper (various grits, typically 80, 120, and 220)
- Wood filler (if needed for repairs)
- Primer (preferably one that blocks stains and adheres well to wood)
- Paint (latex, chalk, or oil-based paint)
- Topcoat (polyurethane or wax, depending on the paint type)
Tools:
- Screwdriver (for removing chair parts if necessary)
- Drop cloth or old newspapers (to protect your work area)
- Painter’s tape (to mask areas you don’t want to be painted)
- Brushes or foam rollers (high-quality for smooth application)
- Tack cloth or damp cloth (for dust removal)
- Respirator mask (to protect from fumes)
- Gloves and safety glasses
Preparation
Workspace Preparation:
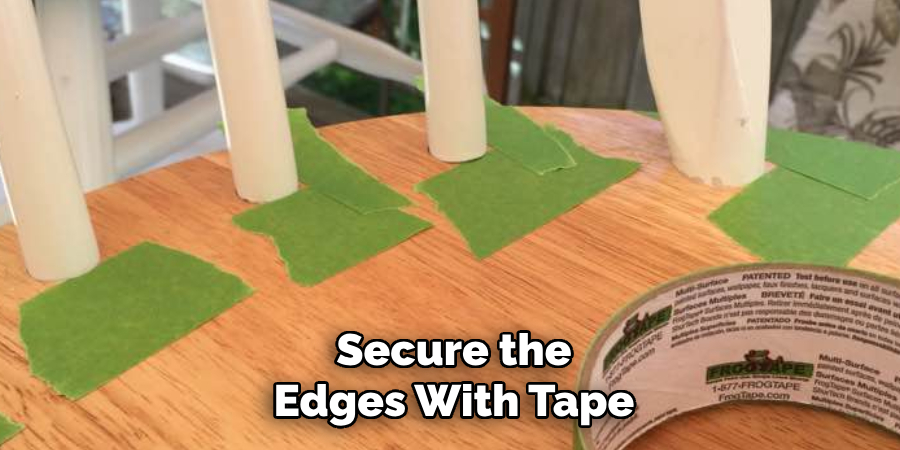
- Choose a well-ventilated area: Start by selecting a workspace that is well-ventilated to ensure safety from paint fumes and dust. This could be outdoors, in a garage with the doors open, or in a room with plenty of windows to provide adequate airflow.
- Protect the Floor: Lay down a drop cloth or old newspapers to cover and protect your floor or working surface from dust, paint spills, and splatters. Secure the edges with tape if necessary to keep them in place.
Disassembling the Chairs:
- Disassemble if Possible: For a more thorough paint job, consider disassembling the chairs. Remove any cushions, seats, or hardware using a screwdriver. This makes sanding, priming, and painting more accessible and ensures a cleaner finish.
- Organize Small Parts: Place screws, washers, and small hardware pieces in a labeled container or plastic bag to prevent misplacement. Label the parts if necessary to make reassembly easier.
Cleaning the Chairs:
- Thorough Cleaning: Begin by cleaning the chairs thoroughly with a mild soap solution. This step is crucial to remove any dirt, grease, or grime that could interfere with the paint adhesion.
- Rinse and Dry: After cleaning, rinse the chairs with clean water to remove any soap residue. Allow the chairs to dry completely before proceeding to the next steps to ensure a smooth surface for sanding and painting.
Sanding
Initial Sanding:
- Start With Coarse-grit Sandpaper (80-grit): Begin the sanding process by using 80-grit sandpaper to remove the old finish, paint, or varnish from the chairs. This coarse sandpaper is effective at stripping away layers and providing a fresh surface.
- Sand All Surfaces Evenly: Ensure that you sand all exposed surfaces of the chairs evenly, paying special attention to areas with rough patches or uneven spots. Consistent sanding will help in achieving a uniform base for the following steps.
- Focus on Rough or Uneven Areas: Areas that are particularly rough, scratched, or damaged should be sanded thoroughly to ensure a smooth and even surface for painting.
Filling Imperfections:
- Use Wood Filler: After the initial sanding, inspect the chairs for any dents, scratches, or holes. Apply wood filler to these imperfections to ensure a smooth overall finish.
- Allow the Filler to Dry: Follow the manufacturer’s instructions for drying times. Letting the filler cure properly is crucial to avoid any issues later in the project.
- Sand the Filled Areas Smooth: Once the filler is completely dry, sand the filled areas with medium-grit sandpaper (120-grit). This step ensures that the filled sections are level with the rest of the chair’s surface.
Final Sanding:
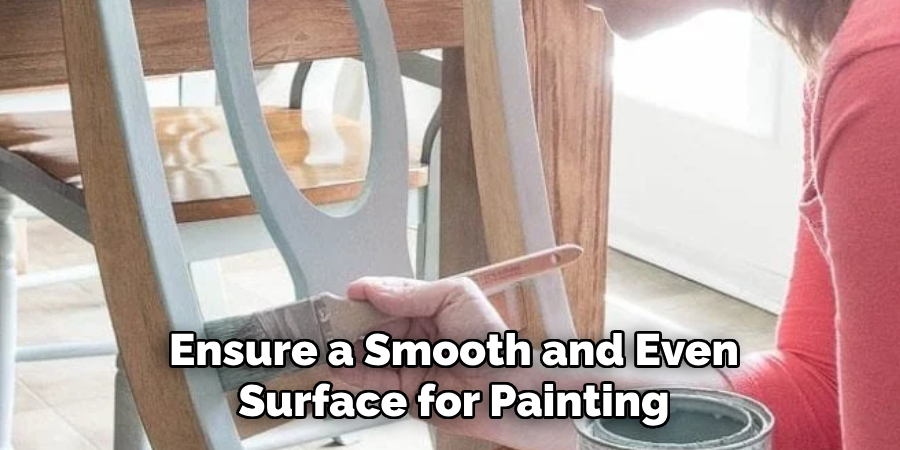
- Finish With Fine-grit Sandpaper (220-grit): Use 220-grit sandpaper as the last step of sanding to create an ultra-smooth surface. This final sanding prepares the surface perfectly for priming and painting, enhancing the adhesion and the overall finish.
- Wipe Down the Chairs: After sanding, thoroughly wipe down the chairs with a tack cloth or a damp cloth. This step is vital to remove all dust and debris, ensuring a clean surface for the next steps in the repainting process.
How to Repaint Dining Chairs: Priming
Choosing the Right Primer:
- Select a Primer Suitable for the Type of Paint: When picking a primer, ensure it is compatible with the paint you intend to use. Latex primers work well with latex and chalk paints, while oil-based primers are ideal for oil-based paints.
- Consider a Stain-blocking Primer: If your chairs have any knots, stains, or discoloration, opt for a stain-blocking primer. This type of primer effectively prevents these blemishes from bleeding through the final paint coat, ensuring a pristine finish.
Applying the Primer:
- Apply a Thin Coat: Begin by applying a thin, even coat of primer using a high-quality brush or a foam roller. This helps in creating a uniform base that will adhere well to the paint.
- Drying Time: Allow the primer to dry thoroughly according to the manufacturer’s instructions, which is typically between 1-2 hours. Adequate drying time is crucial to prevent any issues with the paint adhering properly.
- Light Sanding: Once the primer is dry, lightly sand the surface with fine-grit sandpaper (220-grit). This step smooths out any imperfections and ensures the paint will go on evenly.
- Clean the Surface: Finally, wipe down the chairs with a tack cloth to remove any dust or debris resulting from the sanding process. A clean surface is essential for a smooth and professional-looking paint job.
How to Repaint Dining Chairs: Painting
Choosing the Paint:
- Select a High-quality Paint Suitable for Furniture: When choosing paint for your chairs, opt for a high-quality paint designed specifically for furniture. Latex paint is a popular choice due to its durability and ease of cleaning, making it perfect for frequently used items. Alternatively, chalk paint offers a stylish matte finish and requires minimal surface preparation, which can save you time and effort.
- Consider Using Spray Paint for an Even, Brush-stroke-free Finish: Spray paint is an excellent option, particularly for chairs with intricate designs or hard-to-reach areas. It provides a uniform finish without brush strokes, giving your chairs a professional look. Ensure you choose a spray paint meant for the type of material your chairs are made from.
Applying the First Coat:
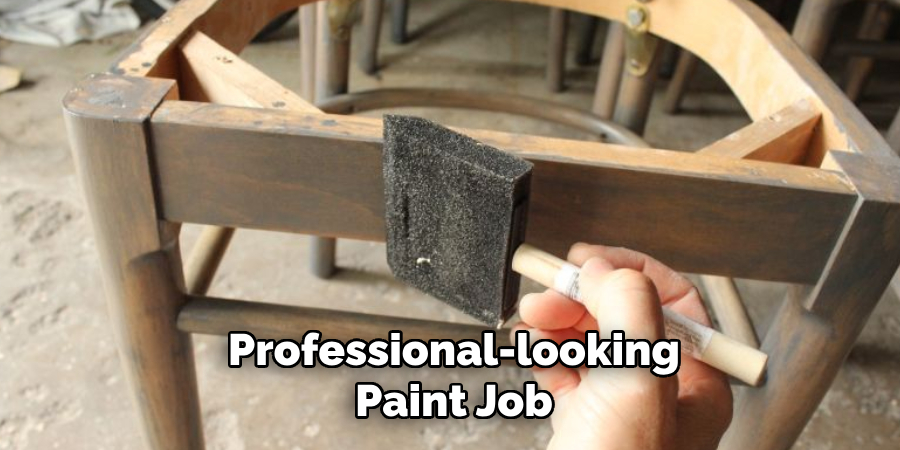
- Apply the first coat of paint using a high-quality brush or foam roller: For the best results, use a high-quality brush or foam roller to apply the first coat of paint. This helps achieve even coverage without streaks.
- For spray paint, hold the can 6-12 inches away from the surface and use steady, sweeping motions: If you opt for spray paint, shake the can well before use. Maintain a distance of 6-12 inches from the chair’s surface and apply the paint using steady, sweeping motions to avoid drips and ensure an even coat.
- Allow the first coat to dry completely: After applying the first coat, allow it to dry thoroughly according to the paint manufacturer’s recommended drying time. This step is essential for ensuring the subsequent layers adhere properly.
Sanding Between Coats:
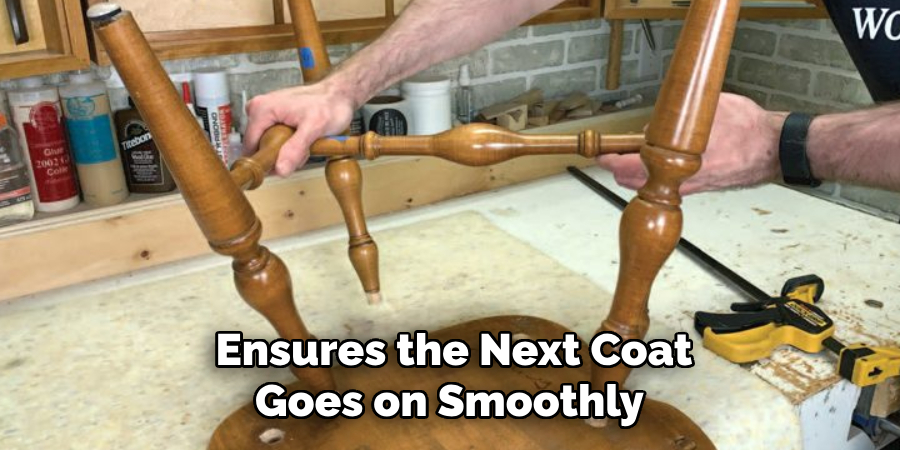
- Lightly Sand the First Coat With Fine-grit Sandpaper (220-grit): Lightly sand the surface with 220-grit sandpaper once the first coat is dry. This step helps remove any imperfections and creates a smoother surface for the next coat.
- Wipe Down the Chairs With a Tack Cloth: After sanding, use a tack cloth to wipe down the chairs and remove any dust or debris. A clean surface ensures the next coat goes on smoothly and adheres well.
Applying Additional Coats:
- Apply a Second Coat of Paint: Apply a second coat of paint following the same method as the first coat. This layer will enhance the color and provide more coverage.
- Repeat the Process of Drying, Sanding, and Cleaning: Allow the second coat to dry completely, then lightly sand and clean the surface as before.
- Depending on the Paint and Desired Coverage, You May Need to Apply a Third Coat: Assess the coverage after the second coat. If the finish isn’t as opaque or even as you desire, apply a third coat following the same steps. Each additional coat will contribute to a richer, more durable finish.
Finishing Touches
Inspecting the Paint Job:
- Check the Painted Chairs for Any Missed Spots or Uneven Coverage: After all the paint coats have dried, thoroughly inspect each chair for areas that may have been missed or where the coverage appears uneven. Look closely at every angle and consider using a flashlight to highlight any imperfections.
- Touch Up as Necessary to Ensure an Even, Professional Finish: If you identify any flaws, use a small brush to touch up those areas with the same paint. Take your time to blend the touch-up seamlessly with the surrounding paint.
Applying a Topcoat:
- For added durability and protection, especially for high-use items like dining chairs, apply a clear topcoat: Applying a topcoat is essential for enhancing the durability of your freshly painted chairs, especially those subjected to frequent use, like dining chairs.
- Choose a Water-based Polyurethane for a Durable, Clear Finish That Won’t Yellow Over Time, or a Wax Finish if You Used Chalk Paint: For most types of paint, a water-based polyurethane topcoat is an excellent choice as it provides a clear, non-yellowing finish. Consider a wax finish for a vintage look and extra protection if you’ve used chalk paint.
- Apply the Topcoat According to the Manufacturer’s Instructions, Usually With a Brush or Foam Applicator: Follow the manufacturer’s guidelines closely when applying the topcoat. Use a high-quality brush or foam applicator to ensure a smooth, even application.
- Allow the Topcoat to Dry Completely, and Sand Lightly Between Coats if Multiple Coats Are Needed: Let the topcoat dry thoroughly between applications. If multiple coats are needed for added protection, lightly sand the surface with fine-grit sandpaper between each coat and clean off any dust with a tack cloth.
Reassembling the Chairs:
- Once the Paint and Topcoat Are Fully Dry, Reassemble the Chairs if They Were Disassembled: Ensure that all the layers have cured properly before handling the chairs. This will prevent any damage to the new finish.
- Reattach Any Cushions or Hardware, Ensuring Everything is Secure: Finally, reassemble any parts you removed before painting. Reattach cushions, screws, and other hardware, making sure everything is tightly and securely fixed.
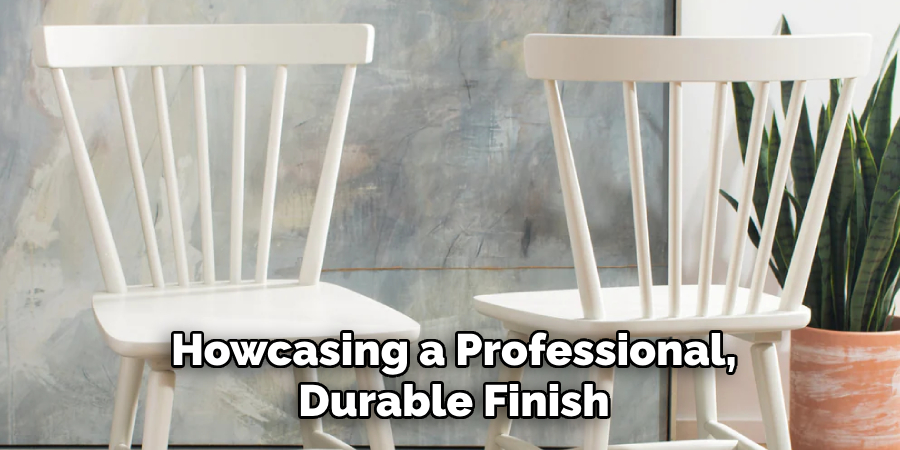
Your beautifully refreshed chairs are now ready to use, showcasing a professional, durable finish that will stand the test of time.
Conclusion
Repainting dining chairs is a fulfilling DIY project that can breathe new life into your dining space. The process is straightforward but requires diligence and attention to detail to achieve professional results. First, thorough preparation involves cleaning and potentially disassembling the chairs.
Next, sanding removes old finishes and creates a smooth surface for painting. Priming ensures the paint adheres well and provides a solid base color. The painting stage involves multiple coats, each one carefully applied and sanded as necessary. Finally, finishing with a topcoat adds durability and an extra layer of protection.
Taking your time with each of these steps is essential for a beautiful outcome. Patience and careful workmanship will result in stunning, refreshed dining chairs that reflect your personal style and complement your decor.
Repainting dining chairs not only adds a custom touch to your furniture but also extends its lifespan. With the right materials, tools, and techniques, this project can be an enjoyable and rewarding endeavor. Embrace the challenge and enjoy the transformation of your dining area, confident in your newly-acquired skills on how to repaint dining chairs.