Have you ever gone to replace your water heater element only to realize you don’t have the correct socket wrench? I know I’ve been standing in front of my cranky old water heater, soaked from turning off the water lines, frustrated at the missing tool preventing me from completing an otherwise simple repair.
When you think it can’t get any worse, you realize the hardware store is closed at night, and you have no hot water until morning. Fear not, because I’m here to share a way you can remove that stubborn element without the proper socket, get your water heater up and running again tonight, and save yourself a trip to the store.
In this post, I’ll walk you through the jerry-rigged method of how to remove water heater element without socket using just a couple of standard tools you’re likely to have on hand already. You’ll be showering with hot water in no time!
Necessary Items
Before we get started, here’s a quick rundown of the items you’ll need:
- Flathead screwdriver
- Hammer
- Pliers or adjustable wrench
- A long bolt that fits through the center hole of your element (recommend 3/8″ diameter and at least 4 inches long)
- A nut that fits onto your bolt (should be the same size as the nut on your part)
- Screwdriver bit or hex key that fits inside the center hole of your element
10 Steps on How to Remove Water Heater Element Without Socket
Step 1: Turn off the Power
Before you work on your water heater, it’s essential to ensure the power is turned off. This will prevent any accidents or shocks. If you have an electric water heater, turn off the power at the breaker box. If you have a gas water heater, turn off the gas supply.
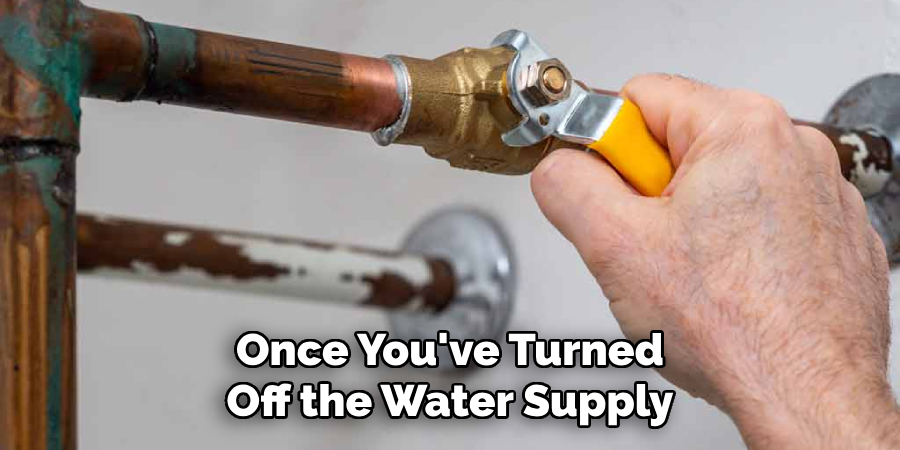
Step 2: Turn Off Water Supply
Next, shut off the water supply to your water heater. This will prevent more water from entering the tank while you work on it. You can usually find the shut-off valve near the top of the tank.
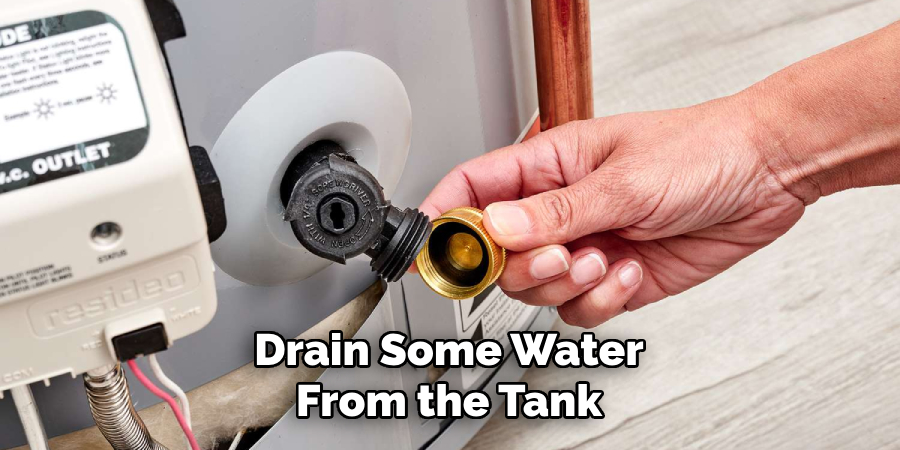
Step 3: Drain Some Water
Once you’ve turned off the water supply, open one of your hot water faucets to allow some water to drain out of the tank. This will relieve some pressure and make it easier to remove the element.
Step 4: Remove Insulation and Cover
Now that the water and power are off, you can start working on removing the element itself. Begin by removing any insulation or covers covering the access panel to your piece. You should be able to do this with just a screwdriver.
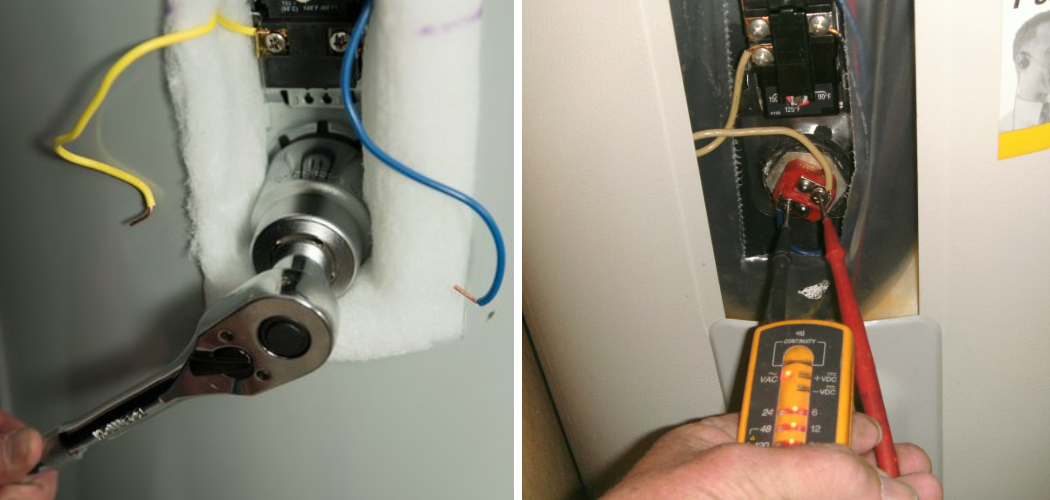
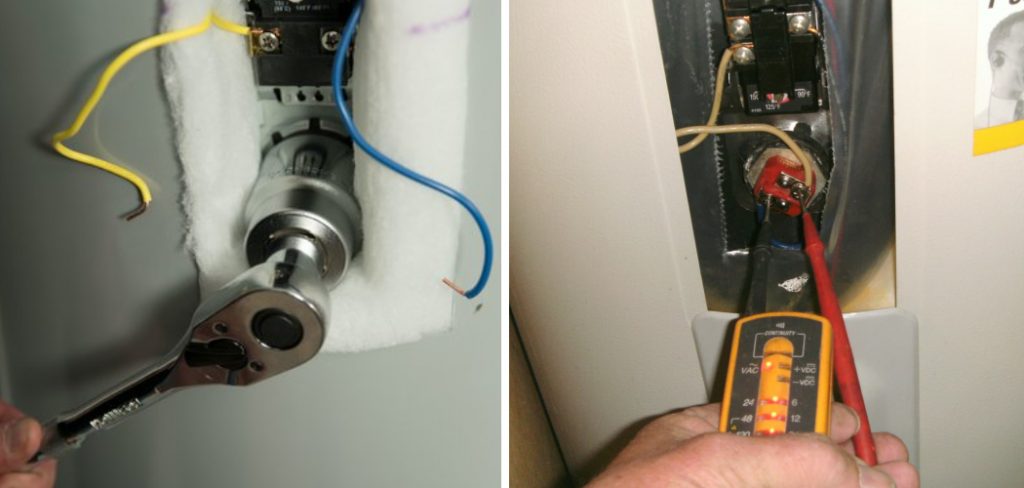
Step 5: Loosen the Element
With your hammer and flathead screwdriver, gently tap around the nut on the element to loosen it. Be careful not to damage or break the nut. If it’s stuck, you can use penetrating oil to loosen it up.
Step 6: Secure the Bolt
Take your long bolt and insert it through the center hole of the element. Ensure it is securely in place so that when you turn the nut, it will turn with the bolt. You may need pliers or an adjustable wrench to hold the bolt.
Step 7: Turn the Nut
Using your pliers or adjustable wrench, turn the nut counterclockwise to loosen it. You may need some force for this, but be careful not to strip the threads on the nut. If it’s really stuck, you can tap the bolt’s end with a hammer to help loosen it.
Step 8: Remove the Element
Once the nut is loose, you should be able to remove it and slide off the element. Be careful not to let any water or debris fall into the tank as you do this. Depending on the condition of your part, you may also need to use pliers to help pull it out.
Step 9: Replace with New Element
Now is the time to replace the old element with a new one. Make sure all connections are tight and secure before moving on. If you remove the old stuff for cleaning, inspect it for any damage before reinstalling.
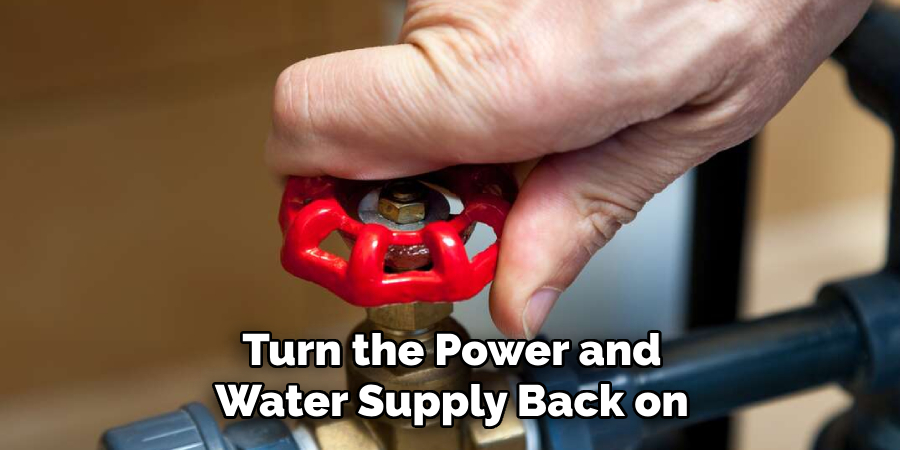
Step 10: Reassemble and Test
Once your new or cleaned element is in place, reassemble everything in the reverse order. Ensure all covers and insulation are back in place, and turn the power and water supply back on. Give your water heater some time to heat up, and then run hot water from a faucet to ensure everything works properly.
8 Things to Avoid When Removing a Water Heater Element
Now that we’ve covered the proper steps for removing a water heater element, let’s review some things you should avoid doing during this process. These can lead to costly mistakes or accidents, so knowing them beforehand is best.
1. Using Excessive Force
If the nut on your element is stuck, it can be tempting to use excessive force to try and remove it. However, this can strip the threads on the nut or even break it off completely. Use caution when applying pressure, and try penetrating oil or tapping with a hammer before resorting to extreme force.
2. Forgetting to Turn Off the Power and Water
This cannot be stressed enough – always turn off the power and water supply before attempting to remove a water heater element. This will prevent any accidents or shocks and avoid damage to your water heater.
3. Not Draining Water from the Tank
Before removing the element, it’s important to drain some water from the tank to relieve pressure. If you skip this step, you risk getting burned by hot water or causing a small explosion from the built-up tension.
4. Not Having the Right Tools
While removing a water heater element without a socket is possible, having the necessary tools on hand is essential before starting. This includes a flathead screwdriver, hammer, pliers or adjustable wrench, and a long bolt.
5. Not Checking the Condition of the Element
If you’re removing an old element for cleaning or replacing it with a new one, check its condition before reinstalling it. It’s best to replace it entirely if it’s damaged or corrupted.
6. Reusing Old Gaskets or Seals
When reinstalling the element, make sure to use new gaskets or seals. Reusing old ones can cause leaks and damage to your water heater. Using new gaskets for a secure and watertight fit is always best.
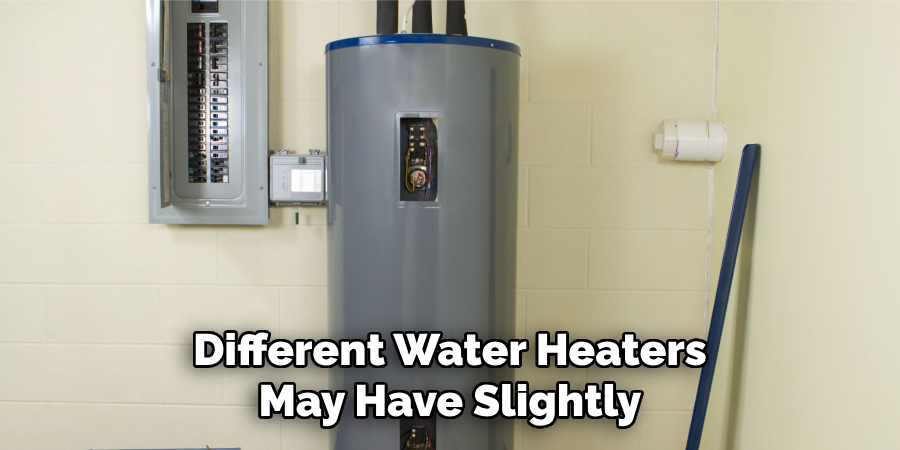
7. Not Following Manufacturer Instructions
Different water heaters may have slightly different instructions for removing the elements, so it’s essential to refer to your manufacturer’s manual before starting. This will ensure you’re following the correct steps for your specific model.
8. Rushing or Not Taking Precautions
Removing a water heater element can be a delicate process, so taking time and following the proper steps is essential. Rushing or not taking necessary precautions can lead to mistakes, accidents, or further damage to your water heater. Always use caution and common sense when working with hot water and electricity.
So remember, always turn off the power and water supply, use caution when applying force, and have the right tools on hand. These tips allow you to safely and successfully remove a water heater element without a socket. Keep your water heater running smoothly by regularly inspecting and maintaining its characteristics, and don’t hesitate to call a professional if you encounter any difficulties or issues.
Frequently Asked Questions
Can I Remove a Water Heater Element Without Turning Off the Power and Water Supply?
No, it is essential to permanently turn off the power and water supply before attempting to remove a water heater element. This will prevent accidents and damage to your water heater.
How Often Should I Replace My Water Heater Element?
Replacing your water heater element every 3-5 years or as needed if it becomes heavily corrupted or damaged is recommended. Regular maintenance and inspection can prevent the need for more frequent replacements.
Can I Use Any Type of Socket to Remove a Water Heater Element?
No, it’s essential to use a specific water heater element socket to ensure a proper fit and avoid causing damage to the nut or element.
What Should I Do If My Water Heater Element Is Stuck?
If your water heater element is stuck, you can try using penetrating oil and tapping with a hammer to loosen it. If this doesn’t work, calling a professional for assistance is best.
Is It Necessary to Drain Water from the Tank Before Removing a Water Heater Element?
It is essential to drain some water from the tank before removing a water heater element to relieve pressure and prevent accidents or damage. Always follow proper safety precautions when working with hot water and electricity. So there you have it – a complete guide for removing a water heater element without a socket.
Conclusion
Removing a water heater element without the proper socket doesn’t have to be daunting. With just a few standard tools and these ten simple steps on how to remove water heater element without socket, you can easily remove or replace your component and get your hot water back in no time.
No more late-night trips to the hardware store or waiting until morning for a repair. Just remember to always turn off the power and water supply before attempting any work on your water heater, and use caution when working with hot water and electricity.