Sealing a floor is an important step in protecting and maintaining its appearance. A sealant acts as a barrier between the floor surface and any damaging elements such as water, stains, and scratches. However, there may come a time when you need to remove the sealant from your floor. This could be due to various reasons such as applying a new type of sealant, changing the flooring material, or simply wanting to refresh the look of your floor.

Sealing a floor is an important step in maintaining the life and condition of your flooring. It helps to protect against stains, water damage, scratches, and wear and tear. However, there may come a time when you need to remove the sealer from your floor for various reasons. This might be due to discoloration or uneven application of the sealer, or perhaps you want to change the type of sealer used. Read this blog post to learn how to remove sealer from floor.
Step-by-step Instructions for How to Remove Sealer From Floor
Step 1: Inspect the Floor
Before removing any sealer from your floor, it’s important to inspect the surface for cracks and chips. Make sure that there are no damaged areas that need to be fixed before proceeding with the removal process.
Step 2: Gather Materials
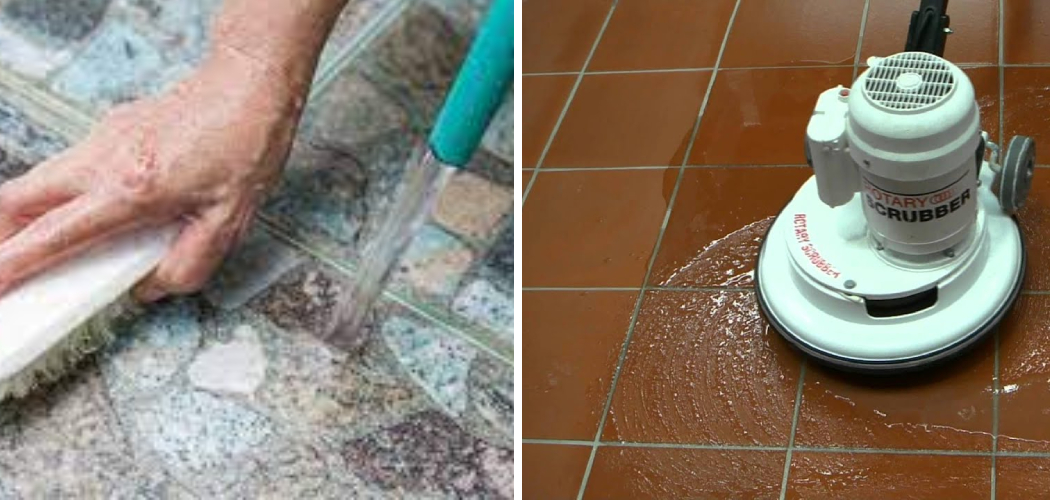
To effectively remove sealer from your floor, you will need a few materials such as a broom, mop, bucket, scrub brush, and a commercial sealer stripper. Make sure to follow the instructions on the stripper for proper usage. Remove any furniture or objects from the floor to make it easier to work on. This will also prevent any accidental spills or damage to your belongings.
Step 3: Prepare the Stripper
Follow the instructions on the sealer stripper and dilute it with water if necessary. Make sure to wear protective gear such as gloves, goggles, and a mask to avoid any contact with the chemicals. Using a mop or brush, apply the sealer stripper on your floor in small sections. Let it sit for the recommended amount of time stated on the product label.
Step 4: Scrub the Floor
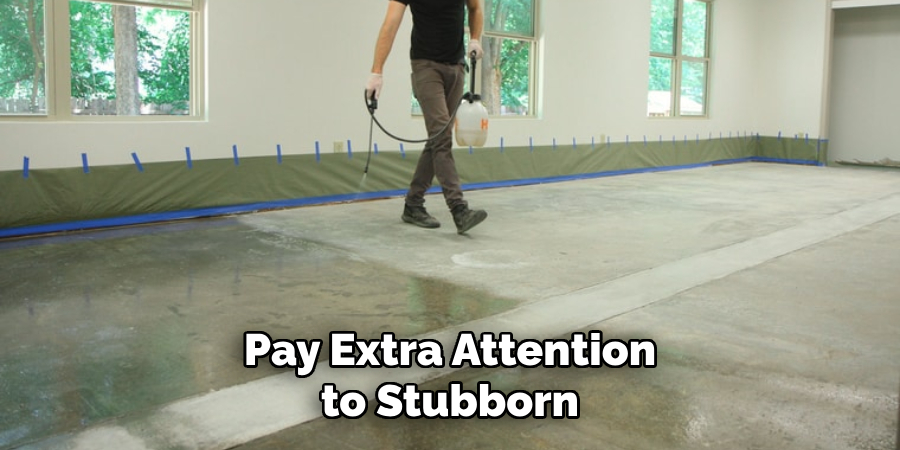
After the sealer has softened, use a scrub brush to work on the surface and loosen any remaining sealer. Pay extra attention to stubborn or hard-to-remove areas. Using a mop and bucket filled with clean water, rinse off the stripper from your floor. Make sure to change the water if it becomes dirty.
Step 5: Repeat if Necessary
If there are any remaining traces of sealer, repeat the stripping process until the floor is completely free of sealer. After removing the sealer, use a neutralizing solution recommended by the manufacturer to restore the pH balance of your floor. This step is important to prevent any damage to your floor’s surface.
Once the floor is completely dry, you can choose to reapply a different sealer or leave it as is. If resealing, make sure to follow the instructions on the product label for proper application.
Tips for How to Remove Sealer From Floor
- Before you begin removing sealer from your floor, make sure to protect yourself with gloves, goggles and a mask. As most sealers are made of harsh chemicals, it is important to avoid any direct contact with your skin or eyes.
- Ensure that the area where you will be working has proper ventilation to avoid inhaling any toxic fumes. Open windows and doors or use a fan to circulate fresh air into the room.
- Use caution when handling any sharp objects such as scrapers or razor blades, which may be needed for removing stubborn sealer. Always hold these tools away from your body and wear protective gloves.
- When working with chemical sealant removers, make sure to read and follow the instructions carefully. Some products may require dilution or a certain amount of time to sit on the surface before wiping off.
- If you have pets or small children, it is important to keep them away from the work area while removing sealer. This will prevent any accidental exposure to harmful chemicals.
- In case of any spills or splashes, always have a bucket of water nearby to quickly rinse off any affected area. If the sealer comes into contact with your skin, wash thoroughly with soap and water.
- When disposing of sealant remover or any used materials, follow proper disposal guidelines according to your city or county’s regulations. Do not pour chemicals down drains or into the environment.
What Are Some Common Methods for Removing Sealer From Floors?
If you’ve recently applied sealer to your floors and are now regretting it, don’t worry – there are several different methods you can use to remove the sealer. Whether you want to switch to a different type of sealer or simply want to restore the natural look of your floors, here are some common methods for removing sealer from floors.
1. Chemical Stripping
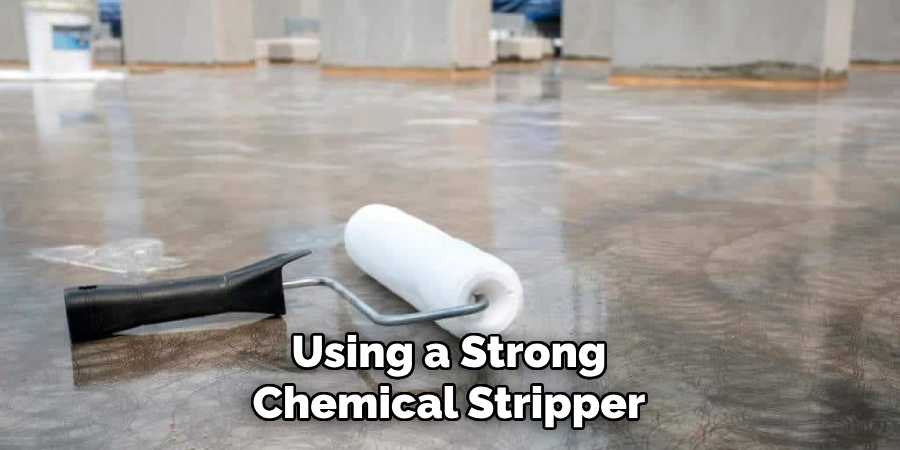
This method involves using a strong chemical stripper to dissolve the sealer. While effective, it can also be quite harsh and may require proper ventilation and protective gear.
2. Grinding or Sanding
For tougher sealers or heavily damaged floors, grinding or sanding may be necessary. This method removes the top layer of sealer along with any scratches or damage on the surface of the floor.
3. Steam Cleaning
If you’re dealing with a water-based sealer, steam cleaning can be an effective and environmentally friendly option. The high temperature of the steam helps to loosen and dissolve the sealer for easy removal.
4. Solvent Soaking
For smaller areas or stubborn spots, soaking a cloth in a solvent such as acetone or mineral spirits and leaving it on the sealer for a few minutes can help to soften and loosen the sealer for easy removal.
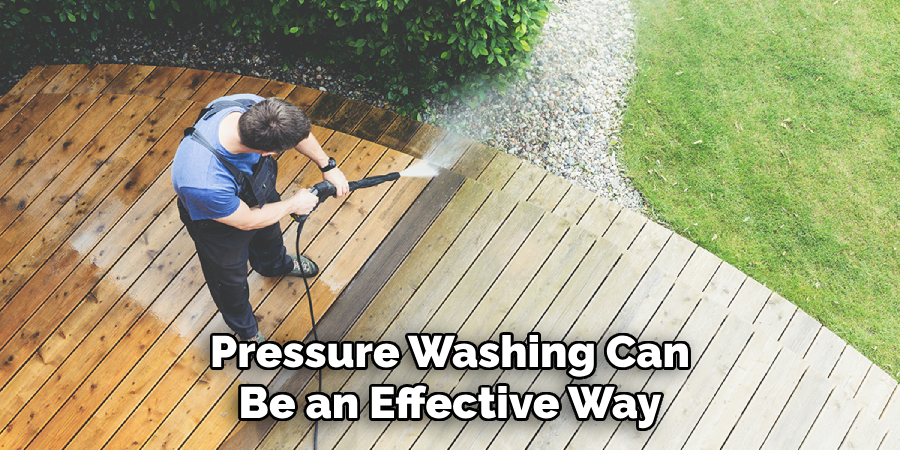
5. Pressure Washing
For outdoor surfaces, pressure washing can be an effective way to remove sealer. The high-pressure water stream helps to break down and wash away the sealer without causing any damage to the surface.
While each method has its own benefits and drawbacks, it’s important to choose the right one for your specific floor type and sealer. It’s also crucial to follow proper safety precautions when using chemicals or machinery for removal.
How Long Does It Typically Take to Remove Sealer From a Floor?
Removing sealer from a floor is not an easy task. It requires time, effort, and the right tools to achieve a successful result. The length of time it takes to remove sealer from a floor depends on various factors such as the type of sealer used, the size of the area, and the method used for removal. Generally, removing sealer from a floor can take anywhere from a few hours to a full day.
However, for larger areas or tougher sealers, it may take longer and require multiple attempts. Here are some factors that may affect the time it takes to remove sealer from a floor:
1. Type of Sealer
There are various types of sealers available in the market such as acrylic, wax-based, and polyurethane. Each type of sealer has its own characteristics and requires a different approach for removal. For example, acrylic sealers are easier to remove compared to wax-based or polyurethane sealers.
2. Size of the Area
The size of the area being worked on also plays a significant role in determining how long it will take to remove sealer. A smaller area will obviously take less time compared to a larger one.
3. Method of Removal
The method used for removing sealer also affects the time it takes to complete the task. There are three common methods for removing sealer: scraping, stripping, and chemical removal. Each method has its own advantages and disadvantages, and some may be more time-consuming than others.
Overall, it is important to remember that removing sealer from a floor is not a quick and easy task. It requires patience and proper execution to ensure the best results. Rushing through the process may result in incomplete removal or damage to the floor.
What Are Some Potential Risks or Complications Associated With Removing Sealer From Floors?
Removing sealer from floors is a necessary process in maintaining the appearance and longevity of your flooring. Whether you are removing outdated sealer or trying to fix a mistake, this task can come with its own set of risks and complications. One potential risk when removing sealer from floors is damaging the floor itself.
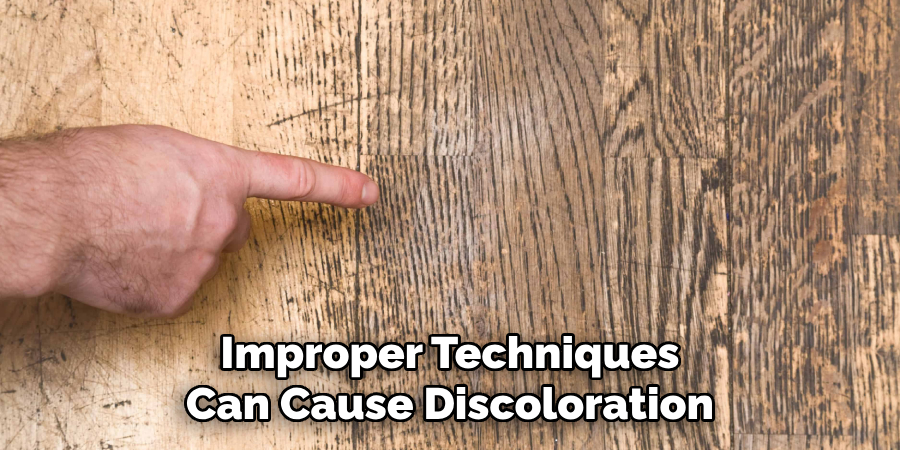
Using harsh chemicals or improper techniques can cause discoloration, scratches, or other types of damage to the flooring material. This is especially true for delicate surfaces such as hardwood or marble. Another risk is the potential harm to yourself and others.
Many sealers contain strong chemicals that can be harmful if inhaled or come into contact with skin. It is important to take proper safety precautions, such as wearing protective gear and working in a well-ventilated area, when removing sealer from floors.
Conclusion
In conclusion, learning to remove sealer from floor is a valuable skill for any homeowner or property owner. Not only does it help maintain the appearance of your floors, but it also prolongs their lifespan and prevents potential damage caused by buildup of old sealer. We have discussed various methods and techniques for removing sealer from different types of flooring, including tile, concrete, and wood.
It is important to always test a small area before applying any product or method to the entire floor, as this can prevent any unwanted damage. Safety should always be a top priority when undertaking any home improvement project. I hope reading this post has helped you learn how to remove sealer from floor. Make sure the safety precautions are carried out in the order listed.