Sanding wood is an essential step in many woodworking projects, ensuring a smooth and even surface. However, it also leaves behind a considerable amount of fine dust, which can interfere with painting, staining, or finishing. Removing this sanding dust is crucial for achieving a high-quality, professional-looking result.
In this guide on how to remove sanding dust from wood, we will explore several effective methods to thoroughly clean and prepare your wood surface, ensuring the best possible finish for your project.
Why is It Important to Remove Sanding Dust From Wood?
When sanding wood, microscopic particles of wood and finish are released into the air, settling on surrounding surfaces, including your project. This is especially true for power sanders that produce a lot of fine dust. Not only can this dust ruin your finish if left uncleaned, but it can also cause respiratory problems or even be a fire hazard.
You may be tempted to simply wipe away the dust with a cloth, but this does not entirely remove all the particles. When you apply a finish over residual dust, it can create an uneven surface or trap dust beneath the finish, resulting in a rough and unprofessional-looking final product. Therefore, it is crucial to remove sanding dust thoroughly before finishing your wood project.
Tools and Materials Needed
A Vacuum Cleaner With Brush Attachment:
A vacuum cleaner is the most efficient tool for removing sanding dust from wood. With its powerful suction and brush attachment, it can easily remove even the finest particles from your surface.
Tack Cloth:
Tack cloth is a sticky, lint-free cloth specifically designed for cleaning surfaces before painting or staining. It effectively picks up residual dust and leaves behind a smooth surface.
Compressed Air Canister:
Compressed air canisters are useful for blowing away dust from hard-to-reach areas or delicate surfaces that may be damaged by using a vacuum cleaner.
9 Step-by-step Guides on How to Remove Sanding Dust From Wood
Step 1: Choose a Well-Ventilated Area
Choose a well-ventilated area for sanding and cleaning your wood project. The dust particles can become airborne, so it is crucial to protect yourself by wearing a dust mask and working in a well-ventilated area. You can also set up a fan to help blow away any residual dust. It is also recommended that you work outside, if possible.
Step 2: Allow the Dust to Settle
After sanding, give the dust particles some time to settle on your project before attempting to clean it. This will allow the larger and heavier particles to fall onto the surface, making it easier to remove them. But do not wait too long, as the dust can become embedded in the wood or stick to your project if left for too long.
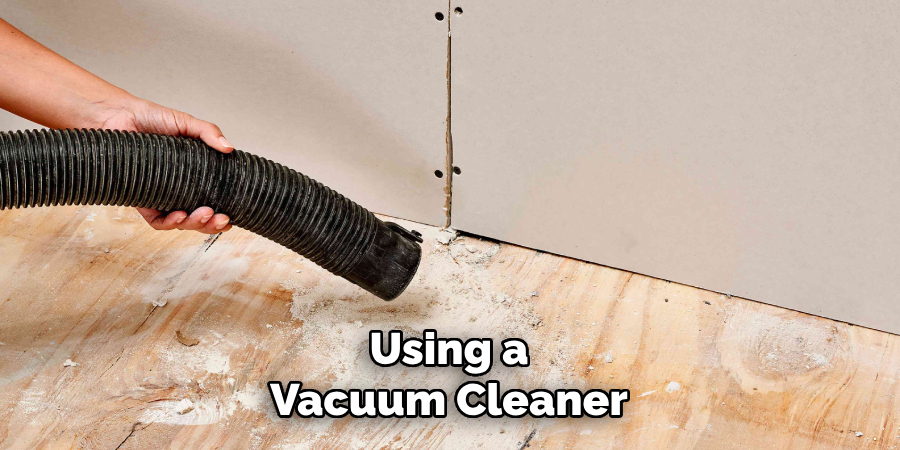
Step 3: Vacuum the Surface
Using a vacuum cleaner with a brush attachment, thoroughly vacuum the surface of your wood project. Move in a circular motion and sweep over every inch to ensure all the dust is removed. If your vacuum does not have a brush attachment, you can use a soft-bristled brush to sweep away the dust first, then vacuum the remaining particles.
Step 4: Clean Hard-to-Reach Areas with Compressed Air
For intricate projects or areas that are difficult to reach, use compressed air canisters to blow away the dust. Hold the canister a few inches away from the surface and gently spray in short bursts. This method is also useful for removing dust from tools and equipment. You can also use a small brush to clear away any remaining dust from corners or edges.
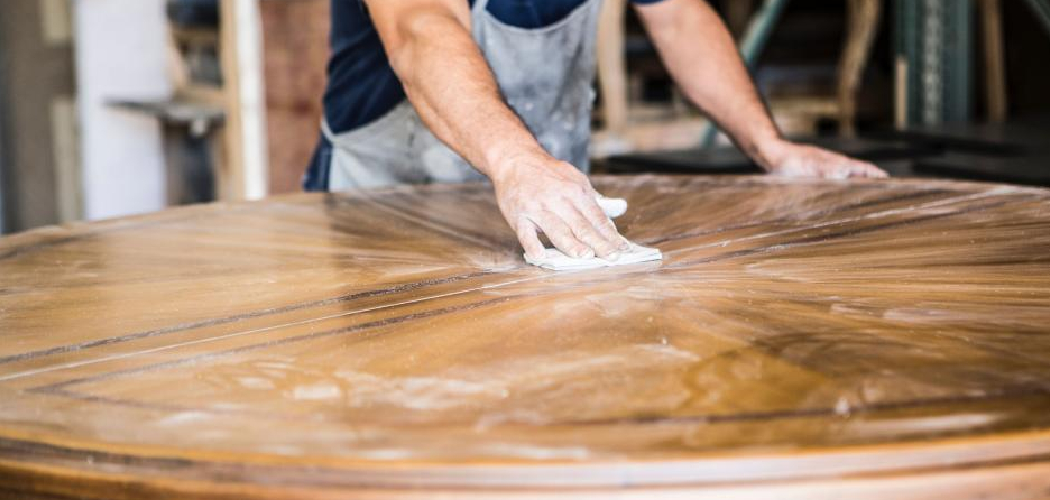
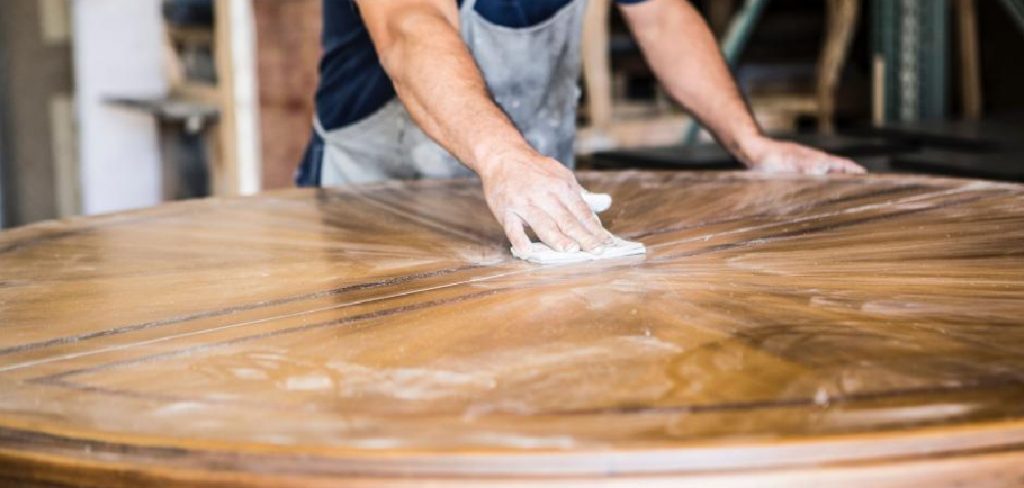
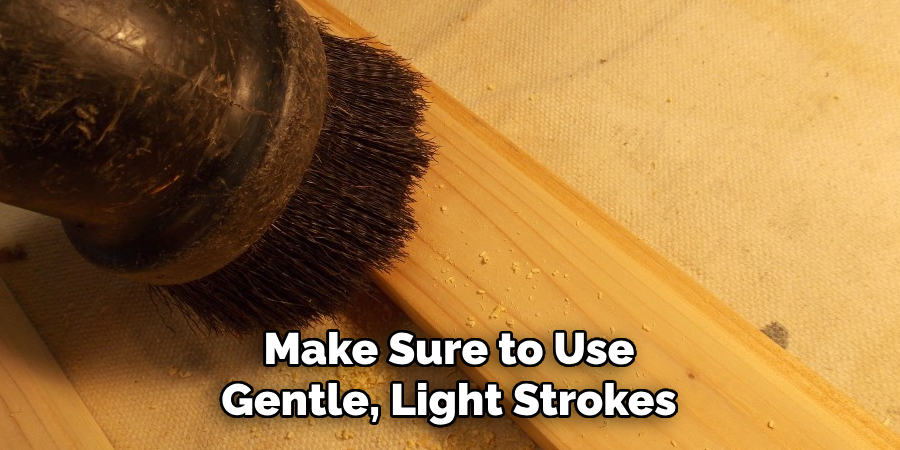
Step 5: Wipe Surfaces with a Tack Cloth
After vacuuming and using compressed air, wipe the surface of your project with a tack cloth. This will pick up any residual dust that may have been left behind. Make sure to use gentle, light strokes and avoid pressing too hard on the wood surface. Otherwise, the sticky cloth may leave a residue or damage your project.
Step 6: Repeat Steps 3-5 if Necessary
Depending on the size and complexity of your project, you may need to repeat steps 3-5 multiple times until all the sanding dust has been removed. It is better to take your time and thoroughly clean your project rather than rush through it and risk leaving behind dust particles. You can also use a flashlight to check for any lingering dust in hard-to-see areas.
Step 7: Clean the Vacuum Cleaner and Compressed Air Canister
After vacuuming and using compressed air, it is essential to clean your tools to prevent any dust from spreading to other surfaces. Empty the vacuum bag or canister and wipe down the brush attachment with a damp cloth. For compressed air canisters, release any remaining pressure by pressing the nozzle before storing it away.
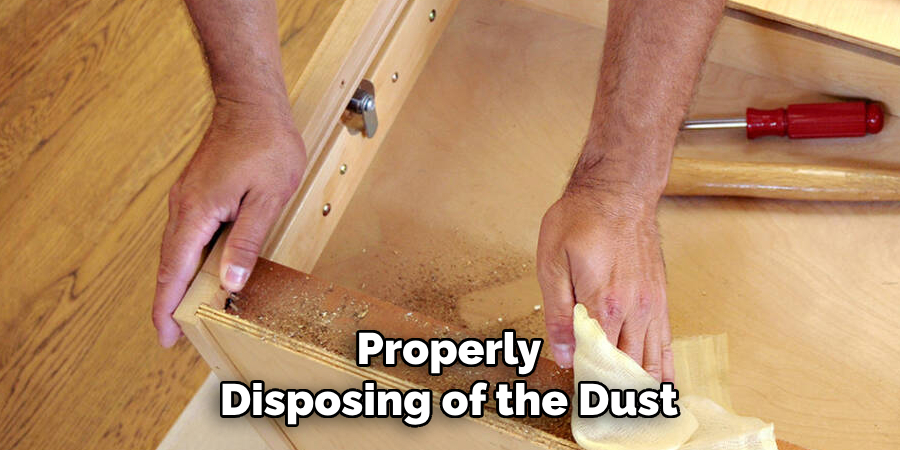
Step 8: Dispose of Dust Properly
Do not simply throw away your vacuum bag or empty its contents into a trash bin as this will release the dust into the air again. Instead, seal the bag in a plastic bag and dispose of it outside. For larger woodworking projects that produce a significant amount of dust, consider using a separate receptacle for collecting sawdust and wood shavings to prevent them from contaminating your work area.
Step 9: Allow Sufficient Drying Time
After thoroughly cleaning your wood project, allow it enough time to dry before applying any finish. This will ensure that any moisture from the cleaning process has evaporated and will not affect the final finish. You can use a fan or leave your project in a well-ventilated area to speed up the drying process.
Following these steps on how to remove sanding dust from wood will help you achieve a clean and smooth wood surface, ready for your desired finish. Remember to prioritize safety by wearing protective gear and working in a well-ventilated area. Proper removal of sanding dust is crucial for a professional-looking and long-lasting wood project.
Additional Tips for Removing Sanding Dust From Wood
- If you are working on a large woodworking project, it may be beneficial to invest in a dust collector or extractor to help contain and remove the dust as you work.
- For smaller projects, consider using an air purifier in your workspace to capture any airborne particles.
- To prevent dust from settling on your wood project during the sanding process, lightly dampen a cloth and wipe down the surface before starting. This will help trap the dust and prevent it from becoming airborne.
- After cleaning your wood project, you can also lightly sand with a fine-grit sandpaper to remove any remaining fibers or raised grain caused by moisture from the cleaning process.
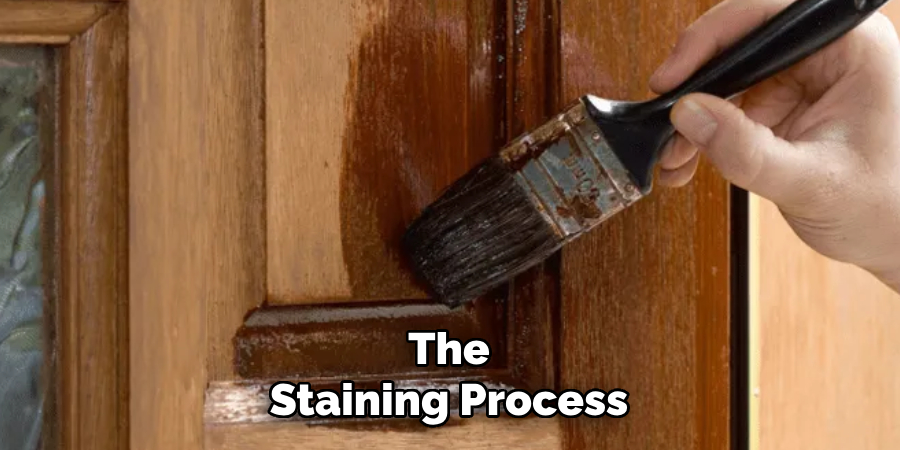
- If you are staining your wood project, make sure to follow up with another tack cloth wipe-down after removing all the sanding dust. This will ensure that no residual dust interferes with the staining process.
Frequently Asked Questions
Q: Can I Use a Vacuum Cleaner With a Regular Nozzle Instead of a Brush Attachment?
A: Yes, you can. However, using a brush attachment is recommended as it is gentler on the wood surface and will not cause any scratches or damage.
Q: How Often Should I Clean the Surface During Sanding?
A: It is best to clean the surface after every few passes with the sander. This will prevent a buildup of dust and ensure a smooth sanding process.
Q: Can I Use Water to Clean My Wood Project?
A: While it is possible to use water to wipe down your wood project, it is not recommended as it can cause moisture damage or raise the grain of the wood. If necessary, lightly dampen a cloth with water and immediately wipe dry. However, using a tack cloth or vacuum cleaner with a brush attachment is a better option for removing dust from wood.
Q: Is Sanding Dust Harmful?
A: Wood dust can be a health hazard if inhaled, especially for those with respiratory issues. It is recommended to wear a mask and work in a well-ventilated area when sanding wood. Properly disposing of the dust is also crucial to prevent it from becoming airborne again. In addition, certain types of wood such as cedar or mahogany may cause allergic reactions in some individuals if they come into contact with the dust.
Conclusion
Removing sanding dust from wood is a necessary step in achieving a smooth and professional-looking finish for your woodworking projects. It may seem like an extra step, but it is crucial for ensuring the success of your project. By following these 9 steps on how to remove sanding dust from wood and using the right tools and materials, you can easily remove all the residual dust from your wood project and achieve a clean and smooth surface ready for finishing.
Properly disposing of the dust is also important for safety and preventing contamination of your work area. Remember to prioritize safety by wearing protective gear and working in a well-ventilated space, and you will have a beautiful, professional-looking wood project in no time. Happy sanding!