
Removing a floor vent cover might seem like an intimidating DIY task, but it doesn’t have to be with the right steps and tools. Making sure your heating system is in proper working order can help make sure it’s running efficiently and safely so you don’t need to worry about expensive repairs down the road. This blog post will offer a step-by-step guide on how to remove floor vent covers quickly and easily so you can get back to living comfortably!
11 Step-by-step Guidelines on How to Remove Floor Vent Cover
Step 1: Prepare Your Tools
To get started, you’ll need to have the following tools on hand:
- A Screwdriver (Flathead or Phillips Depending on the Type of Screws on Your Vent Cover)
- Pliers (in Case the Screws Are Too Tight)
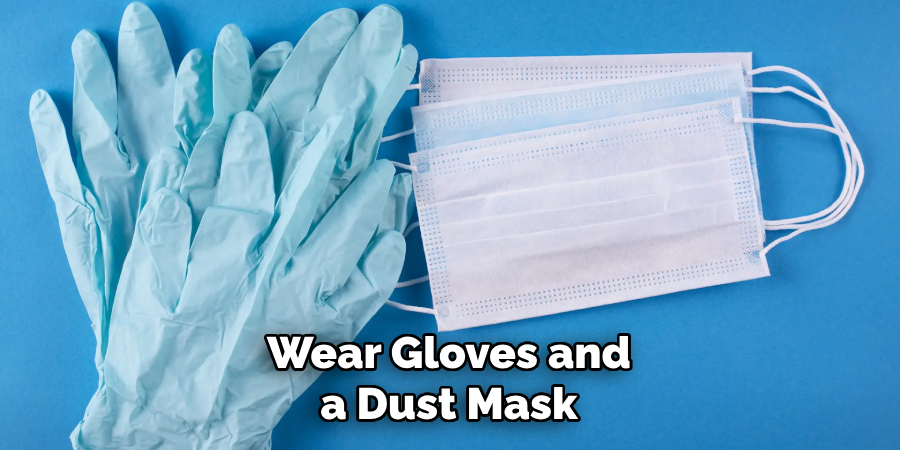
- Dust Mask and Gloves (for Safety)
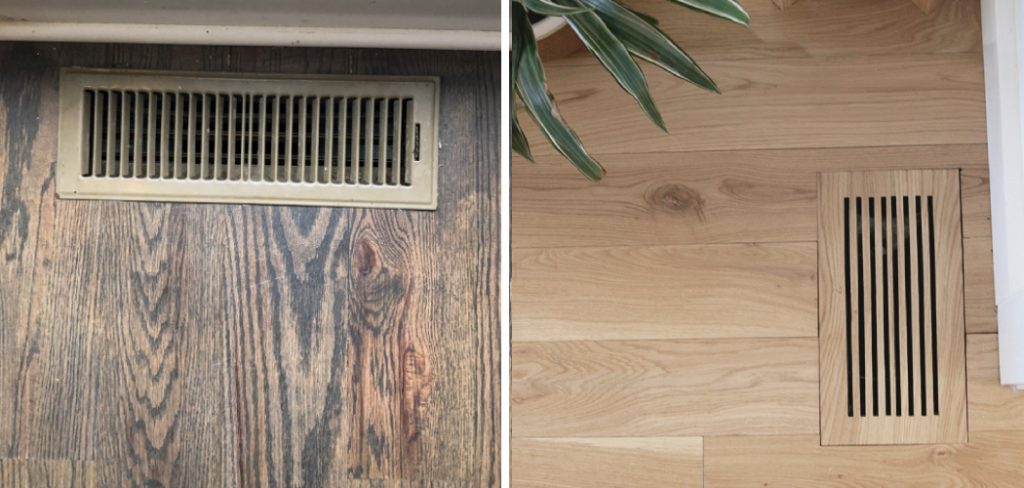
Step 2: Locate the Vent Cover
Look for the floor vents in your home and locate the one you want to remove. Remove any furniture or rugs that may be blocking the vent for easier access. If the vent is locked, you may need to use a small key or unlock it using a flathead screwdriver. You’ll also need to turn off your furnace or HVAC system before removing the vent cover for safety.
Step 3: Examine the Vent Cover
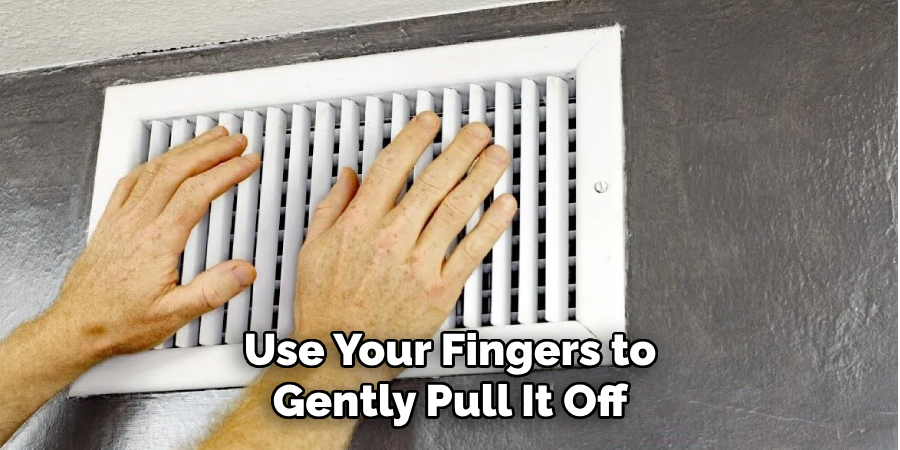
Take a closer look at the vent cover and determine if it’s screwed into place or simply snapped on. If it’s screwed in, you’ll need to use a screwdriver to remove it. If it’s snapped on, you can use your fingers to gently pull it off. It’s always a good idea to wear gloves and a dust mask when removing the vent cover to protect yourself from any accumulated dust or debris.
Step 4: Loosen the Screws
If the vent cover is screwed in, use a screwdriver to loosen the screws. If they are too tight, you may need to use pliers for additional leverage. Make sure not to strip the screws as that will make putting them back on more difficult. But don’t worry, if you do strip the screws, you can simply purchase replacement screws at any hardware store.
Step 5: Remove the Screws
Once the screws are loose enough, remove them and set them aside in a safe place. If your vent cover has more than two screws, make sure to keep track of all of them so they don’t get lost. It’s helpful to have a small container or bag nearby to store the screws in. You can also use a magnet to keep them in place.
Step 6: Gently Remove the Cover
After removing all the screws, gently pull or pry the vent cover away from the floor. If it’s snapped on, you can use a flathead screwdriver to pry it off. Be careful not to damage the vent or surrounding flooring. This step may require some patience, especially if the vent cover has been in place for a long time and is stuck due to accumulated dust or debris.
Step 7: Clean the Vent Cover
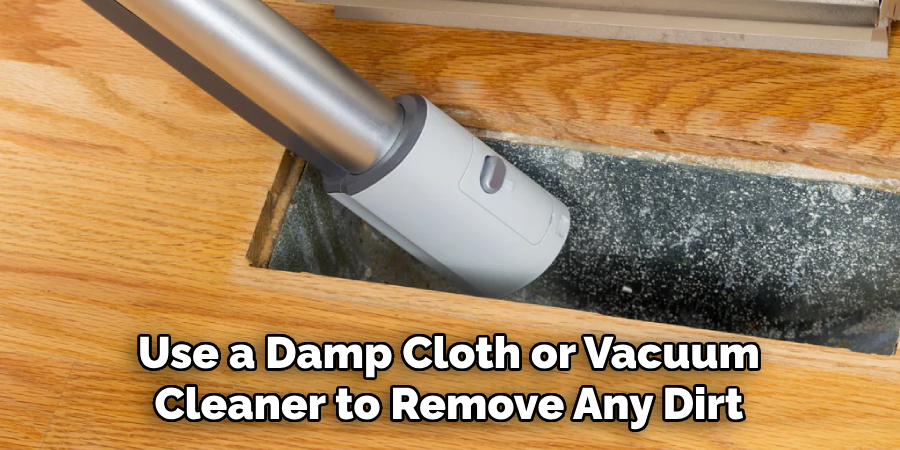
Once you’ve removed the vent cover, take this opportunity to clean it thoroughly. You can use a damp cloth or vacuum cleaner to remove any dirt, dust, or debris that may have accumulated over time. Cleaning the vent cover will also help improve the air quality in your home. However, be careful not to damage the cover while cleaning it.
Step 8: Inspect the Vent
While you have the vent cover off, take a moment to inspect the actual vent. Check for any signs of damage or buildup that may be obstructing airflow. If necessary, use a vacuum cleaner or brush to remove any debris from inside the vent. But be gentle, as the vents can easily bend or break.
Step 9: Clean the Area
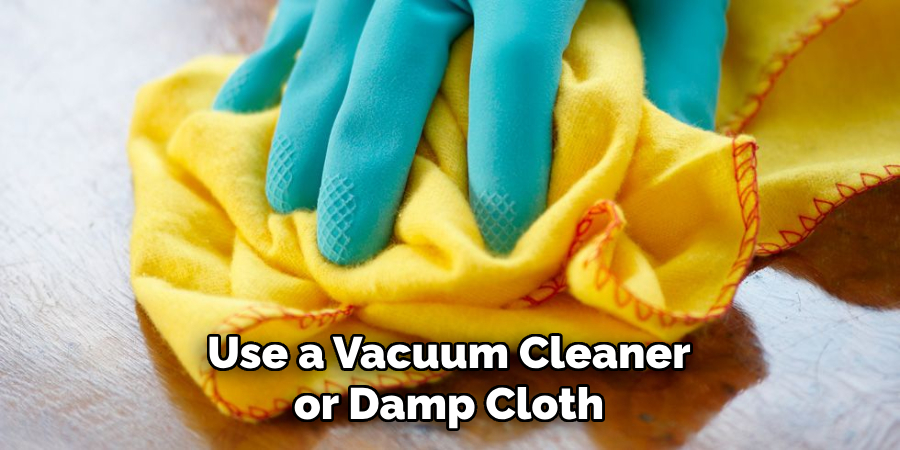
Before putting the vent cover back on, make sure to clean the area around it. You can use a vacuum cleaner or damp cloth to remove any dust or debris that may have accumulated while removing the vent cover. This will ensure a clean and secure fit when you put the cover back on. It’s also a good idea to clean the area regularly to prevent any buildup in the future.
Step 10: Reattach the Vent Cover
Once you’ve cleaned and inspected both the vent cover and the actual vent, it’s time to put everything back together. Gently place the vent cover over the opening and align it properly. If it’s screwed on, use your screwdriver to reattach the screws. If it’s snapped on, simply press down until it snaps back into place.
Step 11: Turn Your Furnace or HVAC System Back On
After successfully reattaching the vent cover, you can turn your furnace or HVAC system back on. Congratulations, you’ve now learned how to remove floor vent covers! With this knowledge, you can easily clean and maintain your vents to keep them functioning properly. Remember to regularly check and clean your vents for optimal performance and air quality in your home.
Additional Tips
- If the Screws Are Rusty or Damaged, It’s Best to Replace Them With New Ones.
- You Can Use a Lubricant Such as Wd-40 to Loosen Stubborn Screws.
- Wear Gloves and a Dust Mask to Protect Yourself From Any Accumulated Dust or Debris.
- When Reattaching the Vent Cover, Make Sure It’s Properly Aligned to Avoid Uneven Heating in Your Home.
- If You Can’t Find the Right Size Screwdriver, You Can Always Use a Power Drill With a Bit Attachment. Just Be Careful Not to Strip the Screws.
- If You’re Unsure About Anything, It’s Always Best to Consult a Professional HVAC Technician for Assistance. Safety Comes First!
What About the Cost?
The cost of removing floor vent covers is relatively low, as it only requires basic tools that most households already have. However, if you need to purchase replacement screws or other materials, the cost may vary depending on your location and local hardware store prices. You can also hire a professional HVAC technician to clean and maintain your vents for an additional cost. So while there may be some costs associated with removing floor vent covers, it’s a relatively affordable and important aspect of home maintenance.
Regularly cleaning your vents can also save you money in the long run by preventing potential HVAC system malfunctions or inefficiencies. So don’t let cost deter you from properly maintaining your vents for optimal air quality and heating/cooling performance in your home.
As the saying goes, “An ounce of prevention is worth a pound of cure.” In this case, a little bit of effort and cost now can save you from potentially larger costs down the road. So don’t forget to add vent cleaning to your regular home maintenance checklist! Happy cleaning!
What Are Some Common Mistakes to Avoid When Removing Floor Vent Covers?
While removing floor vent covers is a relatively simple task, there are a few common mistakes that you should avoid to ensure a smooth and successful process. These include:
Not Keeping Track of the Screws:
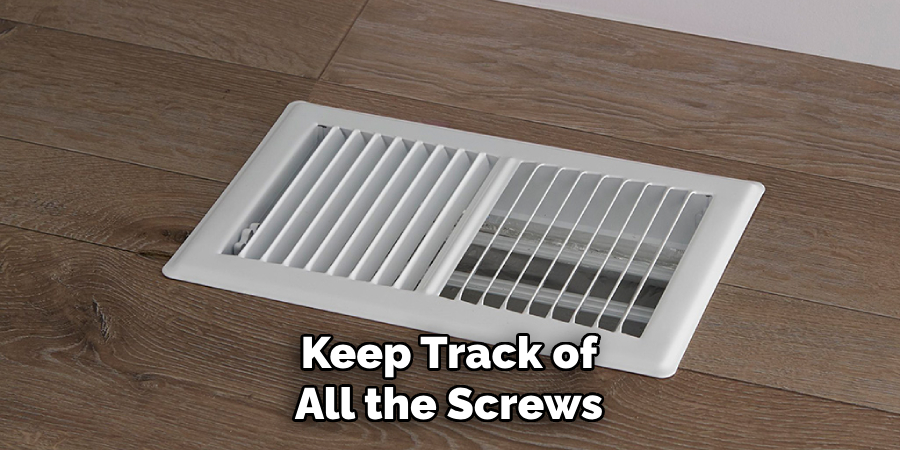
As Mentioned Earlier, It’s Important to Keep Track of All the Screws So They Don’t Get Lost or Misplaced. This Will Make Reattaching the Vent Cover Much Easier and Prevent Any Potential Damage.
Using Excessive Force:
It’s Important to Be Gentle When Removing the Vent Cover, as Using Too Much Force Can Damage the Vent or Surrounding Flooring. If the Cover is Stuck, Try Using a Lubricant or Gently Tapping It With a Rubber Mallet to Loosen It.
Not Cleaning the Vent Cover:
While You Have the Vent Cover Off, Take the Opportunity to Clean It Thoroughly. This Will Not Only Improve Air Quality but Also Prevent Any Potential Damage From Accumulated Debris.
Skipping Inspection and Cleaning:
As mentioned in Earlier Steps, Inspecting and Cleaning Both the Vent Cover and the Actual Vent is Important for Optimal Performance. Don’t Skip These Steps in Order to Save Time or Effort, as They Are Crucial for Maintaining a Well-functioning HVAC System.
Frequently Asked Questions
Q1. Can I Use This Method for All Types of Floor Vent Covers?
A: This method can be used for most floor vent covers, but it’s always best to consult the manual or a professional if you’re unsure about your specific type of cover. It’s also important to note that some covers may require a different approach and tools.
Q2. How Often Should I Clean My Floor Vent Covers?
A: It’s recommended to clean your floor vent covers at least twice a year, but it ultimately depends on how often they are used and the level of dust and debris in your home. If you have pets or allergies, you may need to clean them more frequently. It’s always a good idea to check and clean your vents if you notice decreased airflow or air quality in your home.
Q3. Can I Paint My Floor Vent Covers?
A: Yes, you can paint your floor vent covers as long as they are properly cleaned and prepared beforehand. Make sure to use high-quality metal paint and follow the instructions carefully. It’s also important to note that painting may affect the overall function of your vents, so it’s best to consult a professional before proceeding.
Q4. Are There Different Sizes of Floor Vent Covers?
A: Yes, floor vent covers come in various sizes to fit different types and sizes of vents. When removing your cover, make sure to take note of the size before cleaning or replacing it. If you’re unsure, you can always measure the opening of your vent or consult a professional for assistance.
Conclusion
As we have learned in this blog post on how to remove floor vent cover, removing floor vent covers is not such a difficult task! With the right tools and approach, you can easily remove them without damaging the area. The key thing to remember is that you should always take proper precautions before attempting to do anything yourself. This can help ensure your safety and prevent any potential damage from occurring. Additionally, if you feel like the job is too complex for you to handle on your own, it may be wise to seek professional help for the task at hand.
Despite all this, once you’ve completed your project successfully, you’ll be able to enjoy the newfound air ventilation from having exposed floors! So what are you waiting for? Get started on making sure those areas of your home stay cool and ventilated with renewed efficiency by freeing up those floor vents today!