
Are you tired of trying to remove excess stains that have dried on your clothes or furniture? Don’t worry—you’re not alone.
How to remove excess stain that has dried can be a challenging task, but it’s essential to achieve a smooth, professional finish on wood surfaces. Whether working on a furniture restoration project or staining new cabinetry, careful technique and patience are the key to correcting over-application. Dried excess stain not only affects the aesthetic appeal by causing blotches or unevenness but can also hinder the effectiveness of subsequent protective coatings.
The process requires specific tools and methods to ensure the integrity of the wood is maintained while effectively removing unwanted stains. With the right approach, you can restore the beauty and uniformity of your wood surface.
What Will You Need?
Before starting the process, gather the necessary tools and materials to make the stain removal process efficient and effective. Here’s a list of things you’ll need:
- Clean cloth or rag
- Mineral spirits or paint thinner
- Fine-grit sandpaper (220 grit)
- Soft-bristled brush
- Clean water and soap (if working on fabrics)
Once you have everything on hand, let’s examine the steps for removing dried-out excess stains.
10 Easy Steps on How to Remove Excess Stain That Has Dried
Step 1. Evaluate the Surface:
Before you begin removing dried excess stains, it’s crucial to evaluate the surface you’re working with carefully. Assess the extent of the over-application and any areas where the stain appears thick or uneven. Examine the wood grain and texture, as they may influence your chosen technique. Note any existing finishes or protective layers that could be affected during the stain removal process. Understanding the condition of the surface will help you determine the best approach, ensuring you use the appropriate tools and methods without causing damage to the wood. Moreover, evaluating the surface allows you to anticipate any challenges you might encounter and prepare accordingly, which is particularly important when dealing with intricate or delicate wood surfaces.

Step 2. Choose the Right Solvent:
Selecting the appropriate solvent removes dried excess stains without damaging the wood. Mineral spirits and paint thinner are commonly used to dissolve and remove stains from wood surfaces. Begin by testing the chosen solvent on a small, inconspicuous area of the wood to ensure that it does not react adversely with existing finishes. Once verified as safe, apply the solvent generously on a clean cloth or rag and gently rub it on the stained areas. The solvent will help to break down the excess stain, making it easier to wipe away. Always work in a well-ventilated area, and use protective gloves to protect your skin from chemical exposure.
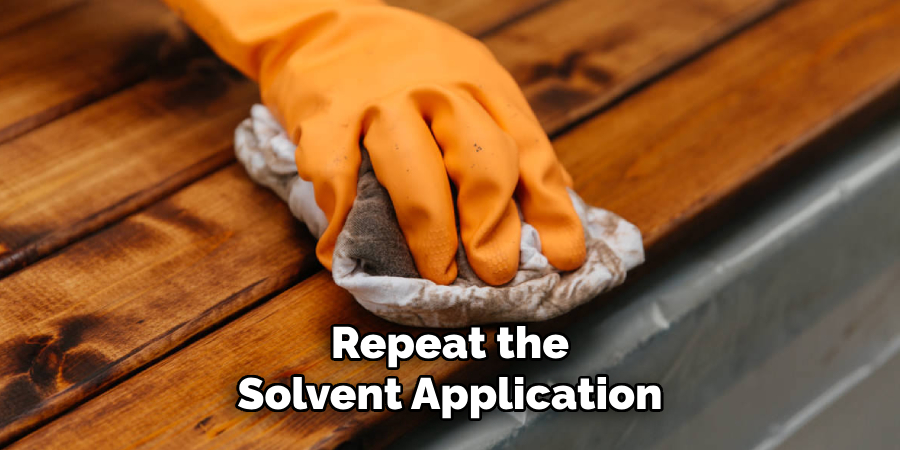
Step 3. Gently Scrub the Surface:
After applying the solvent to the stained areas, it’s time to scrub the surface gently. Use a soft-bristled brush to lightly work the solvent into the wood, targeting spots where the stain is particularly thick or uneven. Work toward the wood grain to prevent any potential damage and maintain the surface’s integrity. Combining the solvent and the gentle scrubbing action will help lift and remove the excess stain from the wood. Be patient and thorough, as rushing this process may lead to scratches or further imperfections. If any stubborn areas remain after the initial pass, repeat the solvent application and scrubbing process until the stain is adequately removed.
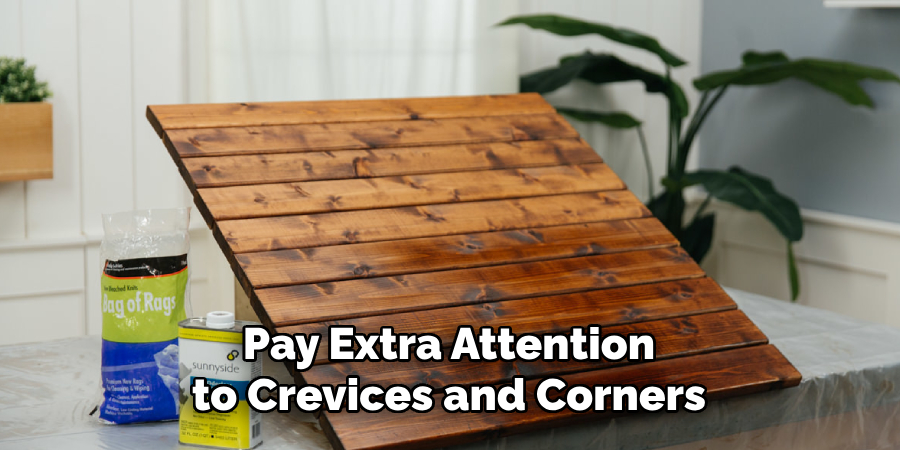
Step 4. Wipe Down the Surface:
Once you have thoroughly scrubbed the surface with the solvent, it’s essential to wipe down the area to remove any loosened stain particles and excess solvent. Use a clean, soft cloth or rag to wipe across the wood in long, even strokes following the wood grain. This step not only helps in removing the dislodged stain but also prevents any solvent residue from being left behind, which could alter the wood’s appearance or affect future finishes. Pay extra attention to crevices and corners, ensuring that no remnants of the stain remain hidden. Wiping the surface clean is a critical step in preparing the wood for any additional treatments or finishes you may wish to apply subsequently.
Step 5. Sand the Surface:
After wiping the surface and ensuring it is dry, the next step involves sanding to achieve a smooth finish. Use fine-grit sandpaper, such as 220 grit, to carefully sand the areas where the excess stain was removed. Sanding helps to smooth out any rough spots and evens out the wood grain that might have been affected during the scrubbing or solvent application. Be sure to sand in the direction of the grain to maintain the wood’s natural look and prevent any scratching or damage. Apply light, even pressure, especially on delicate areas, to avoid over-sanding.
Step 6. Neutralize the Surface:
After sanding, it’s important to neutralize the surface to ensure no solvent or detergent residue remains, which could interfere with future finishes or stains. Use water and mild soap to gently wash the surface, especially if sanding dust or solvent remnants are present. Apply the solution with a soft cloth or sponge, then rinse the area with clean water. This step restores the wood’s natural pH balance and prepares it for subsequent treatments. Allow the wood to dry completely in a well-ventilated area to prevent moisture from affecting the wood’s texture or causing warping. Neutralizing the surface of any residues ensures a clean slate for the next steps in your restoration or finishing project.
Step 7. Inspect for Stubborn Areas:
Once the surface is dry after neutralization, carefully inspect the wood for any remaining stubborn areas where excess stain is still visible. These areas might require a bit more attention before you proceed with any finishing steps. Use a bright light or natural daylight to aid in your search. If any patches of excess stain are detected, you can repeat the solvent application and gentle scrubbing process, ensuring you approach these spots with precision and care. It’s essential to address these areas thoroughly before moving on, as they could impact the final appearance and quality of any finishes applied. Patience at this stage will ensure a more professional and polished result.
Step 8. Apply a Pre-Stain Conditioner:
Before proceeding with staining, applying a pre-stain wood conditioner is essential, especially for softwoods or woods with uneven grain patterns. A pre-stain conditioner helps to ensure a more uniform stain color by allowing the wood to absorb the stain evenly, reducing the risk of blotchiness and streaks in the final finish. Using a brush or cloth, apply the conditioner evenly across the entire wood surface, following the grain’s direction.
Allow the conditioner to penetrate the wood for the recommended time specified on the product’s label, typically around 15 minutes. Wipe away any excess conditioner with a clean cloth and let the wood dry completely before moving on to the staining process. This step is critical for achieving a smooth, even, and professional-looking stain finish.
Step 9. Apply the Stain:
Once the pre-stain conditioner has dried, it’s time to apply the stain to your wood surface. Choose a high-quality wood stain in your desired color, and stir it thoroughly before use to ensure even pigmentation. You are applying the stain generously with a clean brush or cloth, working toward the wood grain. The application should be smooth and even, covering all areas you wish to stain.
Allow the stain to penetrate the wood for a few minutes or, as recommended on the stain product instructions, for the desired color intensity. Additional coats may be applied if a deeper color is desired, allowing each coat to dry thoroughly before the next application. After reaching the desired color, use a clean cloth to wipe off any excess stain, especially in grooves and edges, ensuring a uniform finish.
Step 10. Seal the Surface:
After the stain has completely dried, sealing the wood surface is the next vital step to protect your work and enhance its longevity. Choose a suitable wood sealant, such as polyurethane, varnish, or shellac, depending on the desired finish and durability. Stir the sealant well before application to ensure a consistent mixture. Using a clean brush, apply the sealant evenly across the entire surface, following the direction of the wood grain to avoid streaks or bubbles.
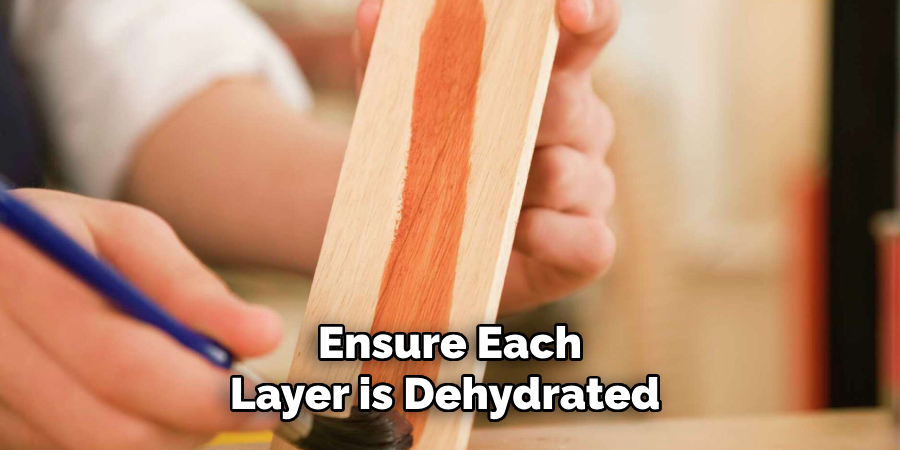
Allow the first coat to dry completely as per the manufacturer’s instructions. Depending on the finish you want, you may apply additional coats, sanding lightly with fine-grit sandpaper between coats for a smoother finish. Ensure each layer is dehydrated before applying the next. The sealing process enhances the aesthetic of stained wood by adding a rich luster and provides a protective barrier against moisture, scratches, and wear.
By following these ten steps, you can restore and enhance the natural beauty of your wood surfaces with a professional-looking finish.
Conclusion
In conclusion, how to remove excess stain that has dried requires patience and a methodical approach to ensure the integrity and beauty of the wood is preserved.
Begin by assessing the extent of the excess stain and consider using a solvent appropriate for the type of stain applied. Coupled with gentle scrubbing, solvents can effectively loosen the stain without damaging the wood. Following solvent use, the sanding process helps to smooth the surface and remove any residual stains. Neutralizing the surface is crucial to creating an optimal base for refinishing.
Inspecting the wood thoroughly ensures any stubborn areas are readdressed, and applying a pre-stain conditioner goes a long way in mitigating future uneven stain issues. Once you’re happy with the prep work and ready to proceed, applying the stain carefully is key to achieving a uniform, professional finish.