Are you looking into potential upgrades or repairs to your home plumbing system? If so, one critical component to consider is reinforcing existing floor joists to ensure they can support the extra weight of any plumbing fixtures and proposed piping.
Whether preparing for heavier fixtures or replacing old plumbing with new configurations, reinforcing your floor joists will help ensure that the extra weight is properly supported. Here are some tips on how to reinforce floor joists for plumbing.
In this blog post, we’ll discuss how proper reinforcement of floor joists can help your plumbing system by providing additional structural stability while allowing access to the necessary pipes and drainage components. We’ll also feature step-by-step instructions on reinforcing existing floor joists quickly and easily, along with some tips on selecting the right material for use in each unique situation.
What Will You Need?
You will need some basic materials to reinforce the floor joists for your plumbing system. Here’s a list of what you’ll need:
- Wood screws (1 inch or 1.5 inches)
- Nails and wood glue
- Plywood and other stiffening material
- Power drill and drill bits
- Level
- Tape measure
- Safety gear (e.g., goggles, hard hat)
Once you have the necessary materials, it’s time to begin reinforcing your existing floor joists.
10 Easy Steps on How to Reinforce Floor Joists for Plumbing
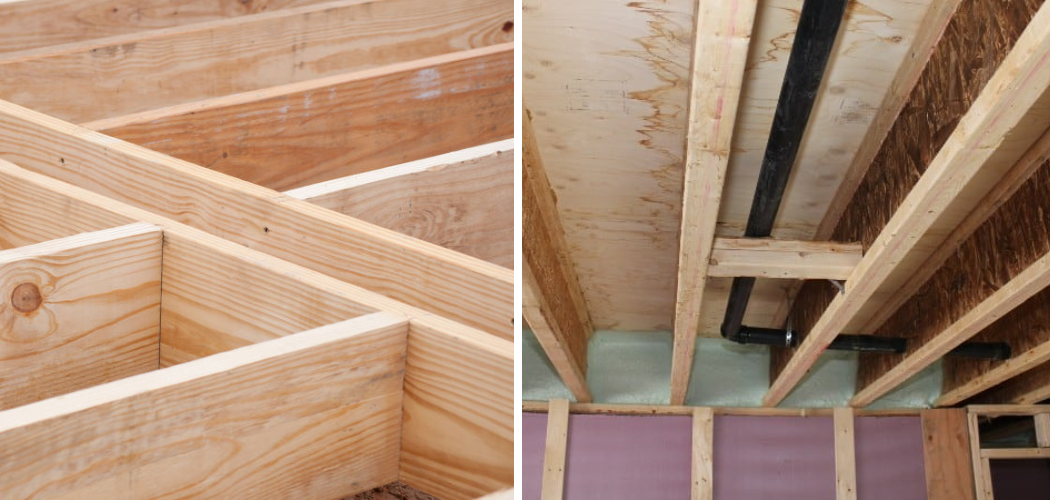
Step 1. Measure the Existing Floor Joists:
Measure the existing floor joists and determine the amount of plywood or other stiffening material needed to make them adequately strong. You can also use a level to make sure the joists are perfectly straight. If they are not, you may need to correct this before adding any additional material.

Step 2. Cut and Attach Plywood Sheets:
Cut the plywood sheets down to size using a power saw, then attach them to the existing floor joists using wood screws or nails and wood glue. Keep the plywood flush with the joists for the best results. If needed, use a level to check for straightness.
Step 3. Drill Pilot Holes:
Drill pilot holes in the plywood and joists using a power drill and the appropriate drill bit size. This will help ensure the screws attach properly and don’t split the wood when tightened. Try to keep the pilot holes as close to the edges of the joists and plywood sheets as possible.
Step 4. Secure Plywood with Wood Screws:
Secure the plywood to the existing floor joists using 1-inch or 1.5-inch wood screws, depending on how much additional reinforcement is needed for your proposed plumbing system. Another option is to use nails and wood glue. As with any construction project, be sure to wear safety gear such as goggles and a hard hat.
Step 5. Check Alignment of Joists:
Check that each joist is perfectly aligned before moving on to the next step of reinforcing them with additional materials, such as steel or concrete blocks, for extra support. Be careful not to over-tighten the screws, as this can cause warping in the wood. Don’t forget to check for levelness and straightness with a level.
Step 6. Secure Additional Reinforcement Material:
Secure any additional reinforcement material to the joists using nails and wood glue or, for extra support, welded steel plates for added strength.
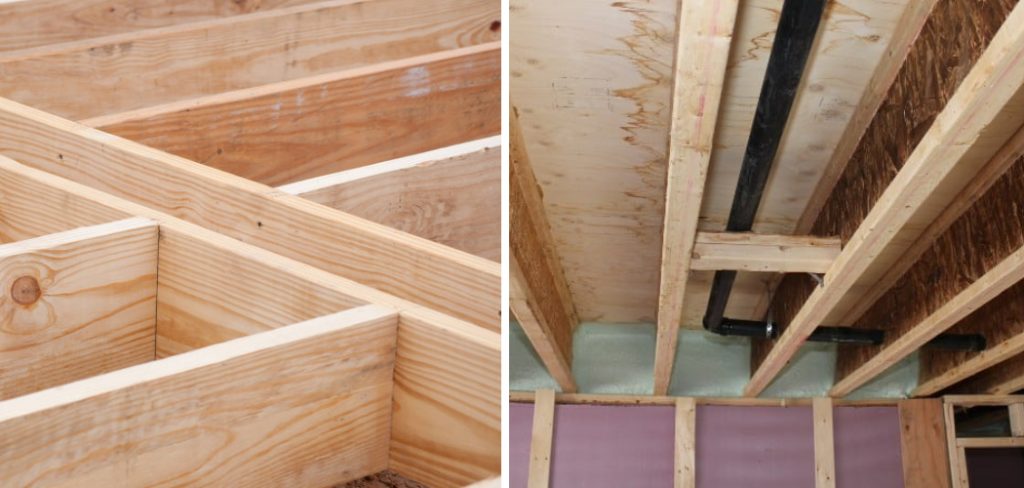
Step 7. Measure and Cut Joists:
Measure and cut any required length of the joist in order to fit the proposed new plumbing lines underneath them. Another option is to use a router to cut away any excess material that will not be needed for the new plumbing lines. It will help if you use a level to check for straightness.
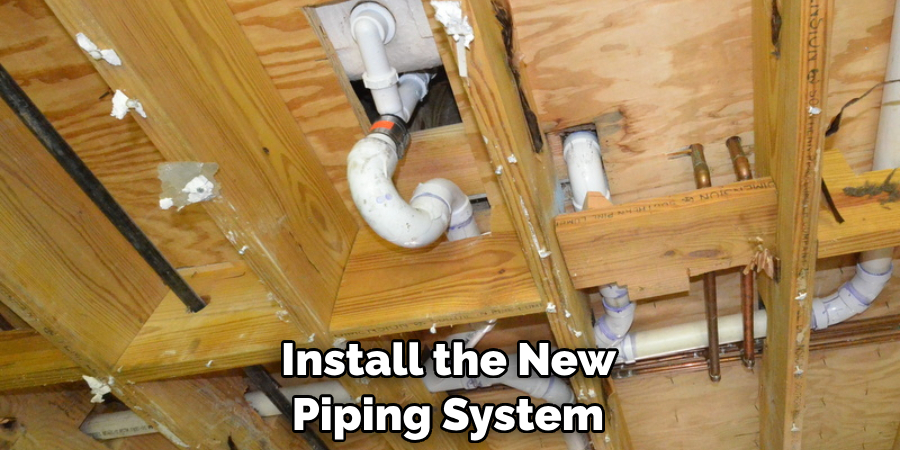
Step 8. Install New Piping:
Install the new piping system beneath the reinforced floor joists considering any potential changes needed due to increased weight load from the installed fixtures. Keep in mind that you may need to adjust the pipe layout depending on the type of fixtures being added. It may also be necessary to use special piping systems such as PEX or PVC to accommodate the increased weight load.
Step 9. Check Joist Level Once More:
Check again that each joist is level before securing it with concrete blocks or other materials as necessary. Be sure to leave a sufficient gap between the joist and any other material for potential plumbing access. Just remember not to over-tighten the screws or nails in order to avoid the warping of the joists.
Step 10. Allow Adequate Curing Time:
Allow ample curing time before proceeding with the installation of piping or fixtures. This will help ensure that everything is properly secured before being put to use. Remember to check for any signs of wear or loosening as well as proper alignment of the joists.
By following these steps, you should be able to successfully reinforce your existing floor joists for plumbing in no time. Remember that the type of material used and the size and weight of the fixtures and pipes will determine how much reinforcement is needed. Be sure to consult a professional if you have any questions or if more complex reinforcement materials are necessary.
5 Additional Tips and Tricks
1. opt for double joists when reinforcing floor joists for plumbing. Double joists are twice as strong and provide extra support when routing pipes or adding plumbing fixtures.
2. Secure the reinforcement using a combination of lag screws, hangers, and other fasteners to ensure your reinforcements stay in place.
3. If replacing an existing push-fit pipe with copper piping, be sure to use a dielectric union between the two metals. This will help prevent corrosion over time.
4. Ensure all connections are properly sealed with the plumber’s putty or any other waterproof sealant material before installing the fixtures onto the reinforced joist area.
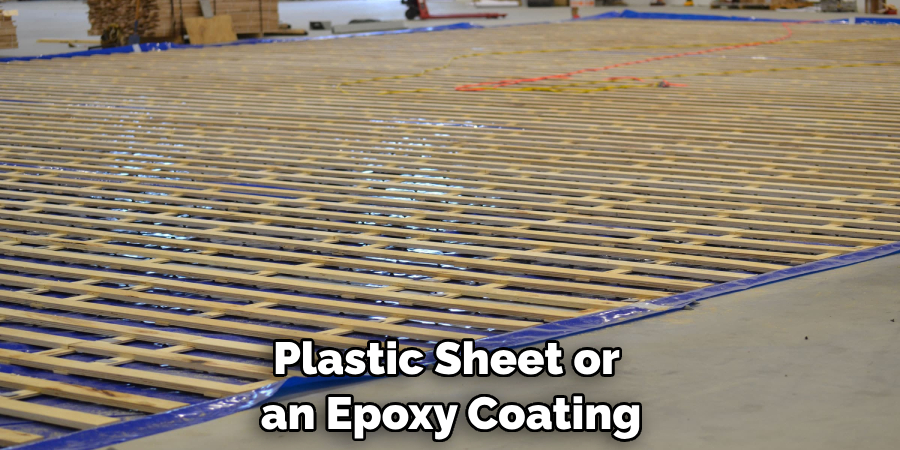
5. To protect against water damage or leaks, consider investing in a water barrier, such as a plastic sheet or an epoxy coating, to cover the plumbing and joists. This will add an extra layer of protection against potential issues arising from accidental leaks or pipe bursts.
By following these tips and tricks, you can ensure that your reinforcements are secure and effective when reinforcing floor joists for plumbing. If done correctly, they should hold up for many years with no problems whatsoever. With proper maintenance and regular checks, your reinforced floor joists will keep your home safe from any plumbing-related issues so you can have peace of mind knowing it’s well protected.
5 Things You Should Avoid
1. Never reinforce floor joists without the right tools and materials. Too often, people try to wing it when it comes to reinforcing floor joists and end up with a shoddy job that won’t last very long.
2. Avoid using metal pipes or fixtures that have not been treated for corrosion prevention. Doing so could lead to major issues if these items are exposed to water or moisture in the future.
3. Don’t skimp on fasteners or lag screws when reinforcing your floor joists; make sure they’re tightly secured into place so they can properly provide extra stability and support for plumbing fixtures.
4. Don’t forget to use sealants around your pipe connections and fixtures to ensure a watertight seal. This will prevent potential leaks or water damage in the future.
5. Don’t attempt to reinforce floor joists without knowing what you’re doing; it’s best to consult a professional if you’re unsure how to correctly reinforce your floor joists for plumbing purposes.
By avoiding these common mistakes, you can be sure that your reinforcement job is done right and will stand up against any issues related to plumbing over time. With proper care and maintenance, your reinforced floor joists should last for years and keep your home safe from costly repairs due to plumbing-related problems.
How Do You Increase Floor Load Capacity?
1. If the existing joists are not structurally sound enough to handle the additional weight, consider installing additional floor joists to increase load capacity.
2. You can also use additional beam supports to support the joists and carry the extra load.

3. Another option is to install sister joists alongside the existing ones; this will add strength and help evenly distribute any added weight over a larger area, thus increasing floor load capacity.
4. If your floor is too weak, you may need to replace it altogether with materials capable of handling more weight; tongue-and-groove subflooring or plywood are both good options that can handle increased loads well.
5. Finally, adding a layer of rigid insulation beneath the floor joists can help reduce stress and increase capacity.
By following these tips, you can easily increase the floor load capacity in your home, allowing it to be better equipped for heavy plumbing fixtures or appliances.
It is important to remember that any changes made should be done properly with professional guidance to ensure proper installation and long-term stability. With the right reinforcements in place, your home can handle more weight without compromising its structural integrity.
Conclusion
How to reinforce floor joists for plumbing is a straightforward process that can make a huge difference in the long run. With this knowledge, you’ll be able to proceed confidently when installing new plumbing and prevent costly repairs down the road.
Consider reinforcing your floor joists when the plumbing passes through large openings or if the floor feels weak in spots due to vibration or stress from everyday use. For an added layer of protection against possible failure and damage, consider adding support stock to structural members powered by steel plates and screws.
Even if done as necessary, reinforcing your joists for a bit of added investiture can still save you plenty of money compared to costly repairs or replacements down the line.
So don’t take any risks with health safety; reinforce your floor joists for plumbing and enjoy peace of mind for a job well done!