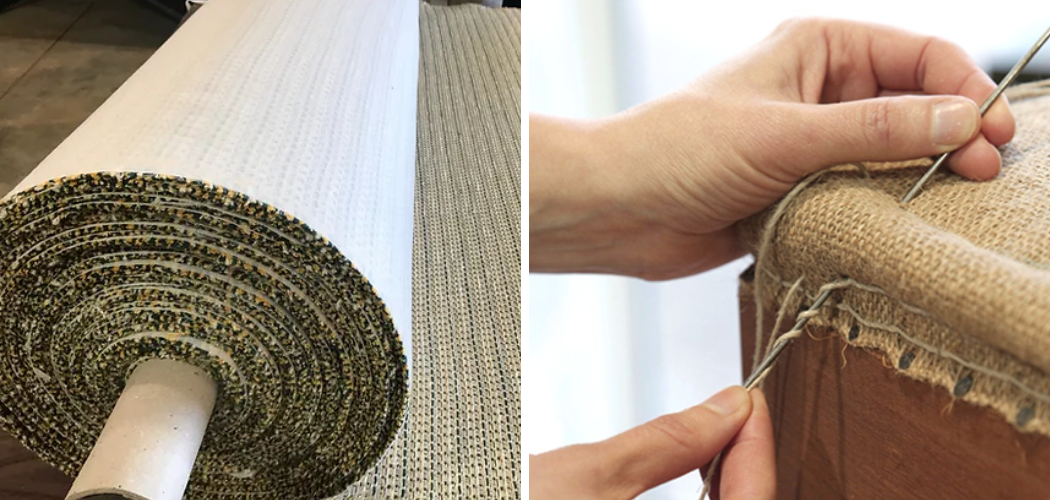
Reinforcing upholstery fabric is a crucial step in ensuring the durability and longevity of your furniture, especially in high-traffic areas or when using lighter-weight fabrics. By learning how to reinforce fabric for upholstery, you can significantly improve the wear resistance, providing enhanced support and an overall better appearance to your furniture.
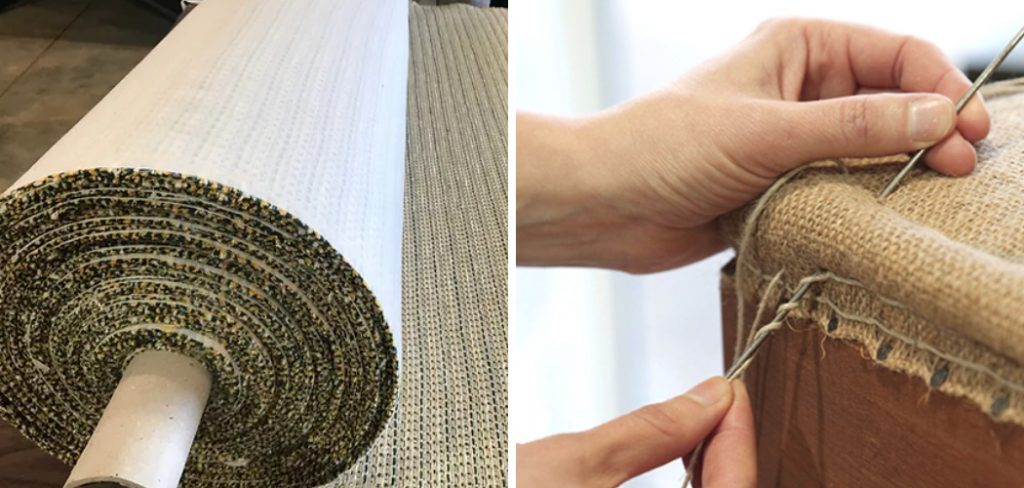
Reinforced fabric withstands the stress and strain that come with daily use, preventing early wear and tear. Additionally, it helps maintain the shape and structure of the upholstery, ensuring that your furniture remains comfortable and aesthetically pleasing for years to come.
This article provides a detailed, step-by-step guide on how to reinforce fabric for upholstery effectively. We will offer valuable tips and best practices to help you achieve a professional-looking result that will stand the test of time. Whether you are a seasoned upholsterer or a DIY enthusiast, this guide will equip you with the knowledge and skills needed to reinforce upholstery fabric successfully.
Selecting the Right Fabric and Reinforcement Materials
Choosing Upholstery Fabric:
- OPt for Heavy-duty Upholstery Fabrics: Choose materials such as canvas, denim, or tightly woven synthetic blends, which are more durable and easier to reinforce. These fabrics can withstand significant wear and tear, making them ideal for high-traffic areas.
- COnsider the Fabric’s Intended Use: When selecting upholstery fabric, consider the amount of wear and tear it will endure. For example, furniture in homes with children or pets will require more robust fabric than pieces in less busy environments.
Types of Reinforcement Materials:
- Interfacing:
- It is available in various weights (light, medium, heavy) and can be fusible (iron-on) or sew-in.
- Choose a weight that complements the upholstery fabric without making it too stiff or difficult to work with. Fusible interfacing is easy to apply and creates a smooth finish, while sew-in interfacing offers more flexibility.
- Backing Fabric:
- To provide additional support, materials like muslin, canvas, or other sturdy fabrics can be used as backing.
- Ensure the backing fabric is compatible with the upholstery fabric in terms of weight and flexibility. It should reinforce the upholstery without altering the overall look or feel of the furniture.
- Batting:
- Provides extra cushioning and softness, typically used for padding rather than reinforcement.
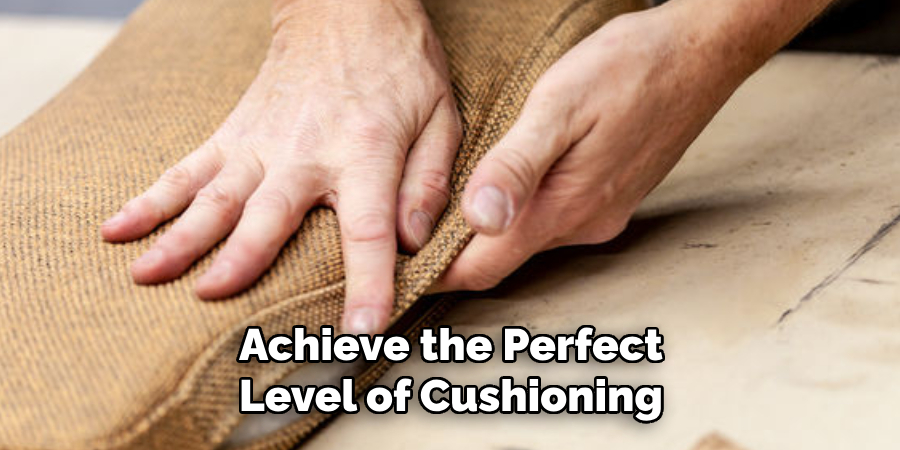
- Depending on the desired feel and support, choose batting made from cotton, polyester, or a blend. Batting enhances comfort and can be layered to achieve the perfect level of cushioning.
Preparing the Fabric and Reinforcement Materials
Measuring and Cutting:
- Measure the Upholstery Fabric: Measure the furniture piece carefully to determine the amount of fabric needed for your project. Be sure to add extra fabric for seams, tucks, and any necessary allowances.
- Cut the Upholstery Fabric and Reinforcement Materials to Size: Using the measurements taken, cut both the upholstery fabric and the selected reinforcement materials to the appropriate sizes. Make sure that the cuts are straight and that the pieces align correctly.
Pre-washing and Ironing:
- Pre-wash the Fabrics: Before you begin working with the materials, pre-wash both the upholstery fabric and the reinforcement materials. This step helps prevent any future shrinkage and removes any residual finishing chemicals that may be present.
- Iron the Fabrics: After washing, iron the fabrics to remove any wrinkles. This ensures that the surfaces are smooth and easier to work with during the application process.
Aligning the Fabrics:
- Lay the Upholstery Fabric Face Down: On a flat, clean surface, lay the upholstery fabric with the right side down.
- Place the Reinforcement Material on Top: Carefully place the reinforcement material over the upholstery fabric, aligning the edges meticulously. Ensuring that the fabrics are correctly aligned will aid in a seamless and professional finish when the reinforcement is applied.
How to Reinforce Fabric for Upholstery: Applying Interfacing
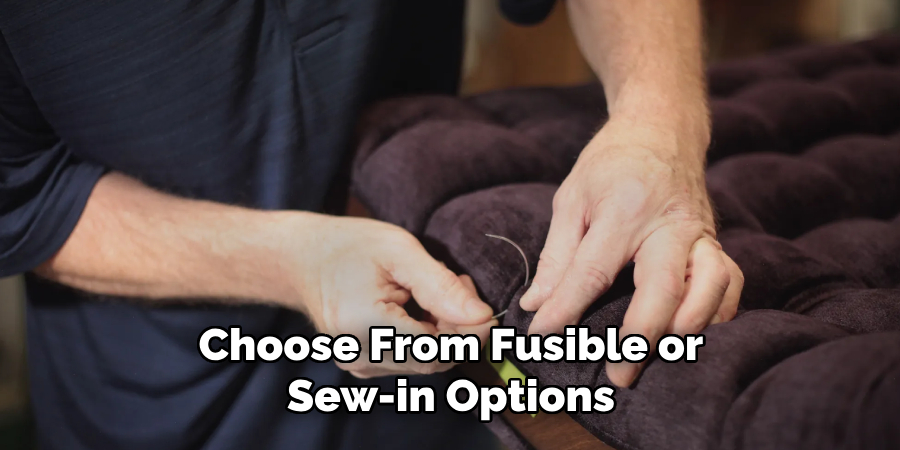
Applying interfacing to your upholstery fabric adds durability and stability. Depending on the type of interfacing and the desired outcome, you may choose from fusible or sew-in options.
Choosing the Right Interfacing:
- Select Interfacing Based on the Fabric Weight and the Desired Level of Reinforcement: Ensure that the interfacing weight complements the upholstery fabric. Light interfacing is suitable for lighter fabrics, while heavier interfacing is appropriate for stronger, more robust fabrics.
- Use fusible interfacing for a quicker application or sew-in interfacing for more control and a softer finish: Fusible interfacing is easy to apply with iron and works well for most projects. Sew-in interfacing, on the other hand, provides more flexibility and control, particularly if you want a softer finish that moves with the fabric.
Fusing Interfacing:
- Cutting Interfacing:
- Cut the interfacing slightly smaller than the upholstery fabric to avoid adding bulk to the seams. A good rule of thumb is to leave a margin of about 1/4 inch around the edges of the upholstery fabric.
- Positioning:
- Place the interfacing on the wrong side of the upholstery fabric, adhesive side down. Ensure that the edges are aligned properly to cover the entire area that requires reinforcement.
- Ironing:
- Follow the manufacturer’s instructions for heat and steam settings. Typically, a medium to high heat setting without steam works well.
- Press the iron firmly on the interfacing, holding it in place for a few seconds before moving to the next section. Move systematically across the fabric to ensure even adhesion.
- Allow the interfacing to cool completely before handling. This ensures that the adhesive has been set properly and will stay in place.
- Sewing Interfacing:
- Positioning and Pinning:
- Lay the interfacing on the wrong side of the fabric and pin it in place. Use enough pins to secure the interfacing but not too many to avoid pin marks.
- Stitching:
- Sew the interfacing to the fabric using a zigzag or straight stitch along the edges. Choose a stitch length that securely attaches the interfacing without causing puckering.
- For extra reinforcement, sew additional lines of stitching across the interfacing in a grid or diamond pattern. This additional stitching provides further durability and can help maintain the shape of the fabric over prolonged use.
- By carefully choosing and applying interfacing, you can significantly extend the life of your upholstery projects, ensuring that they remain sturdy and visually appealing for years to come.
Using Backing Fabric
Choosing Backing Fabric:
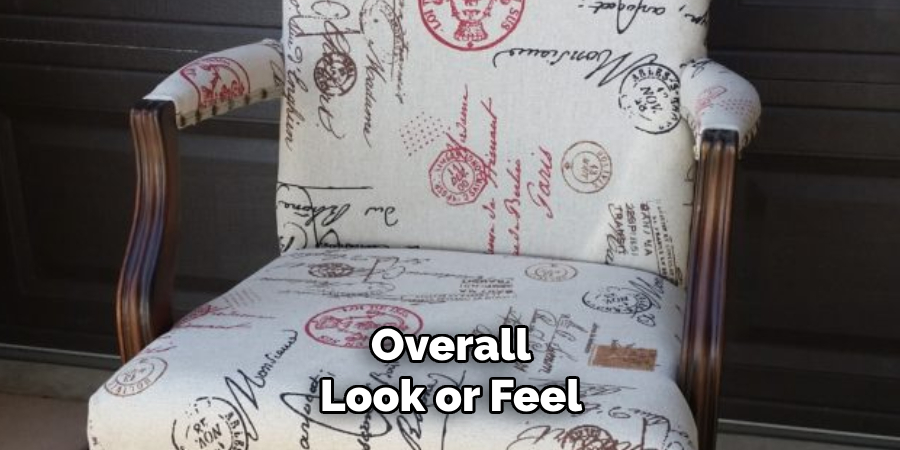
- Select a Sturdy Backing Fabric That Complements the Weight and Flexibility of the Upholstery Fabric: When selecting a backing fabric, it’s essential to choose one that is compatible with your upholstery fabric in terms of weight and flexibility. Fabrics such as muslin, canvas, or another durable material are excellent options. The backing fabric should provide additional support without altering the overall look or feel of the upholstery.
Attaching Backing Fabric:
- Cutting and Positioning:
- Cut the Backing Fabric to Match the Size of the Upholstery Fabric, Leaving Some Margin for Adjustments: Measure and cut the backing fabric to ensure it is equally sized to the upholstery fabric. Leave a small margin around the edges to allow for any adjustments during the alignment and sewing process.
- Place the Backing Fabric on the Wrong Side of the Upholstery Fabric and Align the Edges: Lay the upholstery fabric face down on a flat, clean surface. Then, position the backing fabric over it, ensuring the edges are meticulously aligned for a smooth final appearance.
- Pinning and Basting:
- Pin the Backing Fabric in Place to Prevent Shifting During Sewing:: Use pins to secure the backing fabric to the upholstery fabric. Pinning helps maintain the alignment and prevents any movement while sewing.
- Baste the Edges With Long, Temporary Stitches to Secure the Fabrics Together:ther: Using a needle and thread, baste the edges of the fabrics with long, temporary stitches. This step ensures that the fabrics stay aligned and joined correctly during the final sewing.
- Sewing the Backing Fabric:
- Use a Sewing Machine to Stitch the Backing Fabric to the Upholstery Fabric Along the Edges and in a Grid or Diamond Pattern for Added Strength: Employ a sewing machine to stitch around the perimeter of the fabrics, ensuring they are securely attached. Sew a grid or diamond pattern across the entire surface for additional reinforcement.
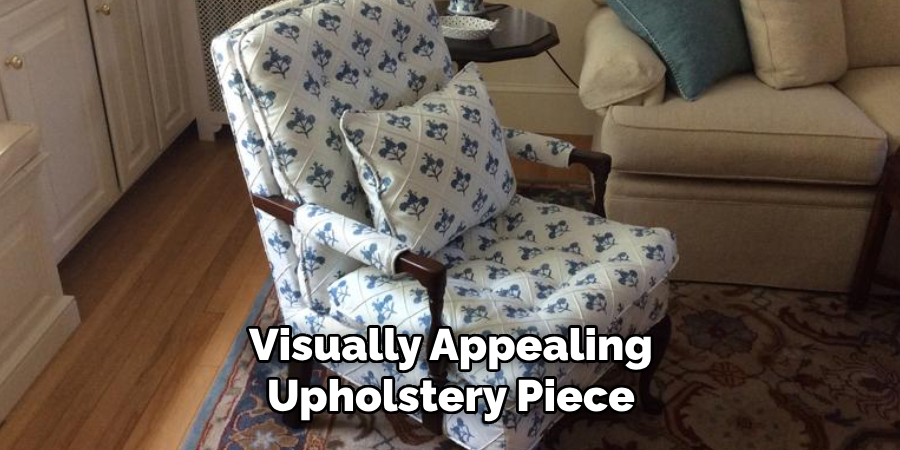
- Remove the Basting Stitches After the Final Stitching is Complete: Once you have completed the final stitching, carefully remove the basting stitches to finish the job neatly. This will result in a robust and visually appealing upholstery piece.
Conclusion
Reinforcing upholstery fabric involves several key steps to ensure a durable and professional-looking result. First, selecting the right materials is essential; choose interfacing and backing fabric that complement the upholstery fabric’s weight and flexibility. Preparing the fabric correctly by cutting and positioning both interfacing and backing fabric accurately lays the foundation for success.
Applying interfacing, whether fusible or sew-in, adds durability and stability, while using backing fabric provides additional support. Adding batting can further enhance the comfort and appearance of the upholstery piece.
Taking the time to follow each step meticulously will yield a long-lasting and aesthetically pleasing result. Reinforcing upholstery fabric not only increases its longevity but also improves its overall appearance, ensuring your pieces remain sturdy and attractive.
In conclusion, using quality materials and techniques is crucial when learning how to reinforce fabric for upholstery. If any part of the process feels too challenging or if you desire a more complex design, consider seeking professional assistance to achieve the best results.
