Are you tired of your old, worn-out teak dining table? Do you want to give it a fresh look and make it look brand new again?
Refinishing a teak dining table can breathe new life into an old piece of furniture, restoring its natural beauty and extending its longevity. Teak wood is renowned for its durability and resistance to the elements, making it a popular choice for indoor and outdoor furniture. Over time, however, exposure to sunlight, temperature changes, and everyday wear can cause the finish to fade or dull. Refinishing your teak table rejuvenates its appearance and provides a rewarding DIY project that can be accomplished with a few critical materials and tools.

In this guide, we will explore the step-by-step process required on how to refinish a teak dining table.
What Will You Need?
Before diving into the refinishing process, ensure you have all the necessary materials and tools. It is important to gather everything before starting to avoid interruptions and delays. Here’s what you’ll need:
- Teak cleaner or mild detergent
- Soft-bristle brush or sponge
- Sandpaper (120 grit and 220 grit)
- Tack cloth
- Wood stain or teak oil
- Clean cloth or paintbrush
- Polyurethane sealant (optional)
- Protective gear (gloves, goggles, mask)
Once you have all the materials and tools ready, it’s time to begin the refinishing process.
10 Easy Steps on How to Refinish a Teak Dining Table
Step 1: Prepare Your Work Area
Ensure your work area is well-ventilated and spacious enough to accommodate the teak dining table and your tools. Start by laying down a drop cloth or tarp to protect the surface beneath the table from any spills or debris. Work outdoors or in a garage with good air circulation to help with the fumes from the cleaners and stains. Arrange all the necessary materials and tools within easy reach to maintain efficiency throughout the process. Before starting, inspect the table for any loose joints or hardware, as you may need to tighten or repair them before proceeding with the refinishing steps. A clean and organized work area will make the refinishing process smoother and more enjoyable.

Step 2: Clean the Table
Begin by thoroughly cleaning the teak dining table. Use a teak cleaner or a mild detergent mixed with water to remove dust, dirt, and debris from the surface. Apply the cleaner using a soft-bristle brush or sponge, scrubbing gently to avoid damaging the wood. Pay special attention to areas with stubborn stains or buildup. Once clean, rinse the table with clean water to remove any residue from the cleaner. Dry the table thoroughly with a towel or allow it to air dry completely before moving on to the next step. A clean surface ensures better adhesion for the subsequent sanding and staining processes.
Step 3: Sand the Surface
With the table clean and dry, it’s time to sand the surface to remove the old finish and any imperfections. Start with 120-grit sandpaper, gently sanding toward the wood grain. This will help to strip away the faded finish and smooth out any surface irregularities. Be sure to reach all areas, including edges and corners, but do not overspend, as this could damage the wood. Once you’ve removed the old finish, switch to 220-grit sandpaper to create a smoother finish, ensuring the surface is ready for staining. After sanding, wipe down the table with a tack cloth to remove any dust or particles, leaving a clean surface ready for the next step.
Step 4: Apply Wood Stain or Teak Oil
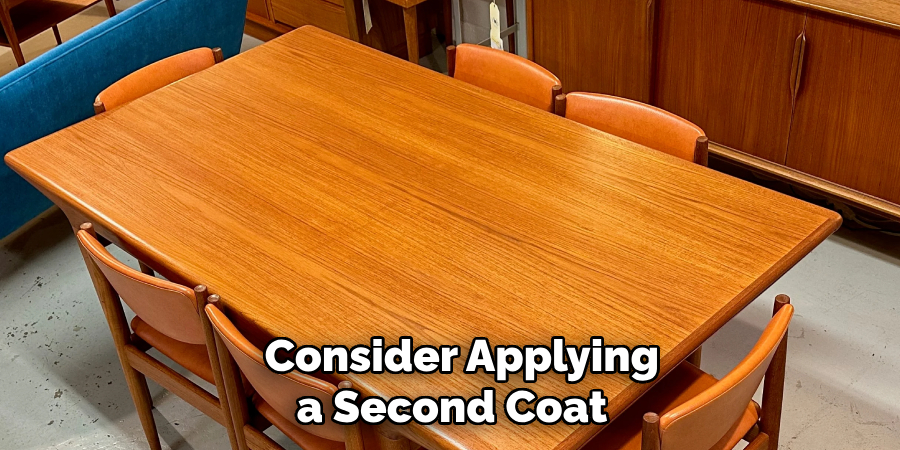
Now that the table’s surface is smooth and clean, it’s time to apply wood stain or teak oil to enhance its natural color. Using a clean cloth or paintbrush, apply the paint or oil in even strokes, following the direction of the wood grain. This step lets the wood absorb the product thoroughly, highlighting its stunning grain pattern and rich hue. If you’re using a stain, wipe off any excess with a lint-free cloth to prevent uneven coloring. Consider applying a second coat after the first one dries entirely for a more intense color.
Step 5: Seal the Surface (Optional)
Once the wood stain or teak oil has dried completely, consider applying a polyurethane sealant to protect the finished surface. This step is optional but recommended if the table will be used frequently or exposed to moisture. Use a clean brush to apply a thin, even coat of sealant, again following the wood grain. Allow the adhesive to dry according to the manufacturer’s instructions before lightly sanding with fine sandpaper to smooth any raised grain. If desired, apply a second coat for added durability, letting each coat dry thoroughly. The sealant adds a protective layer, enhancing the table’s longevity and preserving its refreshed appearance.
Step 6: Inspect and Reassemble
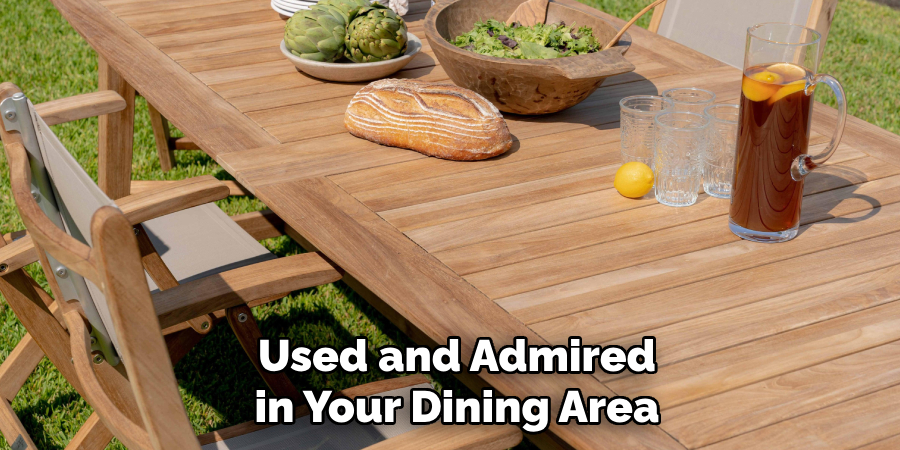
After ensuring the table is fully dry and sealed, give it a final inspection. Look for any areas that may need touch-ups or additional sealant. Once satisfied with the finish, it’s time to reassemble any hardware or tabletop extensions that were removed for refinishing. Carefully reattach any loose joints or pieces that were noted during the preparation stage. Confirm that all screws and attachments are tightened securely to ensure the table is sturdy and functional. Your refinished teak dining table is now ready to be used and admired in your dining area, showcasing its rejuvenated beauty and craftsmanship.
Step 7: Maintain the Table
Regular maintenance is essential to prolong the life and beauty of your refinished teak dining table. Dust the table frequently with a soft cloth to keep it free of dirt and debris that can scratch the surface. Avoid placing hot, wet, or stained items directly on the table, and use coasters, placemats, or tablecloths to protect it during meals and activities. Depending on wear and exposure to sunlight or humidity, reapply teak oil or a similar wood protectant every few months to maintain its rich color and prevent it from drying out or cracking.
Step 8: Enjoy Your Refreshed Teak Dining Table
After completing the refinishing and maintenance procedures, it’s time to celebrate your hard work. Arrange your dining area to complement the table’s newly enhanced appearance, perhaps by adding stylish table settings or centerpieces. Take pride in the craftsmanship that went into breathing new life into your teak dining table, and enjoy dining with family and friends around its sleek, rejuvenated surface. As you gather around the table for meals or conversations, appreciate the warmth and elegance this beautifully refinished piece brings to your home.
Step 9: Regular Inspections
Conduct periodic inspections every few months to ensure the longevity and aesthetic appeal of your refinished teak dining table. During these inspections, check for any wear or damage, such as scratches, fading, or loose joints. Pay close attention to areas frequently used, like corners and edges, as they may require more care. If you notice any minor issues, address them promptly to prevent further deterioration. Regular inspections not only help maintain the table’s beauty but also ensure it remains a durable and functional part of your dining area.
Step 10: Share Your Experience
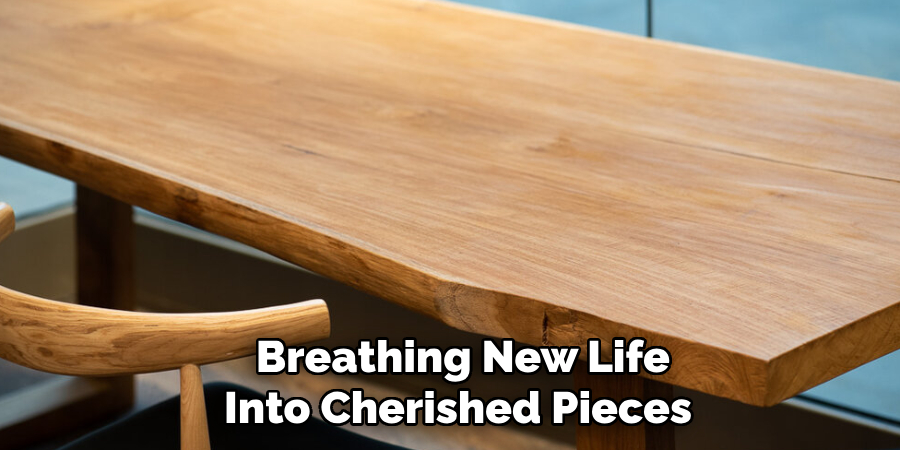
Completing the refinishing of your teak dining table is a rewarding achievement, and sharing your experience can inspire others who may be considering a similar project. Take photos of the transformation process to document your progress from start to finish. Share your insights, tips, and any challenges you encountered in a blog post or on social media platforms. Connecting with a community of DIY enthusiasts can encourage and foster a shared appreciation for restoring beautiful furniture. Your success story may motivate others to embark on their own furniture restoration journey, breathing new life into cherished pieces just as you have done with your teak dining table.
By following these steps, you can confidently refinish your teak dining table and turn it into a stunning centerpiece in your home.
5 Things You Should Avoid
- Using Harsh Chemicals: Avoid using strong solvents or cleaners that can damage the natural oils in the teak wood. These chemicals can strip the wood’s essential oils, leaving it dry and brittle.
- Skipping Sanding: Be sure to complete the sanding process before refinishing. Sanding helps remove the old finish and smooths out any imperfections, ensuring the new finish adheres properly to the wood surface.
- Applying Thick Coats of Finish: Avoid applying thick coats of oil or varnish. Thick layers can lead to uneven drying, drips, and a blotchy appearance. Instead, apply thin, even coats for the best results.
- Ignoring Weather Conditions: If refinishing outdoors, avoid working in direct sunlight or on humid days. Extreme conditions can affect the drying time and the quality of the finish, leading to an uneven look.
- Neglecting Proper Curing Time: Once finished, take your time with the curing process. Allow the finish to dry completely according to the product instructions to ensure a durable and beautiful result.
Conclusion
How to refinish a teak dining table can significantly enhance its beauty and longevity if done with care and attention to detail.
You can achieve a professional-looking finish by avoiding common pitfalls such as using harsh chemicals, skipping essential steps like sanding, and neglecting proper application and curing processes. Remember to select the right products suited for teak and work in appropriate environmental conditions to ensure the finished table is attractive and durable.
With patience and precision, your refinished teak table will remain a centerpiece in your home for years, embodying elegance and resilience.
