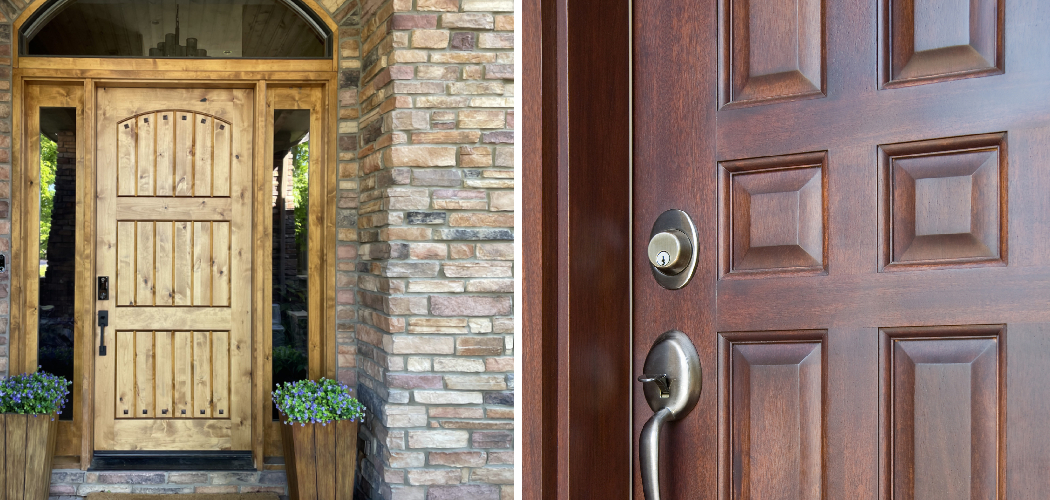
Refinishing a front door without removing it is a great way to restore the beauty of your home’s entrance. Doing so can improve curb appeal and increase the value of your residence. It’s also much easier than removing and replacing an entire door, which would require extensive effort and expensive materials.

Refinishing a door without removing the hinges can save you time and effort. It also eliminates the need to re-hang the door or worry about its alignment compared to other doors. Rather than removing the door, you can simply sand it down, apply primer and paint, and then enjoy your refreshed front entrance. In this blog post, You will learn how to refinish a front door without removing it.
Step-by-Step Processes for How to Refinish a Front Door Without Removing It
Step 1: Inspect the Door for Damage
The first step in refinishing a front door without removing it is to inspect the door for any signs of damage. Look closely at all four sides of the door, checking for cracks, dents, and other blemishes. If the damage is small enough, you can proceed with refinishing; however, the door may need to be replaced if there is significant damage or warping.
Step 2: Clean the Door with Soap and Water
Once you have inspected the door, it is time to clean it. Use a mild soap solution and warm water to remove dirt or debris from the door’s surface. Be sure to use gentle circular motions when cleaning to avoid scratching or damaging the paint. Rinse the door thoroughly and allow it to dry completely before proceeding.
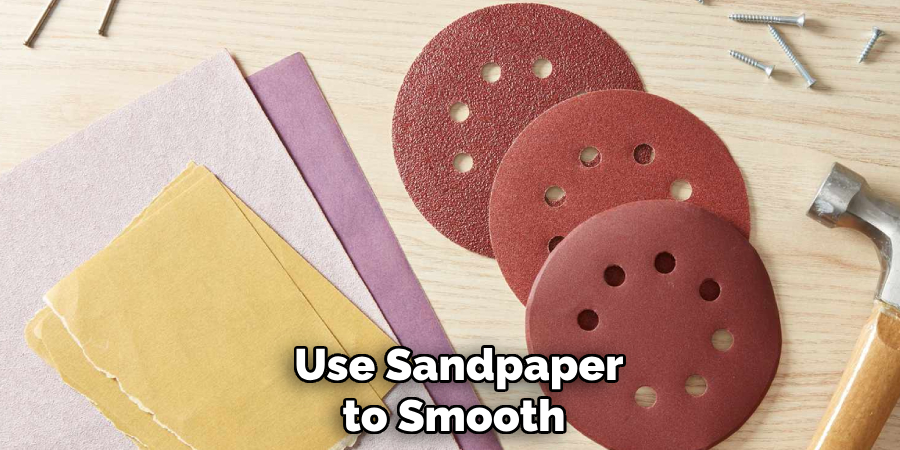
Step 3: Use Sandpaper to Smooth Out Imperfections
Once the door is dry, use sandpaper to smooth out any imperfections in the wood. Start with medium-grit sandpaper and gradually work up to fine-grit until you have achieved a smooth finish. Be sure to sand evenly on all sides of the door. Once you have finished sanding the door, use a clean cloth to wipe away any excess dust or debris from the surface. Make sure that you completely remove any dirt or particles left behind.
Step 4: Apply Primer and Allow to Dry
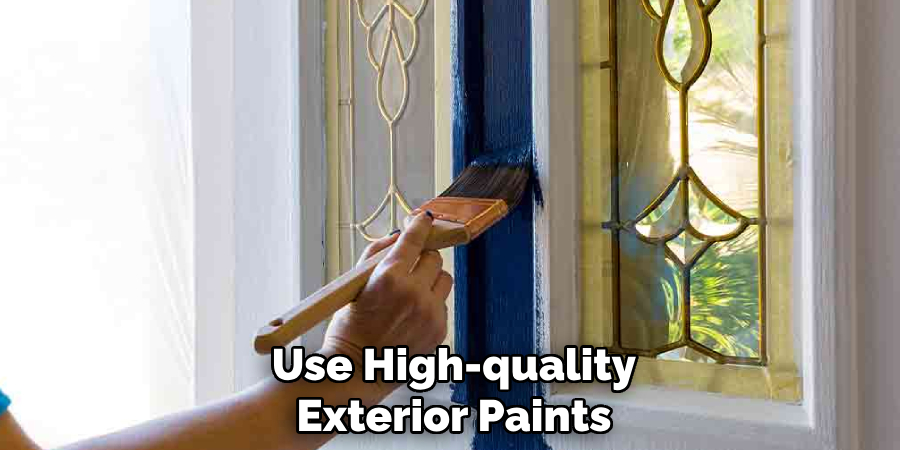
Once the door is clean, it is time to apply the primer coat. Use a brush or roller to spread the primer evenly across all four sides of the door. Allow this coat to dry for several hours before proceeding. Once the primer has dried, it is time to paint the door. Use a brush or roller to apply high-quality exterior paint in even strokes across all four sides of the door. Allow this coat to dry for several hours before proceeding.
Step 5: Apply a Second Coat of Paint If Necessary
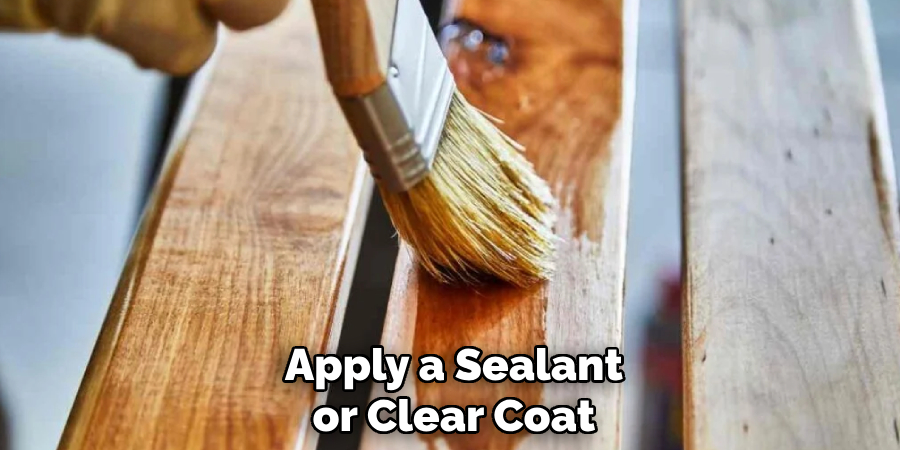
You can apply a second coat of paint for extra protection and durability if necessary. Allow this coat to dry thoroughly before proceeding. Once the paint has dried, it is time to apply a clear coat or varnish. This will help protect the door from scratches and other damage. Use an even brush stroke to apply the clear coat or varnish to all four sides of the door. Allow this coat to dry for several hours before proceeding.
Step 6: Reinstall Any Hardware on the Door
Once you have finished refinishing the door, you can reinstall any hardware, such as a doorknob and hinges. Make sure that everything is working properly and securely in place.
You have successfully refinished your front door without removing it. Now, you can enjoy the look of a freshly refinished front door without taking any drastic steps. With proper maintenance, your door should last for many years to come.
Safety Precautions for How to Refinish a Front Door Without Removing It
- Wear protective clothing such as a dust mask, goggles, and gloves when refinishing a door to avoid contamination.
- Always work in a well-ventilated area when refinishing a front door. This will help prevent fumes from gathering inside your home or workspace.
- Ensure all electrical appliances are turned off, and all cords are unplugged when refinishing a door.
- Always use high-quality exterior paints, primers, and varnishes to ensure your finished product is durable and long-lasting.
- Scrub the door with a mild soap solution before refinishing it to remove any dirt or debris from the surface.
- Allow each coat of paint, primer, or varnish to dry completely before applying the next layer. This will help ensure that your finished product is smooth and even.
- When reinstalling hardware on the door, ensure everything is properly secured and functioning correctly.
Following these simple steps and safety precautions, you can easily refinish a front door without removing it and achieve beautiful, long-lasting results.
Additional Maintenance Tips After Removing Your Door
- To ensure that your freshly refinished front door lasts for many years, keep up with regular maintenance such as painting and staining.
- Before applying any paint or stain to your front door, ensure it is clean and free of dust, dirt, and other debris. You can use a degreaser or detergent to remove any oils or grime that may have built up on the surface over time.
- Apply a primer before painting, which will help the paint stick to the door and provide better coverage.
- Apply a sealant or clear coat to your front door after painting or staining it for added protection against weathering, fading, and other types of wear and tear.
- If you have glass panels on your front door, use special cleaners and polishes designed for glass to keep them looking their best.
- Regularly inspect the door hardware, such as knobs, locks, and hinges, to ensure they are in good working order and that no pieces have become loose or damaged over time.
- Keep an eye out for any signs of wear and tear on your refinished front door so that you can take action quickly and prevent any further damage from occurring.
- If the doorframe surrounding your front door is worn or has become damaged, consider replacing it or repairing it as necessary to maintain the overall look of your entryway.
- Finally, apply fresh paint or stain every few years to keep your front door looking great and protected from the elements.
It is important to remember that with any home improvement project, safety should always be your top priority. Before refinishing a front door without removing it, take all necessary precautions, such as wearing protective clothing and eyewear, using appropriate tools, and following instructions carefully to ensure a successful outcome.
How Long Will the Process Take to Refinish a Front Door Without Removing It?
The time it takes to refinish a front door without removing it depends on several factors, such as the size and complexity of the job, the quality of materials used, the tools available, and the skill level of the person completing the project. Generally speaking, refinishing a door in this manner can take anywhere from one day for small projects to multiple days for more complex projects.
In addition to the actual refinishing process, it is important to factor in any prep work, such as removing existing paint or stain, cleaning the door surface, and applying a primer before painting. Once all of these steps have been completed, you can begin applying your chosen finish and expect to see results in no time.
What Techniques Can You Use to Ensure a Smooth Finish When Refinishing a Front Door in Place?
To get the best results when refinishing a front door without removing it, there are some techniques you can use to ensure a smooth finish. Sanding down the door’s surface is the first step; this will help remove any imperfections and create an even base for paint or stain to be applied.
After sanding, wipe away all dust and particles with a damp cloth. Priming the door will also help create an even base for paint or stain and provide extra protection against weathering and fading. Finally, apply two to three coats of paint or varnish in thin, even layers to ensure a smooth and consistent finish. Allow each coat to dry completely before applying the next one.

Conclusion
Refinishing a front door without removing it can be time-consuming and may yield different results than a more thorough job. It is important to take extra care with the door’s surface so that the paint does not chip or peel, which could be hazardous to anyone touching it.
In conclusion, refinishing a front door without removing it is an excellent way to update the look of your home without having to do too much work. With just a few supplies and some basic tools, you can have a whole new look for your front door in no time!
Ensure you take all safety measures when sanding and painting and use the right products to get the most longevity out of your project. Reading this post has helped you learn how to refinish a front door without removing it. Make sure the safety precautions are carried out in the order listed.