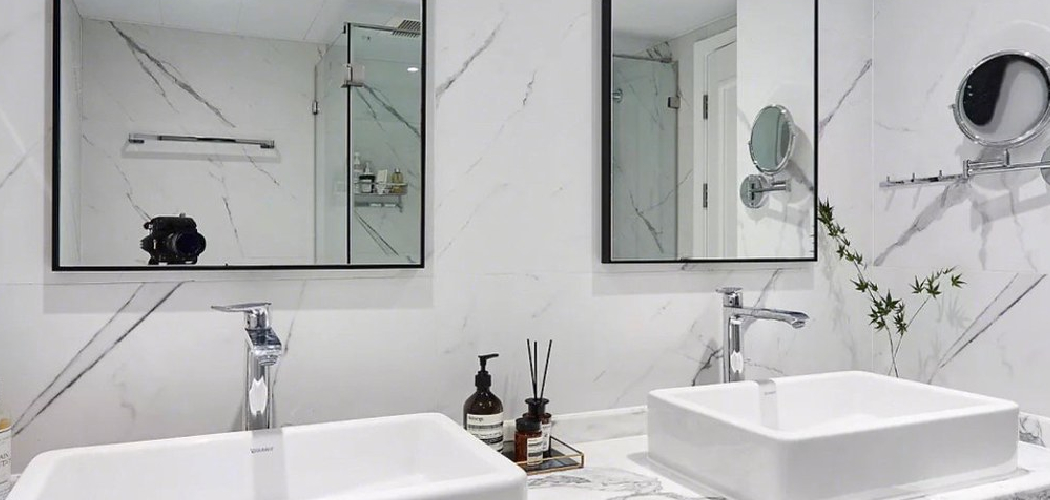
Are you tired of looking at your old, outdated bathroom vanity? Are you ready to give it a fresh look without breaking the bank?
How to refinish a bathroom vanity is an excellent way to refresh your space without the need for a full renovation. A well-executed refinish can transform outdated or worn cabinets into a centerpiece of modern style, all while saving you time and money. Before you begin, it’s essential to gather the necessary tools and materials, assess the condition of the vanity, and choose a finish that complements your overall bathroom design. With a bit of patience and some basic DIY skills, a refinished vanity can breathe new life into your bathroom, adding both functionality and aesthetic appeal.

Refinishing offers a customizable solution for any style preference, whether you’re aiming for a sleek, contemporary look or a more traditional feel.
What Will You Need?
Before you begin, ensure you have all the necessary tools and materials. This will save you time and prevent any unnecessary trips to the hardware store.
- Sandpaper or sanding block
- Paint or stain (water-based recommended)
- Primer
- Paintbrushes or foam rollers
- Painter’s tape
- Screwdriver (if removing hardware)
- Drop cloth or plastic sheeting
Once you have all your supplies, you can assess the condition of your vanity and determine the best approach to refinishing.
10 Easy Steps on How to Refinish a Bathroom Vanity
Step 1. Remove Hardware:
To begin the refinishing process, remove all hardware from the vanity. This includes knobs, handles, and drawer pulls, using a screwdriver or other appropriate tools. Taking these pieces off will not only prevent them from getting paint or stain on them but also ensure you have complete access to the surfaces that need refinishing. Place the removed hardware in a small container to keep everything organized and avoid misplacing any pieces.

If the hardware is in good condition and suits the new design aesthetic you’re aiming for, you can clean it and reuse it after the refinishing is complete. However, if you opt for a full style overhaul, now is the perfect time to consider selecting new hardware that complements your updated vanity look.
Step 2. Clean the Surface:
Before beginning the sanding process, it’s crucial to thoroughly clean the vanity to remove any dust, grime, or soap residue that could interfere with the new finish. Use a mild detergent mixed with water and a soft cloth or sponge to gently scrub all surfaces, ensuring you reach into corners and edges. Rinse with clean water and dry completely with a soft towel. This step prepares the surface for sanding and ensures better adherence to the primer and paint, resulting in a smooth, durable finish. If the vanity has cracks or holes, fill them with wood filler and allow it to dry before sanding.
Step 3. Sand the Vanity:
Sanding the vanity is an essential step that helps the primer and paint adhere properly to the surface. Use sandpaper or a sanding block, starting with a coarse grit to remove the existing finish or rough patches. Gradually move to a finer grit to smooth out the surface. Be sure to sand evenly across all flat areas, corners, and edges for a consistent texture. After sanding, wipe the vanity down with a damp or tack cloth to remove all dust particles. This preparation ensures the best surface for primer and paint, allowing for a flawless and long-lasting finish.
Step 4. Apply Primer:
Applying primer is a critical step in achieving a professional-looking refinish. Once the vanity is clean and sanded, apply a coat of primer using a paintbrush or foam roller. Choose a high-quality, water-based primer for bathroom surfaces to ensure durability and moisture resistance. Be thorough and apply an even coat, paying particular attention to edges, corners, and any intricate details.
Allow the primer to dry completely per the manufacturer’s instructions before proceeding to the painting step. This layer will help seal the wood and create a uniform surface, allowing the paint or stain to adhere more effectively and enhance the final appearance of your refinished vanity.
Step 5. Paint or Stain the Vanity:
With the primer thoroughly dried, it’s now time to add your chosen paint or stain to the vanity. If you opt for paint, select a high-quality, water-based option suitable for bathroom use, as it will provide better moisture resistance. Use a paintbrush or foam roller for a smooth application, starting with thin, even coats. Be patient and allow each coat to dry completely before adding another layer, ensuring a flawless finish without streaks or bubbles.
If you prefer the look of wood grain, a stain might be the better option. Apply the stain with a cloth or brush, following the wood grain’s direction to enhance its natural beauty. Allow the paint to dry as per the manufacturer’s instructions before considering an additional coat for deeper color intensity. Whichever finish you choose, the key is patience and precision for a result that brings new life to your bathroom vanity.
Step 6. Seal the Finish:
Once the paint or stain has dried completely, applying a protective sealant is essential to safeguard your hard work from moisture and daily wear. Choose a clear polyurethane or polycrylic topcoat that complements your chosen finish—matte, satin, or gloss—and is suitable for high-moisture environments like bathrooms. Use a clean brush or foam applicator to apply the sealant evenly, ensuring all areas are covered, including edges and intricate details. Follow the manufacturer’s instructions regarding drying times between coats and the number of coats needed for optimal protection. A well-sealed vanity will maintain its fresh appearance longer and resist potential damage from water or humidity, providing both durability and beauty to your updated bathroom space.
Step 7. Reattach Hardware:
Once the sealant has dried completely and you are satisfied with the finish, it’s time to reattach the previously removed hardware. If you decide to use the original knobs, handles, and drawer pulls, ensure they are clean before reinstallation. Should you have opted for new hardware, align them carefully with the existing holes or drill new ones if necessary. Use a screwdriver to securely fasten each piece into place, being cautious not to overtighten and damage the refinished surface. Reattaching the hardware marks the beginning of your vanity’s transformation, providing a functional and aesthetically pleasing final touch to the project.
Step 8. Final Touches:
With the hardware in place, inspect your revamped vanity for any final adjustments or touch-ups. Examine the paint or stain for any areas that may need a bit of extra attention or refinement. Consider adding decorative elements such as drawer liners or accent pieces to enhance the vanity’s aesthetics and functionality further. Additionally, ensure that the surrounding bathroom area is clean, as dust or debris gathered during refinishing can detract from the overall appeal. Admire your work, and enjoy the satisfaction of a beautifully transformed vanity that enhances your bathroom’s style and serves as a testament to your skill and creativity.
Step 9. Maintaining Your Vanity:
Establish a regular maintenance routine to ensure the longevity and appearance of your newly refinished vanity. Regularly wipe the surface with a damp, soft cloth to remove dust and moisture residue. Avoid harsh chemical cleaners or abrasive scrubbing pads, as these can damage the finish. Consider applying a furniture polish or wax for bathroom surfaces periodically to enhance the sheen and provide additional protection. Address any spills or water splashes promptly to prevent water damage. By taking these precautions, you can preserve the beauty and functionality of your vanity over time, keeping your bathroom space fresh and inviting.
Step 10. Enjoy Your New Space:
With the refinishing project complete, take the time to enjoy your revitalized bathroom space. Notice how the updated vanity enhances the overall look and feel of the room, reflecting both your style and the hard work you put into its transformation. Consider incorporating other elements such as matching towels, a plush bath mat, or a decorative mirror to complement your refreshed vanity further and elevate your bathroom’s aesthetics. Revel in the satisfaction of a transformed space that offers function and beauty, making each moment spent in your bathroom a more enjoyable experience.

By following these ten steps, you can successfully refinish your bathroom vanity and achieve a stunning result that adds value to your home while reflecting your style. With proper maintenance, your newly updated vanity will continue to enhance your bathroom space for years.
Conclusion
How to refinish a bathroom vanity is a rewarding DIY project that can significantly upgrade the look of your bathroom without the need for a complete renovation.
By carefully following each step, from preparation and sanding to painting and sealing, you can achieve a professional-looking finish that brings new life to an old piece. Patience and attention to detail are key in ensuring a result that looks beautiful and withstands the wear and moisture of a bathroom environment.
Additionally, incorporating new or refreshed hardware can add a personal touch, allowing you to express your style in a functional yet stylish way. With proper maintenance, the refinished vanity will remain a stunning feature in your bathroom, enhancing its appearance and your enjoyment of the space for years to come.