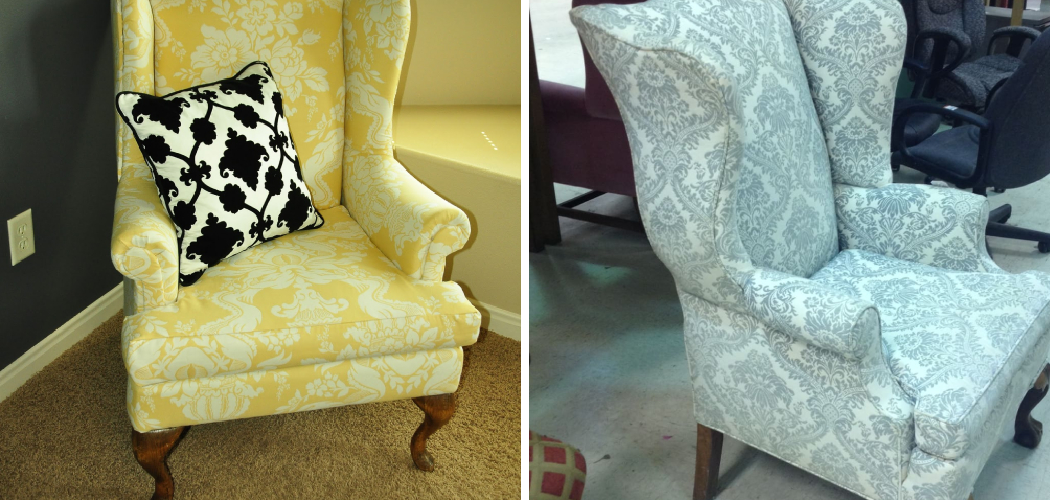
Wing back chairs are timeless pieces of furniture characterized by their high backs, winged sides, and sturdy wooden legs. They bring an air of sophistication and classic elegance to any room. Over time, however, these beloved chairs can show signs of wear and tear or may no longer complement your updated décor. Learning how to recover a wing back chair can breathe new life into your treasured piece, whether you’re repairing damage, updating its style to match the current trends, or preserving its sentimental value.

The recovering process involves several steps: first, carefully removing the old fabric and staples, followed by prepping the frame and cushioning. Next, accurately cut the new fabric to fit snugly, then attach it meticulously to ensure a smooth, professional finish. Finally, adding any buttons, trim, or other finishing touches ensures that your wing back chair looks as good as new and continues to be a focal point in your home.
Materials
To successfully recover a wing back chair, you will need the following materials:
- Upholstery Fabric: Choose a durable fabric that suits your aesthetic and can withstand regular use. Measure your chair to ensure you purchase enough fabric for the project.
- Batting: This provides a soft layer between the foam padding and fabric, enhancing comfort and smoothness.
- Foam Padding (If Necessary): If the original padding is worn out, replacing it will improve the chair’s comfort and structure.
- Upholstery Thread: Strongly crafted to handle the tension and wear expected in upholstery projects.
- Piping (Optional): Used for adding decorative edges and enhancing the finished look of your chair.
Tools
Gather these essential tools to ensure a smooth and efficient recovery process:
- Staple Gun and Staples: Necessary for attaching the new fabric securely to the chair frame.
- Upholstery Tacks: Provides additional security and decorative detail.
- Scissors: Used for cutting fabric and batting accurately.
- Measuring Tape: Ensures precise measurement of fabric and padding.
- Seam Ripper: Helps in removing the old fabric without damaging the chair frame.
- Screwdriver: For removing and reattaching parts of the chair.
- Pliers: Useful for removing old staples and tacks.
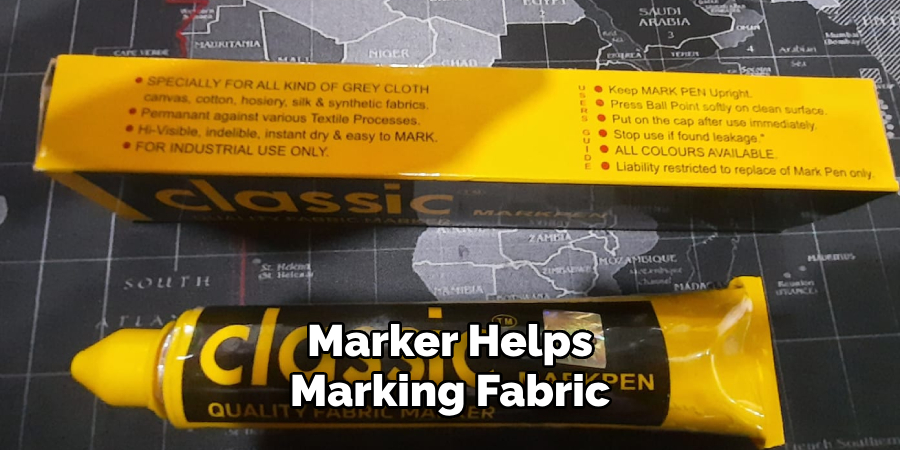
- Chalk or Fabric Marker: Helps in marking the fabric for cutting and placement.
Safety Gear
To protect yourself during the recovery process, make sure to wear:
- Gloves: Protect your hands from sharp tools and materials.
- Safety glasses: Shield your eyes from any flying staples or other debris.
Removing Old Fabric
Removing the old fabric from your wingback chair is a crucial step in the recovery process. It ensures a smooth and professional finish for your newly reupholstered piece. Follow these detailed steps to tackle this task effectively.
Identifying the Steps:
- Take Photos: Begin by documenting each stage of fabric removal. Use your smartphone or a camera to take photos from different angles. Capturing these images will serve as a valuable reference when you start attaching the new fabric, ensuring that you know precisely how and where each piece fits.
- Label Pieces: As you meticulously remove each piece of old fabric, label it with a fabric marker or a piece of masking tape. This way, you can use these old pieces as a pattern when cutting your new fabric, guaranteeing an accurate fit.
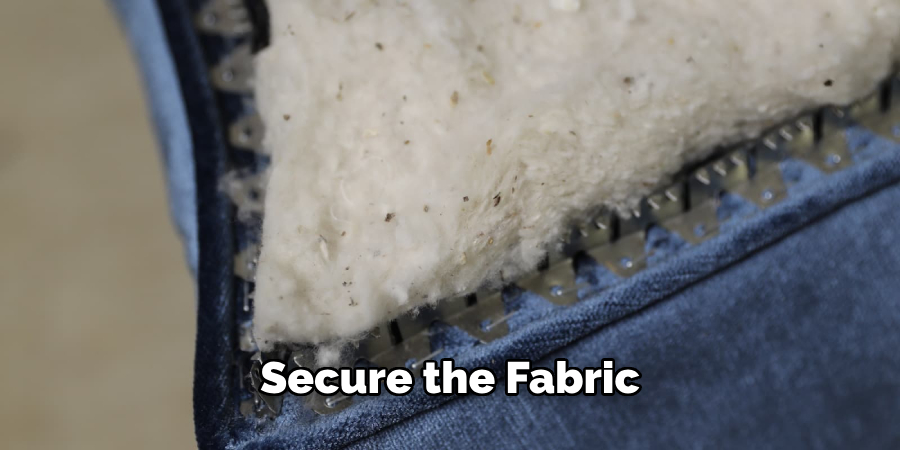
Removing Staples and Tacks:
- Tools: For this part of the process, gather a flat-head screwdriver and a pair of pliers. A screwdriver is particularly helpful for prying up staples, while pliers can be used to pull them out completely.
- Technique: Start removing the staples and tacks from the bottom of the chair and work your way up. This methodical approach prevents unnecessary strain on the chair frame and helps you maintain control. Carefully insert the screwdriver under each staple or tack and gently twist to lift it. Then, use the pliers to pull it out entirely. Take your time to ensure you do not damage the chair’s frame during this process.
Handling Padding:
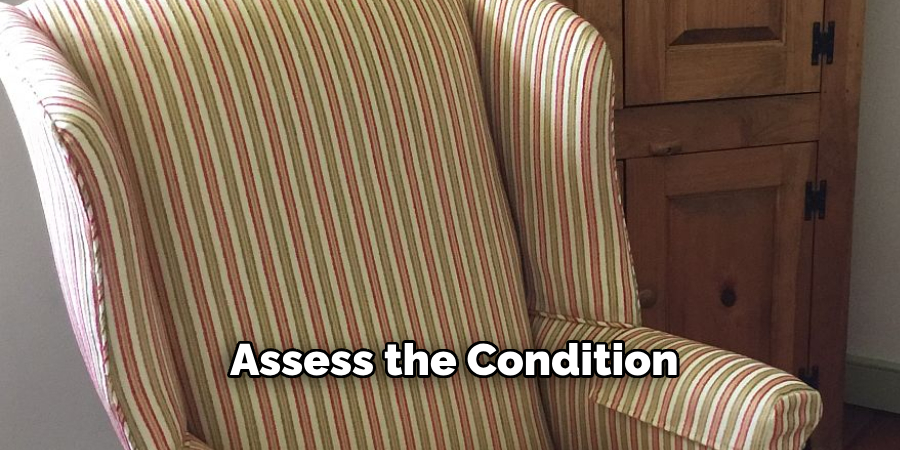
- Condition: Assess the condition of the existing padding as you expose it. Look for signs of wear, such as thinning, tearing, or loss of structure.
- Reuse: If the padding is in good condition, you can save and reuse it. This not only saves you money but also maintains the chair’s original comfort level. However, if the padding is damaged or deteriorated, replace it with new foam padding to restore the chair’s comfort and support.
By meticulously following these steps to remove the old fabric, you prepare your wing-back chair for the next stages of the recovery process. This foundational work is essential for achieving a high-quality, professional-looking finish on your reupholstered chair.
How to Recover a Wing Back Chair: Preparing the Chair
Inspecting the Frame
Before progressing with applying the new fabric, it’s crucial to inspect the chair frame thoroughly:
- Check for Damage: Examine the chair for any loose joints, broken parts, or structural weaknesses. Tighten any wobbly joints with a screwdriver or wood glue as necessary, and fix or replace any broken parts to ensure the chair is stable and secure.
- Cleaning: Wipe down the frame with a damp cloth to remove dust, dirt, and debris. This step is essential to creating a clean surface for the new padding and fabric.
Padding Replacement
Proper padding is essential for comfort and a smooth finish:
- Adding New Padding: If the old padding is worn out, replace it with new foam or batting. Measure and cut the new padding to match the dimensions of the chair, ensuring it fits comfortably without any bunching or gaps.
- Attaching Padding: Secure the new padding to the chair frame using spray adhesive or staples. Spray adhesive offers a smooth, uniform bond, while staples provide a more secure hold. Ensure that the padding is firmly attached and evenly spread to avoid any lumps or uneven areas, contributing to a professional-looking result.
Cutting New Fabric
Measuring and Marking
Using Old Fabric
Use the pieces of old fabric you labeled and removed as patterns for your new fabric. Lay the old pieces on top of the new fabric and secure them in place with pins. This step ensures that you replicate the design and dimensions accurately.
Adding Seam Allowance
When laying out your fabric pieces for cutting, be sure to include an extra inch or so around the edges for seams and tacking. This additional fabric is crucial for securing the new fabric to the chair frame and achieving a professional finish.
Cutting Technique
Tools
To achieve clean and precise cuts, use a pair of sharp scissors specifically designed for fabric. Dull scissors can cause fraying or uneven cuts, compromising the integrity of your project.
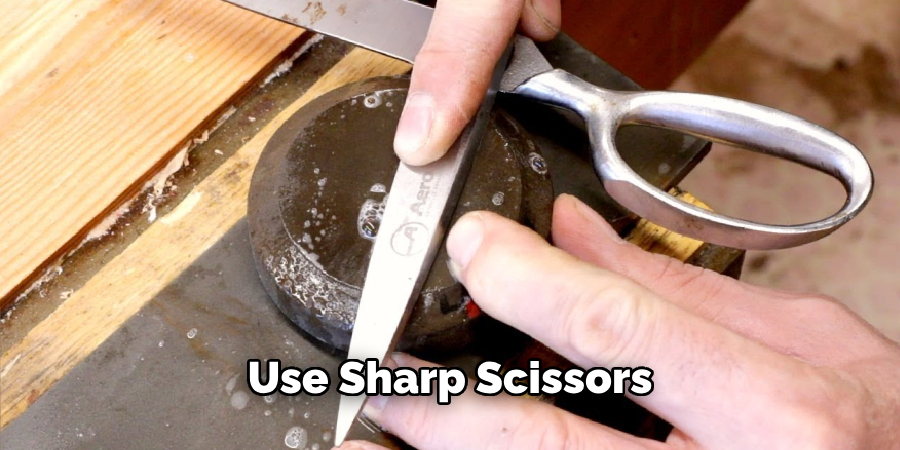
Accuracy
Carefully follow the outline of the old fabric pieces and the seam allowance to ensure precise cuts. Accurate cutting is essential to prevent fabric waste and ensure that each piece fits perfectly, contributing to your reupholstered chair’s streamlined and professional appearance.
Attaching the New Fabric
Starting Point
Begin with the Inner Back
Secure the fabric to the top of the frame with a staple gun, ensuring it is pulled taut and free of wrinkles. Start by placing a few staples at the center of the top edge, then work your way out towards the corners, consistently pulling the fabric tight and smoothing any wrinkles. This method ensures a smooth and professional look as you proceed.
Moving to the Seat
Pull the fabric tightly over the seat and staple it underneath the frame. Begin at the front center and work your way towards the back, alternating sides to keep the fabric evenly distributed and free of wrinkles. This technique helps maintain a smooth and even surface, contributing to the chair’s comfort and appearance.
Securing the Arms
Positioning
Place the fabric on the arms, carefully smoothing out any wrinkles. Ensure the fabric aligns appropriately with the contours of the arms to maintain a neat and tailored look.
Stapling
Secure the fabric underneath the arms and at the sides. Start at the front and work your way to the back, pulling the fabric tight and stapling it in place. Make sure the fabric is smooth and free of any wrinkles or bunches to achieve a clean, polished finish.
Covering the Wings
Technique
Pull the fabric tightly over the wings, staple along the edges, and trim any excess fabric. Begin at the top and work your way down, making sure the fabric is smooth and taut. This approach helps avoid puckering or sagging, resulting in a crisp, professional appearance.
Finishing the Outer Back
Aligning
Align the fabric with the outer back, ensuring a smooth appearance. Carefully position the fabric so that it is evenly distributed, covering the entire back area.
Securing
Staple the fabric along the edges, tucking it in neatly. Start at the top and work your way down, ensuring the fabric remains smooth and wrinkle-free. This step is crucial for a seamless and professional finish.
Corners and Details
Folding
Neatly fold the corners to avoid bulkiness. Make precise, clean folds to maintain a streamlined appearance and ensure that the fabric lays flat against the chair.
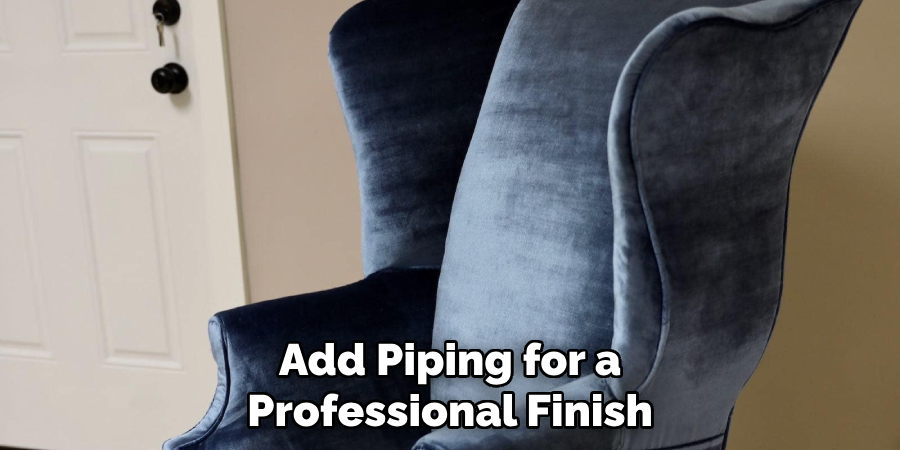
Piping
If desired, add piping for a professional finish. Piping can enhance the overall look of the chair and give it a more refined and finished appearance. Secure the piping along the seams using a staple gun, ensuring it is evenly spaced and tightly attached. This final touch can elevate the quality and aesthetics of your reupholstered wingback chair.
Conclusion
Revitalizing a wing back chair involves several meticulous steps that ensure a high-quality finish. Starting with the removal of the old fabric, carefully label and set aside each piece to use as a template. Next, inspect and prepare the chair by checking the frame for damages and replacing any worn padding. When cutting the new fabric, use the old pieces as patterns, adding seam allowances for a precise fit. Secure the new fabric by stapling it tightly in stages, paying close attention to the inner back, seat, arms, wings, and outer back, and finishing with neat corners and optional piping for a polished look.
The ultimate satisfaction of giving your wing back chair a fresh, new appearance is immensely rewarding. If you’re new to upholstery, it may be wise to start with a smaller project to build your skills. Remember, patience and attention to detail are paramount in achieving a professional outcome. Through this step-by-step guide on how to recover a wing back chair, anyone can transform a tired piece of furniture into a cherished focal point.