
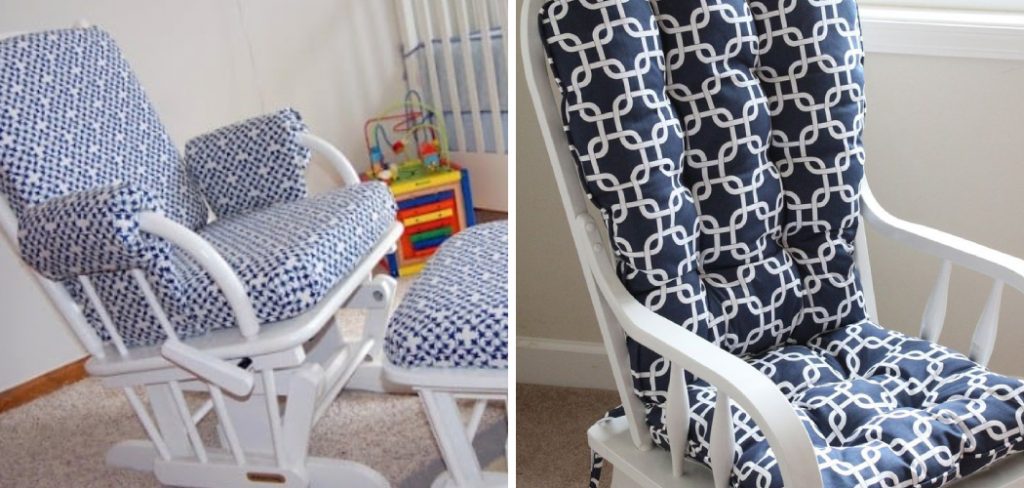
Recovering a glider rocker without sewing is a convenient and budget-friendly way to update the look of your nursery or living room. Whether you’re refreshing a hand-me-down or simply changing up your decor, this method offers a straightforward solution.
Traditional reupholstery can be costly, often requiring professional assistance or various sewing skills, which may not be feasible for everyone. This guide provides an easy-to-follow, no-sew approach, making the process accessible to those without sewing skills or equipment.
The purpose of this guide is to offer step-by-step instructions for how to recover a glider rocker without sewing, using just adhesive and fabric. Even beginners can achieve a polished, professional look by eliminating the need for sewing. In this guide, we will discuss the necessary materials, preparation steps, and clear, concise directions to ensure your glider rocker is transformed with minimal effort.
Say goodbye to outdated upholstery and hello to a fresh, new look for your cherished furniture.
Materials Needed
To successfully recover your glider rocker without sewing, gather the following materials:
- Fabric:
- Choose a durable and washable fabric of your choice, ensuring it is large enough to cover the seat and back cushions. Opt for materials like cotton, linen, or canvas for durability and ease of maintenance.
- Fabric Adhesive:
- Select a heavy-duty fabric adhesive suitable for bonding fabric to fabric and fabric to wood. Ensure the adhesive can handle the wear and tear of daily use and is safe for use indoors.
- Scissors:
- Cut fabric to size using sharp scissors. Precise cutting is essential to a clean, professional finish on your rocker cushions.
- Measuring Tape:
- Measure the dimensions of the cushions and fabric accurately. Proper measurements ensure that the fabric covers the cushions entirely without excessive material that could cause bunching or misalignment.
- Optional:
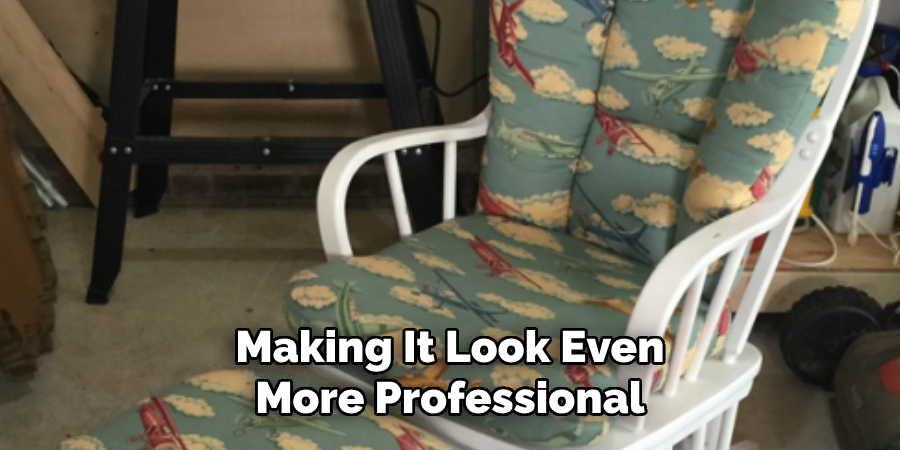
- Iron-on hem tape (for finishing edges, if desired). This can add a clean, polished edge to your fabric cover, making it look even more professional.
How to Recover a Glider Rocker without Sewing: Step-by-Step Guide
Step 1: Prepare the Glider Rocker
Clean the glider rocker thoroughly to remove any dust, dirt, or debris. Use a vacuum, brush, or damp cloth to ensure the surface is as clean as possible, which will help the new fabric adhere better.
Remove the existing cushions if possible, or cover them in place if they are not removable. Ensuring the cushions are accessible and clean is essential for achieving a smooth, professional finish.
Step 2: Measure and Cut the Fabric
Measure the dimensions of the seat and back cushions. Use a measuring tape to capture the length, width, and thickness that needs to be covered.
Cut the fabric to size, leaving a few inches of excess fabric on all sides to ensure full coverage. This extra material will allow you to wrap the fabric around the edges and secure it properly without any gaps.
Step 3: Apply Fabric Adhesive
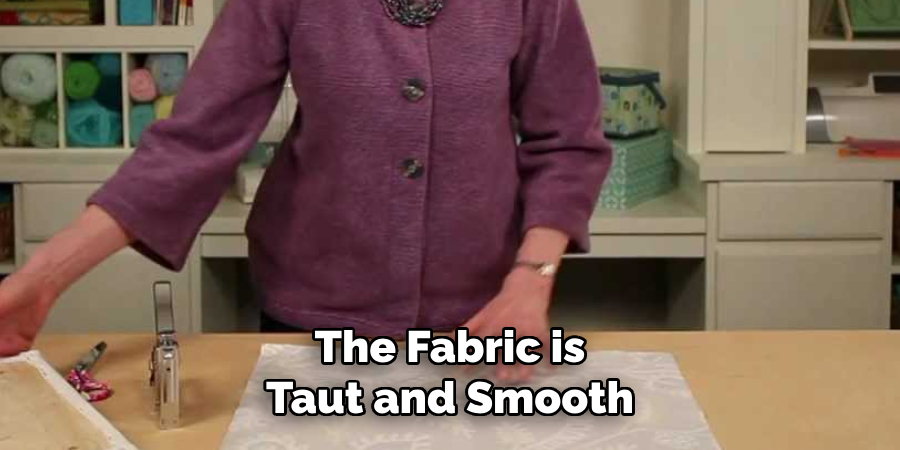
Lay the fabric flat on a clean, spacious surface, pattern side down. Ensure there is enough room to work comfortably without wrinkling the fabric.
Apply fabric adhesive evenly to the backside of the fabric, covering the entire surface. Use a brush or spray adhesive as recommended by the product instructions, ensuring an even application to prevent lumps or bubbles.
Step 4: Position the Fabric
Carefully position the fabric over the cushion, ensuring it is centered and aligned correctly. Starting at one end and working your way to the other can help maintain accuracy.
Smooth out any wrinkles or creases, pressing the fabric firmly onto the cushion. Take your time to ensure the fabric is taut and smooth, as this will impact the final appearance.
Step 5: Secure the Fabric
Press down firmly on the fabric to ensure it adheres securely to the cushion. Work from the center outward to ensure a strong bond and eliminate any air bubbles.
Use additional adhesive if necessary to bond any loose edges or corners. Pay extra attention to seams and folds, as these areas are more prone to lifting over time.
Step 6: Finish Edges (Optional)
If desired, use iron-on hem tape to finish the edges of the fabric for a clean and polished look. This step is optional but can add a professional touch to your project.
Follow the manufacturer’s instructions for applying the hem tape and ironing the edges. Ensure that the tape is securely bonded and no frayed edges are visible.
Step 7: Reassemble the Glider Rocker
Once the fabric adhesive has dried completely, reassemble the glider rocker to see if any parts were removed. Follow any specific instructions for your model to ensure it is reassembled correctly.
Place the recovered cushions back onto the glider rocker, ensuring they fit snugly and securely. Enjoy your newly refreshed glider rocker, which is now vibrant and stylish without the need for sewing!
Final Touches and Maintenance
Inspect the Recovered Glider Rocker
Once the adhesive has fully dried and you have reassembled your glider rocker, take the time to inspect your work. Check for any loose edges or areas where the fabric may need additional adhesive. Pay special attention to seams, corners, and edges to ensure they are secure. If you find any spots where the fabric is not adhering properly, apply additional adhesive as necessary and allow it to dry completely. This extra step will ensure the longevity of your no-sew upholstery job.

Maintain as Needed
To keep your recovered glider rocker looking fresh and vibrant, it’s essential to maintain it regularly according to the fabric’s care instructions. Depending on the type of fabric you used, this could include spot cleaning with a mild detergent, vacuuming to remove dust and debris, or occasionally wiping down with a damp cloth. Avoid using harsh chemicals or abrasive materials that may damage the fabric. Routine maintenance will not only keep your glider looking great but also extend the life of the adhesive.
Enjoy Your Updated Glider Rocker
Finally, once the inspection and any necessary touch-ups are complete and you have established a maintenance routine, it’s time to enjoy your updated glider rocker. Sit back, relax, and take pride in knowing you accomplished this makeover without sewing. Whether used for feeding and soothing a baby or simply as a cozy chair for your living space, your refreshed glider rocker now combines comfort with a stylish new look, all thanks to your effort and creativity.
Frequently Asked Questions
1. What Type of Fabric Is Best for Recovering a Glider Rocker?
The best fabric for recovering a glider rocker depends on your preferences and usage. Durable, easy-to-clean fabrics such as cotton, polyester blends, or upholstery fabric are typically ideal. These materials are resilient to wear and tear, and they come in a wide variety of patterns and colors to match your decor.
2. How Long Does the Adhesive Take to Dry Completely?
The drying time for fabric adhesive can vary based on the brand and type used. Typically, it may take anywhere from a few hours to overnight for the adhesive to dry completely. For the best results and to allow sufficient drying time before using the glider rocker, it’s crucial to follow the manufacturer’s instructions on the product label.
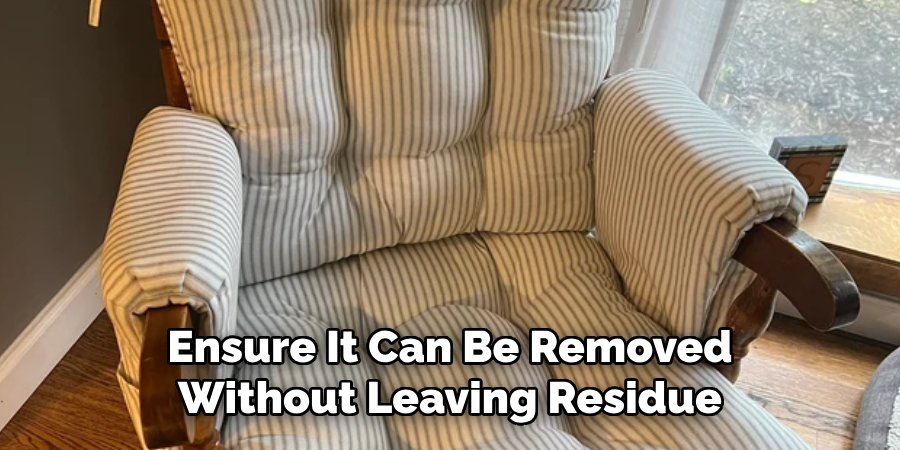
3. Can the Fabric Be Removed Later if I Decide to Change It Again?
Yes, the fabric can usually be removed if you decide to change it again. Some adhesives may allow for easier removal than others. For the easiest removal process, consider using an adhesive that is specifically designed to be repositionable. If you encounter resistance, gently peeling the fabric away and using a fabric adhesive remover can help.
4. Will the Adhesive Damage the Original Cushions if I Want to Revert to The Old Look?
Most fabric adhesives are designed to bond the fabric without causing damage to the surfaces beneath. However, the level of adherence and potential residue left behind can vary by product. If preserving the original cushions is a primary concern, choose a fabric adhesive that specifies it is non-damaging or test a small area first to ensure it can be removed without leaving residue.
Conclusion
Recovering a glider rocker without sewing is a simple and cost-effective way to update its appearance and extend its lifespan. By following the straightforward instructions in this guide, you can transform your worn or outdated rocker into a vibrant and stylish piece of furniture. This method eliminates the need for sewing skills, making it accessible for anyone who wishes to refresh their home decor or prepare for a new arrival.
Even without sewing expertise, using fabric adhesive and new fabric is an easy and effective way to achieve professional-looking results. This no-sew method is perfect for those who want to enjoy the satisfaction of a DIY project without the hassle of handling a needle and thread. Each step is designed to ensure a smooth process and a successful outcome, from measuring your cushions accurately to applying the adhesive evenly and positioning the fabric precisely.
In summary, knowing how to recover a glider rocker without sewing opens up new possibilities for home furnishings upgrades. This practical solution not only enhances the visual appeal of your glider rocker but also reinforces its durability and comfort.
Whether you’re updating a nursery for a baby on the way or simply giving new life to an old piece of furniture, this guide provides all the information you need to achieve a fresh, polished look with minimal effort. Enjoy your newly revitalized glider rocker, and take pride in your ability to enhance your living space with a DIY project that is both simple and rewarding.