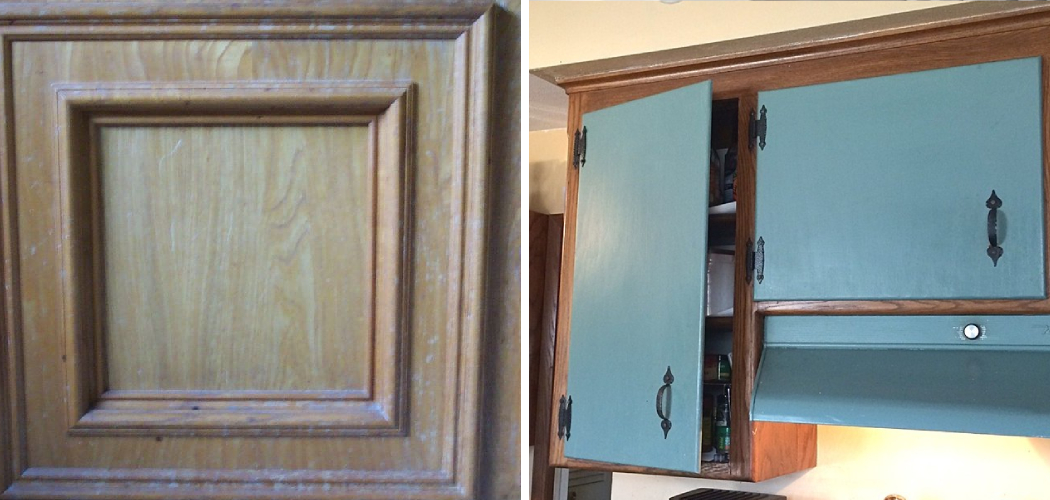
Adding molding to cabinet doors is a simple yet transformative project that can elevate the look of your kitchen or bathroom cabinetry. This DIY task allows you to create a custom, high-end appearance without the expense of replacing your entire cabinetry. Molding can add depth, texture, and architectural interest, turning plain cabinet doors into elegant focal points. This article aims to provide a comprehensive guide on how to put molding on cabinet doors. Whether you’re aiming for a classic, modern, or rustic look, the type of molding you choose and the way you apply it can significantly impact the overall aesthetic.
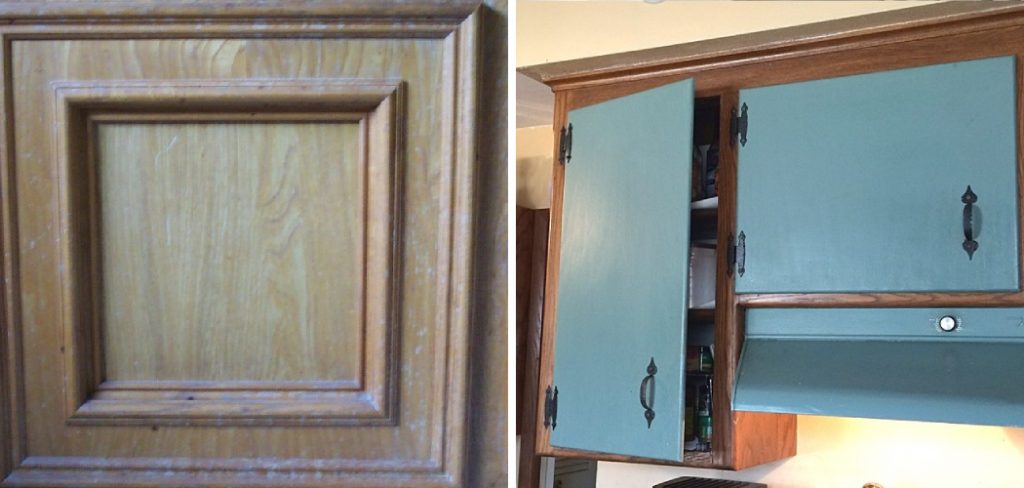
The process involves selecting the right molding, measuring and cutting it precisely, and securely attaching it to the cabinet doors. Additionally, proper finishing techniques, such as painting or staining, are crucial for achieving a polished, professional look. This article will provide a step-by-step guide to adding molding to cabinet doors, covering everything from preparation and material selection to installation and finishing touches. With these detailed instructions, you can confidently tackle this project and enhance your home’s style and value.
Importance of Molding in Enhancing Cabinet Aesthetics
Molding plays a crucial role in enhancing the aesthetics of cabinet doors, transforming them from plain to stylishly detailed. The right molding can add a sense of craftsmanship and sophistication, making cabinets look custom and upscale. It introduces visual interest and depth, breaking up the monotony of flat surfaces and drawing the eye to specific areas of the cabinetry.
Additionally, molding allows for a variety of design possibilities, enabling you to achieve a range of styles from classic and traditional to sleek and modern. By carefully selecting and applying molding, you can personalize your cabinetry to match your overall design vision, ensuring that it complements the rest of your interior decor. Not only does this addition elevate the appearance of your cabinets, but it also adds perceived value to your home, making it more appealing to guests and potential buyers.
10 Methods How to Put Molding on Cabinet Doors
1. Planning and Measuring
Before adding molding to your cabinet doors, it’s crucial to start with detailed planning and accurate measurements. Begin by deciding on the type of molding you want to use. There are various styles available, such as crown, cove, and bead molding, each offering a different aesthetic appeal. Once you’ve chosen your molding, measure the dimensions of your cabinet doors.
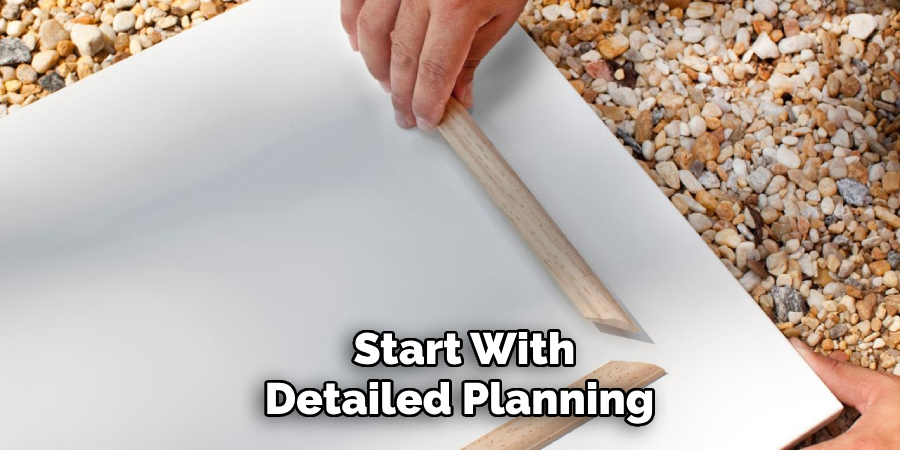
Use a tape measure to determine the height and width of each door, noting the exact measurements. This will help you calculate the amount of molding needed. Make sure to account for the thickness of the molding itself, as this will affect the overall dimensions. Accurate measurements are essential to ensure that the molding fits perfectly and enhances the look of your cabinets.
2. Selecting and Purchasing Molding
Choosing the right molding is vital to achieving the desired look for your cabinet doors. Visit a home improvement store or browse online to explore different molding styles and materials. Wood, MDF (Medium-Density Fiberboard), and PVC are common choices, each with its own benefits. Wood molding offers a classic, high-quality finish but can be more expensive and harder to work with. MDF is more affordable and easier to cut, but it may not be as durable. PVC is great for high-moisture areas and is easy to clean. Once you’ve selected the type and style of molding, purchase enough to cover all your cabinet doors, plus a little extra to account for mistakes or miscuts.
3. Cutting the Molding
Cutting the molding accurately is a critical step in ensuring a professional-looking finish. Use a miter saw to make precise 45-degree cuts for the corners of the molding. These angled cuts will allow the pieces to fit together neatly around the edges of the cabinet doors. Measure each piece of molding carefully before cutting to ensure they match the dimensions of the doors. If you’re not experienced with a miter saw, practice on some scrap pieces of molding first. Take your time with this step, as accurate cuts are essential for a seamless fit. If needed, use a miter box to help guide the saw and ensure straight, even cuts.
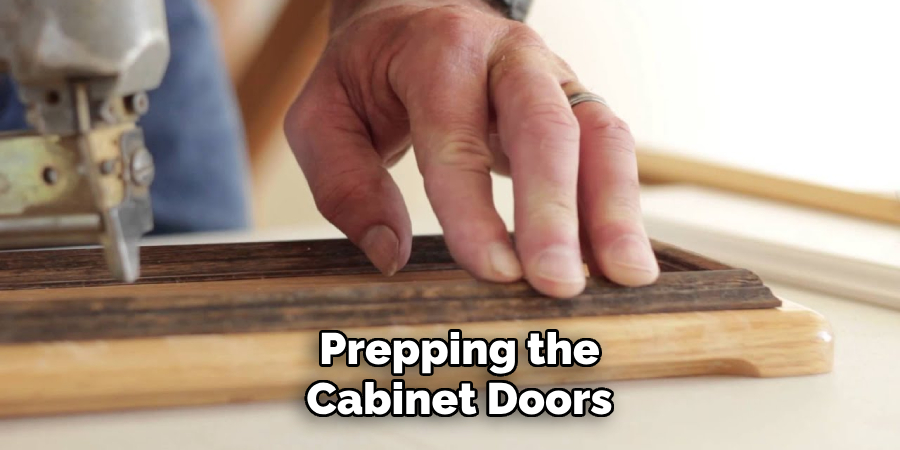
4. Prepping the Cabinet Doors
Before attaching the molding, prepare the cabinet doors by cleaning them thoroughly. Remove any grease, dust, or old paint that could prevent the molding from adhering properly. If the doors have a glossy finish, lightly sand the surface to create a better grip for the adhesive. Use a fine-grit sandpaper and sand in the direction of the wood grain. After sanding, wipe the doors with a damp cloth to remove any dust. If there are any dents or imperfections, fill them with wood filler and sand smooth once dry. Prepping the doors ensures that the molding will adhere securely and the final result will be smooth and professional.
5. Applying Adhesive
Applying the right adhesive is crucial for securing the molding to the cabinet doors. Choose a high-quality wood glue or construction adhesive that is appropriate for the materials you’re using. Apply a thin, even layer of adhesive to the back of the molding pieces. Be careful not to use too much glue, as it can squeeze out and create a mess. Press the molding firmly onto the cabinet doors, aligning it carefully with the edges. Hold it in place for a few minutes to allow the adhesive to set. If necessary, use painter’s tape to secure the molding while the adhesive dries. This step ensures that the molding stays in place and creates a strong bond with the cabinet doors.
6. Nailing the Molding
For additional security, nailing the molding in place is recommended. Use finishing nails and a hammer or a nail gun to attach the molding more firmly. Place nails at regular intervals along the molding, ensuring they penetrate the cabinet door beneath. Be careful not to split the molding by using nails that are too large or placing them too close to the edges. If you’re using a nail gun, adjust the pressure settings to avoid damaging the molding. After nailing, countersink the nails slightly below the surface of the molding. This provides extra reinforcement and ensures that the molding will remain securely attached over time.
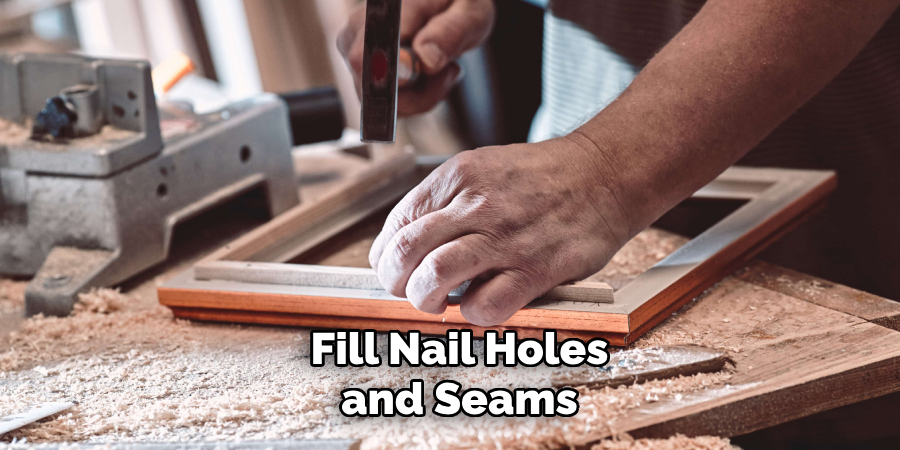
7. Filling Nail Holes and Seams
To achieve a smooth and polished look, fill any nail holes and seams in the molding. Use wood filler or a matching putty to fill the holes, applying it with a putty knife. Smooth the filler so it is level with the surface of the molding. For the seams where the pieces of molding meet, apply a small amount of filler and smooth it out to create a seamless joint. Once the filler is dry, sand it lightly with fine-grit sandpaper until it is smooth and flush with the surrounding surface.
8. Priming the Molding
Priming the molding is an essential step, especially if you plan to paint the cabinet doors. Apply a coat of high-quality primer to the molding and any exposed areas of the cabinet doors. Use a brush or roller suitable for your chosen primer to ensure even coverage. Priming helps to seal the wood, providing a smooth surface for the paint to adhere to and enhancing the durability of the finish. Allow the primer to dry completely, following the manufacturer’s instructions.
9. Painting or Staining
Once the primer is dry, you can proceed with painting or staining the molding and cabinet doors. Choose a high-quality paint or stain that complements your kitchen or room decor. If painting, use a brush or roller to apply the paint in thin, even coats. Allow each coat to dry before applying the next, usually requiring two to three coats for full coverage. If staining, apply the stain with a cloth or brush, working in the direction of the wood grain. Wipe off any excess stain and allow it to dry. Apply a clear topcoat to protect the stained wood.
10. Final Touches and Reassembly
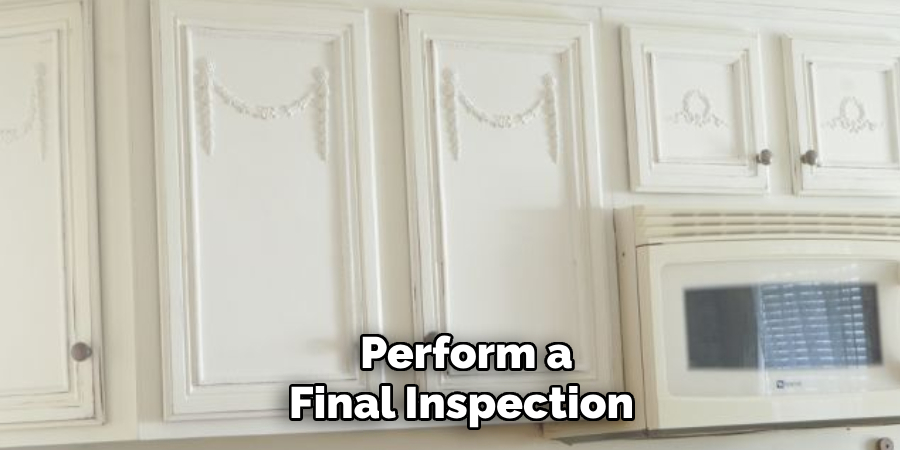
After the paint or stain has dried completely, perform a final inspection of the cabinet doors and molding. Touch up any areas that need additional paint or stain. If necessary, lightly sand the surfaces between coats of paint or after the topcoat for a smooth finish. Once you are satisfied with the appearance, reattach any hardware, such as handles or knobs, that you removed during the preparation stage. Rehang the cabinet doors on their hinges, ensuring they are aligned correctly and open and close smoothly. The final touches complete the transformation, giving your cabinets a beautiful, finished look that enhances your space.
Conclusion
Refacing your cabinet doors by adding molding is a gratifying project that significantly enhances the aesthetic appeal of your kitchen or any room with cabinetry. By carefully following the steps outlined—from measuring and cutting the molding to the final touches of painting or staining—you can achieve a professional-looking finish that breathes new life into your space. This DIY endeavour not only saves you money compared to a full cabinet replacement but also allows you to customize the look to perfectly match your home’s decor. Thanks for reading, and we hope this has given you some inspiration on how to put molding on cabinet doors!
