Are you tired of looking at plain, boring cabinets? Adding hardware is an easy and affordable way to update the look of your cabinetry.
When updating the look and functionality of your kitchen or bathroom cabinets, installing new hardware is a cost-effective and impactful solution. Whether you’re adding sleek handles, modern knobs, or classic pulls, the process of attaching hardware can dramatically enhance the aesthetic appeal and practicality of your cabinetry. Installing cabinet hardware is a relatively simple DIY project that requires essential tools and a bit of patience.
In this guide on how to put hardware on cabinets, we’ll walk you through the essential steps to ensure a professional-looking installation, covering everything from positioning to drilling, ensuring your cabinets are transformed with minimal effort.
What Will You Need?
Before starting, gather the necessary tools and materials to complete the project. Here are the essential items you’ll need:
- Cabinet hardware (handles, knobs, pulls)
- Measuring tape
- Drill
- Drill bit
- Screwdriver
- Level
- Pencil
- Optional: Template for precise spacing and placement of hardware
Once you have these items, you’re ready to begin.
10 Easy Steps on How to Put Hardware on Cabinets
Step 1. Measure and Mark Placement:
Before you start drilling, ensure you measure and mark the placement of your hardware accurately. Use a measuring tape to determine the center point of each cabinet door or drawer where the hardware will be installed. If you are installing cabinet pulls or handles, decide the distance from the edge of the cabinet door to the desired position. For knobs, locate the exact central spot for a balanced look.

Use your pencil to lightly mark these spots, ensuring the marks are visible enough to guide your drilling but light enough to erase if adjustments are needed. A template can help maintain consistent spacing and alignment across all cabinets, especially if you’re working on multiple pieces. Carefully double-check all measurements to ensure a uniform and professional finish throughout your cabinetry.
Step 2. Drill Pilot Holes:
Once you’ve marked the placement for your hardware, it’s time to drill pilot holes. This step is crucial to prevent the wood from splitting and to ensure the screws go in straight. Equip your drill with an appropriate drill bit that matches the size of the screws you will use. Holding the drill at a right angle to the cabinet surface, carefully drill into the marked spots. Make sure to drill only as deep as necessary for the hardware screws to fit securely. It’s advisable to start with a small bit and gradually increase the size if needed, which provides more control over the drilling process.
Step 3. Install the Hardware:
After drilling the pilot holes, you are ready to install the hardware. Begin by aligning the hardware with the pre-drilled holes. Position the screws into each hole, inserting them from the inside of the cabinet or drawer outward toward the hardware. Use a screwdriver to tighten the screws, ensuring a snug fit that holds the hardware firmly in place. Be careful not to overtighten, as this can cause damage to both the screw and the cabinet material.
If installing handles or pulls with two screws, start by tightening each screw partially to align the hardware, then evenly secure both screws to maintain symmetry. Once all hardware pieces are installed, verify their alignment and function, making any necessary adjustments to achieve a polished and attractive finish.
Step 4. Check for Alignment:
After installing the hardware, it is essential to check for proper alignment to ensure a consistent and professional look. Stand back and visually inspect the hardware from different angles to ensure everything appears straight and evenly spaced. Use a level, especially when working with handles or pulls, to confirm they are horizontally or vertically aligned as intended. If you find any discrepancies, loosen the screws slightly, adjust the hardware to the correct alignment, and then retighten the screws. Consistent alignment enhances the overall aesthetics of your cabinetry, making your space look more polished and cohesive.

Step 5. Add Finishing Touches:
Once all your hardware is securely installed and appropriately aligned, it’s time to add the finishing touches. Carefully inspect each piece to ensure no visible pencil marks from your initial measurements. Use a soft cloth or eraser to remove any marks gently. Additionally, clean the surface of your cabinets and hardware to remove any dust or debris generated during installation. A mild cleaner or polish can enhance the appearance of the cabinet’s surface and the new hardware, giving your space a refreshed and polished look.
Step 6. Troubleshoot Common Issues:
Sometimes, despite careful planning and measurement, issues may arise during or after the installation process. One common problem is a loose or wobbling piece of hardware. If you encounter this, check whether the screws are fully tightened or if the pilot holes are too large. If necessary, you can use a toothpick or wood filler to snugly fit the screws. Another issue could be misaligned hardware due to accidental shifting during installation. In this case, you may need to loosen and realign the hardware, ensuring all pieces appear consistent and precise in positioning.
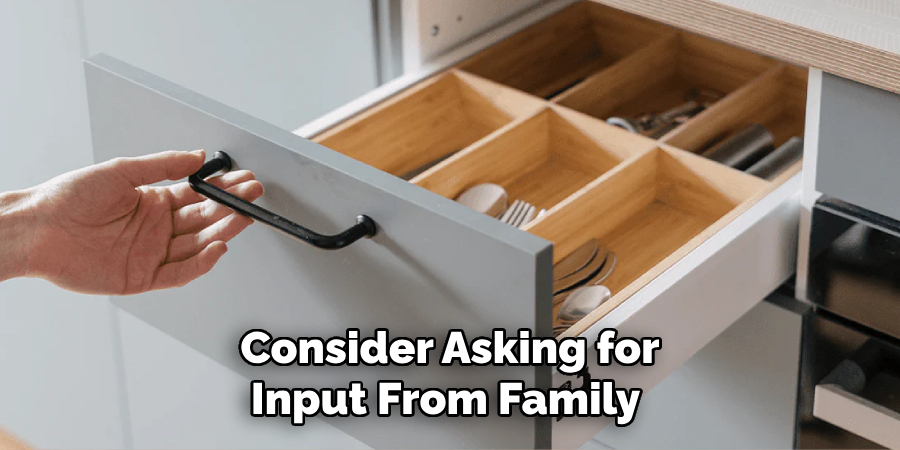
Step 7. Gather Feedback:
After completing the installation, it’s beneficial to gather feedback, mainly if others will use the cabinets. Open and close the cabinets several times to assess the usability and comfort of the newly installed hardware. Consider asking for input from family members or housemates who will regularly interact with the cabinets. Feedback can help identify overlooked issues, such as accessibility concerns or individual preferences for different placements. This collaborative approach ensures that the cabinets are aesthetically pleasing, functional, and practical for everyday use.
Step 8. Finalize and Secure Repairs:
Once all the hardware is installed and feedback has been considered, take time to finalize and secure any necessary repairs or adjustments. If any issues were identified during the feedback stage, address them promptly to ensure everything functions smoothly and looks its best. Check each piece of hardware to confirm it is securely in place, and tighten any screws that may have loosened over time. Additionally, assess the condition of the cabinetry to see if any touch-ups are required, such as painting or refinishing areas that may have been nicked or scratched during the installation process. This final step ensures your cabinets look pristine and are ready for long-term use.
Step 9. Enjoy Your New Cabinets:
With all installation and final adjustments complete, it’s time to step back and enjoy the fruits of your labor. Newly installed hardware can dramatically transform the appearance of your cabinets, offering both functional and aesthetic improvements. Take a moment to appreciate the streamlined look, improved accessibility, and refreshed ambiance. Your well-executed efforts will enhance your cabinetry’s longevity and add value and enjoyment to your home environment.
Step 10. Document the Process:
It’s beneficial to document the hardware installation process to ensure future projects run smoothly. Take note of the tools used, any specific measurements, and challenges encountered along the way. Include any modifications you made to the initial plan or any product recommendations based on your experience. This documentation serves as a valuable reference for future installations and can also assist anyone else taking on a similar project. Additionally, photographs taken at various stages of the installation may provide helpful visual guidance for yourself and others. Keeping this information organized ensures that your next project can be completed more efficiently and confidently.
By following these steps, you can successfully install hardware on your cabinets, enhancing their appearance and functionality.
5 Things You Should Avoid
- Using Incorrect Tools: Avoid using tools that are not explicitly designed for cabinetry work. Improper tools can damage both the hardware and the cabinet itself, leading to misalignment and poor installation.
- Ignoring Measurements: Skipping precise measurements is a common pitfall. Inaccurate measurements can lead to hardware that doesn’t fit properly, leaving your cabinets looking sloppy and functioning poorly.
- Rushing the Process: Hurrying through installation can result in mistakes and compromised quality. Take your time to ensure everything is aligned correctly and securely fastened for both aesthetic appeal and durability.
- Over-tightening Screws: Applying too much force can strip the screws or damage the cabinet material, leading to weakened hardware attachment and potential gaps over time.
- Neglecting Cabinet Structure: Considering the cabinet’s design and thickness is crucial before installation. Failing to do so might result in either too long or too short hardware, affecting both the cabinet’s functionality and longevity.
Following these tips and avoiding common mistakes can ensure a successful and high-quality cabinet installation.
Conclusion
Completing a cabinet hardware installation with precision ensures functionality and a polished appearance.
Start by assembling the necessary tools and carefully measuring every cabinet aspect to accommodate the hardware accurately. Taking a deliberate approach, rather than rushing, allows you to avoid errors and achieve a seamless integration. Equally, handle screws gently to prevent over-tightening, which can lead to damage. Lastly, consider the cabinet’s structural characteristics to select the most suitable hardware.
By adhering to these guidelines on how to put hardware on cabinets, you can achieve a professional-looking finish that enhances both the aesthetics and utility of your cabinets.