Are you expecting a new addition to your family and wondering how to put together the Graco crib you recently purchased? Putting together a crib may seem like a daunting task, but don’t worry, it’s actually quite simple. In this guide, we’ll take you through the step-by-step process of how to put Graco Crib together.

Assembling a Graco crib can seem daunting, but with the right instructions and a little patience, it can be done smoothly and efficiently. Having a sturdy and safe crib for your baby is essential, and following the manufacturer’s assembly guidelines ensures that all parts are properly installed.
In this guide, we will walk you through the steps of putting together a Graco crib, from unpacking the box to securing the final screws and ensuring your little one has a safe and comfortable place to sleep.
What Will You Need?
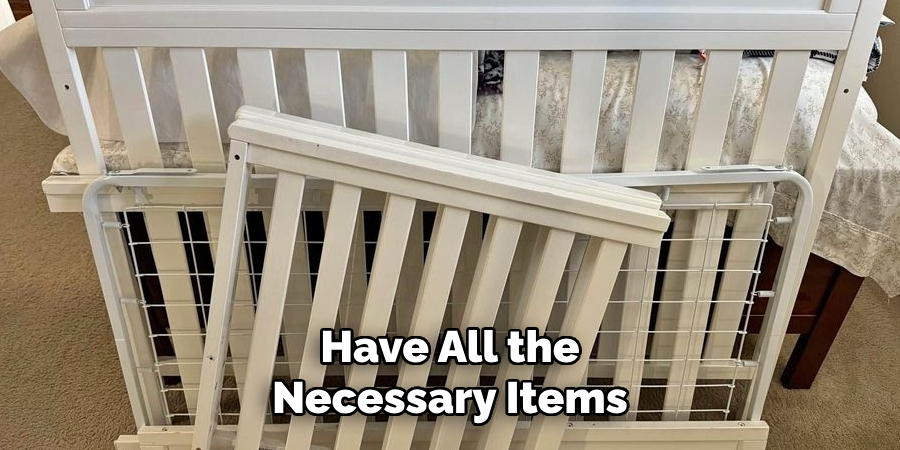
Before you start assembling the Graco crib, ensure you have all the necessary tools and materials. The items you will need are included in the box, but having additional tools such as a screwdriver and hammer can make the process easier. Here’s a list of what you’ll need:
- A flat surface to work on
- A Phillips head screwdriver
- Optional: Hammer or mallet
- Optional: Extra screws (in case any get lost)
Once you have all the necessary items, it’s time to get started!
10 Easy Steps on How to Put Graco Crib Together
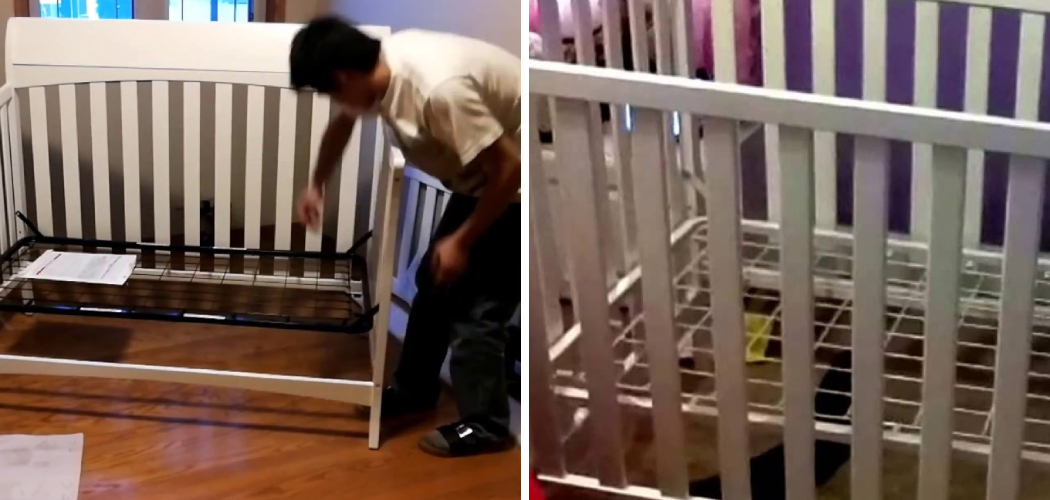
Step 1: Unpack and Sort
Begin by unpacking the box and laying out all the pieces on a flat surface. Make sure to remove any plastic or packaging material from each piece before using them. Organize the pieces into piles according to their types and sizes, making it easier to locate them when needed.
It’s always a good idea to double-check that your Graco crib kit includes all the necessary pieces before starting assembly.
Step 2: Attach the Legs
Find the crib legs and the corresponding bolts. Position the crib sides upright and attach the legs to each corner using the bolts provided. Ensure that each leg is securely fastened by tightening the bolts with the Phillips head screwdriver. It’s important to ensure the legs are firmly attached, as they support the crib structure. Keep the crib sides steady and level during this step to avoid any misalignment.
Step 3: Assemble the Crib Frame
Once the legs are securely attached, it’s time to assemble the crib frame. Locate the front and back panels of the crib and position them between the side panels you’ve just attached the legs to. Use the long bolts provided to secure the front and back panels to the legs and side panels. Tighten the bolts with your Phillips head screwdriver to ensure all connections are firm and stable. Double-check that the frame is square and level to provide a solid foundation for the mattress support.
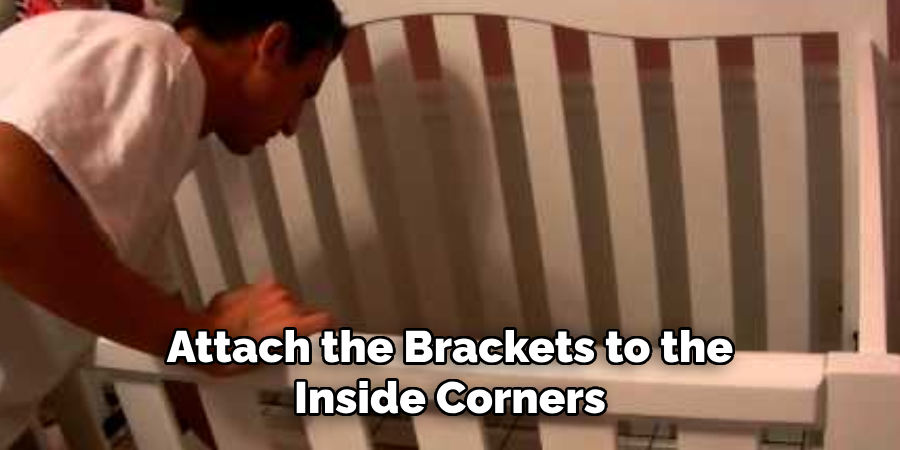
Step 4: Attach the Mattress Support
With the frame assembled, the next step is to attach the mattress support. Locate the metal mattress support frame and the adjustable brackets that allow you to set the mattress height. Attach the brackets to the inside corners of the crib frame using the screws provided. Make sure to choose the desired height setting for the mattress, considering the safety recommendations based on your baby’s age and development stage.
Once the brackets are securely fastened, place the metal mattress support frame onto the brackets. Ensure it is stable and level, as this will support the mattress and provide a safe sleeping surface for your baby. Tighten all screws and double-check the security of the support frame.
Step 5: Attach the Drop-Side Rail (if applicable)
If your Graco crib includes a drop-side rail, locate the drop-side rail and the sliding mechanism parts. Follow the manufacturer’s instructions to install the sliding mechanisms on each end of the drop-side rail. These mechanisms typically include a set of brackets and tracks that allow the rail to move up and down. Secure the mechanisms to the crib frame using the provided screws, ensuring they are installed properly and can move freely.
Once the mechanisms are in place, attach the drop-side rail to the crib frame, ensuring it locks securely in both raised and lowered positions. Test the rail several times to ensure it operates smoothly and provides a safe enclosure for your baby. If your crib does not have a drop-side rail, move on to the next step.
Step 6: Attach the Fixed Side Rail
Now that the drop-side rail is installed, it’s time to attach the fixed-side rail. Locate the remaining side rail and position it along the opposite side of the crib frame from the drop-side rail. Using the screws provided, secure the fixed side rail to the headboard and footboard, ensuring it is tight and stable. Make sure the fixed side rail is aligned correctly with the rest of the crib frame to create a secure and uniform structure. Double-check all screw connections and make any necessary adjustments for stability.
Step 7: Install the Mattress
With the crib frame and side rails securely fastened, it’s time to install the mattress. Place the crib mattress onto the metal mattress support frame, ensuring it fits snugly within the crib frame. Verify that the mattress sits evenly on the support frame and has no gaps at the edges where your baby could become trapped. Ensure the mattress is firm and provides a flat, safe sleeping surface for your baby.

Step 8: Attach Any Additional Accessories
Depending on the specific model of your Graco crib, additional accessories may need to be attached. These could include teething rails, mobile mounts, or storage pockets. Follow the manufacturer’s instructions to install these accessories properly, ensuring each piece is securely fastened and poses no safety risks.
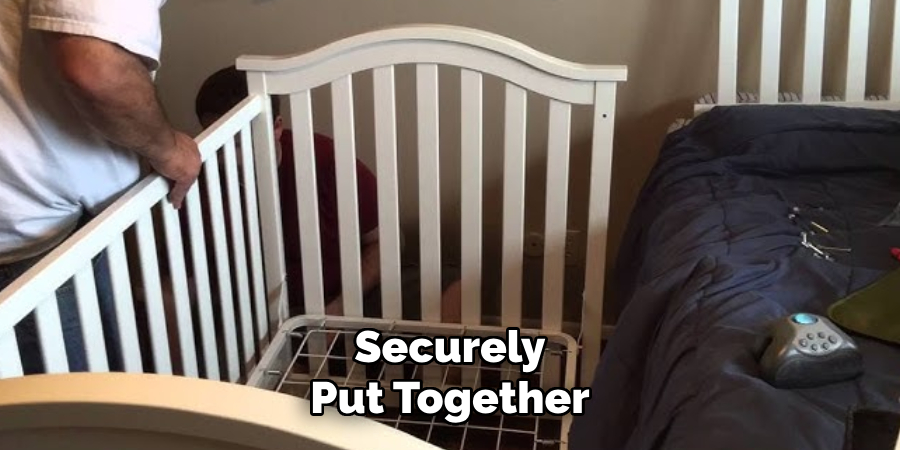
Step 9: Check All Connections
Before considering the assembly complete, thoroughly check all connections and hardware. Ensure all screws, bolts, and connections are tightened and secure. Pay special attention to any moving parts, such as the drop-side rail, to ensure they operate smoothly and safely. Perform a final inspection to ensure the crib is stable and free of any loose parts or sharp edges.
Step 10: Position the Crib and Final Adjustments
Once you are satisfied that the crib is fully assembled and secure, carefully position it in the desired location in your nursery. Ensure the crib is placed away from windows, cords, and other potential hazards. Make any final adjustments to the crib’s position and layout, ensuring it is level and stable on the floor. With the crib securely in place, you can add your bedding and prepare for your baby’s arrival.
Following these steps carefully ensures that your Graco crib is assembled correctly and provides a safe, comfortable sleeping environment for your baby.
5 Additional Tips and Tricks
- Read the Manual Thoroughly: Before you begin, take some time to carefully read through the instruction manual. This will give you a clear understanding of all the parts and tools required and the step-by-step process for assembling the crib.
- Organize All Parts and Tools: Lay out all the crib parts and hardware flatly. Use the parts list in the manual to ensure nothing is missing. This organization will save time and reduce frustration during assembly.
- Secure Screws Properly: When attaching screws, make sure they are tightened securely but do not overtighten, as this can strip the threads and weaken the crib’s structure. Checking each screw after the initial assembly is also recommended for added safety.
- Use a Soft Mallet: If you encounter difficulty fitting pieces together, use a soft mallet instead of a hammer. A soft mallet provides a gentler impact, reducing the risk of damaging the crib’s wooden parts.
- Test the Stability: Once you’ve finished assembling the crib, gently shake it to ensure it is stable and securely put together. This final step helps ensure your baby’s safety by confirming that the crib is sturdy and will not wobble or come apart easily.
5 Things You Should Avoid
- Skipping the Manual: One of the most common mistakes is neglecting to read the instruction manual thoroughly. The manual provides step-by-step guidance and crucial safety information that can help prevent assembly errors.
- Using Incorrect Tools: Ensure you have the tools specified in the manual. Improper tools can damage the crib’s components and compromise its structural integrity.
- Overtightening Screws: While it’s important to secure all screws, overtightening can strip the screw holes or damage the wood, making the crib less stable.
- Ignoring Safety Locks and Mechanisms: Every Graco crib comes with specific safety features, such as locks or latches. Skipping these steps can make the crib unsafe for your baby.
- Rushing the Assembly: Take your time to ensure each piece fits correctly and all connections are secure. Rushing through the process increases the risk of mistakes that could compromise the crib’s safety and durability.
Conclusion
How to put Graco crib together requires patience, attention to detail, and adherence to the provided instructions.
You can ensure a smooth assembly process by thoroughly reading the manual, organizing all components, and correctly using tools. It’s essential to secure screws properly and utilize a soft mallet when necessary to avoid damaging parts. Ensuring the crib’s stability through testing is crucial for your baby’s safety. Equally important is avoiding common pitfalls such as skipping the manual, using incorrect tools, and rushing the process.
By following these guidelines and tips, you can create a safe and sturdy crib for your little one to enjoy.