If you plan to install a tile shower floor, you might wonder how to achieve the perfect pitch. After all, a properly pitched shower floor is essential to ensure proper water drainage and prevent water damage and mold growth. In this post, we’ll guide you through the steps on how to pitch a tile shower floor so you can enjoy a clean and safe shower experience.

Can You Pitch a Tile Shower Floor?
If you’re renovating your bathroom, you may be wondering if you can pitch a tile shower floor. Well, the short answer is yes! Pitching, or sloping, a shower floor is necessary to ensure proper drainage and prevent water from pooling and potentially causing damage. While it may seem daunting, pitching a tile shower floor can be accomplished with proper materials and technique.
You have several options, including installing a pre-sloped shower pan or creating a custom slope with a mortar bed. Whichever method you choose, just be sure to follow the manufacturer’s instructions and consult with a professional if you’re unsure. With the right preparation and execution, you can enjoy a beautiful and functional tile shower floor for years to come.
Why Should You Pitch a Tile Shower Floor?
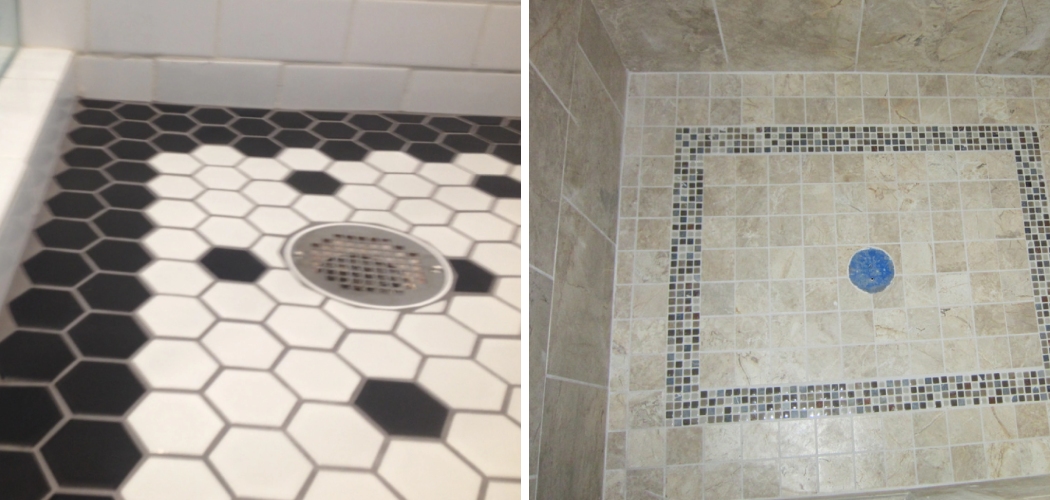
Choosing the right flooring for homeowners looking to renovate their bathroom can make all the difference in creating a cohesive and stylish space. If you’re considering upgrading your shower, a tile floor is an excellent option. Not only is it durable and easy to clean, but it also adds a touch of elegance to any bathroom.
Additionally, with a wide range of colors, patterns, and materials available, there’s no shortage of options to match your style. Whether you want to create a modern, minimalist look or add some vintage charm to your bathroom, a tile shower floor can help you achieve your renovation goals.
How to Pitch a Tile Shower Floor: The Ultimate Guide
1. Determine the Slope You Need
The first step in pitching a tile shower floor is determining the slope you need. According to industry standards, the minimum slope you should have is 2% or 1/4 inch per foot. However, a steeper slope might be necessary if your shower area accumulates a lot of water or if you’re installing large-format tiles. To determine the slope you need, measure the length and width of your shower area, and then use a slope calculator to determine the right pitch.

2. Install the Subfloor
Before installing the tile, you need to install the subfloor. Use a waterproofing membrane to prevent moisture from reaching the subfloor. Next, install the pre-sloped mortar bed, which will provide the foundation for the tile. Make sure to follow the manufacturer’s instructions carefully when installing the pre-sloped mortar bed.
3. Mix and Apply the Final Slope
Once the pre-slope has cured (usually 24 hours), you can mix and apply the final slope. To do this, you will need to mix a batch of dry-pack cement, which is a combination of Portland cement and sand. You can mix it by hand or use a cement mixer. The dry-pack cement should be thick enough to hold its shape but wet enough to be moldable.
Start at the center of the shower area and work your way toward the drain. Spread the dry-pack cement evenly over the pre-sloped mortar bed, using a trowel to smooth it out. Use a spirit level to check the slope and make any adjustments as necessary. Allow the dry-pack cement to cure for at least 24 hours.
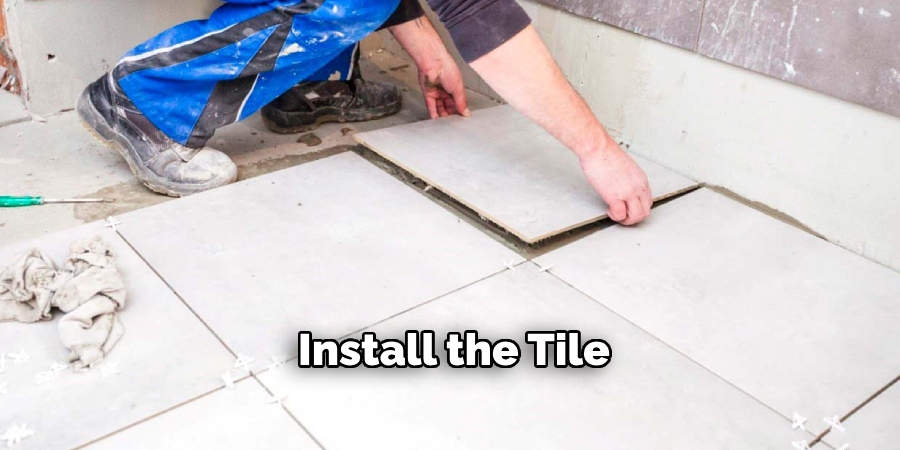
4. Install the Tile
Once the slope is in place and has cured, it’s time to install the tile. Use a notched trowel to apply the thinset adhesive to the floor, then lay the tiles in place. Make sure to use spacers to ensure even spacing between the tiles. Use a tile cutter or tile saw to cut tiles as needed to fit around corners and other obstacles. Once the tiles are in place, allow the adhesive to cure for at least 24 hours.
5. Grout and Seal the Tile
After the adhesive has cured, you can grout and seal the tile. Use a rubber float to apply the grout, press it firmly into the joints. Wipe away any excess grout with a damp sponge, being careful not to remove too much grout from the joints. Finally, apply a tile and grout sealer to prevent water from penetrating the grout and damaging the subfloor. Allow the sealer to dry completely before using the shower.
6. Test for Leaks
Before using the shower, it’s important to test for leaks. Fill the shower pan with water and let it sit for at least 24 hours. If there are no signs of leaking, you can use the shower as normal. However, if you notice any leaks, you may need to adjust the slope or reseal any areas where water is seeping through.
7. Maintain and Repair as Needed
Once your tile shower floor is installed, it’s important to maintain it regularly to prevent any potential issues. Regularly check for cracks or damaged grout and repair them promptly to prevent water from seeping into the subfloor. Additionally, make sure to periodically reseal the tile and grout to maintain the waterproof barrier.

Following these steps will help you successfully pitch a tile shower floor and ensure that your shower area remains functional and free from water damage for years to come. Remember to always follow industry standards and manufacturer’s instructions for best results.
5 Considerations Things When You Need to Pitch a Tile Shower Floor
1. Proper Drainage
When pitching a tile shower floor, it is crucial to ensure that proper drainage is incorporated into the design. This means that the slope of the floor should be angled towards the drain to prevent water from pooling and causing potential damage or mold growth.
2. Size and Location of Drain
The size and location of the drain are also important considerations when pitching a tile shower floor. The drain should be large enough to effectively remove water, but not so large that it creates an uneven surface for the tiles. Additionally, the location of the drain should be strategically placed to allow for efficient water flow.
3. Waterproofing
To prevent water damage, it is essential to properly waterproof a tile shower floor. This can be done by using a waterproof membrane or sealant on the subfloor before installing the tiles. Following manufacturer instructions and using high-quality materials for effective waterproofing is important.
4. Type of Tiles
The type of tiles chosen for a pitched shower floor can greatly impact its functionality and durability. Porcelain or ceramic tiles are popular choices as they are waterproof and easy to clean, while natural stone tiles may require more maintenance. It is also important to consider slip resistance when selecting tiles for safety purposes.

5. Professional Installation
Pitching a tile shower floor requires precision and expertise, making professional installation highly recommended. A professional contractor will have experience in creating proper slopes and ensuring all components are installed correctly for optimal functionality and longevity of your tiled shower floor.
5 Benefits of Pitch a Tile Shower Floor
1. Customizable Design
Pitching a tile shower floor allows for a customizable design that can fit any style or aesthetic. With the ability to choose from a variety of tile materials, colors, and patterns, you can create a unique and personalized look for your shower. This is especially beneficial for those who want to add a touch of luxury or upgrade the overall appearance of their bathroom.
2. Improved Drainage
A major benefit of pitching a tile shower floor is improved drainage. The slope of the floor directs water toward the drain, preventing it from pooling and causing potential water damage or mold growth. This is especially important in areas with high humidity or frequent use, as it helps to keep your shower clean and hygienic.
3. Easy Maintenance
Tile floors are known for their durability and ease of maintenance, making them an ideal choice for a shower floor. With proper installation and regular cleaning, pitched tile floors can last for many years without needing repairs or replacements. Additionally, any spills or stains can be easily wiped away with a mild cleaner, making it a low-maintenance option.

4. Increased Safety
Pitched tile shower floors also offer increased safety compared to flat surfaces. The sloped design helps prevent slipping and falling by directing water toward the drain instead of allowing it to accumulate on the surface. This is especially beneficial for households with children, elderly individuals, or those with mobility issues.
5. Long-Term Cost Savings
While pitching a tile shower floor may require an initial investment, it can save you money in the long run. The improved drainage and easy maintenance mean less potential for water damage or mold growth, which can be costly to repair. Additionally, the durability of tile means you won’t have to replace your shower floor as frequently compared to other materials like vinyl or fiberglass.
6 Common Mistakes People Make When Trying to Pitch a Tile Shower Floor
1. Not Properly Waterproofing the Shower Floor
One of the most common mistakes people make when installing a tile shower floor is improperly waterproofing it. This can lead to water damage and mold growth, which can be costly and time-consuming. It’s important to use a waterproof membrane or sealant before laying down the tiles to ensure no water seeps through.
2. Choosing the Wrong Type of Tile
Another mistake is choosing the wrong type of tile for their shower floor. While ceramic or porcelain tiles may be more affordable, they are not as durable and can crack under pressure. It’s best to opt for natural stone or mosaic tiles that are specifically designed for wet areas.
3. Not Using Enough Grout
Grout is essential to any tile installation, as it helps seal the gaps between tiles and prevent water from seeping through. However, many people make the mistake of not using enough grout, leaving small spaces between tiles where water can penetrate. Make sure to use enough grout and seal it properly to avoid any potential leaks.
4. Incorrectly Sloping the Shower Floor
Proper slope is crucial in a tile shower floor as it ensures that water drains towards the drain instead of pooling on the surface. Many people make the mistake of not sloping the floor correctly, leading to standing water and potential slip hazards. It’s important to follow proper guidelines for slope angles when installing a tile shower floor.
5. Rushing Through Installation
Installing a tile shower floor takes time and attention to detail, but many people rush through this process to finish quickly. This can result in uneven tiles, poorly sealed grout lines, and other mistakes that will affect your shower’s overall appearance and functionality.
6. Not using a professional installer
Perhaps one of the biggest mistakes people make when pitching a tile shower floor is attempting to do it themselves without the necessary skills and experience. Hiring a professional installer may seem like an added expense, but it can save you time, money, and headaches in the long run by ensuring that the job is done correctly and efficiently.

Conclusion
Pitching a tile shower floor might seem daunting, but it’s an essential step to ensure the longevity and safety of your shower. By following these steps, you’ll be able to pitch your shower floor with confidence and enjoy a clean and safe shower experience. Remember to follow the manufacturer’s instructions carefully, use the right tools and materials, and take your time to ensure a successful installation. Thanks for reading our post about how to pitch a tile shower floor.