Painting metal furniture with a brush is a versatile and cost-effective way to revitalize outdoor chairs, tables, or decorative pieces, providing both protection and a fresh new look. Unlike spray painting, which requires careful masking and ventilation, brush painting allows for greater control over the application and ensures even coverage, especially on intricate designs or textured surfaces.
This article aims to provide a comprehensive guide onhow to paint metal furniture with a brush. The process involves several key steps to achieve a durable and professional finish. Proper preparation, including cleaning and priming the metal surface, is essential to promote adhesion and prevent rust or corrosion. Selecting the right type of paint, such as enamel or acrylic, further enhances the longevity and weather resistance of the furniture.
Additionally, mastering brushing techniques, such as smooth strokes and consistent pressure, can result in a smooth and streak-free coat. This guide will provide detailed instructions and tips for painting metal furniture with a brush, empowering you to transform worn-out pieces into eye-catching accents for your indoor or outdoor space.
Benefits of Painting Metal Furniture
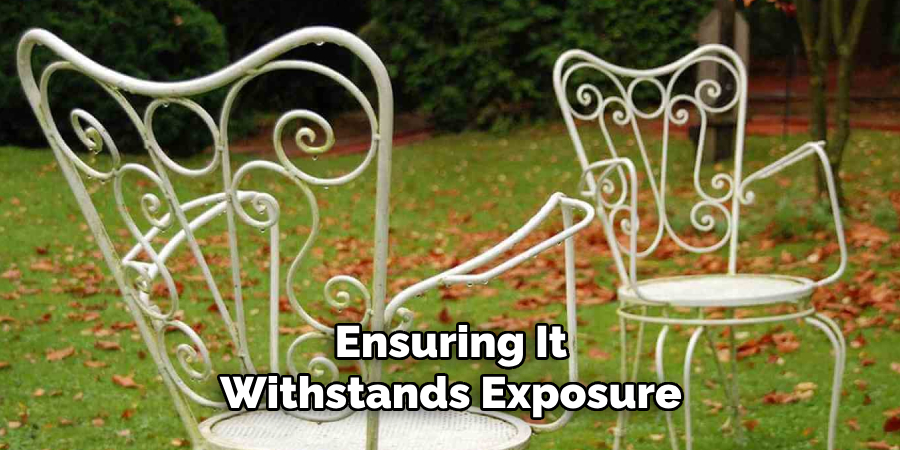
Painting metal furniture offers a myriad of benefits that extend beyond mere aesthetics. Firstly, a fresh coat of paint provides a protective barrier against the elements, helping to prevent rust and corrosion that can compromise the integrity of the metal over time. This is especially valuable for outdoor furniture exposed to varying weather conditions.
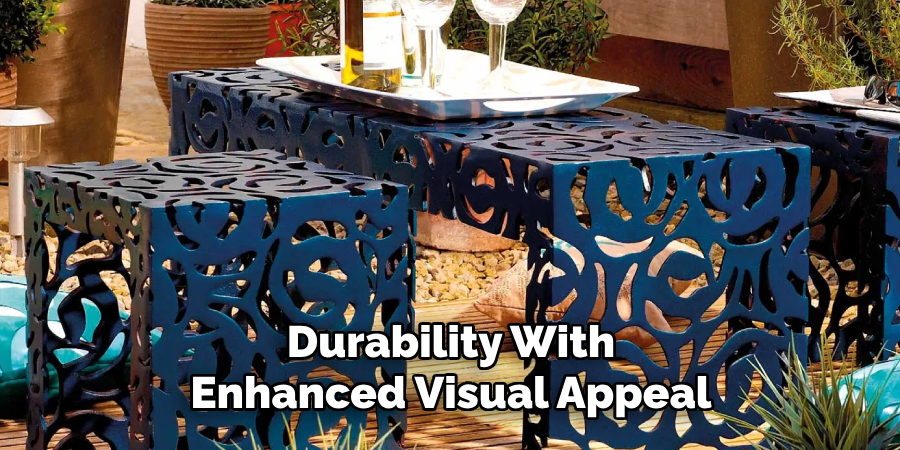
Additionally, painting metal furniture allows you to customise pieces to match your decor, breathing new life into older, perhaps outdated items. This not only saves money but also promotes sustainable practices by reducing waste. Finally, the process of painting metal furniture can be a therapeutic and rewarding DIY activity, providing a sense of accomplishment and personalisation. Overall, painting metal furniture combines practical durability with enhanced visual appeal, making it a worthwhile endeavour.
Choosing the Right Paint
Selecting the right paint is crucial to achieving a high-quality and long-lasting finish on your metal furniture. When choosing paint, there are several factors to consider, including the type of metal, the intended use of the furniture, and the desired finish. For most metal furniture, enamel and acrylic paints are excellent choices due to their durability and versatility.
Enamel paints are known for their hard, glossy finish and exceptional resistance to scratches and wear, making them ideal for outdoor furniture or pieces subjected to heavy use. Acrylic paints, on the other hand, offer a quicker drying time and are available in a wide range of colors and finishes, from matte to high gloss. They are also less toxic and easier to clean up with soap and water, making them a popular choice for DIY projects.
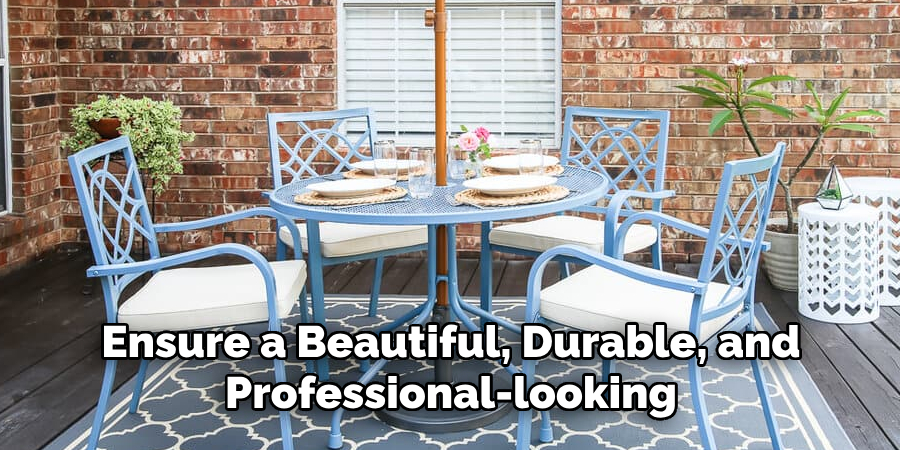
In addition to the type of paint, consider whether you need a specific formulation, such as rust-inhibiting paint for outdoor furniture exposed to moisture. For intricate designs or detailed pieces, you may opt for spray enamel to ensure an even and smooth application. Always check the manufacturer’s recommendations for the best results and compatibility with the metal type you are working with. By choosing the right paint, you can ensure a beautiful, durable, and professional-looking finish for your metal furniture.
Types of Paint Suitable for Metal Furniture
When it comes to painting metal furniture, selecting the right type of paint is fundamental to achieving a durable and appealing finish. The most common types of paint suitable for metal furniture include enamel, acrylic, and oil-based paints. Each type offers distinct advantages depending on the requirements of your project.
Enamel Paint: Enamel paint is prized for its hard, glossy finish and excellent resistance to scratches, wear, and environmental factors. This makes it an ideal choice for outdoor metal furniture that must withstand different weather conditions. Its durability ensures long-lasting protection, but enamel paints do require a longer drying time compared to other options.
Acrylic Paint: Acrylic paints are favored for their versatility and ease of use. They dry relatively quickly and are available in a variety of finishes—ranging from matte to high gloss. Being water-based, they are also less toxic and can be cleaned up easily with just soap and water. This makes them a popular choice for both beginners and experienced DIYers who wish to transform indoor or less-exposed outdoor metal furniture.
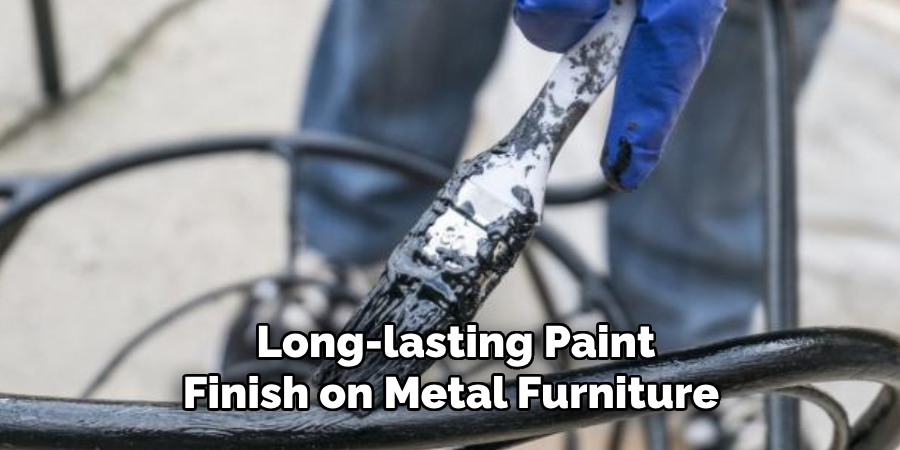
Oil-Based Paint: Oil-based paints, including alkyd paints, offer a tough and durable finish that is resistant to chipping and damage. They are especially effective for surfaces exposed to heavy use. The main downside to oil-based paints is their long drying time and the need for solvent-based cleaners. However, the robust finish they provide makes them a viable option for both indoor and outdoor metal furniture.
10 Methods How to Paint Metal Furniture with a Brush
1. Choose the Right Paint
Selecting the right paint is crucial for achieving a successful finish on metal furniture. Look for a high-quality paint specifically designed for metal surfaces, such as enamel or acrylic latex paint. These paints provide excellent adhesion, durability, and weather resistance. Choose a color that complements your decor and withstands outdoor conditions if the furniture will be placed outside. Consider using a paint with built-in primer for added convenience and better adhesion.
2. Prepare the Surface
Proper surface preparation is essential for ensuring the paint adheres well and lasts longer. Start by cleaning the metal furniture thoroughly to remove dirt, rust, grease, and any existing paint flakes. Use a mild detergent or a solution of water and vinegar, along with a scrub brush or sponge, to scrub the surface clean. Rinse with water and allow the furniture to dry completely before proceeding. Sand the metal lightly with fine-grit sandpaper to create a slightly rough surface that helps the paint adhere better. Wipe away any dust with a tack cloth.
3. Remove Rust
If the metal furniture has rust spots, it’s essential to remove them before painting to prevent further corrosion. Use a wire brush or sandpaper to scrub away the rust until the surface is smooth and free of rust flakes. For stubborn rust, you may need to use a rust remover or converter product to chemically dissolve the rust and convert it into a paintable surface. Follow the manufacturer’s instructions for application and safety precautions. Once the rust is removed, clean the surface again to remove any residue.
4. Prime the Surface
Applying a primer before painting helps the paint adhere better and provides additional corrosion protection. Choose a primer specifically formulated for metal surfaces. Apply the primer evenly with a brush, using long, smooth strokes in the direction of the metal grain.
Allow the primer to dry completely according to the manufacturer’s instructions before painting. Primer enhances the durability and longevity of the paint finish, ensuring it withstands exposure to the elements and everyday wear and tear.
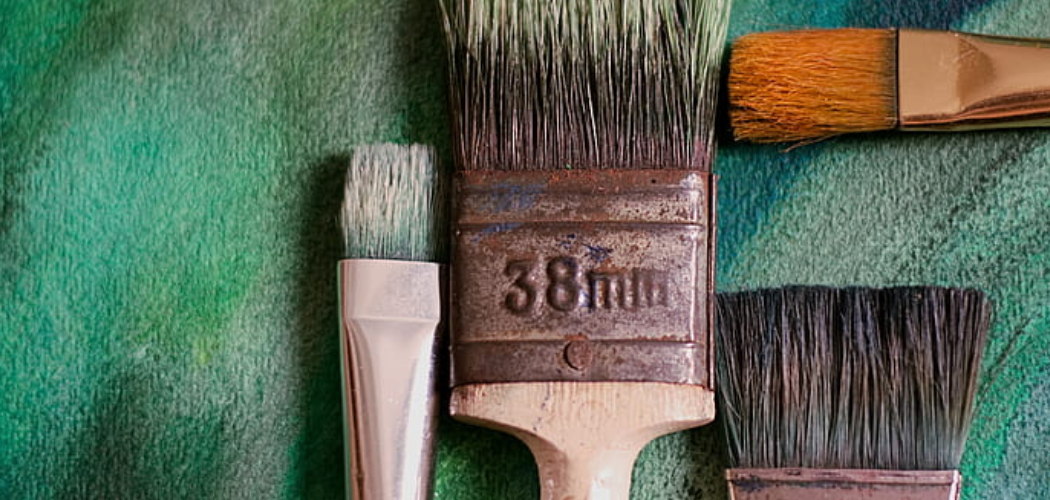
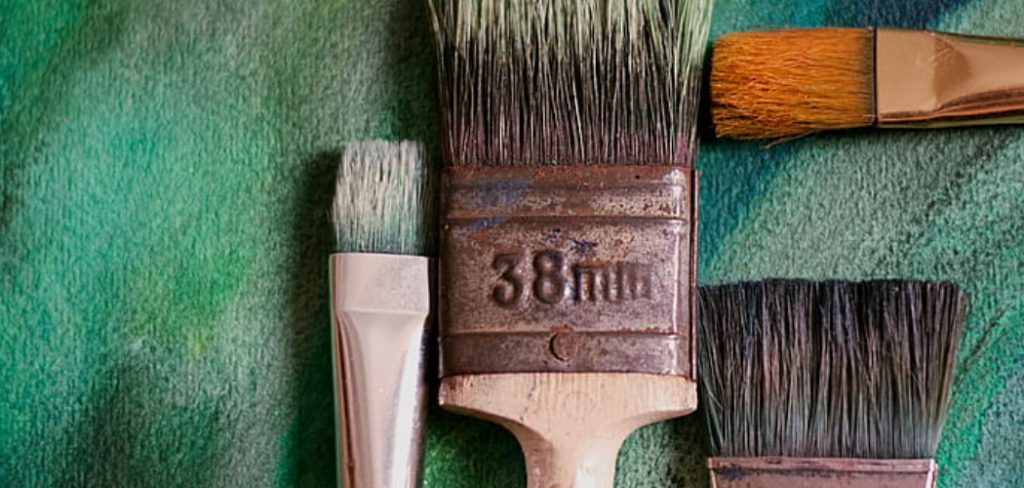
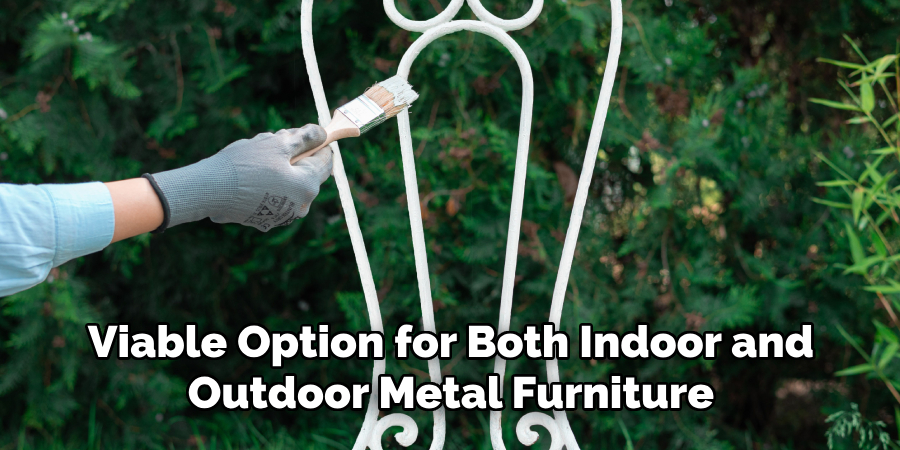
5. Choose the Right Brush
Selecting the right brush is essential for achieving a smooth and even paint application on metal furniture. Choose a brush with synthetic bristles that are designed for use with latex or enamel paints. Look for a brush with a comfortable grip and a tapered edge for precise control. The size of the brush should match the size of the furniture and the detail of the surface. For larger areas, use a wider brush, while a smaller brush is ideal for intricate details and tight spaces.
6. Apply Thin Coats
When painting metal furniture, it’s important to apply thin, even coats of paint to prevent drips, runs, and uneven coverage. Dip the brush into the paint and remove any excess by tapping it against the side of the paint can. Begin painting with long, smooth strokes, working in the direction of the metal grain. Apply the paint evenly, covering the entire surface with a thin coat.
Avoid overloading the brush with paint, as this can lead to drips and pooling. If necessary, apply multiple thin coats, allowing each coat to dry completely before applying the next. Thin coats ensure better adhesion and a smoother finish, resulting in a professional-looking result.
7. Work in Sections
To ensure thorough coverage and avoid drying lines or overlap marks, it’s best to work in small sections at a time. Divide the furniture into manageable sections and focus on painting one section at a time. Start from the top or back of the piece and work your way down or forward, depending on the orientation. This method allows you to maintain a wet edge and blend the paint seamlessly between sections. Working in sections ensures uniform coverage and helps you maintain control over the painting process.
8. Pay Attention to Detail
When painting metal furniture, pay attention to detail to achieve a polished and professional finish. Use a smaller brush or an artist’s brush for intricate details, such as curves, corners, and decorative elements. Take your time and work carefully to ensure that every part of the furniture is properly painted, including hidden or hard-to-reach areas. Check for drips, runs, or missed spots and touch up as needed. Attention to detail is key to achieving a flawless paint job that enhances the beauty of your metal furniture.
9. Allow Sufficient Drying Time
Proper drying time is essential for ensuring the paint adheres well and the finish is durable. Allow each coat of paint to dry completely before applying the next coat or handling the furniture. Check the paint can for recommended drying times, as they may vary depending on the type of paint and environmental conditions. Avoid rushing the drying process, as this can lead to smudges, smears, or surface imperfections. Patience is key to achieving a smooth and long-lasting paint finish on metal furniture.
10. Apply a Protective Finish
For added durability and protection against moisture, UV rays, and wear and tear, consider applying a clear protective finish over the painted surface. Choose a clear coat specifically formulated for metal surfaces, such as a polyurethane or acrylic sealer. Apply the protective finish evenly with a brush, following the manufacturer’s instructions for application and drying times.
A protective finish enhances the longevity of the paint job and makes the furniture easier to clean and maintain. Apply additional coats for increased durability, if desired.
Conclusion
Painting metal furniture with a brush is a rewarding DIY project that allows you to customize and refresh your outdoor or indoor space. The ten methods outlined—choosing the right paint, preparing the surface, removing rust, priming the surface, selecting the right brush, applying thin coats, working in sections, paying attention to detail, allowing sufficient drying time, and applying a protective finish—provide a comprehensive guide to achieving a professional-looking paint finish on metal furniture.
Thanks for reading, and we hope this has given you some inspiration on how to paint metal furniture with a brush!