Painting metal chairs is a fantastic way to refresh their look and extend their lifespan. Whether you’re aiming to revive old, rusted chairs or simply wish to add a new color to your outdoor or indoor furniture, a fresh coat of paint can make a world of difference.

This guide on how to paint metal chairs will walk you through the entire process, from preparing the metal surface to applying the final layer of paint, ensuring a professional and durable finish.
Why Paint Metal Chairs?
Before we dive into the process of painting metal chairs, let’s first understand why it is a good idea to do so. There are several reasons for painting metal chairs:
Aesthetics:
Painting can give your chairs a whole new look. You can choose from a wide range of colors, textures, and finishes to match your personal style or the overall theme of your space.
Protection:
Metal chairs are often exposed to harsh weather conditions. Over time, they can rust or corrode, affecting both their appearance and structural integrity. Painting them creates a protective barrier between the metal surface and external elements, preventing damage and extending their lifespan.
Cost-Effective:
Buying new chairs can be expensive, especially if you have a large set or need high-quality ones. Instead of spending money on replacements, painting your current metal chairs is a budget-friendly alternative.
Creative Outlet:
Painting metal chairs allows you to get creative and add a personal touch to your furniture. You can experiment with different colors, patterns, and techniques to create unique and one-of-a-kind pieces.
8 Step-by-step Guides on How to Paint Metal Chairs
Step 1: Gather Your Supplies
Before you begin painting, make sure you have all the necessary supplies on hand. Here’s what you’ll need:
- Metal Chairs
- Sandpaper (220 Grit)
- Tack Cloth or Damp Cloth
- Metal Primer
- Spray Paint or Metal Paint of Your Choice
- Drop Cloth or Newspaper
Step 2: Prepare Your Work Area
To ensure a smooth and professional finish, it’s crucial to prepare your work area properly. Find a well-ventilated space, such as an open garage or outdoors, to avoid inhaling fumes from the paint and primer. Lay down a drop cloth or newspaper to protect the floor and surrounding surfaces from any accidental drips or overspray. If you’re working outside, choose a day with mild weather and minimal wind to prevent debris from sticking to the wet paint.

Make sure you have a sturdy table or surface to place the chairs on, allowing you to work comfortably and efficiently. Preparing your work area not only keeps it clean but also helps in achieving the best possible results.
Step 3: Clean the Chairs
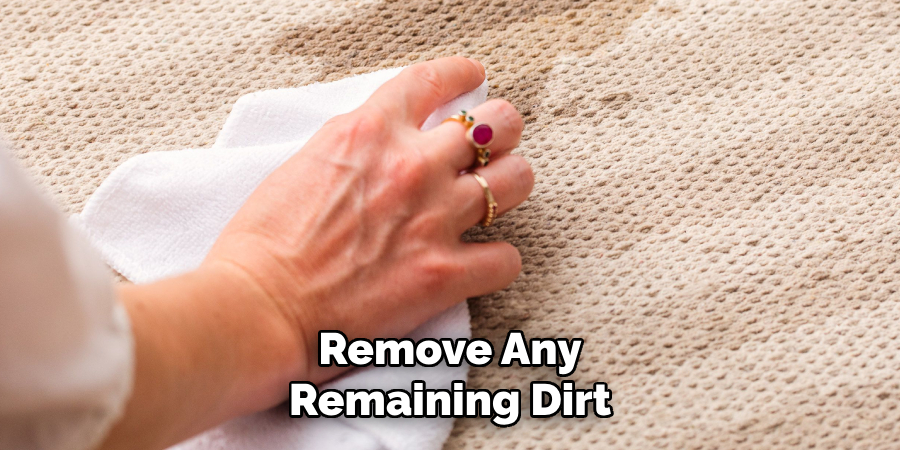
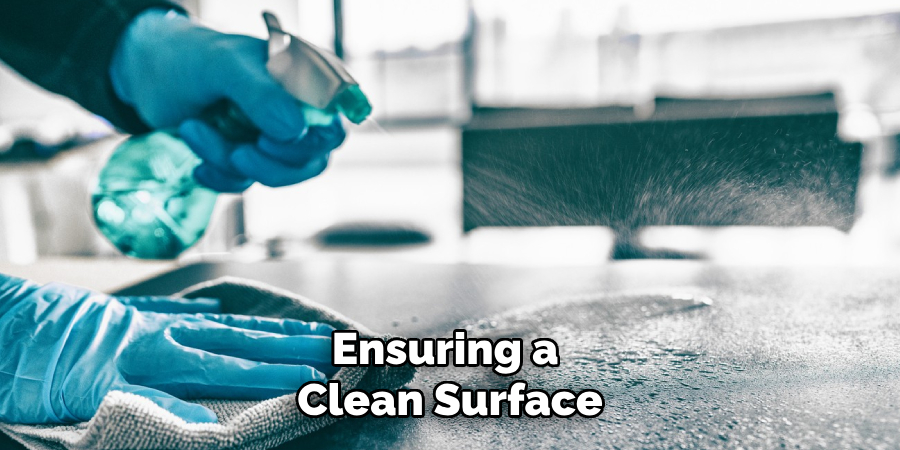
Cleaning the metal chairs is an essential step to ensure that the paint adheres properly and provides a smooth finish. Start by removing any loose dirt, dust, or debris using a brush or vacuum. Next, wash the chairs thoroughly with a mixture of mild soap and water, using a sponge or cloth to scrub away any grime, grease, or residue. Pay extra attention to crevices and any intricate details where dirt may be trapped.
Once the chairs are clean, rinse them with clean water and dry them completely with a soft cloth or allow them to air dry. Ensuring that the chairs are clean and dry will help the primer and paint bond effectively to the metal surface, resulting in a long-lasting and professional finish.
Step 4: Sand the Chairs
Sanding is an important step in the painting process as it helps to create a rough surface to which the primer and paint can adhere. Use 220-grit sandpaper or a sanding block to lightly sand the entire surface of the chairs, including any intricate details. This will remove any remaining dirt or residue and also help smooth out any rust spots or imperfections on the metal surface. After sanding, wipe down the chairs with a tack cloth or damp cloth to remove any dust particles.
It’s essential to be gentle while sanding to prevent damaging the metal surface. If you notice any deep rust spots or damage, use a wire brush or steel wool to remove them before proceeding with sanding.

Step 5: Apply Primer
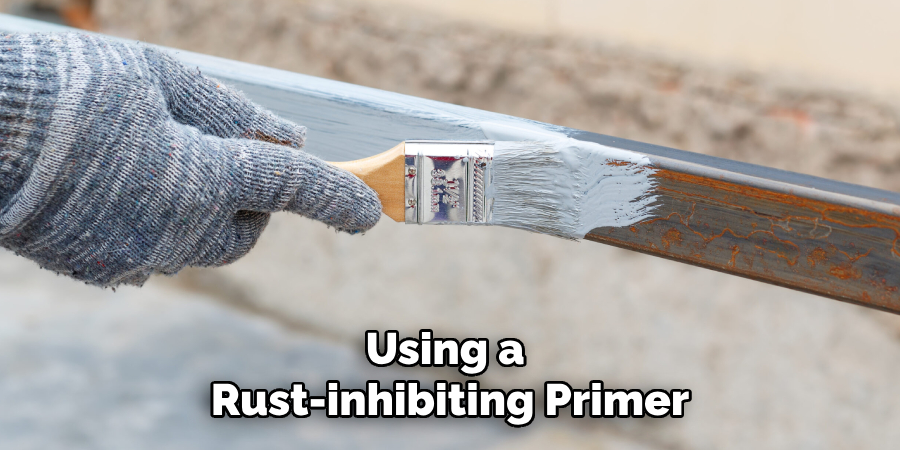
Primer acts as a bonding agent between the metal surface and the paint, ensuring a smooth and durable finish. Shake the primer can well before use and spray it in a back-and-forth motion, holding the can about 8-10 inches away from the chairs. Apply a thin layer of primer to all surfaces of the chairs, making sure to cover any crevices or intricate details. Let the primer dry completely according to the manufacturer’s instructions.
If you’re using metal paint rather than spray paint, you may need to brush on the primer with a high-quality brush instead of spraying it. Follow the instructions on your chosen primer for proper application techniques and drying time.
Step 6: Sand the Primer (Optional)
Sanding the primer is an optional step that can help achieve an ultra-smooth and professional finish. If you choose to sand the primer, use fine-grit sandpaper (320 grit or higher) to lightly sand the primed surface of the chairs. This will help to remove any imperfections, such as brush strokes or uneven texture, and create a smoother surface for the final coat of paint to adhere to.
Be gentle while sanding to ensure you don’t remove too much of the primer, and focus on achieving an even surface. After sanding, wipe the chairs down with a tack cloth or damp cloth to remove any dust particles left behind. Ensuring a clean surface will help the final coat of paint bond more effectively, resulting in a sleek and durable finish.

Step 7: Paint the Chairs
Once your primer is fully dry and the chairs are clean, it’s time to paint! Shake your chosen paint well before use and spray or brush it on in thin, even coats. Be sure to follow the manufacturer’s instructions for proper application techniques and drying time.
If you’re using colored metal paint instead of spray paint, you may need to apply multiple coats until you achieve full coverage. Allow each coat to dry completely before applying another one. For best results, aim for 2-3 thin coats rather than one thick coat. This will help prevent drips or an uneven finish.
Step 8: Let the Paint Dry and Enjoy!
After applying your final coat of paint, allow the chairs to dry completely according to the manufacturer’s instructions. Once they are fully dry, you can move them back inside or leave them in their new outdoor space. Your newly painted metal chairs will not only look brand new but also be protected from rust and wear for years to come.
You can also get creative with your paint colors and techniques to add some personality and style to your metal chairs. From bright, bold colors to distressed or ombre effects, the possibilities are endless. Have fun with it and enjoy your one-of-a-kind pieces!
Following these steps on how to paint metal chairs and taking proper care of your painted metal chairs can help maintain their beauty and protect them from wear and tear. With a little time, effort, and creativity, you can transform plain metal chairs into personalized pieces that will enhance any space. So go ahead and give your old metal chairs a new lease on life with a fresh coat of paint! Happy painting!
Frequently Asked Questions
Q1: Can I Paint Over Rust on My Metal Chairs?
A: Yes, you can paint over rust on your metal chairs, but it’s essential to remove as much of the rust as possible before painting. Use a wire brush or steel wool to scrub away any visible rust spots, and sand the chairs thoroughly to ensure a smooth surface for the paint to adhere to. Additionally, using a rust-inhibiting primer can help prevent future rusting and ensure a more durable finish.

Q2: Do I Need to Sand My Metal Chairs Before Painting?
A: Yes, sanding your metal chairs is an essential step in the painting process as it helps create a rough surface for the paint to adhere to. It also helps remove any dirt, grime, or imperfections on the metal surface, resulting in a smoother and more professional finish. Skipping this step can lead to peeling or flaking paint in the future.
Q3: Can I Use Regular Paint on Metal Chairs?
A: While it is possible to use regular paint on metal chairs, it’s not recommended. Regular paint does not adhere well to metal surfaces and may result in chipping or flaking over time. It’s best to use a high-quality metal primer and specifically designed metal spray or brush-on paint for the most durable and long-lasting finish.
Conclusion
Transforming your old, rusty metal chairs into stunning, fresh pieces of furniture might seem challenging, but with careful preparation and the right materials, it can be a rewarding DIY project. By following these steps on how to paint metal chairs—cleaning, sanding, priming, and painting—you ensure a professional finish that rejuvenates your chairs and protects them against future wear and rust.
Not only does this process give your chairs a new lease on life, but it also opens up the possibility of creative customization, making your outdoor or indoor space truly unique. So gather your materials, find an open workspace, and enjoy the process of bringing new life to your metal furniture. Your efforts will result in beautiful, durable chairs that you can enjoy for years to come.
