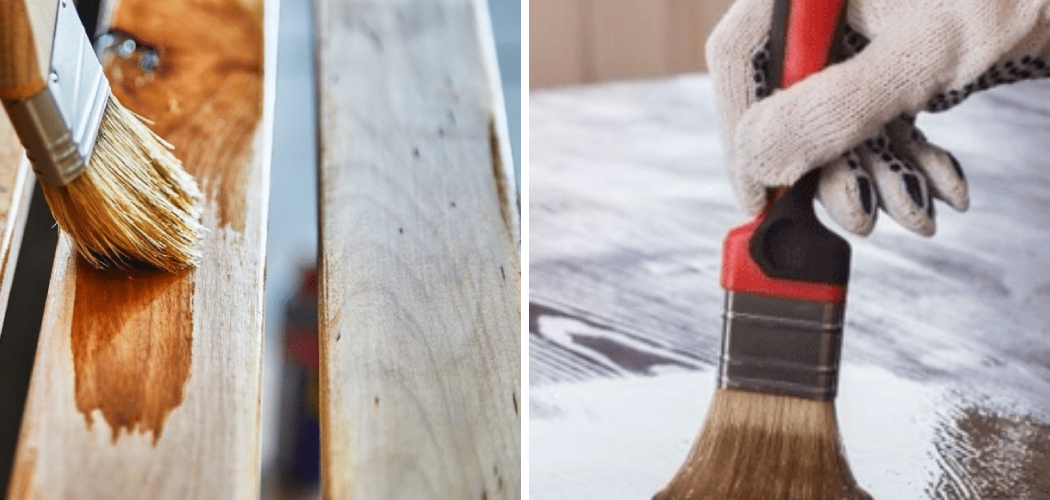
Are you tired of the plain, boring look of manufactured wood furniture in your home? Painting it is a great way to give it a fresh and stylish new look. Whether you have a dresser, bookshelf, or any other type of manufactured wood piece, this guide will walk you through the steps of painting it.
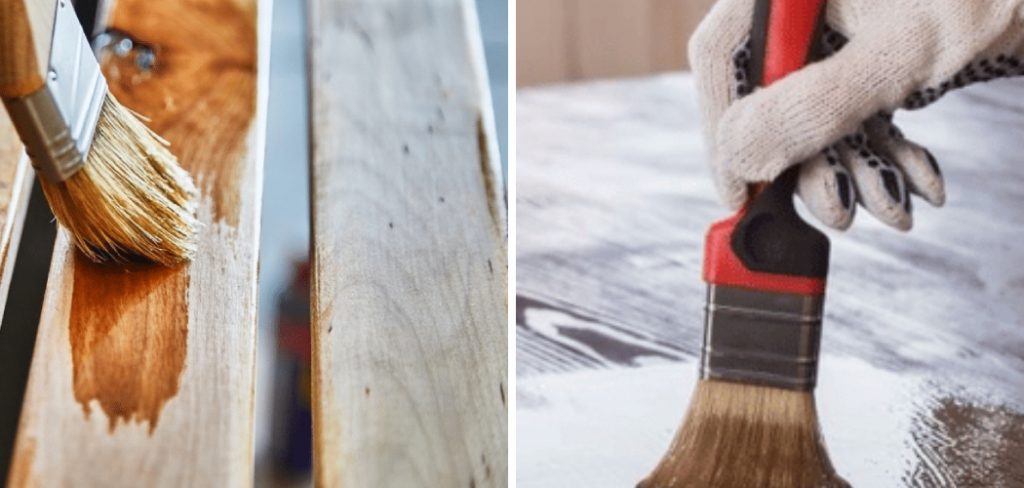
Painting manufactured wood can be a rewarding DIY project that breathes new life into furniture, cabinets, or other household items. Manufactured wood, also known as engineered wood or composite wood, includes materials such as MDF (medium-density fibreboard), particleboard, and plywood. These materials are often more affordable and environmentally friendly compared to solid wood. However, they require specific preparation and techniques to ensure a smooth, durable finish.
In this guide, we will walk you through the essential steps for how to paint manufactured wood, from surface preparation to the final coat, to help you achieve professional-looking results.
What Will You Need?
Before you begin the painting process, make sure you have all the necessary supplies on hand. Here’s a list of what you will need:
- Sandpaper (medium and fine grit)
- Tack cloth or lint-free cloth
- Primer
- Paintbrushes (angled and flat)
- Paint roller
- Paint tray
- High-quality paint in your desired color and finish
- Polyurethane (optional)
- Drop cloth or old sheets to protect your work area
- Painter’s tape (if you want clean edges)
- Screwdriver (if painting furniture with hardware)
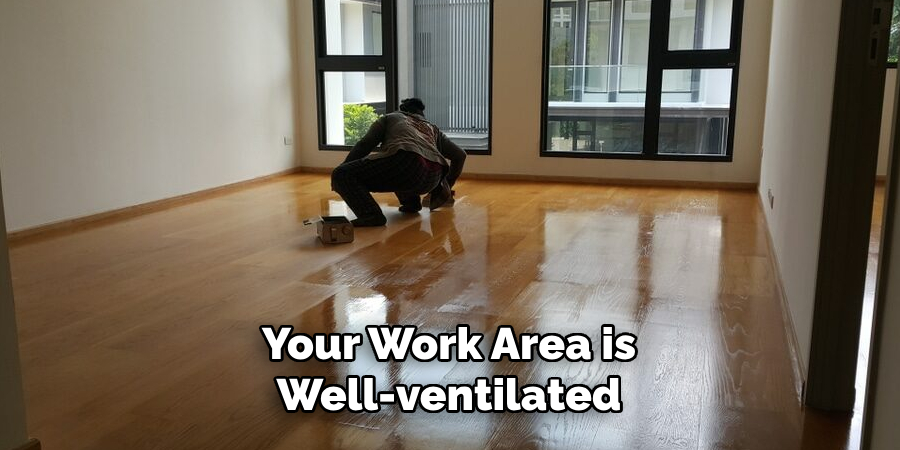
It’s always a good idea to gather all of your materials before starting the project so that you can avoid any unnecessary interruptions. Additionally, make sure you have enough space to work and that your work area is well-ventilated.
10 Easy Steps on How to Paint Manufactured Wood
Step 1: Prepare the Surface
The first step in painting manufactured wood is to prepare the surface. This means removing any hardware (such as handles or knobs) from furniture, wiping down the surface with a damp cloth, and sanding it down. Use medium-grit sandpaper to remove any rough spots or imperfections, then switch to fine-grit sandpaper to smooth out the surface. After sanding, use a tack cloth or lint-free cloth to remove any dust.
Step 2: Prime the Surface
Priming is a crucial step in achieving a smooth and durable finish on manufactured wood. Start by selecting a high-quality primer that is suitable for the type of paint you plan to use. Primers help to seal the surface, adhere to the paint, and block any stains or tannins that might bleed through the paint.
Apply the primer using a paintbrush for edges and corners and a roller for larger flat surfaces. Make sure to apply an even, thin coat to avoid drips and achieve a uniform base. If you see any areas where the primer has pooled, use the paintbrush to smooth them out. After the first coat of primer has been applied, let it dry completely according to the manufacturer’s instructions, usually around 1-2 hours.
Step 3: Sand the Primed Surface
Once the primer has dried completely, it’s important to sand the surface again. This step helps to smooth out any imperfections and creates a better surface for the paint to adhere to. Use fine-grit sandpaper and gently sand the entire primed surface. Be careful not to sand too aggressively, as this might remove the primer. After sanding, use a tack cloth or a lint-free cloth to wipe away any dust created during the sanding process. This ensures a clean surface for the next layer of paint.
Step 4: Apply the First Coat of Paint
Now that the surface is properly primed and sanded, it’s time to apply the first coat of paint. Choose a high-quality paint in your desired color and finish. Stir the paint thoroughly before application to ensure an even consistency. Using a paintbrush, start with the edges and corners where a roller might not reach effectively, and then switch to a paint roller for the larger flat surfaces.
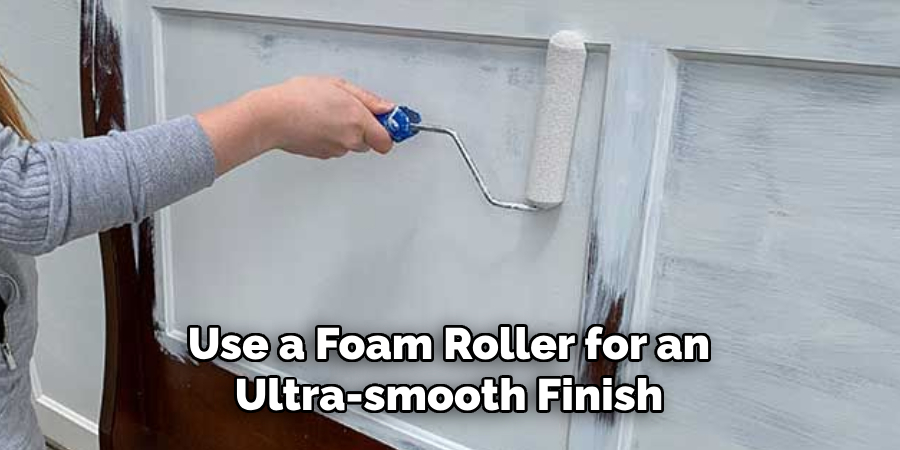
Apply the paint in thin, even coats to avoid drips and achieve a smooth finish. Work in long, steady strokes and avoid overloading the brush or roller with paint. If needed, you can use a foam roller for an ultra-smooth finish, especially on flat surfaces. Once the first coat is applied, let it dry completely, following the paint manufacturer’s recommended drying time, typically around 4-6 hours.
Step 5: Lightly Sand Between Coats
After the first coat of paint has dried completely, it’s important to sand the surface lightly before applying the next coat. This will help to smooth out any brush strokes, roller marks, or other imperfections and ensure a professional-looking finish. Use fine-grit sandpaper and gently sand the entire painted surface. Be careful not to press too hard, as this could remove the paint.
Step 6: Apply the Second Coat of Paint
With the surface now prepared, it’s time to apply the second coat of paint. This step is crucial for achieving a vibrant, uniform color and ensuring the durability of the finish. Repeat the same process as the first coat: use a paintbrush for edges and corners and a roller for larger flat surfaces. Apply the paint in thin, even coats, working in long, steady strokes. This second coat will help to cover any areas that might have been missed or look patchy after the first coat.
Step 7: Check for Imperfections
After the second coat of paint has dried fully, inspecting the surface closely for any imperfections is a good idea. Look for areas where the paint might be uneven, where there might be drips, or where the primer still shows through. If you find any issues, lightly sand those areas with fine-grit sandpaper and wipe away the dust with a tack cloth or lint-free cloth. This step ensures that your final coat will be as smooth and flawless as possible.
Step 8: Apply the Final Coat of Paint
Now that the surface is smooth and free of imperfections, it’s time to apply the final coat of paint. This coat will provide the finishing touch and should be applied with the same care as the previous ones. Use a paintbrush to handle the edges and corners and a roller for larger, flat surfaces. Aim for thin, even coats, working in smooth, steady strokes. Let the final coat dry completely according to the manufacturer’s instructions, which is typically around 4-6 hours.
Step 9: Apply a Protective Finish (Optional)
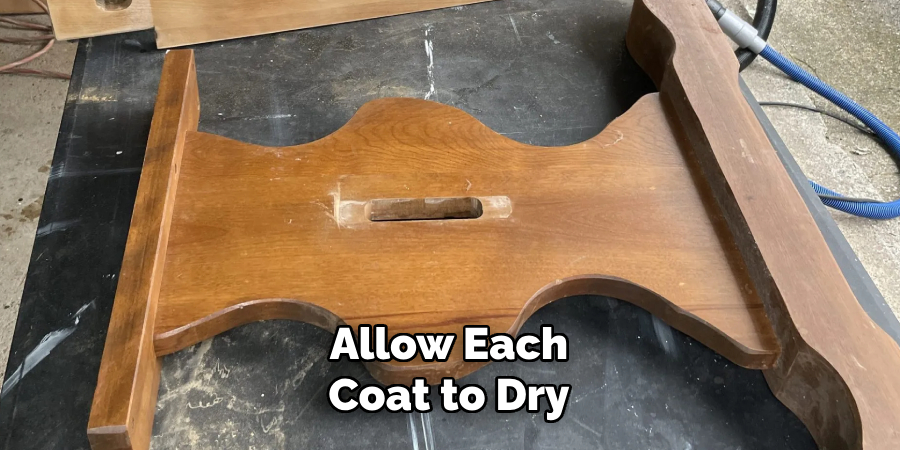
You can apply a polyurethane finish for added durability and to protect your painted surface from wear and tear. This step is optional but highly recommended for high-traffic items like furniture and cabinets. Choose a polyurethane finish that matches the sheen of your paint (matte, satin, semi-gloss, or gloss). Apply the finish using a clean, high-quality brush in thin, even coats. Allow each coat to dry according to the manufacturer’s recommendations and lightly sand between coats if necessary.
Step 10: Reassemble and Enjoy
Once all coats of paint and any protective finish have dried completely, it’s time to reassemble any hardware you removed and put your item back to use. Use a screwdriver to reattach handles, knobs, or other hardware. Make sure everything is securely attached and properly aligned. Your project is now complete, and you can enjoy your newly painted manufactured wood item with a smooth, professional-looking finish!
By following these simple steps, you can transform your manufactured wood items into beautiful, durable pieces that will last.
5 Things You Should Avoid
1. Skipping the Priming Step: Failing to apply a primer before painting can result in poor paint adhesion and an uneven finish. Primer not only helps the paint stick to the surface but also covers any stains or tannins that may bleed through the paint. Always use a high-quality primer that is suitable for manufactured wood.
2. Using the Wrong Type of Paint: Not all paints are created equal. Using the wrong type of paint can lead to peeling, bubbling, or an unsightly finish. It is crucial to select paint designed for use on manufactured wood. Acrylic latex paint is often a good choice as it provides durability and flexibility.
3. Applying Thick Coats of Paint: Applying thick coats of paint can result in drips, an uneven surface, and a longer drying time. Instead, apply thin, even coats and let each coat dry completely before adding the next. Patience and multiple thin coats will yield a smoother, more professional finish.
4. Ignoring Imperfections Before Painting: Overlooking surface imperfections such as scratches, dents, or uneven areas can significantly affect the final look of your project. Make sure to thoroughly inspect, sand, and fill any imperfections before you start painting to ensure a flawless finish.
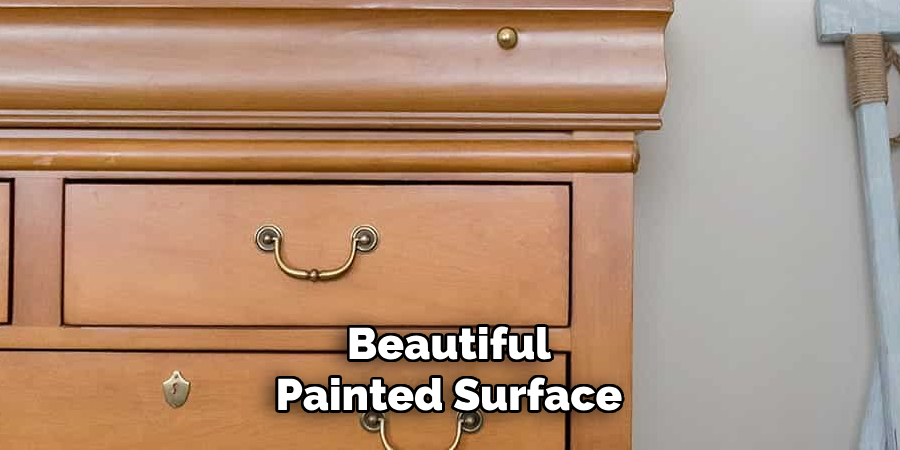
5. Not Allowing Adequate Drying Time: Rushing the drying process between coats can compromise the overall quality and durability of your paint job. Always follow the manufacturer’s recommended drying times for primer, paint, and any additional finishes. This will help prevent smudging, uneven texture, and other issues, resulting in a long-lasting, beautiful painted surface.
By avoiding these common mistakes, you can achieve a smooth, professional-looking finish on your manufactured wood items.
Conclusion
How to paint manufactured wood can seem daunting at first, but by following a systematic approach and avoiding common pitfalls, you can achieve a smooth and professional-looking finish.
Preparing your surface thoroughly by cleaning, sanding, and priming is essential for good paint adhesion and a durable outcome. Applying paint in thin, even coats and allowing adequate drying time between each coat helps ensure a uniform appearance and prevents drips or bubbles. Regularly inspecting for imperfections and correcting them promptly also contributes to a flawless finish.
With patience and attention to detail, painting manufactured wood items can be a rewarding and successful DIY project that enhances the beauty and longevity of your furniture or décor.
