
Updating your cabinet handles can dramatically change the look and feel of your space without the expense of a full renovation. Painting cabinet handles is a simple and cost-effective way to add a fresh, personalized touch to your kitchen or bathroom décor.

Whether you want to match your handles to a new color scheme or simply refresh their appearance, this guide on how to paint cabinet handles will walk you through the process step-by-step. With just a few basic materials and a little time, you can achieve a professional-looking finish that enhances the overall aesthetic of your cabinets.
Why Paint Cabinet Handles?
Before we dive into the steps for painting cabinet handles, you may be wondering why you bother painting them in the first place. Here are some reasons to consider:
Cost-effective:
As mentioned earlier, painting cabinet handles is a budget-friendly option compared to replacing them altogether.
Personalization:
Painting your cabinet handles allows you to add a personal touch and customize their look to match your style and décor.
Sustainability:
Updating old handles with paint can help reduce waste by recycling and repurposing existing hardware.
Cohesive Design:
Painting your cabinet handles in a uniform color or design can create a cohesive look throughout your kitchen or bathroom, tying the space together.
10 Step-by-step Guidelines on How to Paint Cabinet Handles
Step 1: Gather Materials
Before you begin, gather all the necessary materials. This may include:
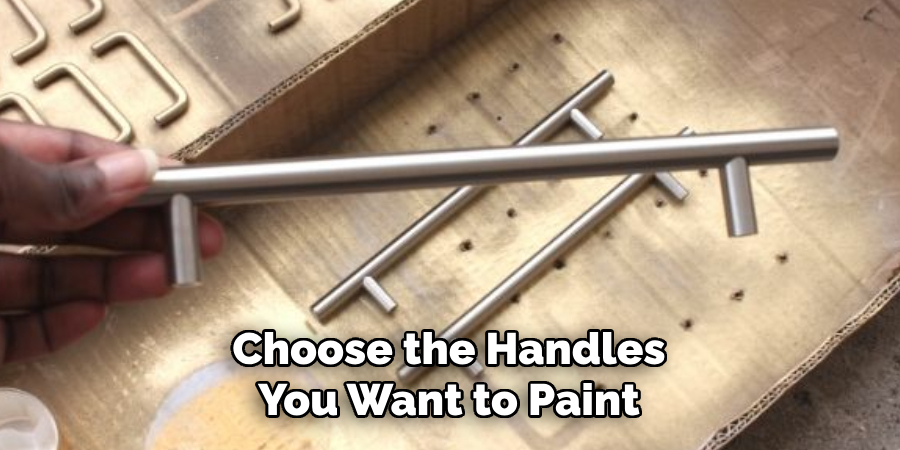
Cabinet Handles:
Choose the handles you want to paint. Consider their material and size when selecting your paint.
Screwdriver:
You’ll need a screwdriver to remove the handles from the cabinets before painting.
Sandpaper:
Use sandpaper with a fine grit (around 220) to lightly sand the handles for better adhesion of the paint.
Primer:
A bonding primer specially designed for metal or wood surfaces is recommended for best results.
Paint:
Select a high-quality, durable paint suitable for metal or wood surfaces. Consider using spray paint for a smooth and even finish.
Brush or Sprayer:
Decide whether you prefer to use a brush or sprayer to apply the primer and paint.
Step 2: Prepare Your Workspace
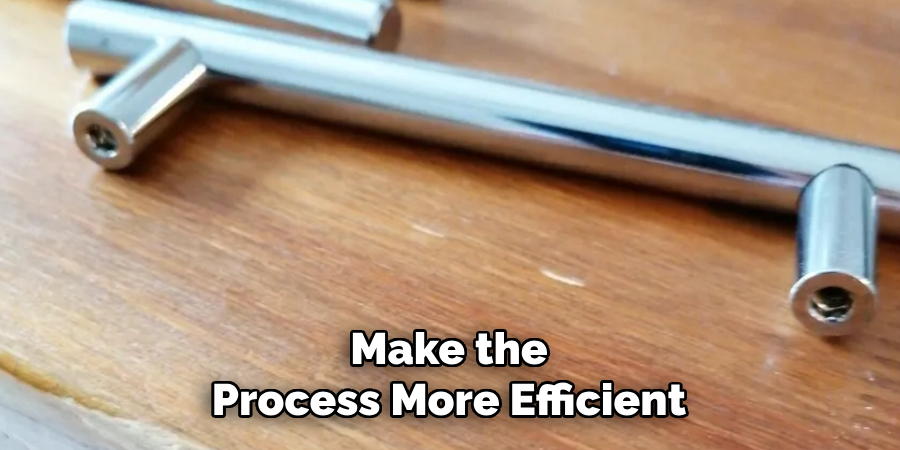
To ensure a smooth painting process, it is essential to set up a well-organized workspace. Choose a well-ventilated area, preferably outdoors or in a garage, to avoid inhaling fumes from the primer and paint. Lay down a drop cloth or old newspapers to protect your surfaces from drips and spills. Arrange all your materials within easy reach to streamline the process.
Additionally, wearing safety gear such as gloves, safety goggles, and a mask is advisable to protect yourself from any harmful chemicals and dust. Properly preparing your workspace will make the process more efficient and ensure a cleaner, professional finish.
Step 3: Remove Handles
Using your screwdriver, carefully remove each handle from the cabinets. Be sure to keep all screws and any other small parts in a safe place, such as a small container or a plastic bag, to ensure nothing gets lost. This will make reattaching the handles much easier later on. As you remove the handles, inspect them for any damage or dirt that may need to be addressed before painting.
If the handles are particularly dirty, thoroughly clean them using a mild detergent and warm water, then let them dry completely. Removing the handles will allow you to paint them more thoroughly and achieve a professional result.
Step 4: Sand the Handles
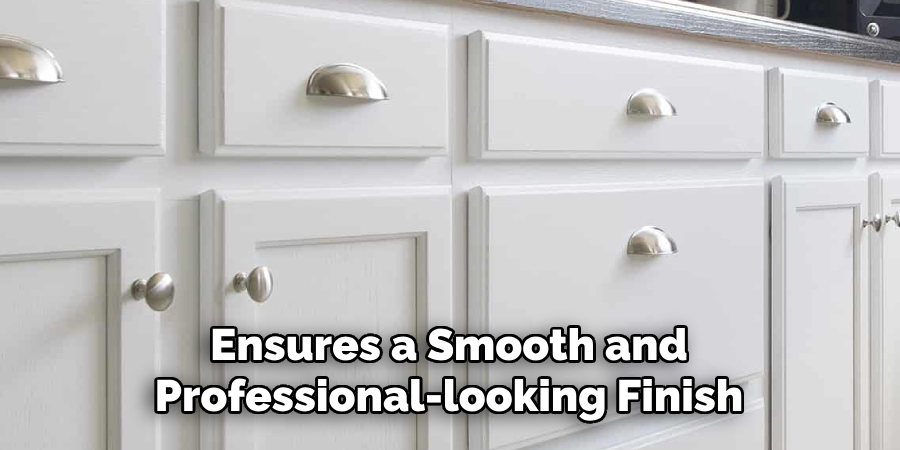
Once the handles are removed and cleaned, use fine-grit sandpaper (around 220 grit) to lightly sand the entire surface of each handle. Sanding creates a slightly rough texture, which helps the primer and paint adhere better to the surface. Be sure to sand evenly and gently to avoid scratching or damaging the handles.
After sanding, wipe the handles with a clean, damp cloth to remove any dust or debris left behind. Allow the handles to dry completely before moving on to the next step. This ensures that the primer and paint will apply smoothly and evenly, resulting in a professional finish.
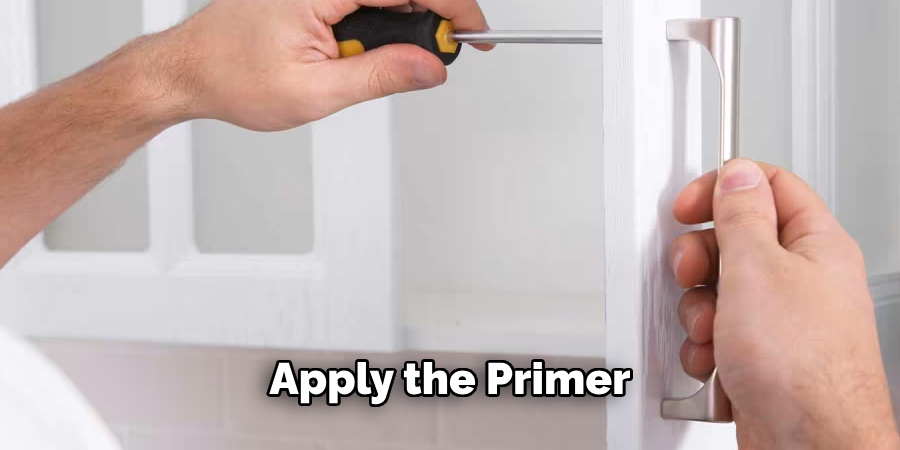
Step 5: Apply Primer
Using either a brush or sprayer, apply a thin and even layer of bonding primer to the handles. Make sure to follow the manufacturer’s instructions for application and drying time. Bonding primer is essential as it provides an extra layer of adhesion between the metal or wood surface and the paint, ensuring long-lasting results.
Be mindful not to over-apply the primer, as this can lead to drips or an uneven finish. Allow the primer to dry completely before moving on to painting.
Step 6: Choose Your Paint Color and Finish
Choosing the right color and finish for your cabinet handles will depend on your personal style and the overall look you want to achieve in your space. Consider using a paint color that complements your existing cabinets and décor.
When it comes to the finish, you can choose between a glossy, matte, or metallic look depending on your preference. Keep in mind that gloss finishes tend to be more durable and easier to clean, making them a popular choice for cabinet handles.
Step 7: Paint the First Coat
Once the primer is completely dry, it’s time to paint! Shake your chosen paint well before opening and stir if necessary. Using either a brush or sprayer, apply an even coat of paint onto the handles. Start with one side of each handle and work your way around until all sides are covered. Allow this first coat to dry completely before moving on to the second coat.
You can also follow the painting instructions on the paint can for specific recommendations on application and drying time.
Step 8: Apply the Second Coat
For a more professional finish, apply a second coat of paint after the first one has dried completely. This will help to ensure that the color is fully saturated and even. Again, be sure to follow the recommended drying time before moving on to the next step.
Although two coats of paint are usually enough, you can continue to add more coats if needed until you achieve your desired look. Just be sure to allow each coat to dry completely before adding another layer.
Step 9: Let the Handles Dry
Once all coats of paint have been applied and dried, let the handles sit for an additional 24 hours to ensure they are fully cured. This will help avoid any accidental smudges or scratches that may occur during reinstallation.
If you are using spray paint, it is recommended to wait even longer before handling the handles to avoid any potential smudging or chipping.
Step 10: Reattach Handles
After the handles have dried completely, carefully reattach them to the cabinets using your screwdriver and any saved screws or parts. Take your time during this step to ensure the handles are properly aligned and attached securely.
Once all handles are reattached, give them a gentle wipe down with a damp cloth to remove any fingerprints or smudges from handling. Then, stand back and admire your beautifully painted cabinet handles that look like new!
Following these steps on how to paint cabinet handles and using the right tools and materials will ensure a successful and professional result in painting your cabinet handles. Remember to always work in a well-ventilated area, wear proper safety gear, and take your time for the best outcome. Happy painting!
Frequently Asked Questions
Q: Can Any Type of Paint Be Used to Paint Cabinet Handles?
A: It is recommended to use a bonding primer and paint specifically designed for metal or wood surfaces, which will ensure better adhesion and durability on your cabinet handles. The type of paint you choose will also depend on the finish and color you desire.
Q: Do I Need to Sand My Cabinet Handles Before Painting?
A: Yes, sanding is an essential step as it creates a slightly rough surface for the primer and paint to adhere to better. This ensures a smooth and professional-looking finish.
Q: How Many Coats of Paint Should I Apply?
A: It is recommended to apply at least two coats of paint for a more saturated and even color. However, you can continue adding more coats until you achieve your desired look. Just be sure to allow each coat to dry completely before applying another layer. So, these were some commonly asked questions regarding painting cabinet handles that can help you in achieving a successful outcome. Keep enjoying DIY projects and giving your space a fresh look!
Conclusion
Painting your cabinet handles can be a rewarding DIY project that transforms the look of your kitchen or bathroom without the need for a complete overhaul. By following the steps on how to paint cabinet handles laid out in this guide—including proper preparation, using the right primer and paint, and allowing ample drying time—you can achieve a professional and durable finish.
Remember to be patient and meticulous during each stage of the process to ensure the best results. With newly painted handles, your cabinets will look refreshed and you’ll take pride in the personalized touch you’ve added to your home. Happy painting!