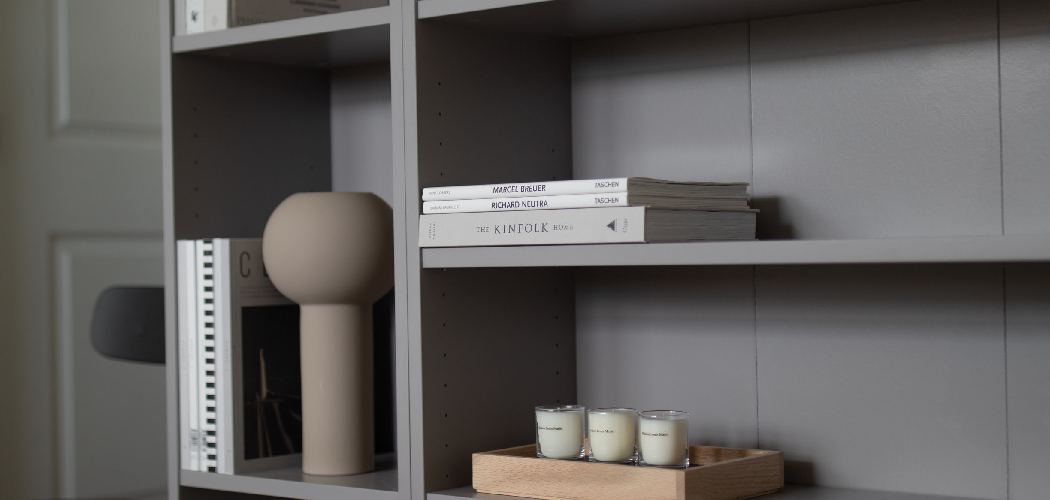
Painting built-in bookshelves is a fantastic way to refresh the look of a room and add a personalized touch to your home’s interior. Whether you’re aiming for a classic finish or a bold, contemporary hue, a fresh coat of paint can elevate the entire space.
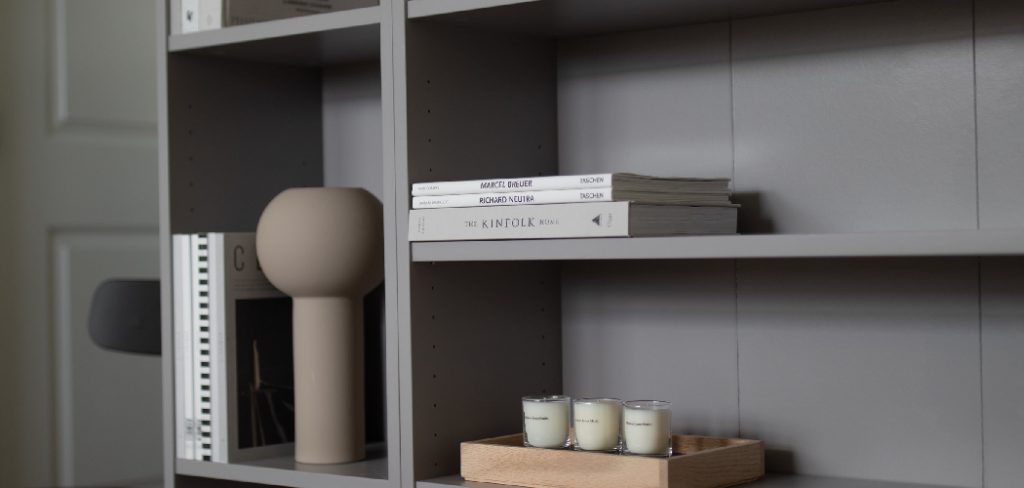
This guide on how to paint built in bookshelves will walk you through the essential steps and tips to achieve a professional-looking result, from preparing the surfaces to selecting the right paint and applying it with precision. Whether you’re a DIY enthusiast or a beginner, our step-by-step instructions will help you transform your built-in bookshelves with confidence and style.
What is a Built-in Bookshelf?
Built-in bookshelves, also known as fitted or custom bookshelves, are shelves that are installed directly into the wall of a room. They can be designed with various sizes and shapes to fit the specific space and purpose. Unlike traditional standalone bookshelves, built-ins provide a seamless integration into the room’s design, making them not only functional but also aesthetically pleasing.
It’s important to note that built-in bookshelves come in many forms, such as full-wall bookcases, alcove shelves, and corner units. Each of these may require different painting techniques and tools, so be sure to assess your particular type before getting started.
Benefits of Painting Built-In Bookshelves
Painting built-in bookshelves offers several benefits beyond just improving their appearance. Firstly, it helps protect the wood from scratches, stains, and other wear and tear. Additionally, painting your built-ins can change the entire look of your room without having to invest in expensive furniture or decor pieces. It also allows you to express your creativity and add a personal touch to your space.
Another advantage of painting built-in bookshelves is that it can make them appear larger or smaller, depending on the color you choose. Lighter colors tend to make the shelves feel more spacious, while darker colors create a cozy and intimate atmosphere. This makes painting an excellent option for optimizing small or awkward spaces.
Supplies You Will Need
Sandpaper or Sanding Block:
Sandpaper or sanding block is used to smooth out any rough surfaces on your built-in bookshelves. This step is essential for achieving a professional-looking finish.
Tack Cloth:
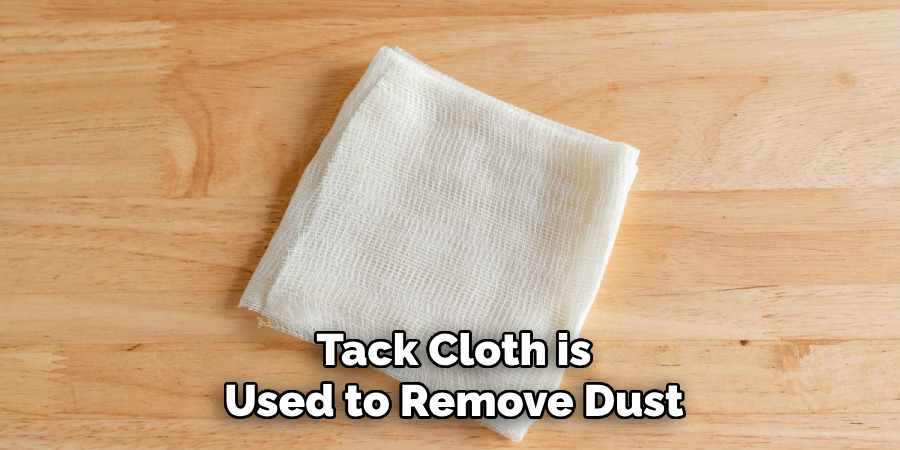
A tack cloth is made of lightly adhesive fabric and is used to remove dust, dirt, and other debris from the surface before painting. It ensures that the paint adheres smoothly without any imperfections.
Painter’s Tape:
Painter’s tape is an absolute must-have when it comes to painting built-in bookshelves. It helps protect areas that you do not want to be painted, such as walls or trim.
Drop Cloths:
Drop cloths are used to cover floors and furniture in the room where you will be painting. They protect from any accidental spills or drips.
Primer:
Primer is crucial for creating a smooth and even surface for the paint to adhere to. It also helps with covering any stains or dark colors on your built-ins before applying the final coat of paint.
Paint:
The type of paint you choose will depend on your personal preference and the material of your built-in bookshelves. Latex or acrylic paints are popular choices due to their durability and easy cleanup, but oil-based paints may be more suitable for certain types of wood.
Paintbrushes and Rollers:
Having both a paintbrush and roller will help you achieve even coverage on different surfaces of your built-in bookshelves. A brush is useful for hard-to-reach areas, while a roller is excellent for covering larger surfaces quickly.
Paint Tray:
A paint tray will make it easier to load your roller with paint and prevent an excessive amount from dripping or splattering.
10 Step-by-step Guidelines on How to Paint Built in Bookshelves
Step 1: Preparation
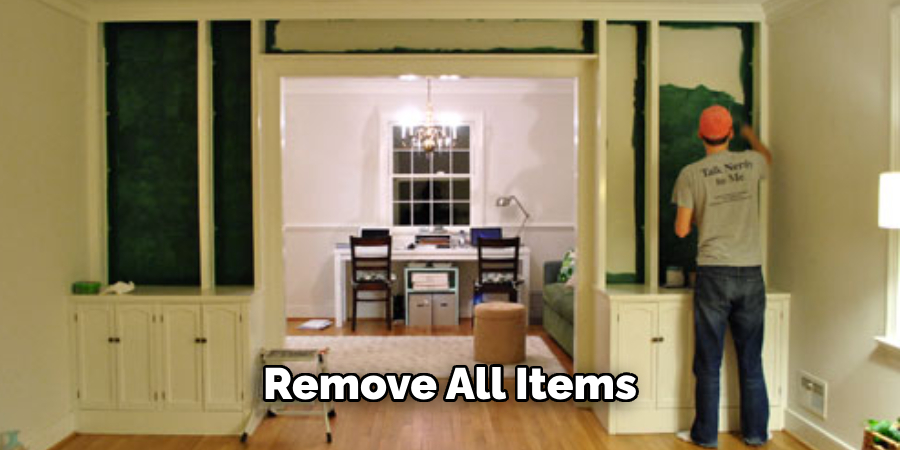
Before you begin painting, remove all items from your built-in bookshelves and cover any furniture or floors with drop cloths. You should also use painter’s tape to cover areas you don’t want to be painted, such as walls and trim.
This is also an excellent time to sand down any rough or uneven areas on your built-ins using sandpaper or a sanding block. Once done, use a tack cloth to remove any dust and debris from the surface.
Step 2: Sanding
The next crucial step in painting your built-in bookshelves is sanding. Begin by using medium-grit sandpaper (around 120-grit) to gently sand the entire surface of the bookshelves. Pay special attention to any rough patches or imperfections, ensuring they are smooth to the touch. Sanding is essential as it helps create a better surface for the primer and paint to adhere to, leading to a longer-lasting finish.
After sanding with the medium-grit paper, switch to finer-grit sandpaper (around 220-grit) to give the surface an ultra-smooth finish. Wipe down the bookshelves with a tack cloth again to remove all the dust and debris generated from sanding. This will ensure a clean slate for the next step, making your painted built-in bookshelves look professional and polished.
Step 3: Apply Primer
Once your bookshelves are sanded and wiped down, it’s time to apply the primer. Using a paintbrush or roller, apply a thin layer of primer evenly over the entire surface of your built-in bookshelves.
Be sure to use long and smooth strokes for a professional-looking finish. Follow the manufacturer’s instructions regarding drying times, but typically, a primer will take anywhere from 1-4 hours to dry completely.
Step 4: Fill in any Gaps or Cracks
While the primer is drying, this is an excellent time to fill in any gaps or cracks in your built-in bookshelves using wood filler. Using a putty knife, smooth out the filler and let it dry completely before sanding it down for a seamless finish.
The wood filler will help create a smooth surface for the paint to adhere to and also improve the overall appearance of your built-ins.
Step 5: Sand Primer
After the primer has dried completely, it’s time to sand it down lightly using fine-grit sandpaper. This will provide a smoother surface for the paint to adhere to and help eliminate any imperfections or brushstrokes.
Be sure to wipe away any dust from sanding with a tack cloth before moving on to the next step. The surface should be smooth to the touch and free of any debris.
Step 6: Apply the First Coat of Paint
Now that your built-in bookshelves are prepped and primed, it’s time to apply the first coat of paint. Using your preferred type of paint and either a roller or brush, begin painting the shelves with long and smooth strokes. Be sure to cover all surfaces, including the inside of any cubbies or shelves.
It’s important to use a thin layer of paint as thick layers can lead to drips or an uneven finish. Allow the first coat to dry completely before moving on to the next step.
Step 7: Sand Between Coats
Once the first coat of paint is dry, lightly sand it down using fine-grit sandpaper. This will help create a smoother surface for your next coat of paint and ensure a professional-looking finish.
Again, wipe away any dust using a tack cloth before applying the next coat of paint. Repeat this step for each subsequent coat of paint.
Step 8: Apply Additional Coats if Needed
Depending on the type and color of your paint, you may need to apply multiple coats until you achieve your desired coverage and finish. Continue to follow the same process as outlined in steps 6 and 7 until you are satisfied with the appearance of your built-in bookshelves.
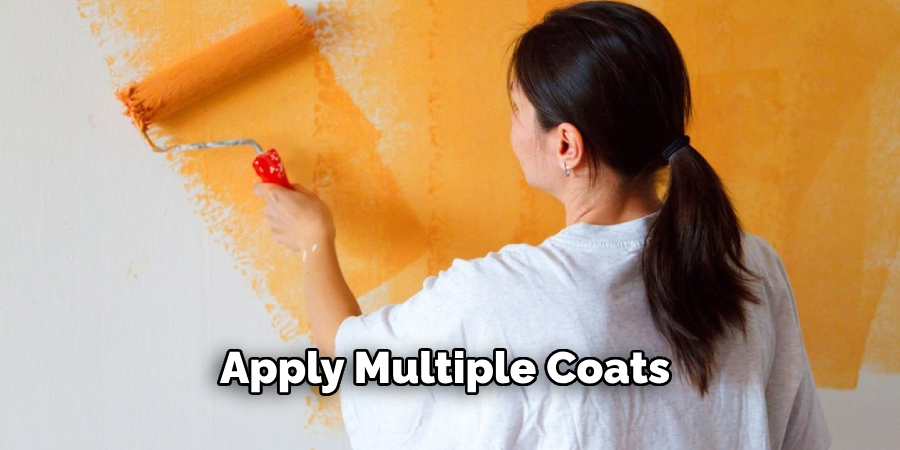
Remember to allow each coat to dry completely before sanding and applying the next one.
Step 9: Final Touches
Once all coats of paint are dry, it’s time for any final touches. You may want to add a protective topcoat or sealant to your built-ins for added durability and an extra layer of protection against wear and tear.
You can also remove the painter’s tape and drop cloths at this stage, revealing a beautifully painted set of built-in bookshelves.
Step 10: Reorganize and Enjoy
With your painting project complete, it’s time to reorganize your books and décor on your newly painted built-in bookshelves. Take pride in knowing that you have transformed an essential piece of furniture into a stylish and personalized part of your home. Enjoy the newly refreshed look and feel of your built-ins! Keep in mind that repainting your built-in bookshelves is not a one-time task, as they may need to be touched up or repainted in the future as well. With proper care and maintenance, your painted built-ins will continue to look beautiful for years to come.
Following these step-by-step guidelines on how to paint built in bookshelves will ensure that you achieve a professional-looking finish and make the process as smooth as possible. Don’t be afraid to experiment with different colors and finishes, making your built-ins a unique and stylish addition to your home. Happy painting!
Additional Tips
- Use high-quality paint for a longer-lasting finish
- Consider using a gloss or semi-gloss finish for easier cleaning
- Take breaks between coats to avoid fatigue and make sure each coat is dry before proceeding
- Clean up any spills or drips immediately with a damp cloth
- For added protection, use coasters or felt pads on the bottom of any items placed on the shelves to prevent scratching or damage
- Regularly dust and clean your bookshelves to maintain their appearance
- Experiment with different techniques, such as distressing or adding decorative accents, for a more personalized look. Overall, have fun with the process and take pride in creating a beautiful and functional space in your home with painted built-in bookshelves. The possibilities are endless!

Conclusion
Painting your built-in bookshelves can be a rewarding DIY project that significantly enhances the aesthetics and functionality of your home. By following these detailed steps on how to paint built in bookshelves, from sanding and priming to painting and finishing touches, you can achieve a professional-looking result that matches your personal style.
Remember to invest in high-quality materials and take your time with each step to ensure the best outcome. With patience and attention to detail, your newly painted built-ins will become a stylish focal point in any room, providing both beauty and utility for years to come. Happy painting!
