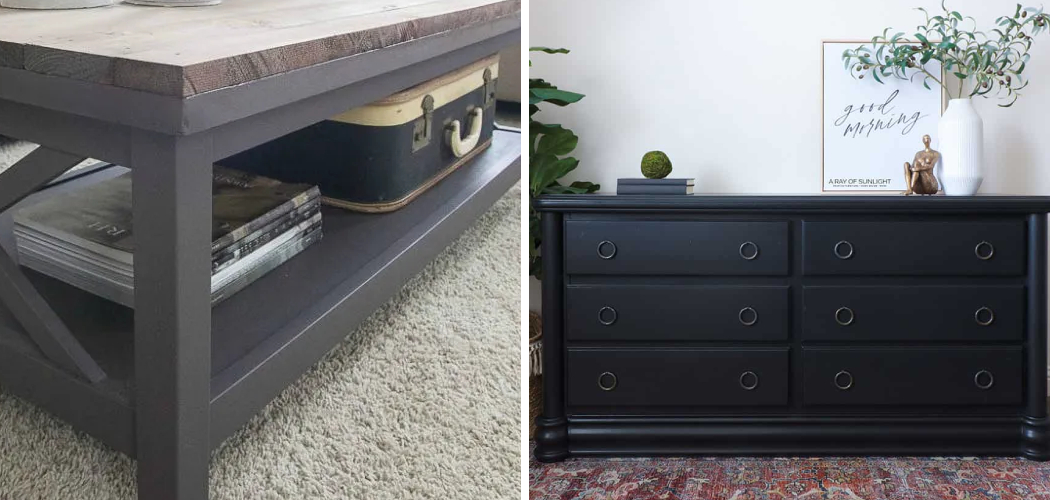
Painting black furniture a lighter color can dramatically transform the look and feel of a room. Whether you’re aiming for a more modern aesthetic or simply want to refresh an old piece, changing the color of your furniture is a cost-effective way to achieve a new decor style.

This guide on how to paint black furniture a lighter color will walk you through the essential steps and provide tips to ensure a smooth, durable finish. Before you start, gather all necessary materials and set aside ample time for each stage of the painting process. With patience and attention to detail, you’ll be able to breathe new life into your black furniture.
Why Paint Black Furniture a Lighter Color?
Some furniture simply looks better in black. It adds dimension and depth to a room, creating a striking contrast against lighter walls and decor. However, over time, your black furniture may start to feel heavy or dated. Painting it a lighter color can help modernize the piece and give it a whole new look. Additionally, painting allows you to customize your furniture to match your personal style and preferences.
It’s worth noting that painting black furniture a lighter color is not an easy task. Black paint tends to be more difficult to cover up, and mistakes can be more noticeable. However, with the right materials and techniques, you can achieve a beautiful, professional-looking finish.
Materials Needed
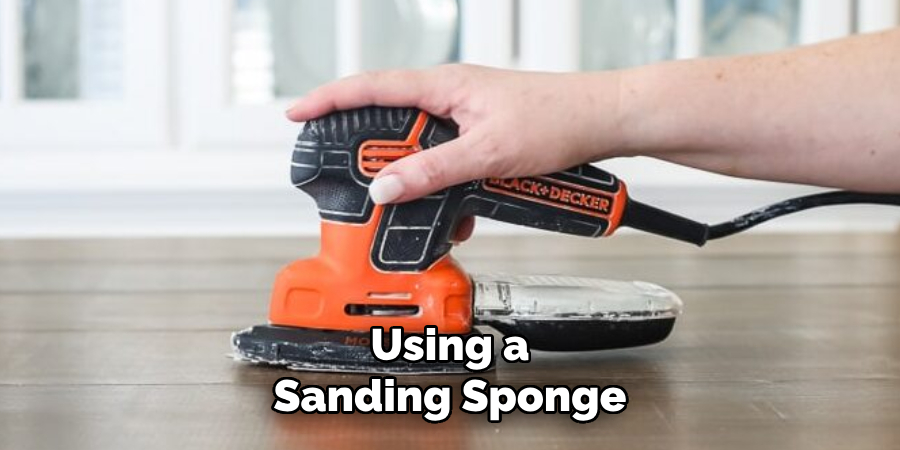
1.Sandpaper (150-grit):
Sanding is a critical step in preparing your furniture for a new coat of paint. Using 150-grit sandpaper, you can effectively rough up the surface of the black paint, which helps the primer and new paint adhere better. Be sure to sand evenly and gently to avoid creating scratches or uneven surfaces. For intricate details or hard-to-reach areas, consider using a sanding sponge or a sanding block for better control and precision.
2.TSP Cleaner:
Before painting, it’s essential to thoroughly clean the furniture to remove any dirt, dust, or grime that may hinder the paint’s adhesion. TSP (trisodium phosphate) is a powerful cleaner often used by professional painters and can be found at most hardware stores. Mix it with water according to the instructions and use a sponge or cloth to wipe down the furniture.
3.Primer:
A high-quality primer is crucial when painting black furniture a lighter color. It helps block out the old color and creates a smooth surface for the new paint to adhere to. Look for an oil-based primer for better coverage and durability. Depending on your choice of new color, you may need multiple coats of primer to cover the black fully.
4.Paint:
When choosing paint for your furniture, consider using high-quality latex or acrylic paint for better adhesion and durability. These types of paints also come in a wide range of colors, giving you more options for your new look. Be sure to choose a finish that suits your preferences and the style of the room – glossy finishes provide a modern look, while flat or eggshell finishes give a more subtle appearance.
5.Paintbrushes:
Investing in good quality paintbrushes can make all the difference in achieving a smooth, professional-looking finish. Look for brushes with synthetic bristles as they work well with water-based paints and are easier to clean. For smaller surfaces and intricate details, use smaller brushes for more control and precision.
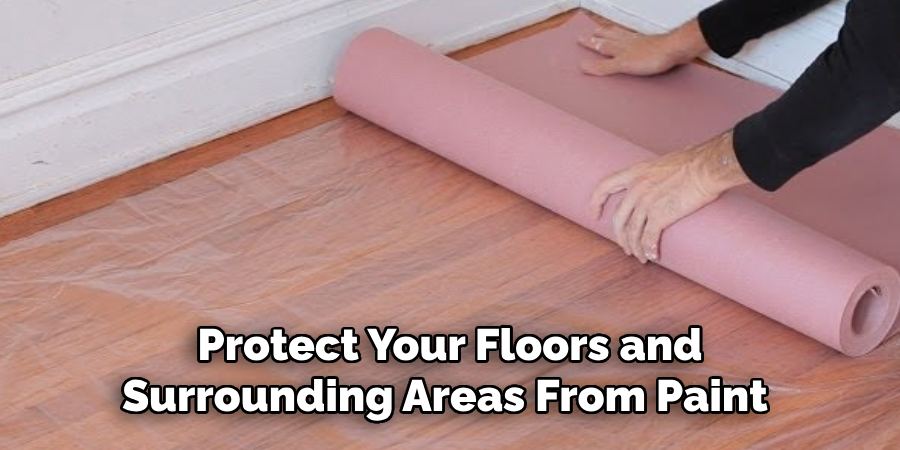
6.Drop Cloths:
To protect your floors and surrounding areas from paint spills or splatters, lay down drop cloths before you start painting. Old sheets or plastic tarps can also work as makeshift drop cloths if needed.
9 Step-by-step Guidelines on How to Paint Black Furniture a Lighter Color
Step 1: Prepare the Furniture
Start by clearing out the furniture and removing any hardware such as knobs or pulls. If possible, disassemble the furniture to make sanding and painting easier. Wipe down the entire surface with a TSP cleaner and let it dry completely before moving on to the next step.
You can also use a deglosser product to clean and prepare the surface if you’re short on time or don’t want to sand. It’s essential to remove any existing finish or gloss from the furniture for better paint adhesion.
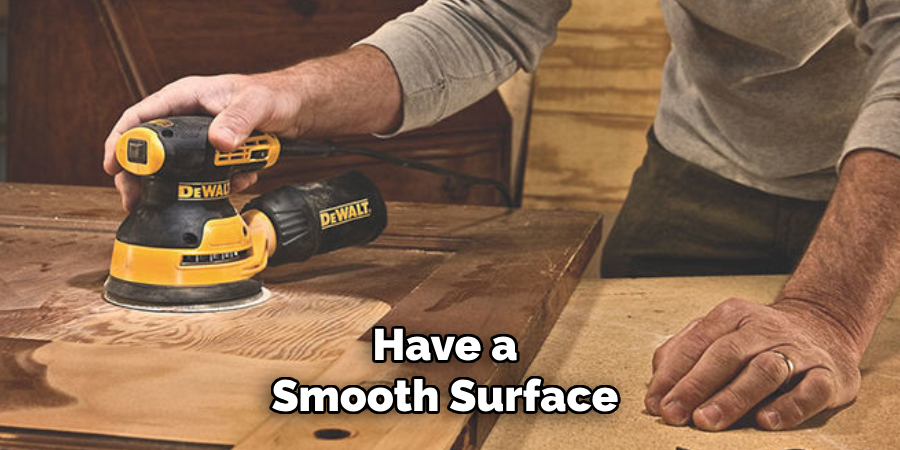
Step 2: Sand the Furniture
Using 150-grit sandpaper, gently sand the entire surface of the furniture. Be sure to sand evenly and avoid creating deep scratches or gouges. Sanding helps remove any gloss, smooth out imperfections, and rough up the surface for better paint adhesion.
The amount of sanding required depends on the condition of your furniture. If there are noticeable imperfections or scratches, you may need to use coarser grit sandpaper (such as 120-grit) first before finishing with the 150-grit.
Step 3: Clean Up Dust
After sanding the furniture, it’s crucial to clean up all the dust and debris generated during the process. Use a vacuum cleaner with a brush attachment to remove the bulk of the dust from the furniture’s surface and surrounding areas. Pay special attention to corners, crevices, and any intricate details.
Once the majority of the dust is gone, use a tack cloth or a damp microfiber cloth to wipe down the entire piece, ensuring that no fine dust particles remain. This step is important to ensure proper paint adhesion and a smooth finish. Let the furniture dry completely before moving on to the next step.
Step 4: Apply Primer
Using a high-quality oil-based primer, start applying an even coat on the furniture. You can use a brush or a small foam roller for larger surfaces. Be sure to cover all areas, including corners and edges. Depending on the color of your new paint, you may need multiple coats of primer to cover the black fully.
Allow the primer to dry completely according to the manufacturer’s instructions before moving on to the next step. This usually takes several hours.
Step 5: Sand Again (Optional)
After the first coat of primer has dried, sand any imperfections or rough patches with fine-grit sandpaper (220-grit). This ensures that you have a smooth surface for your final coat of paint.
Step 6: Apply Paint
Using a high-quality latex or acrylic paint, start painting your furniture. Begin with the edges and corners using a brush before moving on to larger surfaces with a roller. Be sure to apply thin, even coats of paint for the best results. If needed, you can also use multiple coats of paint for full coverage. Let each coat dry completely before applying the next one.
It’s important to note that lighter colors may require more coats of paint to completely cover the black, so be prepared for this possibility.
Step 7: Sand Again (Optional)
After applying your first coat of paint and allowing it to dry completely, inspect the surface for any streaks, brush marks, or imperfections. If you notice any uneven areas, use fine-grit sandpaper (220-grit) to gently sand the surface. This step helps to achieve a silky-smooth finish and ensures that your subsequent coats of paint adhere better.
Sand lightly and evenly, and then clean up any dust with a tack cloth or damp microfiber cloth. Allow the furniture to dry fully before moving on to the next coat of paint.
Step 8: Apply the Final Coat of Paint
With the initial coats of paint thoroughly dried and any necessary touch-up sanding completed, it’s time to apply the final coat of paint. This coat is critical for achieving a polished, professional finish.
Start by gently stirring your high-quality latex or acrylic paint to ensure it’s well-mixed. Using a clean brush for the edges and corners and a foam roller for larger surfaces, apply a thin and even coat. Pay careful attention to your technique, maintaining smooth, consistent strokes to avoid brush marks or streaks.
The final coat should cover any remaining traces of the original black color and provide a uniform appearance. Depending on the coverage of your chosen paint color, one additional coat may suffice; however, lighter shades may require another layer for complete opacity. Let each coat dry as per the manufacturer’s instructions to ensure a durable finish.
Once the final coat is completely dry, inspect the furniture for any touch-up areas. A well-applied final coat will give your furniture a refreshed, vibrant look that stands the test of time.

Step 9: Add Finishing Touches
Once your furniture is fully dry and has cured according to the paint manufacturer’s instructions, you can reattach any hardware and add any desired finishes or topcoats. For a clean, polished finish, consider sealing the surface with a clear polyurethane topcoat. This will help protect your newly painted furniture from scratches, stains, and other wear and tear. Allow the topcoat to dry completely before using or moving the furniture back into its original location.
With these step-by-step guidelines on how to paint black furniture a lighter color, you should now have a beautifully refinished piece of black furniture in a lighter color that adds a fresh touch to your home décor. Remember to take your time with each step for optimal results, and enjoy your newly transformed furniture for years to come.
So, the next time you decide to update your home’s look, don’t discount the potential of transforming old black furniture into something new and exciting with just a bit of paint and some elbow grease! Happy painting!
Frequently Asked Questions
Q1: Can I Use a Different Type of Paint Instead of Latex or Acrylic?
A1: It’s recommended to use high-quality latex or acrylic paint for the best results. However, you can try using other types of paint if desired, but be sure to test a small area first to ensure proper adhesion and coverage.
Q2: How Many Coats of Paint Do I Need?
A2: The number of coats needed will depend on the coverage of your chosen paint color. Darker shades may require fewer coats, while lighter colors may need additional layers for complete opacity. It’s always better to start with thin, even coats and add more if necessary.
Conclusion
Refinishing black furniture to a lighter color is a rewarding project that can breathe new life into your home decor. By following the outlined steps—preparation, sanding, priming, painting, and adding finishing touches—you can achieve a professional finish that highlights the uniqueness and beauty of your furniture. Taking the time to meticulously prepare and execute each step ensures a durable, long-lasting transformation.
Whether you’re looking to modernize a room or simply give an outdated piece a fresh look, painting your black furniture lighter is a cost-effective and creative solution. Remember, patience and attention to detail are key to achieving the best results. So gather your supplies, set aside some time, and enjoy the process of turning your old furniture into a stunning focal point for your space. Thanks for reading this article on how to paint black furniture a lighter color.