Oak cabinets are a popular choice for kitchen and bathroom cabinetry due to their durability, natural beauty, and timeless appeal. Often characterized by their distinctive grain patterns and sturdy construction, oak cabinets have become a staple in many homes. However, there are times when updating their appearance becomes necessary.

Whether you’re looking to refresh an outdated look, adapt to a new color scheme, or simply conceal imperfections, painting your oak cabinets can be an excellent solution. The process of painting oak cabinets involves several key steps: preparation, priming, painting, and finishing. Proper preparation is essential to ensure a smooth and long-lasting finish.
Priming helps seal the wood and provides a good surface for the paint to adhere to. Finally, painting and finishing will give your cabinets a fresh, new appearance. In this guide, we’ll walk you through detailed instructions on how to paint an oak cabinet, ensuring a professional-quality result.
Materials and Tools Needed
To paint your oak cabinet, gather the following materials and tools for a successful project.
Materials:
- Sandpaper (medium and fine grit)
- Degreaser or mild detergent
- Wood filler
- Primer suitable for wood
- High-quality paint suitable for cabinets
- Clear topcoat or sealer
Tools:
- Screwdriver
- Putty knife
- Paintbrushes
- Foam rollers
- Painter’s tape
- Drop cloths
- Tack cloth
Safety Gear:
- Gloves
- Safety glasses
- Mask
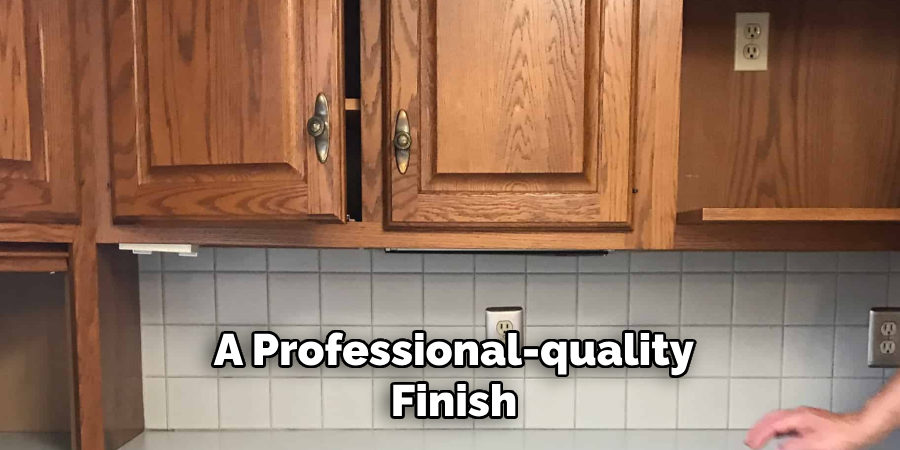
Having these materials and tools at your disposal will ensure you are well-prepared to deliver a professional-quality finish.
Preparation
Cleaning the Surface
Remove Hardware
Begin by unscrewing all knobs, handles, and hinges from the cabinets. This will make it easier to clean, sand, and paint the cabinet surfaces without any obstructions. Place all hardware in a safe location so you can reattach them later.
Degreasing
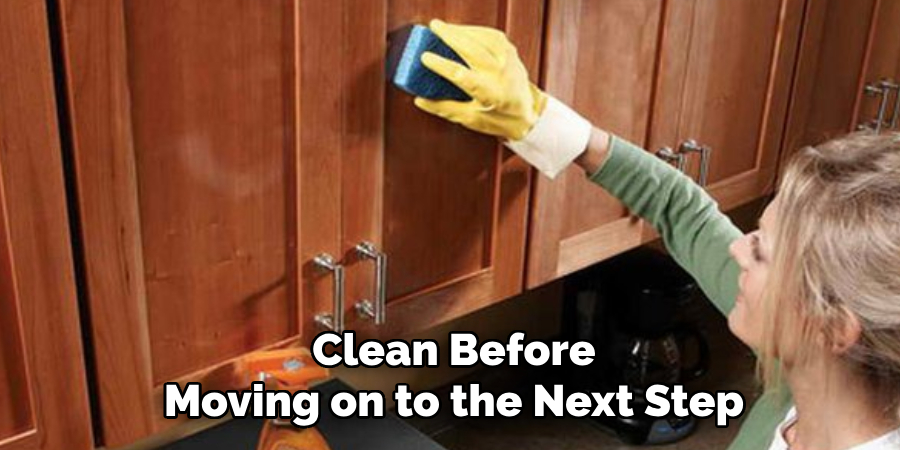
Next, thoroughly clean the cabinets with a degreaser or a mild detergent solution to remove grease, dirt, and grime. This is an important step as it ensures that the primer and paint adhere properly to the wood. Use a sponge or a cloth to scrub all surfaces, including corners and edges. Once cleaned, rinse the surfaces with water and let them dry completely.
Sanding
Purpose
Sanding the cabinets is essential for creating a smooth surface that allows for better paint adhesion. This will help achieve a professional finish and prolong the durability of the paint job.
Technique
Start by sanding the cabinets with medium-grit sandpaper to roughen up the surface and remove any existing finish. Concentrate on corners and edges as they often have a build-up of old paint or varnish. After the initial sanding, switch to fine-grit sandpaper to achieve a smooth texture. This second pass will help eliminate any remaining gloss and ensure a uniform surface.
Cleaning
After sanding, wipe down the cabinets with a tack cloth to remove all sanding dust. This step is crucial as any leftover dust can interfere with the adhesion of the primer and paint, resulting in an uneven finish. Make sure the surface is completely clean before moving on to the next step in the painting process.
Repairing Imperfections
Filling Holes and Gouges
Identify
Locate any holes, scratches, or gouges on the surface of your oak cabinet. These imperfections can affect the final appearance of your paint job, so it’s essential to address them before moving on to priming and painting. Take your time to thoroughly inspect the cabinet’s exterior and interior surfaces, including doors and drawer fronts.
Fill
Once you have identified the imperfections, use a wood filler to fill in the holes, scratches, or gouges. Follow the manufacturer’s instructions for the best results. Apply the filler with a putty knife, pressing it into the imperfections to ensure they are completely filled.
Allow the filler to dry as per the manufacturer’s recommended drying time. After the filler has dried, sand the repaired areas lightly with fine-grit sandpaper until the surface is smooth and level with the surrounding wood. Make sure to clean up any sanding dust with a tack cloth before proceeding to the next step.
Repairing Loose Joints
Tighten Screws
Check for any loose screws in your oak cabinet. Loose screws can compromise the stability of the cabinet, making it less durable and potentially causing issues when applying paint. Use a screwdriver to tighten all loose screws, ensuring that the cabinet parts are securely fastened.
Glue Joints
For any loose joints or areas where the wood pieces have started to separate, apply wood glue to the affected joints. Carefully spread the glue into the joint using a small brush or a toothpick to ensure even coverage. Once the glue is applied, use clamps to hold the pieces firmly together while the glue dries. Follow the wood glue manufacturer’s drying time recommendations to ensure a strong bond.
Taking these steps to fill holes, scratches, and repair loose joints will provide a solid foundation for priming and painting, resulting in a professional-quality finish for your oak cabinets.
How to Paint an Oak Cabinet: Priming
Importance of Primer
Priming your oak cabinets is a crucial step in achieving a durable and professional-looking finish. Primer serves two primary functions: as a sealant and as an adhesion promoter.
Sealant
One key benefit of using primer on oak cabinets is its ability to act as a sealant. Oakwood contains tannins that can bleed through the paint over time, leading to unsightly discoloration. A high-quality primer designed for wood surfaces will seal the tannins in the oak, preventing them from seeping through the painted finish. This ensures that your paint job remains vibrant and blemish-free for years to come.
Adhesion
Primer also enhances the paint’s adhesion to the cabinet surface. Oak cabinets typically have a smooth and sometimes glossy finish that can make it difficult for paint to adhere properly. Applying a primer creates a slightly textured surface that allows the paint to grip better, reducing the likelihood of peeling, chipping, or flaking paint in the future.
Application Technique
Proper application of primer is essential for a smooth and even final finish. Here’s how to apply primer effectively:
Brush or Roll
You can apply primer using either a high-quality brush or a foam roller. A brush is ideal for detailed areas and crevices, while a foam roller works well for larger, flat surfaces. Ensure that the tools you choose are of high quality to avoid brush marks and roller streaks.
Thin Coats
Apply the primer in thin, even coats, starting from one end of the cabinet and working your way to the other. Thin coats help to prevent drips and ensure a uniform finish. Allow each coat to dry completely before applying the next one. Depending on the type of primer you use, this could take anywhere from one to several hours. Follow the manufacturer’s instructions for drying times to achieve the best results.

Taking the time to properly prime your oak cabinets will set the stage for a smooth, durable, and long-lasting paint job that enhances the beauty and functionality of your kitchen or bathroom cabinetry.
How to Paint an Oak Cabinet: Painting
Choosing Paint
Type
Selecting the right type of paint is crucial for achieving a professional finish on your oak cabinets. When choosing paint, opt for a high-quality product specifically formulated for cabinets. Cabinet-specific paints are designed to withstand the wear and tear that kitchen and bathroom cabinets endure, providing superior durability and a long-lasting finish.
Finish
The finish you choose for your cabinets will significantly impact their appearance. Matte finishes offer a more understated, modern look, while satin finishes provide a slight sheen that can reflect light and give the cabinets a more polished appearance. Semi-gloss finishes are highly durable and easier to clean, making them an excellent choice for high-traffic areas.
Painting Technique
Brushing vs. Rolling
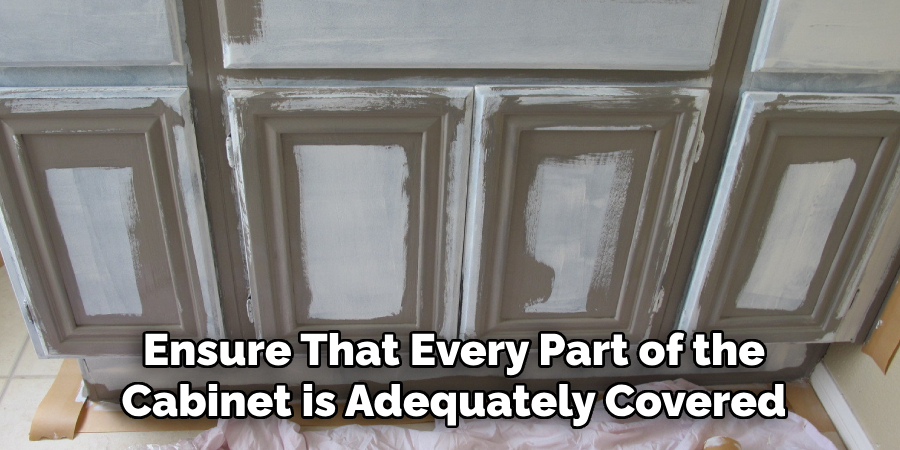
Using the right tools for painting your oak cabinets is essential for achieving a smooth, even coat. A high-quality brush is the best choice for detailed areas such as corners, edges, and intricate moldings. A foam roller works well for larger, flat surfaces, helping to avoid brush marks and achieve a more uniform finish. The combination of brushing and rolling will ensure that every part of the cabinet is adequately covered.
Thin Coats
Applying paint in thin, even coats is key to avoiding drips, brush marks, and an uneven finish. Start from one end of the cabinet and work your way to the other, making sure each coat is smooth and consistent. Thin coats dry faster and provide a better finish than thick, heavy coatings. This also helps in building up the layers for a more robust and durable surface.
Direction
Always paint in the direction of the wood grain. This technique helps in achieving a smoother, more natural finish that highlights the beauty of the oak wood. Painting against the grain can result in visible brush strokes and an uneven texture.
Drying Time and Recoating
Drying
Allowing each coat of paint to dry completely before applying the next is essential for a flawless finish. Typically, a drying time of 4-6 hours is recommended, but this can vary based on the type of paint used and the ambient conditions. Ensure that the cabinets are fully dry to the touch before proceeding with the next coat.
Number of Coats
Two to three coats of paint are usually necessary for even coverage and a durable finish. Each additional coat should be applied only after the previous one has dried completely. This layering technique ensures a deep, rich color and a strong, long-lasting finish that can withstand daily use.
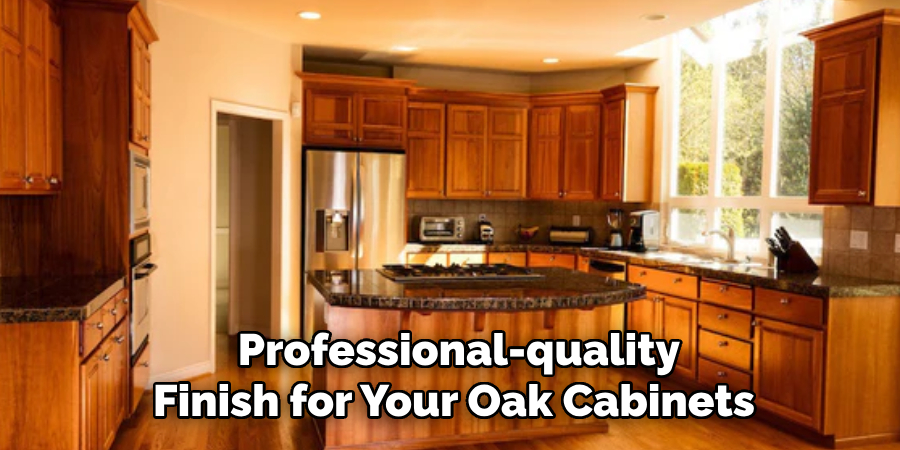
By following these techniques and guidelines, you’ll be able to transform your oak cabinets with a beautiful, professional-quality paint job that enhances the overall look and feel of your kitchen or bathroom.
Finishing
Applying Topcoat
Importance
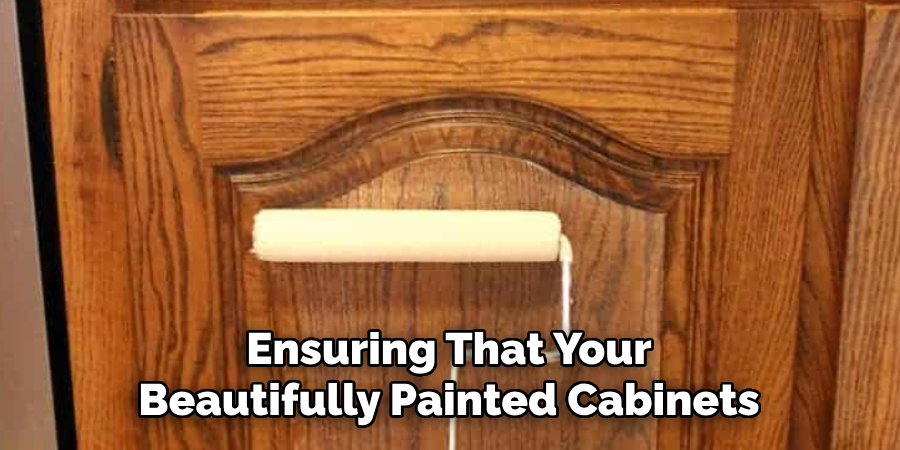
Applying a topcoat to your painted oak cabinets is a critical step that adds an extra layer of durability and protection. This final layer safeguards the painted surface from daily wear and tear, moisture, and stains, ensuring that your beautifully painted cabinets remain vibrant and intact over time.
Options
When selecting a topcoat, you can choose between a clear topcoat or a sealer that comes in various finishes: matte, satin, or gloss. A matte finish offers a classic, understated look, while a satin finish provides a subtle sheen that highlights the paint’s color. A gloss finish delivers a high-shine appearance, offering both enhanced durability and an elegant look.
Application Technique
Brush or Spray
You can apply the topcoat using either a high-quality brush or a paint sprayer. Both methods are effective, but a sprayer tends to provide a more even coat and a smoother finish. If using a brush, opt for one with synthetic bristles to ensure smooth application and minimize brush marks.
Thin Coats
Apply the topcoat in thin, even coats, starting from one end of the cabinet and working your way to the other. Thin coats help avoid drips and ensure a smooth, even finish. Allow each coat to dry completely before applying the next one, following the manufacturer’s instructions for drying times. Depending on the type of topcoat used, this may range from a few hours to overnight.
Drying and Curing
Drying Time
After applying each coat of topcoat, allow it to dry according to the manufacturer’s instructions. This drying time is crucial for preventing imperfections and ensuring a robust finish.
Curing Time
Once the final coat has been applied, it is essential to let the topcoat cure properly. Wait at least 24-48 hours before reinstalling the hardware and using the cabinets. This curing period ensures that the topcoat hardens fully, providing maximum protection and endurance for the painted surface. Following these steps will give your oak cabinets a long-lasting, professional-quality finish.
Conclusion
Painting oak cabinets involves a meticulous yet rewarding process that begins with thorough preparation. Cleaning, sanding, and priming set a strong foundation for a smooth and long-lasting finish. Selecting the right type and finish of paint and applying it using the proper techniques, such as brushing or rolling in thin coats, ensures an even and professional look. Adding a topcoat provides durability and protection, enhancing the longevity of your prepped and painted cabinets.
Undertaking this project can completely transform the look of your kitchen or bathroom, bringing in an updated, refreshed ambiance without the need for a full renovation. Painting oak cabinets not only adds value to your space but also offers a sense of accomplishment and pride.
For a successful project, take your time, use quality materials, and follow proper safety precautions such as adequate ventilation and protective gear. Armed with this “how to paint an oak cabinet” guide, you’re well-equipped to achieve stunning, professional-quality results.