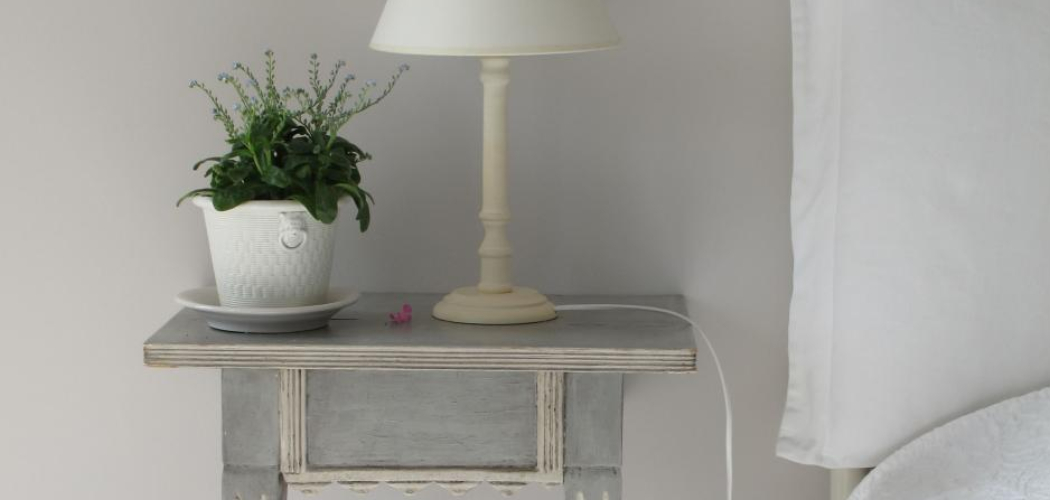
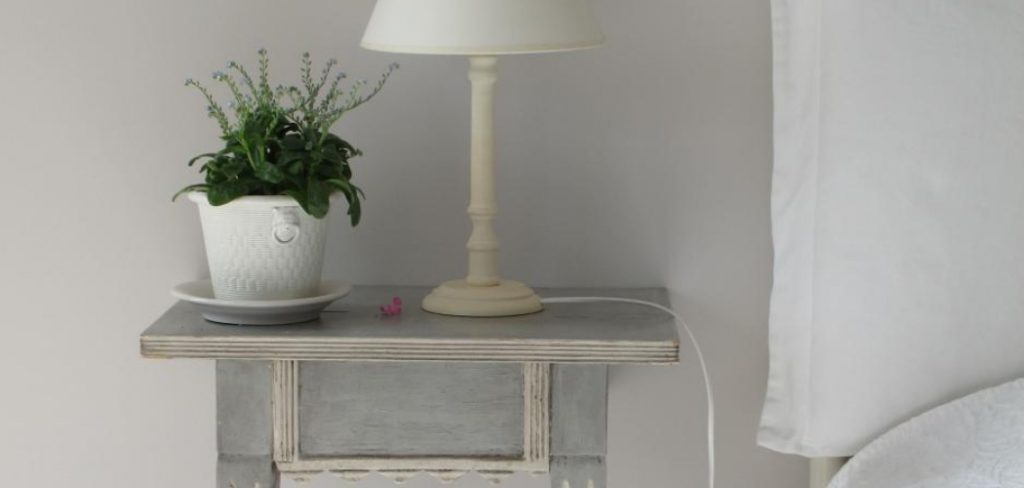
Painting a nightstand is a fantastic way to breathe new life into a bedroom staple, transforming it from functional furniture to a personalized piece that enhances your decor. Whether you’re updating an old nightstand or customizing a new one to match your style, painting allows for endless creative possibilities.
This article aims to provide a comprehensive guide on how to paint a nightstand. From choosing the perfect color to selecting the right paint type and finish, each step in the painting process contributes to the overall look and durability of the final product. Additionally, proper preparation, including sanding and priming, is essential for achieving a smooth, long-lasting finish.
This article will guide you through the process of painting a nightstand, providing tips and techniques for every stage, from preparation to finishing touches. With the right tools, materials, and know-how, you can effortlessly transform your nightstand into a stunning focal point in your bedroom decor.
Gather Necessary Materials
Before you begin the painting process, it is crucial to gather all the necessary materials. Having everything prepared in advance will not only make the project run more smoothly but also ensure that you achieve the best possible results. Here is a list of materials you will need to paint your nightstand:
- Nightstand – The piece of furniture you will be painting.
- Sandpaper – To sand the surface of your nightstand. A variety of grits ranging from 80 to 220 will be helpful.
- Primer – To prepare the nightstand surface for painting and ensure better adhesion of the paint.
- Paint – Choose a high-quality paint intended for furniture. Consider colors and finishes (matte, satin, semi-gloss, or high-gloss) that complement your room decor.
- Paintbrushes and Rollers – Various sizes of brushes and rollers for applying primer and paint evenly.
- Painter’s Tape – To protect areas you don’t want painted and achieve clean lines.
- Drop Cloths or Newspapers – To protect your work area from paint splatters.
- Cleaning Supplies – Such as a damp cloth and mild detergent to clean the nightstand before painting.
- Putty Knife and Wood Filler – For repairing any dents or scratches on the surface of the nightstand.
- Protective Gear – Including gloves, goggles, and a mask to protect yourself from dust and fumes.

10 Methods How to Paint a Nightstand
1. Preparing the Nightstand
The first step in painting a nightstand is thorough preparation. Begin by removing any hardware, such as knobs or handles, to ensure they don’t get in the way. If your nightstand has drawers, take them out and remove any other detachable parts. Clean the entire piece with a damp cloth to remove dust and grime. For stubborn dirt or grease, use a mild detergent mixed with water.
This step is crucial because any dirt or residue can prevent the paint from adhering properly. Allow the nightstand to dry completely before moving on to the next step. Proper preparation sets the foundation for a smooth and long-lasting finish.
2. Sanding the Surface
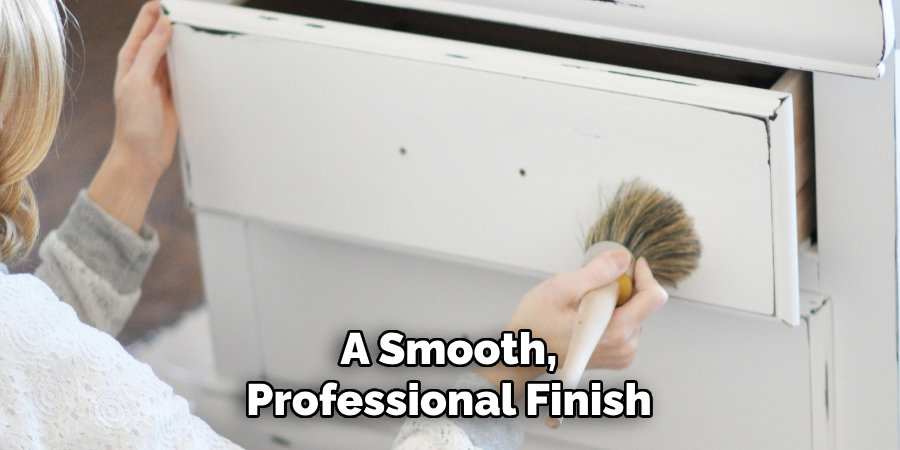
Sanding the nightstand is essential for creating a surface that paint can adhere to. Start with medium-grit sandpaper (around 120-grit) to remove the existing finish and rough up the surface. If the nightstand has a glossy finish, sanding will help dull it, allowing the primer and paint to stick better. After the initial sanding, switch to a finer grit (220-grit) to smooth out the surface.
Sand in the direction of the wood grain to avoid scratches. Once you’re done, wipe the nightstand with a tack cloth to remove any sanding dust. Sanding not only improves paint adhesion but also helps achieve a smooth, professional finish.
3. Repairing Imperfections
Before applying paint, inspect the nightstand for any imperfections such as scratches, dents, or holes. Use wood filler to repair these flaws. Apply the filler with a putty knife, ensuring it’s level with the surface. Allow it to dry according to the manufacturer’s instructions, which usually takes about 30 minutes.
Once the filler is dry, sand the repaired areas with fine-grit sandpaper until they are smooth and flush with the rest of the surface. Wipe away any dust with a tack cloth. Repairing imperfections ensures that the painted finish will be smooth and free from blemishes, enhancing the overall appearance of your nightstand.
4. Applying Primer
Priming the nightstand is a crucial step that shouldn’t be skipped. Primer helps to seal the wood, provides a uniform base for the paint, and enhances paint adhesion. Choose a high-quality primer suitable for the type of wood your nightstand is made of. Apply the primer using a brush or roller, starting with the edges and corners, and then moving to the larger surfaces. Ensure even coverage and smooth out any drips or brush marks. Allow the primer to dry completely, which usually takes a few hours.
5. Choosing the Right Paint
Selecting the right paint is crucial for achieving a beautiful and durable finish on your nightstand. Consider the type of paint that best suits your project. Latex or acrylic paints are popular choices for furniture because they are easy to work with, dry quickly, and clean up easily with water. Chalk paint is another option that provides a matte finish and is great for achieving a vintage or shabby chic look. Choose a high-quality paint in your desired color and finish—matte, satin, or gloss.
6. Painting the Nightstand
Now that your nightstand is prepped and primed, it’s time to apply the paint. Use a high-quality brush, roller, or paint sprayer, depending on the type of finish you want to achieve. Start with a thin, even coat of paint, working in long, smooth strokes in the direction of the wood grain. Avoid overloading your brush or roller with paint to prevent drips and uneven coverage. Allow the first coat to dry completely, which usually takes a few hours. Apply additional coats as needed, typically two to three, to achieve full coverage and a rich, uniform color.
7. Sanding Between Coats
For the smoothest possible finish, lightly sand the nightstand between coats of paint. Once each coat is dry, use fine-grit sandpaper (220-grit or higher) to gently sand the surface. This step helps to remove any brush strokes, dust particles, or imperfections that may have settled in the paint.
Wipe away the sanding dust with a tack cloth before applying the next coat. Sanding between coats ensures that the final finish is smooth and flawless, giving your nightstand a high-quality, professional look. This attention to detail makes a significant difference in the overall appearance of the painted piece.

8. Adding Decorative Details
To enhance the visual appeal of your painted nightstand, consider adding decorative details. You can use painter’s tape to create geometric patterns or stripes. Another option is to use stencils to add intricate designs or motifs. For a more personalized touch, hand-paint details such as flowers, vines, or monograms. Choose colors that complement the base coat and use a fine brush for precision.
Once the decorative details are dry, lightly sand the surface to smooth out any raised edges and then wipe clean. Adding these details can transform a simple nightstand into a unique and eye-catching piece that reflects your personal style.
9. Sealing the Finish
Sealing the painted surface is an important step to protect the finish and enhance durability. Choose a clear topcoat or sealer suitable for the type of paint you used. Polyurethane is a popular choice for its durability and water resistance, but make sure to select a water-based version if you used latex or acrylic paint.
Apply the sealer with a brush, foam applicator, or sprayer, following the manufacturer’s instructions. Ensure even coverage and smooth out any bubbles or streaks. Allow the sealer to dry completely, and apply additional coats if needed for extra protection. Sealing the finish helps to protect the paint from scratches, stains, and wear, keeping your nightstand looking beautiful for years to come.
10. Reassembling and Final Touches
Once the paint and sealer are fully dry, it’s time to reassemble your nightstand and add the final touches. Reattach any hardware, such as knobs or handles, that you removed during the preparation stage. If the hardware is old or doesn’t match the new look of your nightstand, consider replacing it with new, stylish pieces that complement the paint color. Slide the drawers back into place and check that they open and close smoothly.
Make any necessary adjustments to ensure everything fits correctly. Finally, place the nightstand in your desired location and enjoy the refreshed look of your newly painted piece. The final touches complete the transformation, giving your nightstand a polished and professional appearance.

Conclusion
Painting a nightstand can be a rewarding DIY project that allows you to give new life to an old piece of furniture. By following each step carefully—from preparation and priming to painting, sanding, and sealing—you can achieve a professional-looking finish that enhances the beauty and durability of your nightstand.
Adding decorative details and selecting the right hardware further personalizes the piece, making it a unique reflection of your style. With patience and attention to detail, you can transform a simple nightstand into a standout piece that elevates the aesthetic of any room. Thanks for reading, and we hope this has given you some inspiration on how to paint a nightstand!