
Are you tired of the dull and worn-out look of your old folding table? Don’t worry, you don’t have to buy a new one. With just a few simple steps, you can transform your old folding table into a new piece of furniture that will add color to any room.
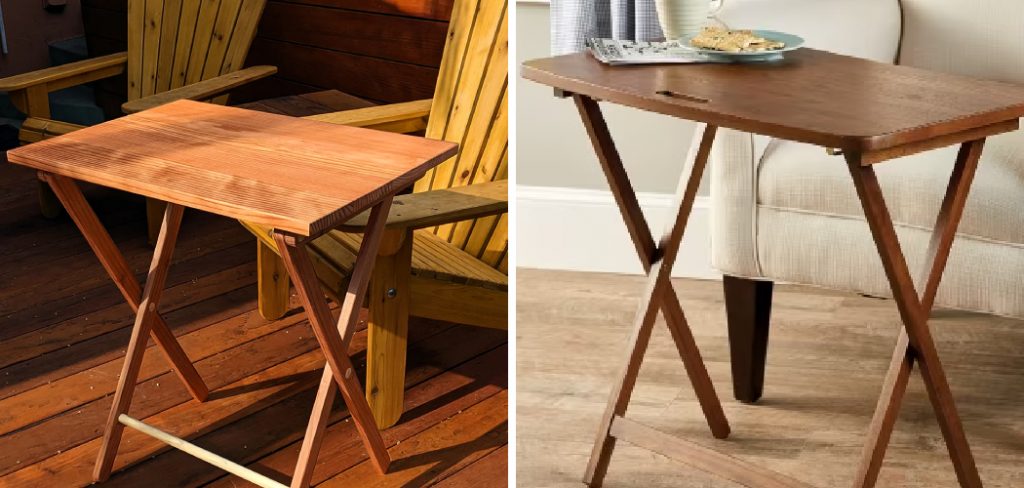
Painting a folding table is a fantastic way to breathe new life into an old or plain piece of furniture. Whether you want to add a pop of color to your decor or simply refresh a weathered table, this project is relatively easy and can be completed over a weekend. With the right materials, patience, and creativity, you can transform your folding table into a stylish and functional addition to your home.
In this guide, we’ll walk you through the step-by-step process of how to paint a folding table.
What Will You Need?
- Folding table
- Sandpaper
- Primer
- Paint (spray or brush)
- Paintbrush or roller
- Painter’s tape (optional)
- Drop cloth or newspaper
You’re ready to get started once you have gathered all the necessary materials.
10 Easy Steps on How to Paint a Folding Table
Step 1: Prepare Your Workspace
Before you begin painting, it’s essential to prepare your workspace. Lay down a drop cloth or spread out some old newspapers to protect your floor from any paint spills. If possible, paint outdoors in a well-ventilated area. If painting indoors, make sure the room is properly ventilated by opening windows and using fans.
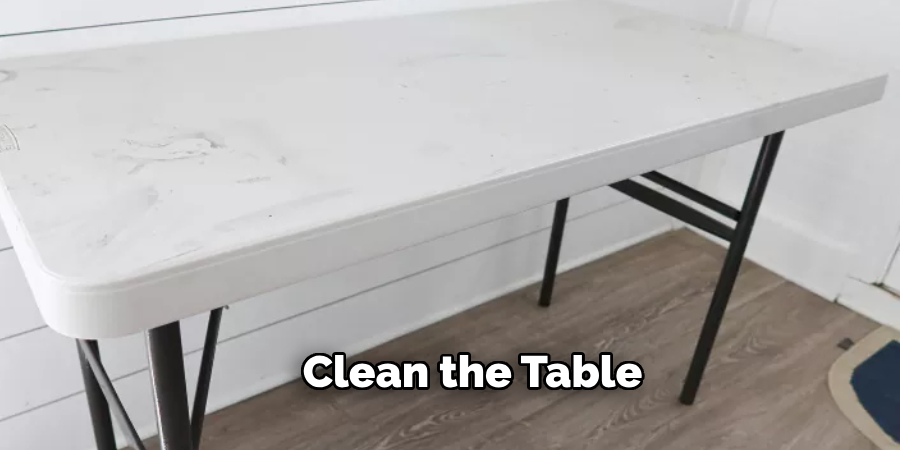
Step 2: Clean the Table
Thoroughly clean the folding table to remove any dirt, dust, or grease. Use a mild detergent and water, and wipe the table down with a damp cloth. Make sure to dry the table completely with a clean, dry cloth. This step is crucial because any residue left on the table can affect the primer and paint adhesion.
Step 3: Sand the Table
To ensure a smooth and even paint finish, lightly sand the entire surface of the folding table. Use medium-grit sandpaper (around 120-150 grit) to gently scuff up the surface. This process helps remove any old paint, varnish, or imperfections and provides a better surface for the primer and paint to adhere to. Remember to sand in the direction of the wood grain if the table is wooden. If your table has intricate details or tight spots, you might need to use a sanding sponge or sandpaper wrapped around a block for better control.
After sanding, wipe down the table with a damp cloth to remove any sanding dust. Ensure the table is completely dry before moving on to the priming step. Sanding smooths out rough patches and opens up the material to provide better paint adhesion, leading to a more durable and professional-looking finish.
Step 4: Apply Primer
Apply a coat of primer to the folding table to ensure the paint adheres well and provides a uniform finish. Choose a primer suitable for the material of your table, whether it’s wood, metal, or plastic. Use a paintbrush or roller to evenly apply the primer, covering all surfaces, including edges and corners. If you’re using spray primer, keep the can consistently from the table to avoid drips. Let the primer dry completely according to the manufacturer’s instructions before proceeding to the next step.
Step 5: Lightly Sand the Primer (Optional)
You can lightly sand the primed surface once it has fully dried for an ultra-smooth finish. Use fine-grit sandpaper (around 220 grit) to gently sand the primer layer. This step helps to smooth out any brush strokes or imperfections that may have formed during the priming process. After sanding, wipe away any dust with a clean, damp cloth and allow the table to dry. Try to avoid oversanding as it can remove too much of the primer and affect its protective properties.
Step 6: Tape Off Areas (Optional)
If there are parts of the table that you want to protect from paint, such as hinges or hardware, use painter’s tape to cover those areas. Taping off sections can also help create clean lines if you plan to use multiple colors or designs. Be careful when applying the tape to avoid any air bubbles or gaps resulting in paint seeping under the tape.
Step 7: Apply the Paint
Now, it’s time to add color to your folding table. Using your chosen paint, apply an even coat with a paintbrush, roller, or spray can. For the best results, apply multiple thin layers instead of one thick layer, allowing each coat to dry according to the paint manufacturer’s guidelines. Thin layers minimize the risk of drips and ensure an even, smooth finish.

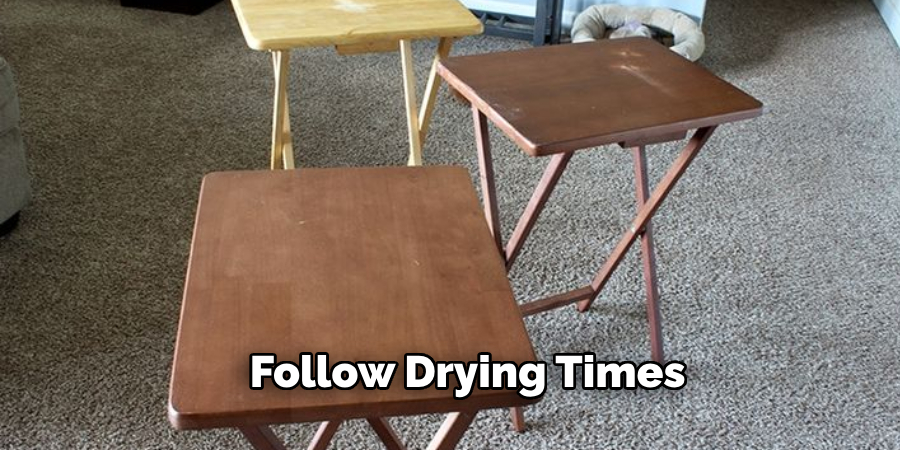
Step 8: Allow the Paint to Dry
Let the paint dry thoroughly between coats. This step is essential for achieving a durable finish and preventing tackiness or smudging. Drying times can vary depending on the type of paint and environmental conditions, so refer to the paint manufacturer’s instructions for the best results. If necessary, use fine-grit sandpaper between coats to smooth out any imperfections.
Step 9: Apply Additional Coats
Depending on your desired color and finish, you may need to apply several coats of paint. Follow the same process of applying thin, even coats and letting each one dry completely. This will ensure a rich, uniform color and a durable finish.
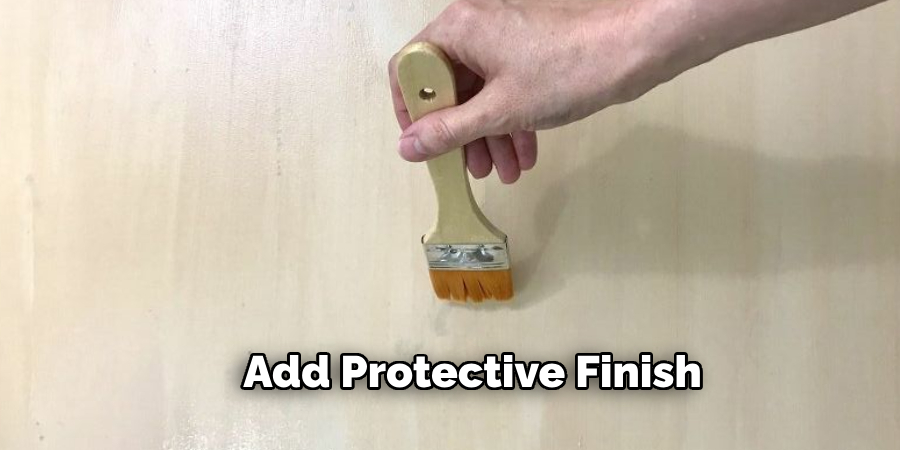
Step 10: Add a Protective Finish (Optional)
You can apply a clear protective finish for added durability, especially if the table will be used frequently or placed outdoors. Options include polyurethane, polyacrylic, or a clear enamel sealer. Apply according to the product guidelines and let it dry completely.
Once the paint and any protective finish are fully dry, remove any painter’s tape, and your newly painted folding table is ready to use. This simple DIY project can significantly impact your home decor, adding a personal touch and a splash of color to your space. Enjoy your “new” folding table!
5 Additional Tips and Tricks
- Prepare the Surface: Before applying any paint, ensure the table surface is clean and free from dust, grease, or old paint. Sand the table lightly to create a smooth base for your new paint coat.
- Choose the Right Paint: Depending on your table’s material, opt for a durable, high-quality paint designed for wooden or metal surfaces. Enamel or latex paints are good choices that provide a lasting finish.
- Keep Excess Paint for Touch-Ups: After finishing the project, don’t throw away the leftover paint. Instead, keep it in an airtight container and store it in a cool, dry place. This will come in handy when you need to touch up any scratches or chips on your table in the future.
- Use Multiple Coats: Instead of covering the old paint with just one coat, use multiple thin layers of paint for better coverage and a smoother finish. Allow each coat to dry completely before applying the next one.
- Apply Thin Coats: Instead of one thick coat of paint, apply several thin layers. This approach ensures even coverage, reduces the risk of drips and streaks, and provides a smoother finish.
With these additional tips and tricks, you can achieve a professional-looking finish for your painted table.
5 Things You Should Avoid
- Skipping Surface Preparation: Never underestimate the importance of preparing the surface before painting. Skipping this step can result in poor adhesion, leading to chipping and peeling of the paint.
- Applying Thick Coats of Paint: Avoid applying thick coats of paint in an attempt to save time. This can cause drips, streaks, and an uneven finish. Opt for multiple thin layers instead.
- Using the Wrong Type of Paint: Not all paints are created equal. Make sure you are using a paint suitable for your table’s material. Using the wrong type of paint can lead to a finish that is not durable or visually appealing.
- Painting in Humid or Damp Conditions: Avoid painting in high humidity or damp conditions, as it can cause the paint to dry improperly and lead to a poor finish. Always paint in a well-ventilated, dry environment.
- Ignoring Drying Times: Rushing the drying process by not allowing enough time between coats can result in a tacky or uneven finish. Follow the paint manufacturer’s guidelines for drying times to ensure a smooth, professional-looking result.
By avoiding these common mistakes, you can ensure a successful and long-lasting paint job for your table.
Conclusion
How to paint a folding table allows you to inject new life into your furniture with a fresh and customized look.
By carefully following the steps outlined and adhering to the tips and tricks provided, you can achieve an impressive finish that is both durable and visually appealing. Remember, preparation is key – start by cleaning and sanding the surface, choose the right type of paint for the material, and apply multiple thin coats for the best results. Avoid common pitfalls such as using thick coats, painting in poor conditions, and not allowing adequate drying time between layers.
With patience and attention to detail, you can transform your folding table into a standout piece that enhances any space.