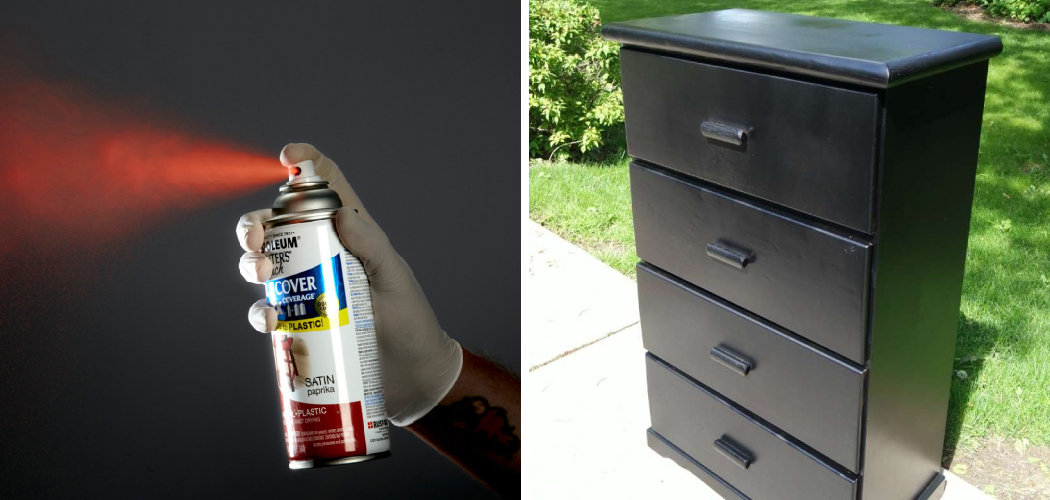
Painting a dresser with spray paint is a fun and efficient way to give old furniture a fresh, modern look. Whether you’re aiming to revamp a thrift store find or update a piece that has been in your home for years, spray painting can achieve a smooth, professional finish with minimal effort.
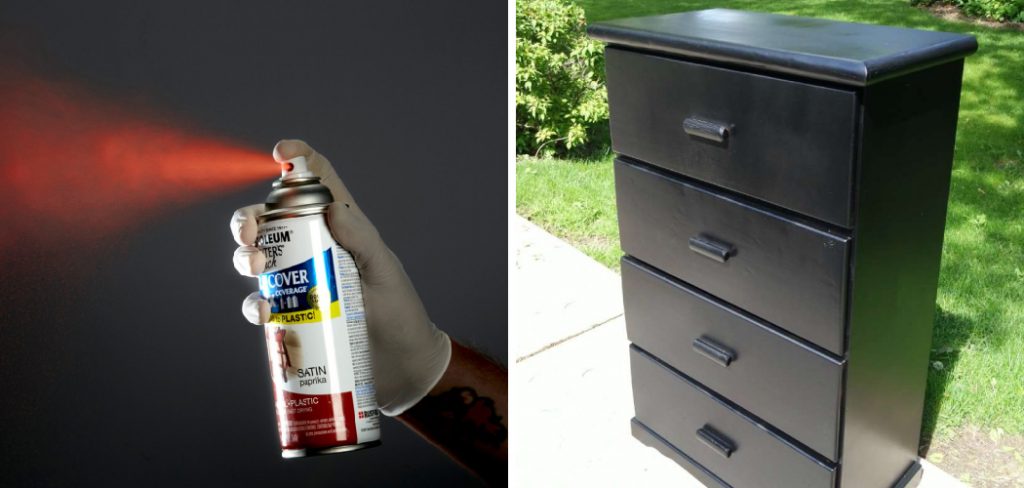
In this guide on how to paint a dresser with spray paint, we’ll walk you through the steps to prepare your dresser, choose the right materials, and apply spray paint to achieve stunning, durable results. Whether you’re a DIY novice or an experienced crafter, these tips and techniques will help you transform your dresser into a stylish statement piece.
Why Choose Spray Paint?
While traditional brush and roller painting methods require time, skill, and patience, spray painting offers a quicker and easier alternative. With spray paint, you can achieve an even coat of paint without any brush marks or streaks. Plus, spray paint is available in a wide range of colors and finishes to suit your personal style.
It’s also a budget-friendly option, as spray paint typically costs less than traditional paint. You can easily find affordable cans of spray paint at hardware stores, home improvement centers, and craft stores.
Aside from its convenience and affordability, spray paint also allows you to tackle hard-to-reach areas on furniture without the need for disassembling or taping off sections. This makes it ideal for painting intricate details or curves on a dresser.
Needed Materials
Before you begin your dresser makeover, gather all the necessary materials to ensure a smooth and efficient painting process. Here’s a list of what you’ll need:
Drop Cloths or Plastic Sheeting:
To protect your work area from overspray and paint drips.
Sandpaper or Sanding Blocks:
This is for prepping the dresser’s surface and smoothing out any rough areas.
Tack Cloth or Clean Rags:
Remove any dust or debris after sanding.
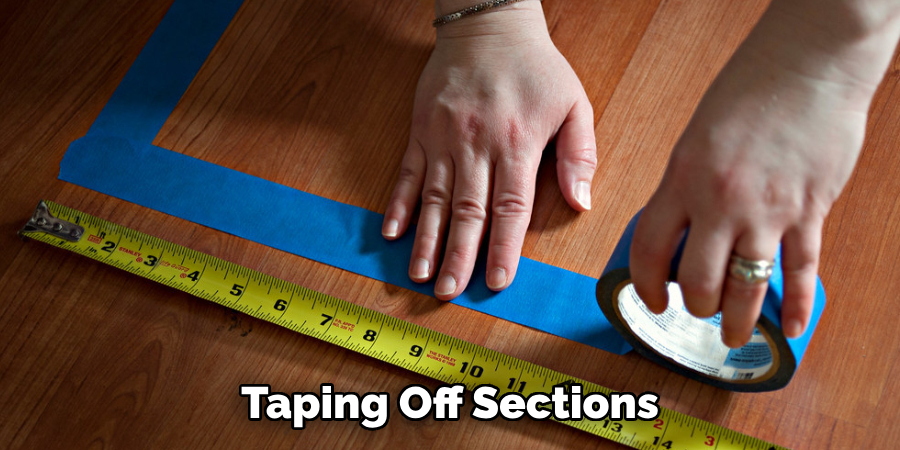
Painter’s Tape:
For masking off any areas you don’t want to be painted, such as drawer pulls or hardware.
Primer Spray Paint:
Choose a primer specifically designed for use with spray paint and suitable for the surface of your dresser. This will help the paint adhere better and provide a base for the color coat.
Spray Paint in Your Chosen Color and Finish:
Select a high-quality spray paint that is made for use on furniture. Matte, satin, and glossy finishes are popular choices, but be sure to choose a finish that complements your dresser’s style.
Clear Coat Spray Sealer:
For protecting the paint and adding durability. This is especially important for dressers that will receive heavy use or be exposed to moisture.
9 Steps on How to Paint a Dresser With Spray Paint
Step 1: Prepare Your Work Area
Begin by setting up a well-ventilated workspace, ideally outdoors or in a garage with the doors open, to ensure adequate airflow and minimize inhalation of fumes. Lay down drop cloths or plastic sheeting to protect the floor and surrounding surfaces from overspray and paint drips.
Ensure your work area is clean and free from dust, as airborne particles can settle on the wet paint and affect the finish. Clear out any obstacles and create enough space to move around the dresser comfortably. It’s also a good idea to have a piece of cardboard or a designated testing area to practice your spray technique before applying paint to the dresser.

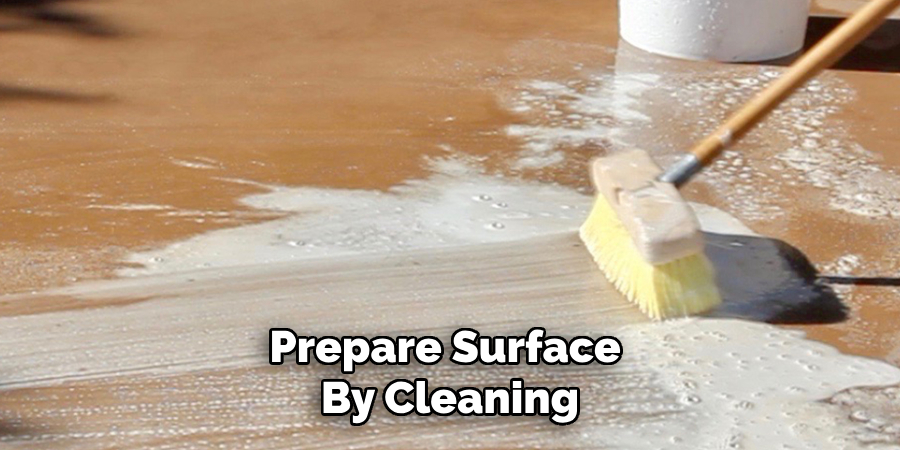
Step 2: Prepare and Clean the Dresser
Before you start painting, it’s essential to prepare and clean the dresser to ensure the paint adheres properly and results in a smooth finish. Begin by removing all the drawers and taking off any hardware, such as knobs and handles, to make the painting process easier. If possible, label each drawer and its corresponding place with painter’s tape to ensure proper reassembly later.
Next, inspect the dresser for any damage, such as scratches, dents, or chipped areas. Use wood filler to repair these imperfections and allow it to dry thoroughly before sanding the surface smooth. Then, use a tack cloth or damp rag to wipe down the entire dresser and remove any dust or debris.
Step 3: Sand the Dresser’s Surface
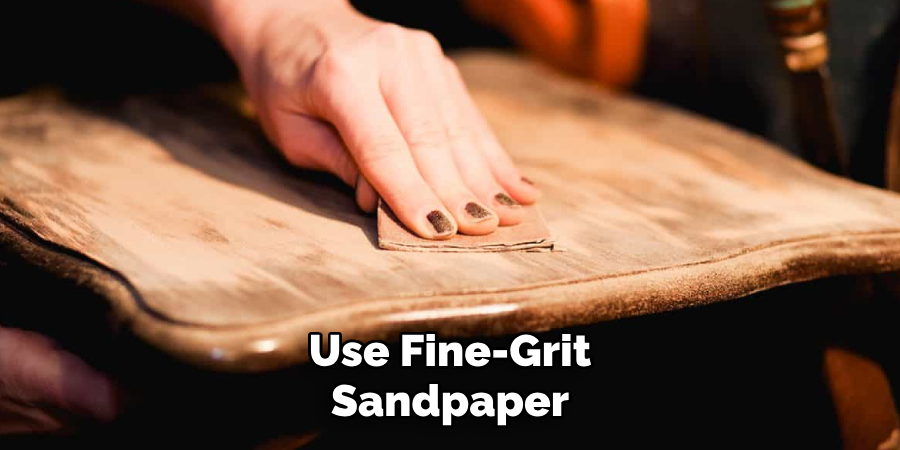
Using sandpaper or a sanding block, gently sand the surface of the dresser to create a rough texture for better paint adhesion. Start with a medium-grit sandpaper and gradually switch to finer grits until you achieve a smooth finish. Be sure to also sand any detailed areas or curves on the dresser where spray paint might have difficulty adhering.
After sanding, wipe away any dust with a tack cloth or clean rag before moving on to priming.
Step 4: Prime the Dresser
Priming the dresser is a crucial step to ensure the topcoat adheres properly and achieves a flawless finish. Choose a primer spray paint that is compatible with both the surface of your dresser and your chosen spray paint. Shake the primer can vigorously for about a minute to ensure the contents are well-mixed.
Hold the spray can about 10 to 12 inches away from the surface and apply the primer in light, even coats. Start each spray pass slightly before the edge of the dresser and continue slightly past the opposite edge to avoid paint buildup. It’s better to apply several thin coats rather than one heavy coat to prevent drips and runs.

Allow the primer to dry thoroughly according to the manufacturer’s instructions—typically, this can take about 30 minutes to an hour. If necessary, lightly sand the primed surface with fine-grit sandpaper to smooth out any imperfections once it is completely dry. Wipe away any dust with a tack cloth before proceeding to the next step.
Step 5: Apply the Base Coat
After priming, it’s time to apply the base coat of spray paint. As with the primer, hold the spray can about 10 to 12 inches away from the surface and apply light, even coats, in a sweeping motion. Be sure to overlap each pass slightly for full coverage.
Allow the base coat to dry completely before applying additional coats as needed. Depending on the color and finish you’ve chosen, you may need multiple coats for an even and opaque finish.
Step 6: Sand Between Coats (Optional)
If desired, you can achieve a smoother finish by sanding lightly between coats. Use fine-grit sandpaper to gently buff the surface and remove any imperfections or particles that may have settled onto the wet paint.
Be sure to wipe away any dust with a tack cloth before applying another coat of spray paint. The more coats you apply, the smoother and more durable your finish will be.
Step 7: Add Finishing Touches
Once you have achieved the desired coverage and smooth finish with your base coat, it’s time to add any finishing touches to enhance the overall look of your dresser. This can involve a variety of techniques such as distressing, stenciling, or adding decorative hardware.
For a distressed look, use fine-grit sandpaper to gently sand edges and corners where natural wear would typically occur. This will give your dresser a vintage, shabby chic appearance. If you want to incorporate stencils or patterns, use painter’s tape to secure the stencil in place and apply paint in light, even coats. Make sure to let each layer dry completely before adding another.
Step 8: Apply the Clear Coat Sealer
After you have completed all of your desired decorative touches, let the dresser dry completely before sealing it with a clear coat spray sealer. This protective layer will not only add durability to your paint job but also give your dresser a finished, polished look.
Hold the can about 10 to 12 inches away from the surface and apply light, even coats, in a sweeping motion. Be sure to overlap each pass slightly for full coverage. Allow the sealer to dry according to the manufacturer’s instructions before handling or installing any hardware.
Step 9: Reassemble and Enjoy Your Revamped Dresser
Once the clear coat has dried completely, it’s time to reassemble your dresser and add any hardware back onto the drawers. Carefully replace each drawer into its corresponding spot and ensure all hardware is securely fastened.
Finally, take a step back and admire your revamped dresser. Whether you’ve given it a fresh new color or added decorative elements, you can now enjoy your like-new piece of furniture in all its glory.
Following these steps on how to paint a dresser with spray paint, you can achieve a professional-looking paint job on your dresser using spray paint. With proper preparation and technique, you’ll have a beautiful piece of furniture that will impress all who see it. Happy painting!
Frequently Asked Questions
Q: Can I Use Regular Spray Paint on My Dresser?
A: While it is possible to use regular spray paint on your dresser, it is recommended to use a primer and spray paint specifically designed for furniture for the best results. This will ensure better adhesion and durability of the paint.
Q: Can I Spray Paint Over Varnished or Stained Dresser?
A: Yes, you can spray paint over a varnished or stained dresser. However, it is important to properly prepare the surface by cleaning and sanding it before applying primer and spray paint for optimal adhesion.
Q: How Many Coats of Paint Do I Need to Apply?
A: The number of coats needed will depend on the color and finish of your chosen spray paint as well as the desired coverage. Typically, 2-3 coats are recommended for an even and opaque finish. You can also lightly sand between coats for a smoother finish.
Conclusion
Revamping an old dresser with spray paint is not only an economical way to breathe new life into your furniture but also a satisfying DIY project that allows for personal creative expression. By following the detailed steps outlined in this guide on how to paint a dresser with spray paint—from thorough preparation and careful sanding to precise priming and finishing touches—you can achieve a professional-quality transformation with minimal expense and effort.
Remember, patience and attention to detail are key to ensuring a flawless finish. Whether you opt for a bold new color or a subtle, distressed look, the end result will be a unique piece that reflects your style and enhances your living space. Happy painting!
