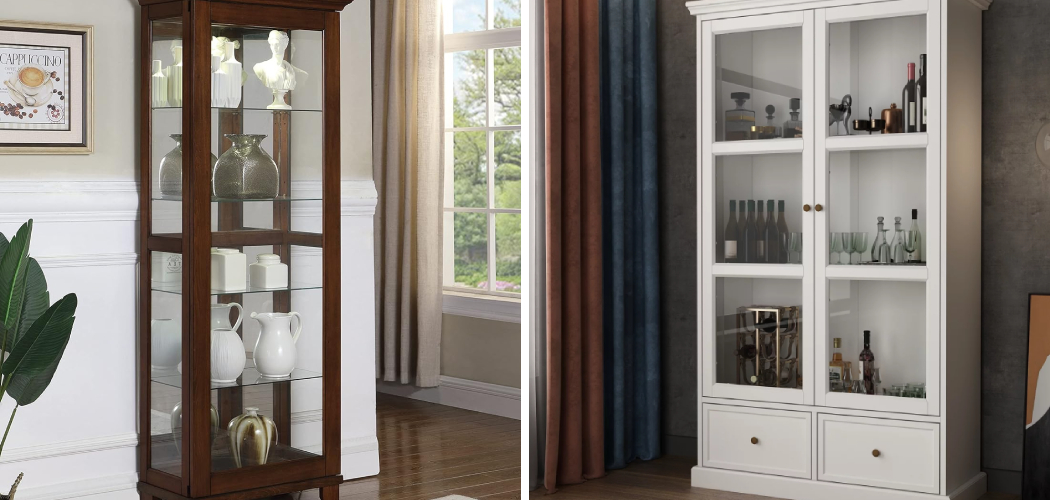
Revamping a curio cabinet with a fresh coat of paint is a wonderful way to breathe new life into a cherished piece of furniture. Whether you’re aiming to match your existing decor, add a pop of color, or create a vintage feel, painting a curio cabinet can transform it from a simple display case to a standout piece. This article aims to provide a comprehensive guide on how to paint a curio cabinet.
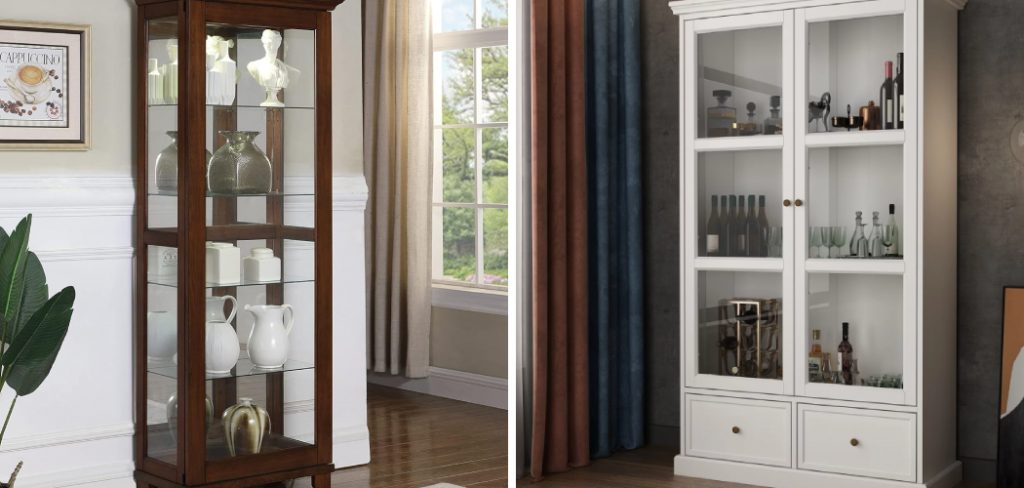
The process involves more than just a quick brush over; it requires careful preparation, the right materials, and a touch of creativity. From selecting the perfect paint type and color to prepping the surface for a smooth finish, every step is crucial to achieving a professional-looking result. This guide will walk you through the essential steps to successfully paint your curio cabinet, ensuring that the final product not only looks beautiful but also stands the test of time. With these tips and techniques, your curio cabinet can become a striking centerpiece in any room.
The Benefits of Painting and Customization
Painting and customizing your curio cabinet goes beyond enhancing its visual appeal; it offers a range of benefits that can elevate the overall ambience of your space. Firstly, repainting allows you to refresh and rejuvenate older furniture, giving it a new life without the need for expensive replacements. Customizing the paint color and finish enables you to create a piece that seamlessly integrates with your decor or serves as a standout element in your room.
This personal touch can make your home feel more cohesive and tailored to your unique style. Additionally, a fresh coat of paint can add a protective layer to wood surfaces, helping to preserve the furniture and extend its lifespan. Engaging in the customization process also provides a creative outlet, allowing you to express your individuality and craftsmanship. Ultimately, painting and customizing your curio cabinet not only enhances its aesthetic and functional value but also contributes to a more personalized and engaging living environment.
10 Methods How to Paint a Curio Cabinet
1. Preparing the Surface: Clean and Sand
Before you begin painting your curio cabinet, proper surface preparation is crucial to ensure a smooth and durable finish. Start by thoroughly cleaning the cabinet with a mild detergent and water to remove any dirt, grease, or grime. Pay special attention to corners and crevices where dust tends to accumulate.
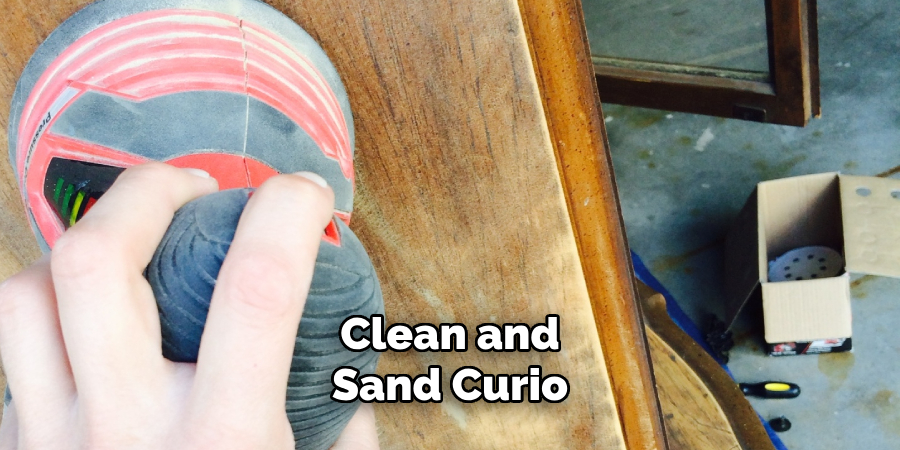
Once the cabinet is clean, allow it to dry completely. Next, use sandpaper or a sanding block to lightly sand the entire surface. This step is essential for creating a rough texture that helps the primer and paint adhere better. If the cabinet has an existing finish, sanding will help remove any gloss and smooth out imperfections.
2. Choosing the Right Primer
Applying a primer is a critical step in painting a curio cabinet, as it ensures better adhesion of the paint and provides a uniform base. Select a primer that is suitable for the material of your cabinet, whether it’s wood, metal, or laminate. For wood cabinets, a high-quality latex or oil-based primer works well, while a specialized metal primer is needed for metal surfaces. Apply the primer using a high-quality brush or roller, making sure to cover all surfaces evenly. Allow the primer to dry according to the manufacturer’s instructions, which usually takes several hours.
3. Selecting the Perfect Paint
Choosing the right paint for your curio cabinet is essential for achieving the desired look and durability. Consider the style of your cabinet and the decor of the room it will be placed in. For a classic and timeless look, opt for a high-quality satin or semi-gloss latex paint. These finishes are durable and easy to clean, making them ideal for furniture. If you prefer a more rustic or vintage appearance, consider using chalk paint or milk paint, which can be distressed for a shabby chic effect. When selecting your paint color, think about how it will complement your existing decor and the items you plan to display in the cabinet.
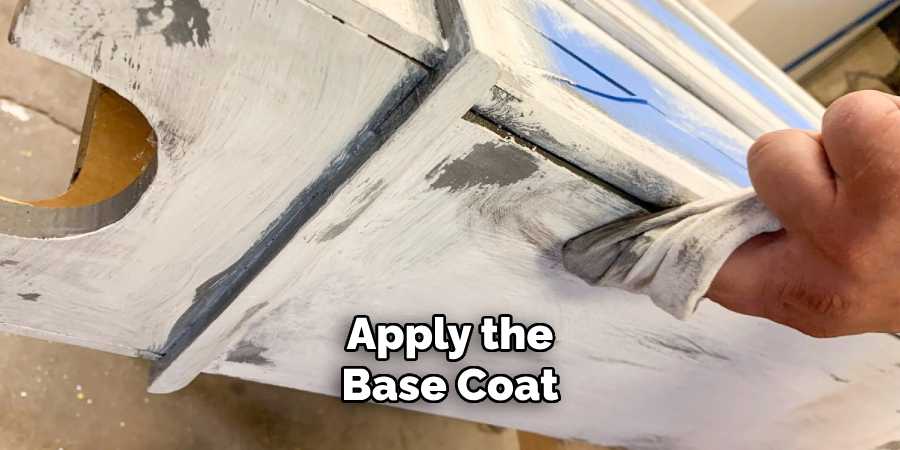
4. Applying the Base Coat
With the surface prepped and primed, it’s time to apply the base coat of paint. Use a high-quality paintbrush or foam roller to apply the paint evenly, starting with the larger, flat surfaces and then moving to the smaller details and edges. Work in thin, even layers to avoid drips and brush marks. If you are using a brush, use long, smooth strokes in the direction of the wood grain for a more natural finish. Allow the first coat to dry completely, following the drying time recommended by the paint manufacturer. Depending on the color and type of paint, you may need to apply a second or even third coat to achieve full coverage.
5. Adding Decorative Elements
To add a personal touch to your curio cabinet, consider incorporating decorative elements into your paint job. Stencils, decals, or hand-painted designs can add character and make your cabinet truly unique. If you choose to use stencils, position them carefully and secure them with painter’s tape to prevent shifting. Use a stencil brush or sponge to apply the paint in a dabbing motion, avoiding excess paint that can cause bleeding under the stencil. For a more intricate design, you can use fine-tip paintbrushes to hand-paint details and accents. Decals or transfers can also be applied to create a professional-looking design with minimal effort.
6. Distressing for a Vintage Look
If you prefer a vintage or shabby chic look, distressing your curio cabinet can add charm and character. Once the base coat of paint is completely dry, use sandpaper or a sanding block to gently sand areas where natural wear and tear would occur, such as edges, corners, and raised details. Start with a light touch and gradually increase pressure to achieve the desired level of distressing. You can also use tools like a paint scraper or wire brush to create more pronounced effects. To add depth and dimension, consider applying a dark wax or glaze over the distressed areas.
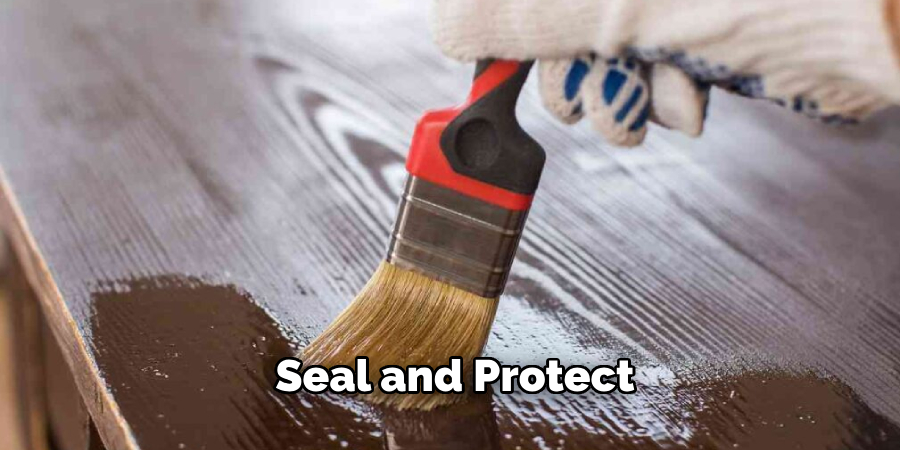
7. Sealing and Protecting the Finish
After painting and distressing, it’s important to seal and protect your work to ensure it lasts. Apply a clear topcoat, such as polyurethane or polycrylic, to protect the painted surface from scratches, stains, and general wear and tear. Choose a finish that complements your paint, such as matte, satin, or gloss. Use a high-quality brush or foam applicator to apply the topcoat in thin, even layers, following the direction of the wood grain. Allow each coat to dry completely before applying the next. Typically, two to three coats are sufficient for adequate protection.
8. Reassembling and Reinstalling Hardware
Once the paint and topcoat are completely dry, it’s time to reassemble your curio cabinet and reinstall any hardware. Carefully attach any doors, shelves, and drawers, ensuring they align properly and operate smoothly. Reinstall or replace the hardware, such as knobs, handles, and hinges.
This is also an excellent opportunity to update the hardware to match your newly painted cabinet. Consider using hardware that complements the style and color of your cabinet, whether it’s modern, vintage, or ornate. New hardware can enhance the overall look of your piece and provide a fresh finishing touch.
9. Adding Interior Accents
To complete the look of your newly painted curio cabinet, consider adding interior accents to enhance the display of your cherished items. Line the shelves with decorative paper, fabric, or felt to protect and showcase your collectibles. You can also paint the interior a contrasting color to make your displayed items stand out. Adding LED strip lights or puck lights inside the cabinet can illuminate your collection, creating a dramatic and elegant effect. Adjustable shelving can also be installed to accommodate different sizes of items and create a dynamic display.
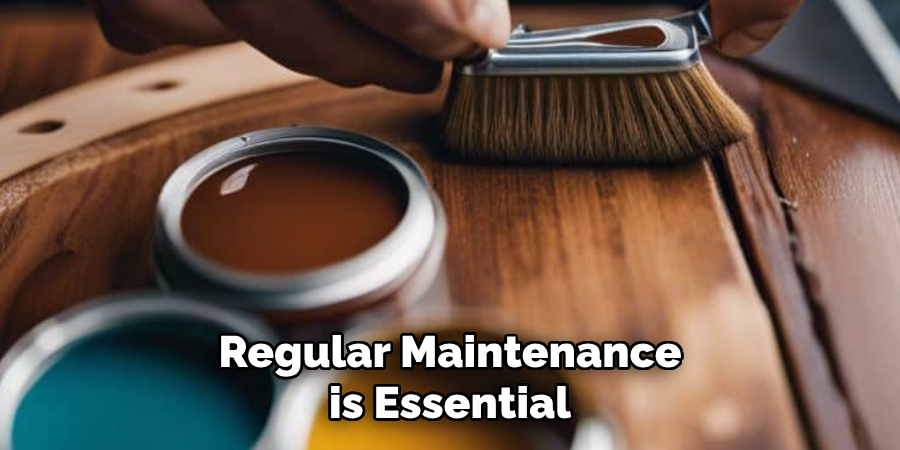
10. Maintaining the Painted Finish
To keep your painted curio cabinet looking its best, regular maintenance is essential. Dust the cabinet frequently with a soft cloth or duster to prevent dust buildup, especially in detailed areas. Avoid using harsh chemicals or abrasive cleaners that can damage the paint or finish.
Instead, use a mild soap solution and a damp cloth for cleaning. If you notice any chips or scratches, address them promptly to prevent further damage. Lightly sand the affected area, apply a touch-up primer if needed, and then repaint with the matching color. Reapply the protective topcoat to seal the repair. Regularly inspect the cabinet for any signs of wear and address them promptly to maintain the beauty and integrity of your piece.
Conclusion
Revamping a curio cabinet through painting is an enjoyable and rewarding project that allows you to express your personal style while transforming an existing piece of furniture. With careful preparation, the right materials, and a bit of creativity, you can achieve a professional-quality finish that breathes new life into your cabinet. Whether you opt for a modern, sleek appearance or a vintage, distressed look, the result will be a unique and visually appealing addition to your home. Thanks for reading, and we hope this has given you some inspiration on how to paint a curio cabinet!