
Are you planning to paint your crib? Painting a crib can be an exciting and creative project, but it requires careful preparation and attention to detail. With the right tools and techniques, you can transform your old or plain-looking crib into a beautiful and personalized piece of furniture for your little one’s nursery.
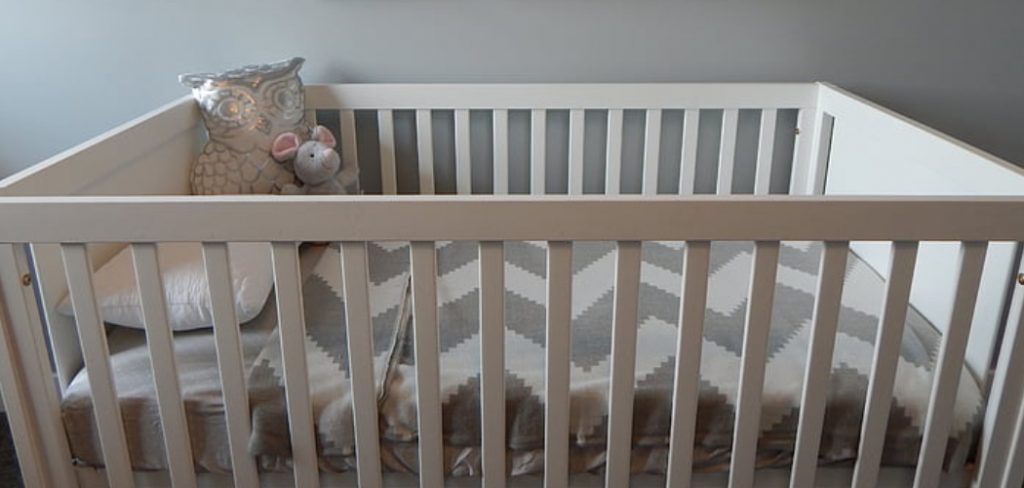
Painting a crib can be a rewarding project that adds a personal touch to your baby’s nursery. Whether you want to revitalize an old crib with a fresh coat of paint or customize a new one to match your decor, the process requires careful planning and attention to detail.
Here, we’ll walk you through the steps on how to paint a crib, creating a cozy and appealing space for your little one. From selecting the right paint to applying the finishing touches, you’ll find everything you need to know to get started.
What Will You Need?
Before you begin, it’s essential to have all the necessary tools and materials on hand. This will make the process smoother and more efficient. Here are some of the things you’ll need for painting a crib:
- A Crib: Make sure it’s clean, dry, and free from any existing paint or finish.
- Sandpaper: Choose a fine-grit sandpaper (around 220 grit) to gently sand the surface of the crib.
- Tack Cloth: This is used to remove dust and debris after sanding.
- Primer: Use a high-quality primer suitable for wooden surfaces.
- Paint: Opt for a non-toxic, water-based paint specifically designed for cribs.
- Paintbrushes: Choose high-quality brushes in various sizes for better control and precision.
- Painter’s Tape: This will help you create clean and defined lines while painting.
- Drop Cloth or Plastic Sheeting: To protect the surrounding area from spills and drips.
- Cleaning Supplies: Have some soap, water, and a rag on hand to clean up any messes.
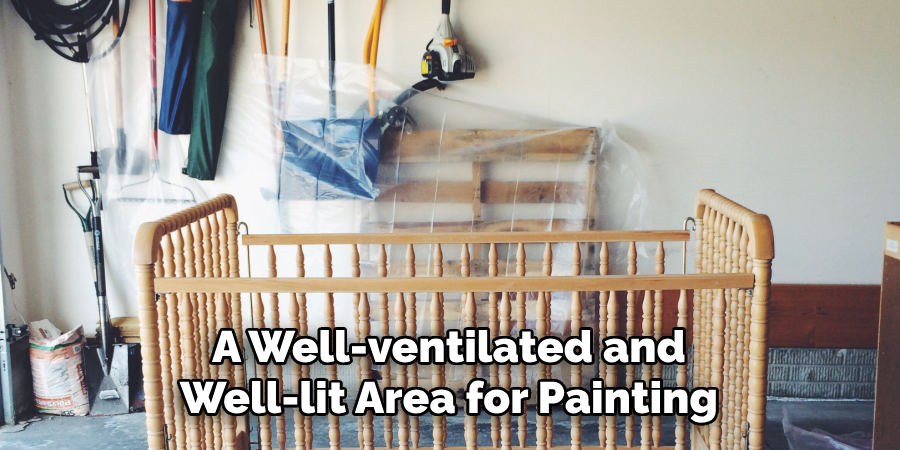
Once you have all your materials, make sure to choose a well-ventilated and well-lit area for painting. Now, let’s dive into the steps of painting a crib!
10 Easy Steps on How to Paint a Crib
Step 1: Prepare the Crib
Before you start painting, it’s crucial to prepare the surface properly. Clean the crib with soap and water to remove dirt or grime. Next, use sandpaper to lightly sand the entire surface of the crib, creating a smooth and even texture for better paint adhesion.
Once you’re done sanding, use a tack cloth to wipe away any dust and debris. This will ensure a clean and smooth surface for painting.
Step 2: Disassemble the Crib
Disassembling the crib will make the painting process more manageable and help you achieve a more even and professional finish. Carefully take apart all the removable parts of the crib, such as the mattress support, slats, and any side panels. Keep track of all the screws and small components by placing them in a labeled container or bag. This step ensures that you can easily reassemble the crib once the painting is complete.
By disassembling the crib, you can paint each part separately, ensuring thorough coverage and preventing missed spots or uneven paint layers. If you’re unsure how to disassemble the crib, follow the manufacturer’s instructions, and remember to handle all parts gently to avoid damage.

Step 3: Apply Primer
Begin by applying a high-quality primer to the crib. This step is essential as it helps the paint to adhere better and provides a smooth base for the final color. Use a paintbrush to apply the primer evenly to all surfaces of the crib, ensuring that you cover every corner and detail. Allow the primer to dry completely per the manufacturer’s instructions before moving on to the next step.
Step 4: Sand Again
Once the primer is dry, lightly sand the surface with fine-grit sandpaper. This step is crucial for achieving a smooth, professional finish. Sanding after priming removes any brush strokes or imperfections and creates an ideal surface for painting. Wipe away the sanding dust with a tack cloth before you start painting.
Step 5: Paint the Crib
Start by applying the first coat of non-toxic, water-based paint. Choose a paint that is specifically designed for cribs to ensure your baby’s safety. Use a high-quality paintbrush for better control and precision, and apply the paint in thin, even layers. Applying multiple thin coats rather than one thick coat to avoid drips and ensure a smooth finish is better. Allow the paint to dry completely between each coat, following the drying time recommended by the paint manufacturer.
Step 6: Sand Between Coats
After the first coat of paint has dried completely, lightly sand the entire surface using fine-grit sandpaper. This step is important as it smooths out any uneven areas and helps the next coat of paint to adhere better. Be sure to sand gently to avoid removing too much paint or damaging the underlying primer. Once you have finished sanding, use a tack cloth to wipe away any dust or debris.
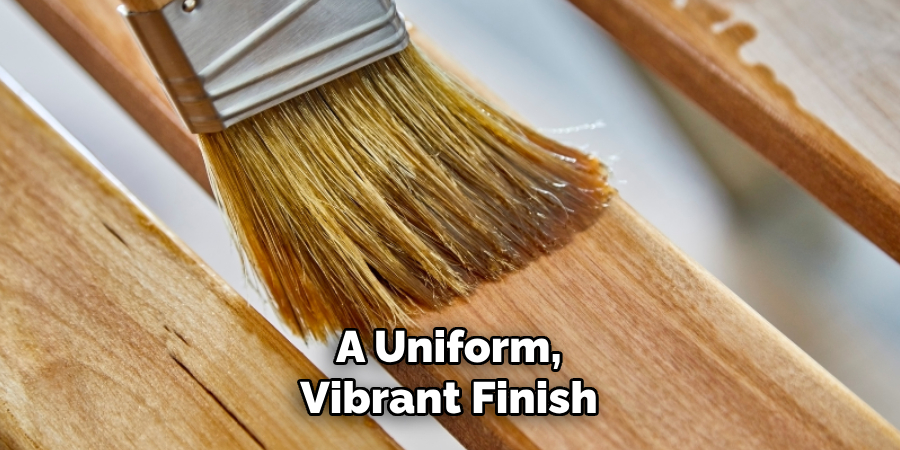
Applying this step between each coat will result in a finer finish and prevent build-up that can cause the paint to peel later. Two to three coats of paint are typically sufficient to achieve a uniform, vibrant finish.
Step 7: Apply Additional Coats of Paint
Continue applying thin, even coats of paint, allowing each coat to dry fully, and sand lightly in between as previously described. Be patient and take your time to ensure each layer is smooth and even. The total number of coats required will depend on the paint’s coverage and the desired color intensity. Two to three coats are typically sufficient for a uniform, vibrant finish.
Step 8: Let the Paint Cure
After applying the final coat of paint, it is crucial to let the paint cure completely. Curing is different from drying; the process makes the paint harder and more durable. This can take several days to a week, so be sure to follow the paint manufacturer’s recommendations regarding curing time. During this period, avoid touching or assembling the crib to prevent any fingerprints or smudges.
Step 9: Reassemble the Crib
Once the paint has fully cured, carefully reassemble the crib by following the manufacturer’s instructions. Ensure all parts are securely attached, and ensure the crib is stable and safe for use. Reattach any components you previously removed and ensure all screws and fasteners are tightened properly. This reassembly step is key to ensuring the crib is both functional and aesthetically pleasing.
Step 10: Add Personal Touches
With your freshly painted crib reassembled and ready, you can now add any personal touches or decorations to enhance its look. Consider adding decals, stencils, or even a custom nameplate to give the crib a unique and personalized appearance. Adding these final details will make the crib a special and charming centerpiece in your baby’s nursery.
By following these ten easy steps, you can transform an old or plain crib into a stunning and safe piece for your little one’s room. Remember to take your time, be patient with the process, and follow all safety precautions for the best results.
5 Things You Should Avoid
- Using Oil-Based Paints: Oil-based paints can emit harmful fumes and may be unsafe for young children. Always choose non-toxic, water-based paints that are specifically designed for cribs or children’s furniture to ensure your baby’s safety.
- Skipping Primer: Skipping the primer can result in uneven paint application and a less durable finish. Primer helps the paint adhere better to the surface and provides a smooth base for the topcoat, enhancing the paint job’s appearance and longevity.
- Applying Thick Layers of Paint: Thick layers of paint are more prone to drips, uneven textures, and longer drying times. Instead, apply multiple thin coats, allowing each layer to dry completely before adding the next. This approach ensures a smoother and more professional finish.
- Forgetting to Sand Between Coats: Sanding between coats is essential for removing imperfections and ensuring that each new layer of paint adheres properly. Neglecting this step can lead to a rough texture and poor adhesion, which may result in the paint peeling or chipping over time.
- Reassembling the Crib Too Soon: It’s crucial to allow the paint to cure fully before reassembling the crib. Curing strengthens the paint and makes it more durable. Reassembling the crib too soon can lead to smudges, and fingerprints, and potentially damage the paintwork, so always adhere to the manufacturer’s curing time recommendations.
By avoiding these mistakes and following the proper steps, you can successfully paint a crib and create a beautiful, safe, and personalized piece for your baby’s nursery.
Conclusion
How to paint a crib is a rewarding project that can refresh an old piece of furniture and add a personal touch to your baby’s nursery.
You ensure a safe and beautiful result by following the ten detailed steps, from preparing the crib to adding personal touches. Proper preparation, such as cleaning, sanding, and priming, is crucial for achieving a smooth finish.
Selecting the right non-toxic, water-based paint and applying it in thin, even layers will provide a vibrant and lasting color. Sanding between coats and allowing adequate drying and curing times are essential to create a durable finish. Finally, avoiding common mistakes and approaching the project with patience and attention to detail will result in a stunning, safe crib.
With careful execution, this project can transform a mundane crib into a cherished focal point in your nursery, reflecting your care and creativity for your little one.