Are you looking to add a touch of elegance and sophistication to your table? Tapered legs can give your furniture a modern and sleek look.
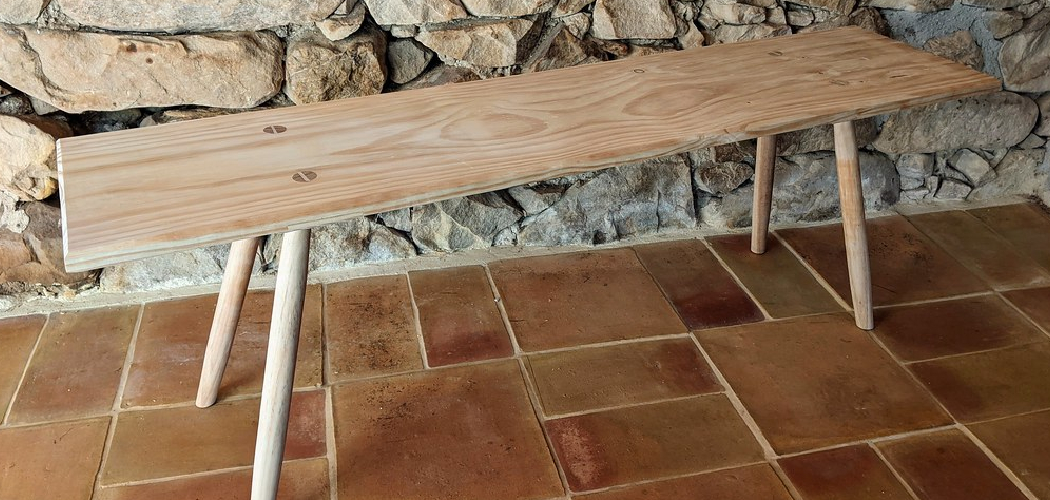
How to make tapered table legs is an excellent way to add a touch of elegance and sophistication to your furniture projects. Unlike traditional straight legs, tapered legs offer a more modern and sleek appearance, making them a popular choice among woodworkers and DIY enthusiasts. The process involves gradually narrowing the leg from the top to the bottom, which can help make tables appear lighter and more graceful. Whether you’re crafting a dining table, a coffee table, or an end table, learning how to make tapered legs can expand your woodworking skills and enhance the overall aesthetics of your furniture.

In this guide, we’ll explain the essential tools, materials, and steps needed to achieve perfectly tapered legs for your projects.
What Will You Need?
Before we dive into the step-by-step process, let’s first go through the tools and materials you’ll need to make tapered table legs:
- Table saw
- Miter saw, or hand saw
- Jigsaw (optional)
- Tapering jig
- Sandpaper or sanding block
- Wood glue
- Clamps
- Screwdriver or drill (if using screws)
- Wood stain or paint (optional)
Having all your supplies ready before starting any project is essential to avoid interruptions and ensure a smooth process.
8 Easy Steps on How to Make Tapered Table Legs
Step 1: Choosing the Right Type of Wood
Choosing the right type of wood is crucial for achieving high-quality tapered legs that are both sturdy and aesthetically pleasing. When selecting wood, consider both the style and function of your table. Hardwoods like oak, maple, or cherry are excellent choices due to their durability and beautiful grain patterns, which can be highlighted with a clear finish.
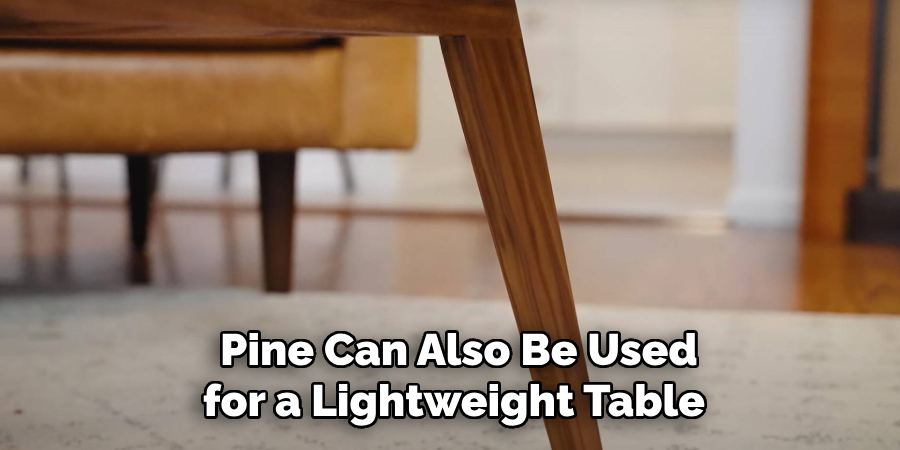
These types of wood provide the necessary strength and stability, allowing your table to support a variety of weights. Softwoods such as pine can also be used for a lightweight table with a more rustic appearance, although they may require extra care to prevent dents or scratches. Additionally, ensure that your wood is free from knots or warping, as these imperfections can affect the overall finish and stability of the tapered legs.
Before beginning the tapering process, it’s important to acclimate your wood to the environment where the table will be used, minimizing potential shrinkage or expansion once your project is complete.
Step 2: Measuring and Marking
Accurate measurements and precise markings are critical components in creating tapered table legs. Start by deciding the dimensions of your legs, including their height and the degree of taper you desire. Using a tape measure, mark the starting point for the taper on each leg, typically beginning one-third of the way down from the top, to ensure stability. Make sure all four legs are marked identically to maintain a consistent look. Employ a straightedge or square to draw the tapering lines, connecting the top of the leg to your marked starting point. These guidelines will be a reference while cutting, ensuring uniformity across all legs.
Step 3: Cutting the Taper
With your legs measured and marked, it’s time to cut the taper. First, set up your table saw by installing the tapering jig to guide the wood as you make your cut. Secure the jig according to the manufacturer’s instructions, ensuring it’s positioned for a straight, steady cut.
Place your first leg on the jig, aligning the initial taper mark with the saw blade. If unsure, do a dry run without the saw powered on to confirm alignment. Power on the saw and slowly push the leg through smoothly, consistently. Repeat the process for each leg, carefully following your marked lines. Take extra caution to maintain control of the wood throughout each cut, and wear appropriate safety gear like goggles and ear protection.
Step 4: Refining the Cut Edges
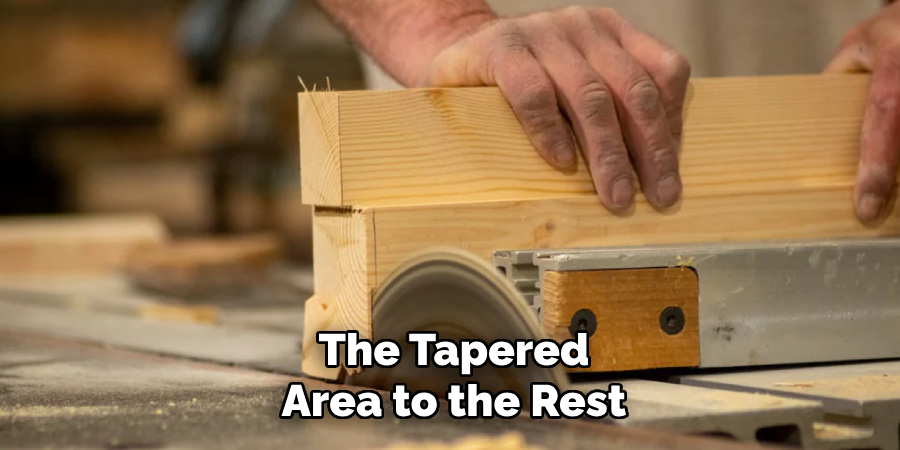
After you’ve cut the taper on all your table legs, it’s time to refine the edges to ensure a smooth finish. This step is crucial for both the appearance and safety of your project, eliminating any rough or sharp edges that could cause injury or detract from the table’s aesthetic appeal. Begin using sandpaper or a sanding block with medium grit to smooth out the cut surfaces gently.
Follow the grain of the wood to avoid scratches, and ensure that the transition from the tapered area to the rest of the leg is seamless. Once the edges are smooth, switch to a finer grit sandpaper to polish the surface, leaving it ready for staining or painting.
Step 5: Assembling the Table Base
Once your legs are cut and refined, assembling the table base is the next step. This process involves securely attaching the tapered legs to the tabletop’s supporting frame. Begin by preparing your workspace, ensuring all components are within reach and that you have enough space to maneuver. If your table design includes an apron or framework, lay these components in position and mark the points where the legs will be attached.
Use wood glue on the top of each leg, then insert it into the corner brackets or leg attachments of the apron, maintaining a right angle. Secure each leg further using screws or bolts, ensuring they are tightly fastened without splitting the wood. Use clamps to hold the assembly together while the glue dries, typically for several hours or as the manufacturer recommends. This careful assembly will ensure the stability and longevity of your table.
Step 6: Checking for Stability
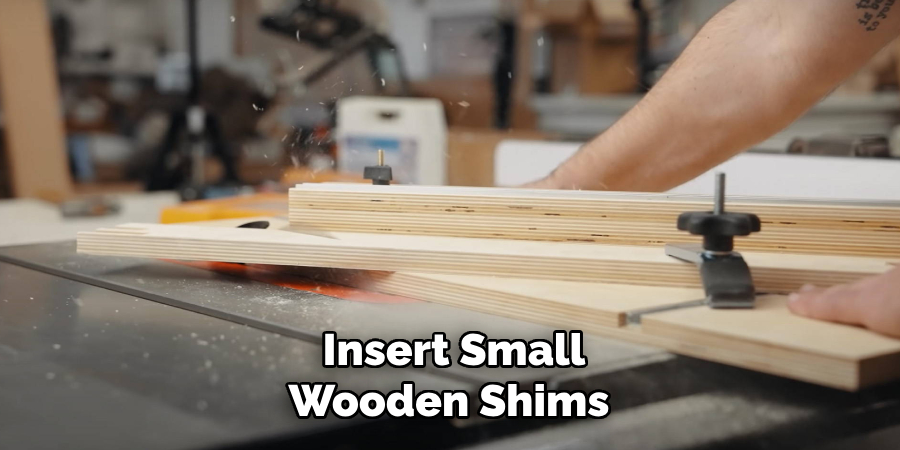
After assembling the table base, checking for stability before proceeding further is crucial. Start by carefully flipping the table onto its legs, ensuring that the legs are evenly aligned and that there is no wobbling. Use a level to confirm that the tabletop is even across all sides. If you notice any instability or unevenness, slightly adjust the leg positions or tighten any loose screws, taking care not to overtighten, which could damage the wood. Sometimes, you may need to apply additional wood glue at the connection points or insert small wooden shims to correct minor irregularities.
Step 7: Finishing Touches
To complete your table project, it’s time to apply the finishing touches that will enhance its appearance and protect the wood. Start by choosing a finish that aligns with your desired look, such as stain, paint, or a clear varnish. If you opt for staining, consider testing the stain on a small, inconspicuous area of one leg to ensure you achieve the right color.
When applying the finish, use a clean cloth or brush, following the wood grain to ensure even coverage and prevent streaks. Allow each coat to dry thoroughly, and lightly sand the surface between coats with fine-grit sandpaper to create a smooth finish. Finally, if you wish to add any decorative details or hardware, such as corner brackets or carvings, do so carefully after the final coat has dried.
Step 8: Final Inspection and Setup
After completing the finishing touches, inspect your table to ensure everything is in order. Carefully examine each leg and joint to verify that the table is stable and has no loose connections.
Check the finish for any uneven spots or imperfections and address them as necessary. Once satisfied with the craftsmanship, transport the table to its intended location. With a partner’s help, lift the table to avoid damage and position it carefully. Ensure the surface is clean and clear before placing the table to prevent scratches. This attention to detail will ensure your newly crafted table is a beautiful and functional addition to your space.
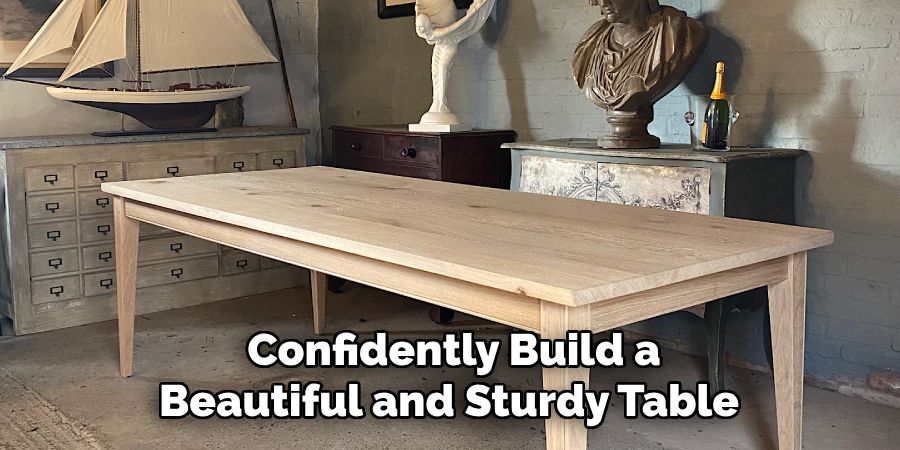
By following these steps, you can confidently build a beautiful and sturdy table with tapered legs. Remember to take your time, follow safety precautions, and enjoy the process.
5 Things You Should Avoid
- Using Inadequate Tools: Attempting to make tapered table legs without the proper tools can lead to uneven cuts and a poor finish. Ensure you have a table saw or a tapering jig to achieve precise angles and dimensions.
- Skipping Measurements: Failing to measure accurately beforehand can result in legs that do not match in length or taper. Always double-check your measurements to ensure consistency and symmetry.
- Ignoring the Wood Grain: Cutting against the grain can weaken the leg’s structure and lead to split or frayed edges. Pay attention to the direction of the wood grain to maintain strength and aesthetic appeal.
- Over-sanding: While sanding is crucial for a smooth finish, over-sanding can alter the dimensions and angles of the taper. Sand lightly and evenly to maintain the intended shape of the leg.
- Lack of Safety Precautions: Not wearing safety gear or properly securing the wood can cause accidents or injuries. Always wear safety glasses and clamps to secure the wood during cutting.
Conclusion
In conclusion, how to make tapered table legs demands precision, patience, and attention to detail.
By using appropriate tools and following meticulous measurement protocols, you can achieve a professional and custom look. Paying attention to the wood grain’s direction is crucial in preserving the structural integrity and captivating aesthetics of the legs. Additionally, maintaining moderate sanding helps achieve smooth finishes without compromising the design. Above all, prioritizing safety by wearing protective gear and properly securing materials is essential to prevent accidents and ensure a successful project.
Adhering to these guidelines will enhance your woodworking skills and lead to beautifully tapered table legs that elevate any furniture piece.