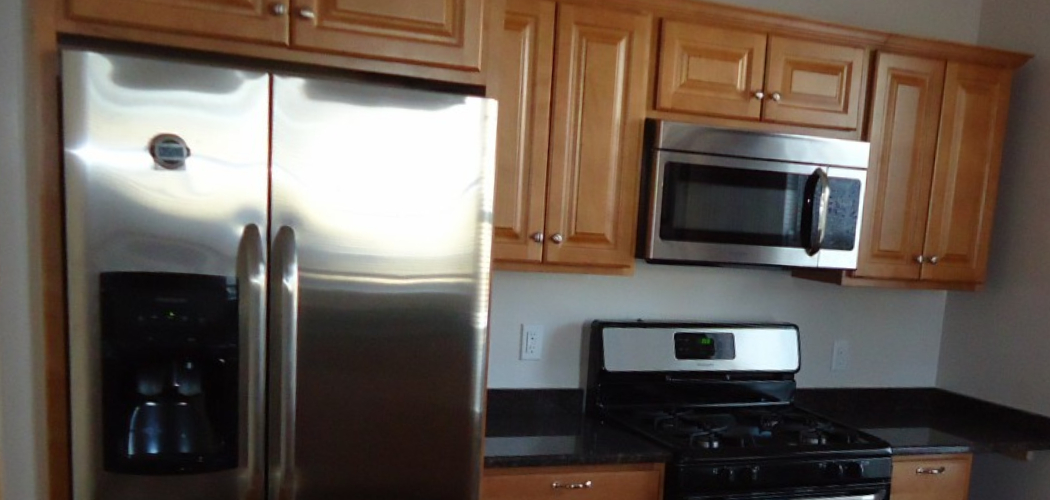
Achieving a seamless and cohesive look in your kitchen often involves making your refrigerator flush with the cabinets. This not only enhances the aesthetic appeal but also optimizes the use of space, making your kitchen look cleaner and more organized.
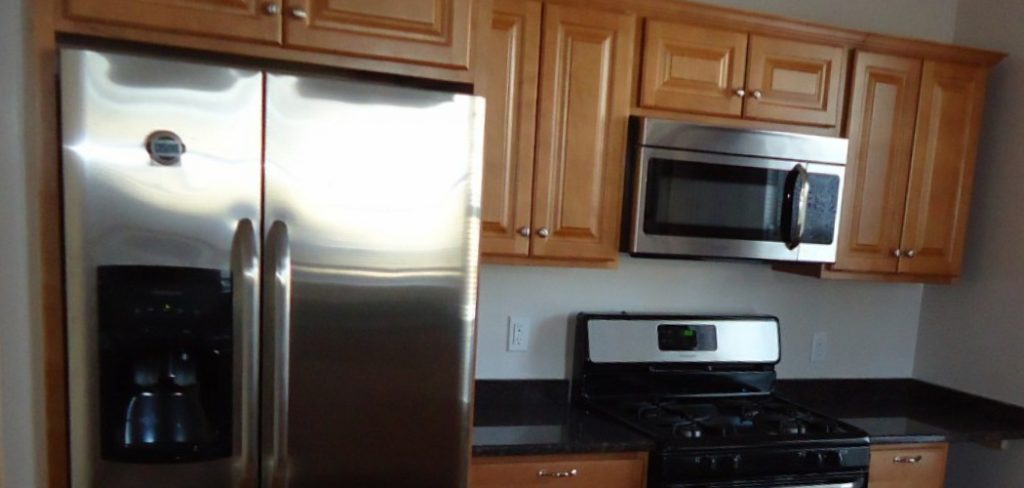
Whether you are renovating your kitchen or installing a new refrigerator, ensuring that it aligns perfectly with your cabinetry requires careful planning and execution. In this guide on how to make refrigerator flush with cabinets, we will walk you through the steps and considerations to help you achieve this sleek, integrated look.
What is a Flush Refrigerator and Why is it Important?
A flush refrigerator refers to a fridge that sits perfectly aligned with the surrounding cabinetry, without any gaps or protrusions. This creates a seamless look in your kitchen, giving the illusion of built-in appliances rather than standalone ones.
It is important to make your refrigerator flush with cabinets not only for visual appeal but also for practical reasons. A flush fridge can save valuable space in a small kitchen, making it appear larger and more spacious. It also eliminates any awkward gaps that can collect dust and crumbs, making cleaning easier and more efficient.
Why is It Important to Make Your Refrigerator Flush With Cabinets? Here Are Some Additional Benefits
- Enhances the overall aesthetic appeal of your kitchen
- Creates a more cohesive and harmonious look in your kitchen
- Increases storage space by eliminating gaps between the fridge and cabinets
- Makes cleaning easier and more efficient
- Reduces the risk of food and debris getting stuck in between gaps
- Provides a cleaner and more organized look to your kitchen
11 Step-by-step Guides on How to Make Refrigerator Flush With Cabinets
Step 1: Measure
The first and most crucial step in making your refrigerator flush with the cabinets is to measure accurately. Begin by measuring the width, height, and depth of your refrigerator. Be sure to include any protrusions such as handles or back coils, in your dimensions.
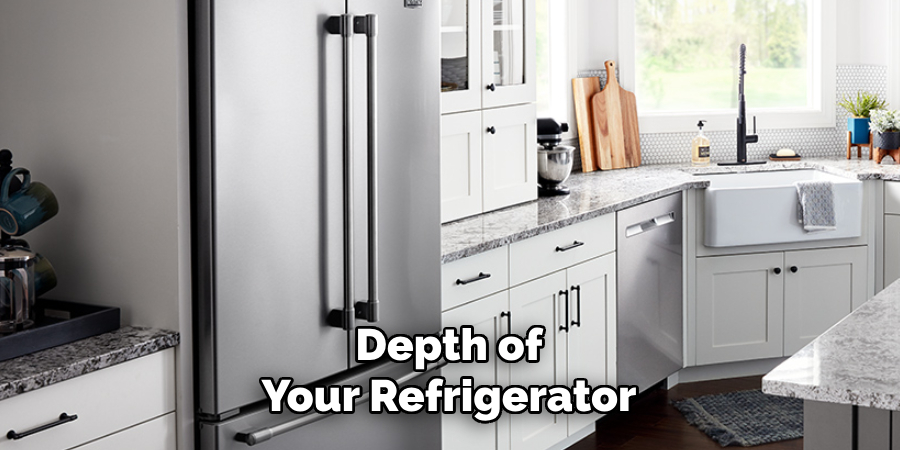
Next, measure the space where the refrigerator will be installed, including the height from the floor to the bottom of the cabinets, the width between the cabinets, and the depth of the space from the wall to the front edge of the bordering cabinets. This will help you determine if any adjustments need to be made or if a custom panel is required to achieve a perfect fit. Accurate measurements are essential to avoid any surprises and ensure a seamless installation.
Step 2: Check for Levelness
Before installing the fridge, ensure that your cabinets are level. Use a carpenter’s level to check the horizontal and vertical alignment of the cabinet frames. If they are not level, use shims to make necessary adjustments. It is essential to have a level cabinet before proceeding with the installation, or it may affect the alignment of your fridge.
Step 3: Determine Refrigerator Door Swing
Determine which direction you want your refrigerator door to swing before installing it. This will determine where you need to leave clearance space for the door to open fully without hitting any surrounding cabinets or walls. It is also important to consider any adjacent appliances that may be affected by the door swing.
Step 4: Prepare the Space
Clear out any obstructions in the designated refrigerator space, including wall hangings, outlet covers, or cabinet contents. You want to have a clear and clean area for installation. If you are installing a built-in fridge, remove the doors from the refrigerator unit before proceeding with installation.
Step 5: Install Floor Protector
Place a floor protector on top of your flooring where the refrigerator will be installed. This can be a rubber mat or cardboard sheet to protect your flooring from any scratches or dents during installation.
Step 6: Position Fridge in Place
Carefully position your fridge into place, making sure it aligns with the surrounding cabinets. If your fridge has adjustable feet, use a wrench to adjust them to level out the refrigerator.
Step 7: Secure Fridge
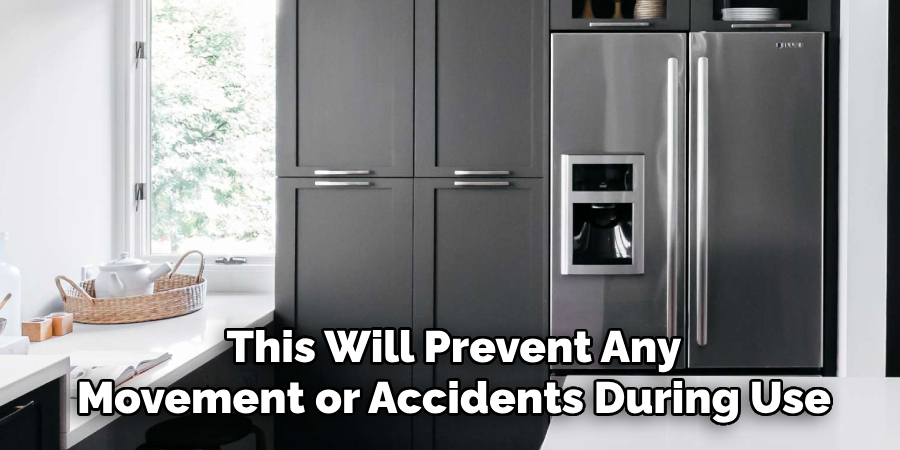
Secure the fridge in place by screwing it into the wall studs or using brackets to anchor it to adjacent cabinetry. This will prevent any movement or accidents during use.
Step 8: Adjust the Door Swing and Install Door Stops
If necessary, adjust the door swing to ensure there is enough clearance space for the door to open fully without hitting any surrounding obstacles. You can also install door stops on either side of the fridge to prevent the doors from opening too far and potentially damaging nearby cabinets or appliances.
Step 9: Fill In Gaps
If there are any gaps between the fridge and surrounding cabinets, use trim pieces or filler strips to fill them in. You can also use caulk to create a seamless look.
Step 10: Install a Custom Panel
If you want a fully integrated look with your cabinetry, you can install a custom panel on the front of the refrigerator. This can be done using screws or adhesive, depending on the manufacturer’s instructions.
Step 11: Clean and Organize
After completing the installation, thoroughly clean your kitchen and organize your refrigerator contents for an instantly polished look.
Following these steps on how to make refrigerator flush with cabinets and taking accurate measurements will ensure that your refrigerator is flush with cabinets and seamlessly integrates into your kitchen design.
Additional Tips
Ensure Proper Ventilation:
Even when your refrigerator is flush with the cabinets, it’s vital to maintain adequate ventilation around it. Check the manufacturer’s guidelines on ventilation space requirements to avoid overheating and ensure optimal performance.
Consult Professionals:
If you’re unsure about any step, it’s always a good idea to consult a professional. An experienced carpenter or appliance installer can help achieve the perfect fit and prevent any costly mistakes.
Use High-Quality Materials:
When filling gaps or installing custom panels, use high-quality materials that match your cabinetry. This will enhance durability and maintain a high-end look.
Plan for Future Maintenance:
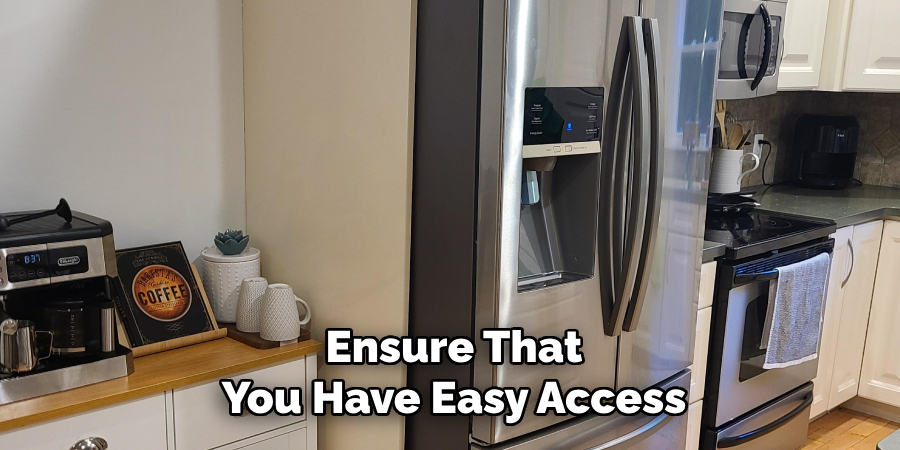
Ensure that you have easy access to outlets and water connections for future maintenance or repairs. It’s also a good idea to have detachable panels where possible.
Check Door Alignment Regularly:
Over time, the heavy fridge doors might shift slightly out of alignment. Periodically check and adjust them to ensure they remain flush with the cabinets.
Adding these tips to your method will make sure your kitchen not only looks great but functions smoothly for years to come.
Do You Need to Use Professionals?
Deciding whether to hire professionals to make your refrigerator flush with the cabinets depends on several factors, including your level of DIY experience, the complexity of the task, and your comfort with potentially intricate adjustments. If you have a solid grasp of carpentry and basic installation processes, you may feel confident tackling the job on your own. However, hiring professionals can provide peace of mind, ensuring precise measurements, seamless integration, and secure anchoring of your refrigerator.
Moreover, skilled carpenters and appliance installers bring valuable expertise, avoiding common pitfalls that could cost you time and money. Professional installation can be particularly beneficial for custom cabinetry or integrated refrigerator models, where achieving a flawless fit is crucial for both aesthetics and functionality. While it may be an additional expense, professional help can ultimately save you from the frustrations and potential mistakes of a DIY approach, ensuring a polished and functional final result.
Frequently Asked Questions
Q: Can I Install a Standard Fridge to Be Flush With Cabinets?
A: Depending on the model and dimensions, it is possible to make a standard fridge flush with cabinets by using spacers or filler strips. However, it is recommended to consult a professional for precise measurements and adjustments.
Q: How Much Clearance Space Is Required for the Refrigerator Door to Open?
A: Generally, at least 3 inches of clearance space is recommended for the refrigerator door to open fully without obstruction. However, it’s best to refer to the manufacturer’s guidelines for your specific model.
Q: Can I Install a Built-In Fridge Myself?
A: It is possible to install a built-in fridge yourself if you have experience with carpentry and appliance installation. However, it may be best to hire a professional for more complex installations or if you are unsure about any steps.
Q: How Can I Ensure My Fridge Is Properly Aligned With the Cabinets?
A: Using a carpenter’s level and shims to make necessary adjustments is crucial for ensuring your fridge is properly aligned with the cabinets. Double-checking measurements and consulting a professional can also help achieve precision. Overall, taking the time and effort to carefully follow these steps will result in a seamless integration of your refrigerator into your kitchen design. So go ahead and enjoy your perfectly aligned fridge! Happy organizing!

Conclusion
In conclusion, making your refrigerator flush with cabinets not only significantly elevates the visual appeal of your kitchen but also offers practical advantages such as increased storage space, greater ease of cleaning, and a more organized environment.
By following the step-by-step guide on how to make refrigerator flush with cabinets provided, you can achieve a seamless integration of your fridge into your kitchen design. Remember, accuracy in measurements and careful execution of each step are key to ensuring a successful installation. With a little effort and attention to detail, you can enjoy a cohesive and harmonious kitchen space that is both functional and beautiful.
