Are you considering adding luxury and comfort to your home with leather furniture? Leather is a timeless material that exudes elegance and sophistication, making it a popular choice for many homeowners.
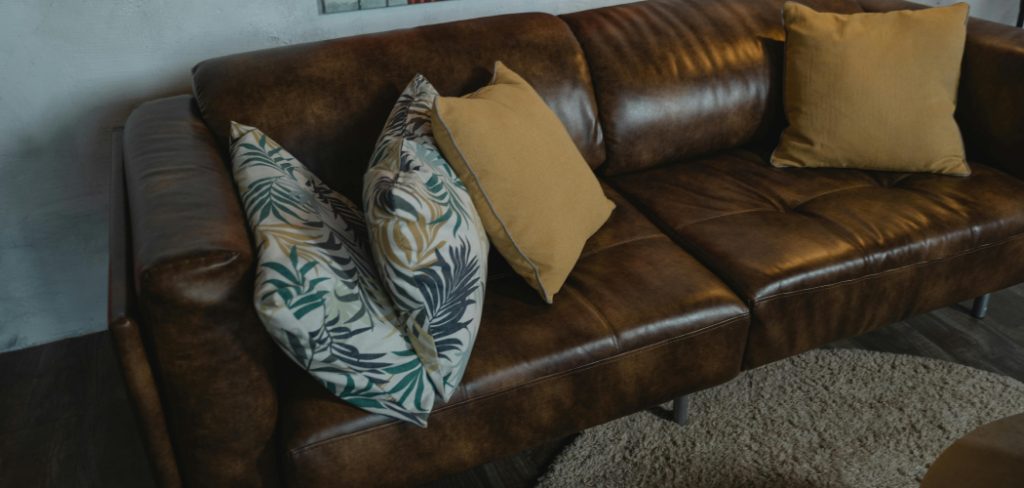
How to make leather furniture is an art that combines skill, precision, and creativity. Whether you’re looking to create a luxurious leather sofa, a stylish armchair, or a sophisticated ottoman, the process involves several meticulous steps, from selecting the highest quality hides to constructing a sturdy frame. Leather furniture making not only requires a keen eye for detail but also an understanding of various techniques such as cutting, stitching, and upholstering.
This guide will take you through the necessary tools, materials, and methods to help you embark on your journey of making exquisite leather furniture that stands the test of time and adds an element of elegance to any space.
What Will You Need?
To begin with, it’s essential to gather all the necessary tools and materials before you start making your leather furniture. Some of the basic items include:
- Leather Hides: The first step in making leather furniture is selecting high-quality leather hides that are durable, smooth, and free from any blemishes or imperfections. You can choose from a variety of options such as full-grain, top-grain, split-grain or bonded leather.
- Wooden Frame: A sturdy wooden frame is crucial for creating a strong foundation for your furniture piece. Hardwoods like oak, maple, or ash are commonly used for their strength and durability.
- Sewing Machine: Unless you plan on hand-stitching your furniture, a sewing machine will be an essential tool for creating neat and precise seams in the leather.
- Scissors or Leather Cutting Knife: Accurate cutting is crucial when working with leather. Ensure that you have sharp scissors or a specialized leather cutting knife to make clean and precise cuts.
- Upholstery Nails or Staples: These are used to secure the leather to the frame of the furniture piece. Upholstery nails are often preferred for their aesthetic appeal, while staples hold more securely.
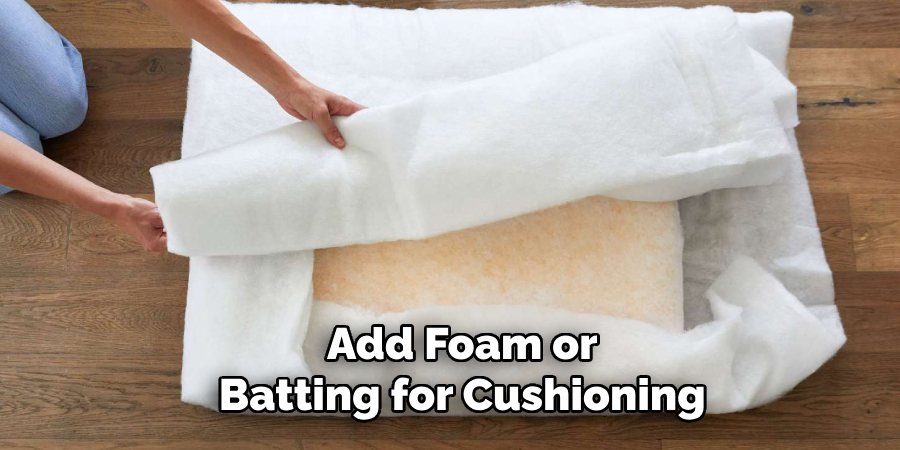
- Foam or Batting: Depending on the type of furniture you’re making, you may need to add foam or batting for cushioning and support.
- Glue: Leather glue is a crucial component in leather furniture making as it helps to bond pieces of leather together securely.
Once you have all the necessary tools and materials, it’s time to get started on making your leather furniture.
8 Easy Steps on How to Make Leather Furniture
Step 1: Design and Measure
Before you begin the hands-on crafting process, creating a detailed design and taking accurate measurements is essential. Start by sketching your desired furniture piece, including all dimensions and specific features you want to incorporate. Consider the space where the furniture will be placed to ensure it fits perfectly and complements the existing decor.
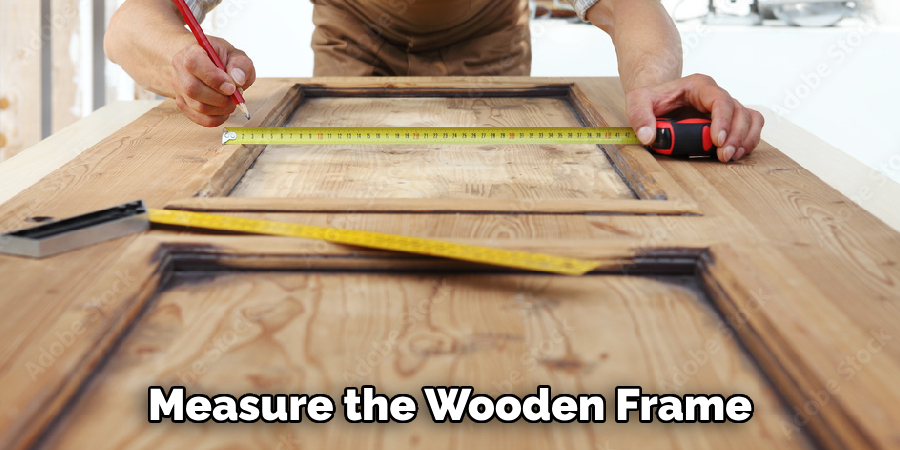
Next, measure the wooden frame and any foam or batting you will use. Accuracy is critical at this stage because even slight measurement errors can affect the final product’s look and comfort. Note all measurements meticulously, as they will guide you throughout construction. For instance, if you are making a sofa, measure the length, depth, and height of the seating area, as well as the armrests and backrest.
Additionally, when selecting and measuring your leather hides, remember that natural leather often has slight variations in thickness and texture. Take this into account to ensure uniformity in your finished piece. Using craft paper, cut templates for different parts of the furniture—these templates will help you transfer measurements accurately to the leather hides later.
Step 2: Construct the Frame
With your design in hand and all measurements accurately noted, the next step is constructing the wooden frame. Choose high-quality hardwood such as oak, maple, or ash, as these woods are known for their strength and durability. Using your measurements, cut the wooden pieces that will make up the frame of your furniture.
Begin by assembling the base structure. Use wood glue and wooden screws to join the pieces together securely. Ensure to reinforce all corners and joints to avoid wobbling or instability. If your design includes additional features like armrests or a reclinable backrest, incorporate these elements into the frame at this stage.
Once the primary frame is assembled, sand down any rough edges to ensure a smooth finish. A well-constructed frame is the foundation of your leather furniture and will significantly impact its longevity and comfort.
Step 3: Cut the Leather
It’s time to cut the leather hides with the wooden frame ready. Lay the leather hides flat on a clean, dry surface. Using the earlier paper templates, trace the outlines onto the leather with chalk or a specialized leather marking pen. Precision is key when cutting leather, so take your time to ensure the lines are accurate and straight.
Use sharp scissors or a leather-cutting knife to carefully cut out each piece. It’s advisable to cut slightly outside the traced lines, giving yourself a margin for adjustments. Remember, it’s always easier to trim excess leather than to compensate for pieces that are too small.
After cutting, inspect each piece to ensure no nicks or imperfections could affect the final appearance. If any issues are found, it may be necessary to recut that section to maintain quality and consistency.
Step 4: Attach the Foam or Batting
Before upholstering the frame with leather, you must attach the foam or batting to ensure comfort and support. Measure and cut the foam or batting to fit the various parts of the frame, including the seat, backrest, and armrests.
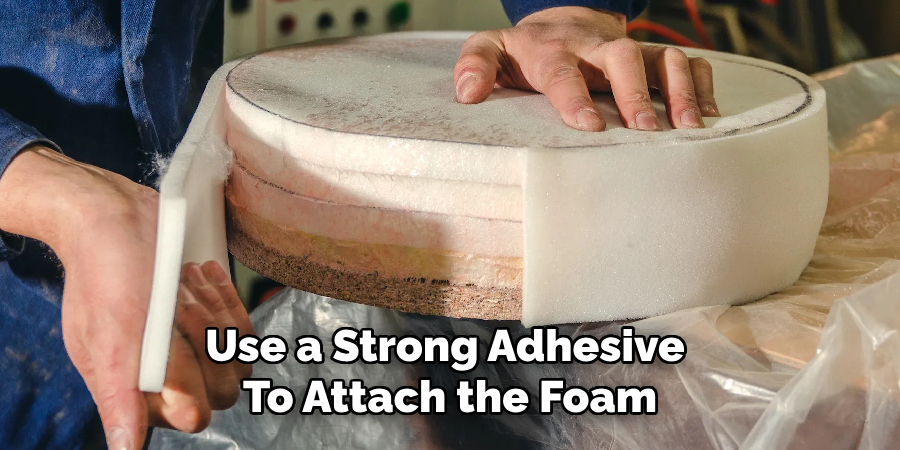
Use a strong adhesive to securely attach the foam or batting to the wooden frame. Ensure that it is evenly distributed and covers all areas that will come into contact with the skin. Use an electric carving knife to shape the foam for a more tailored fit if necessary.
Once the foam or batting is attached, cover it with a protective layer of fabric, such as muslin, to keep it in place and prevent it from shifting during the upholstering process.
Step 5: Sew the Leather Pieces
With the foam or batting securely in place, it’s time to sew the leather pieces that will cover your furniture. Lay out the leather sections you cut earlier and verify that they align properly with the corresponding parts of the frame. This step will help ensure that you have all the necessary pieces and that they fit together seamlessly.
Using a sewing machine designed for heavy-duty materials, sew the leather pieces together. Start with smaller sections, such as armrests or cushions, before moving on to larger sections like the backrest or seat. Use a durable thread specifically meant for leather to ensure longevity and prevent seams from tearing over time. Employ consistent stitch length and tension to maintain a uniform look across all components.
If your design includes any decorative elements, such as tufting or piping, incorporate these details at this stage. Pay close attention to finishing stitches, as these will be visible on the final product.
Step 6: Upholster the Frame
Now that the leather pieces are sewn together, you can begin upholstering the frame. Start by aligning the leather pieces with their respective sections on the frame. It’s essential to ensure that seams and edges match the design’s layout and that everything fits snugly.
Attach the leather to the frame using an upholstery staple gun. Begin from the center of a piece and work your way to the edges, pulling the leather taut as you go to prevent wrinkles and sagging. Be mindful of maintaining even tension to avoid any distortions in the leather. For areas that require extra precision, such as corners or curves, use additional staples to secure the leather firmly in place.
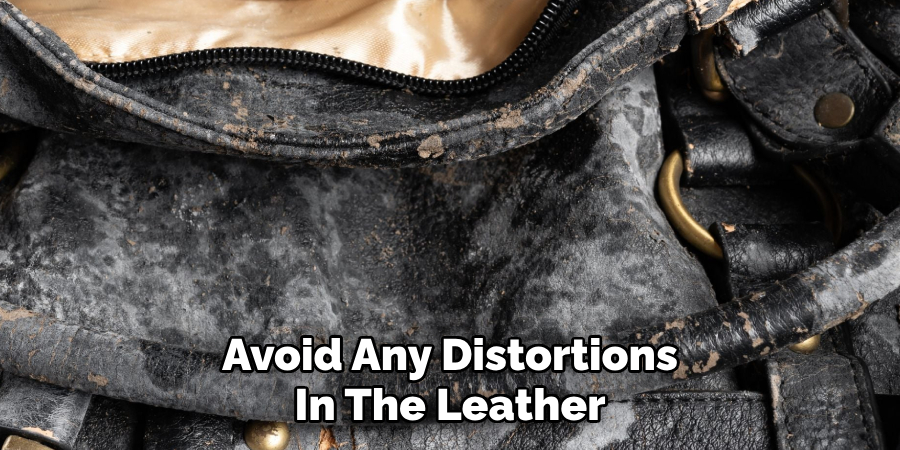
As you work, periodically step back and examine the overall appearance to ensure uniformity and alignment. Remove the staples and adjust as necessary if you notice any areas that are not fitting as intended. This attention to detail will ensure a professional and visually appealing finish.
Step 7: Add Final Touches
With the leather securely fastened to the frame, it’s time to add the final touches to complete your leather furniture. Begin by trimming any excess leather around the edges and ensuring that all seams are neat and even. If your design includes any decorative nails or studs, now is the time to attach them. These elements can add both aesthetic appeal and additional security to the upholstery.
Next, treat the finished piece with a leather conditioner. This will nourish the leather, enhance its natural sheen, and provide some protection against wear and tear. Gently apply the conditioner using a soft cloth, allowing it to soak in before buffing off any excess.
Finally, inspect the entire piece of furniture to ensure there are no loose threads, uneven seams, or areas where the leather may be starting to lift.
Step 8: Quality Check and Adjustments
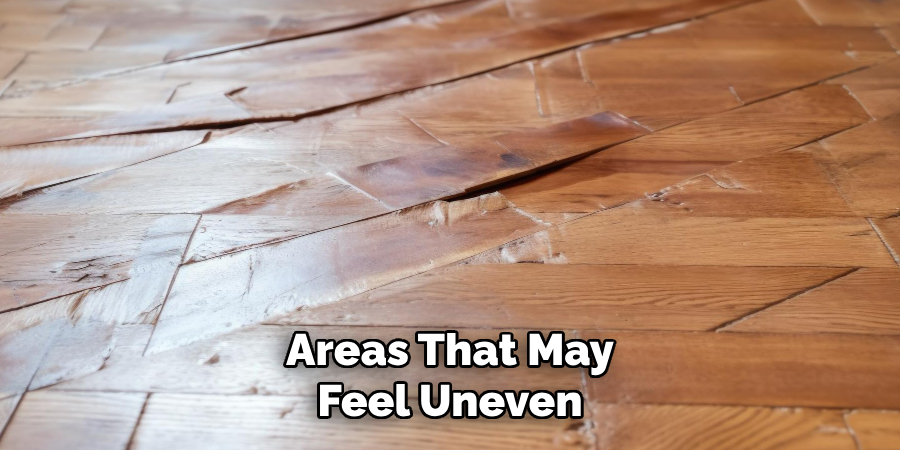
After completing the upholstering process, take a step back and assess the final product. Sit on the furniture to test its comfort and stability. Pay attention to any areas that may feel uneven or have excess tension.
By following these steps and carefully crafting your leather furniture with attention to detail, you can create a beautiful and durable piece that will last for years to come.
Conclusion
How to make leather furniture is a meticulous and rewarding process that combines precision, skill, and an eye for detail.
From constructing a sturdy wooden frame to the final application of leather conditioner, every step plays a crucial role in ensuring the furniture’s durability, comfort, and aesthetic appeal. It begins with careful planning and preparation, including creating accurate templates and choosing quality materials. Assembling and upholstering require patience and expertise to achieve a seamless finish that looks professional and stands up to regular use.
Whether you’re a seasoned craftsman or embarking on your first DIY project, understanding and executing each stage with care can result in a stunning piece of leather furniture that enhances your living space and delivers satisfaction for years to come.
