
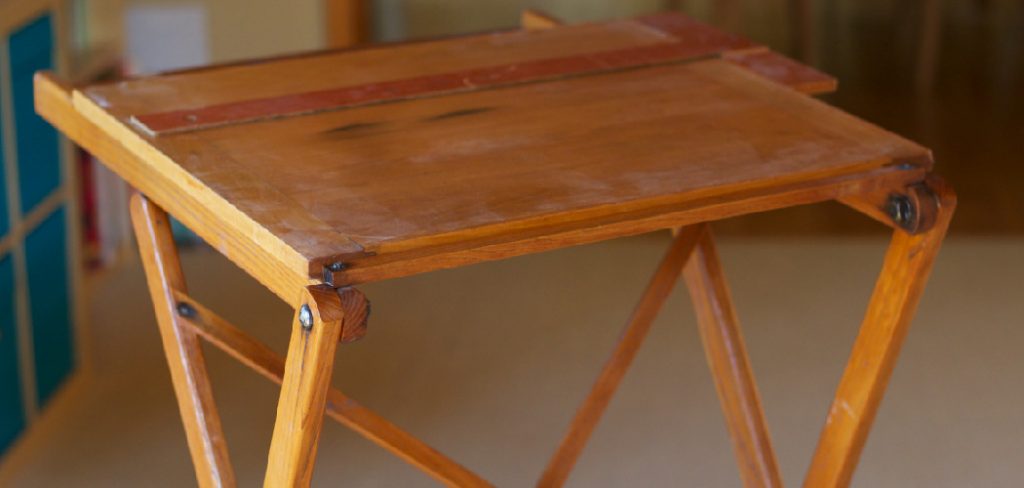
Are you tired of having to store a bulky table that takes up too much space in your home? Or do you frequently need a portable table for outdoor activities but need more storage space?
How to make folding legs on a table is an excellent way to incorporate versatility and space-saving functionality into your furniture. Whether you’re looking to design a custom piece for your home or enhance an existing table, folding legs offer a practical solution that enables easy storage and portability. This guide will walk you through the essential steps and considerations in crafting sturdy and reliable folding legs.
By the end, you’ll have the knowledge and confidence to tailor your table-making skills to meet various needs, making your furniture not only functional but also adaptable to different spaces and occasions.
What Will You Need?
To make folding legs on a table, you’ll need the following materials and tools:
- Tabletop (can be any size or shape)
- Four wooden boards for the legs
- Measuring tape
- Pencil
- Saw
- Drill
- Screws
- Depending on the type of wood used for your tabletop and legs, you may also need sandpaper, stain/paint, and a paintbrush.
Once you have gathered all the necessary items, you can begin creating your folding legs.
10 Easy Steps on How to Make Folding Legs on a Table
Step 1. Measure the Height of the Table:
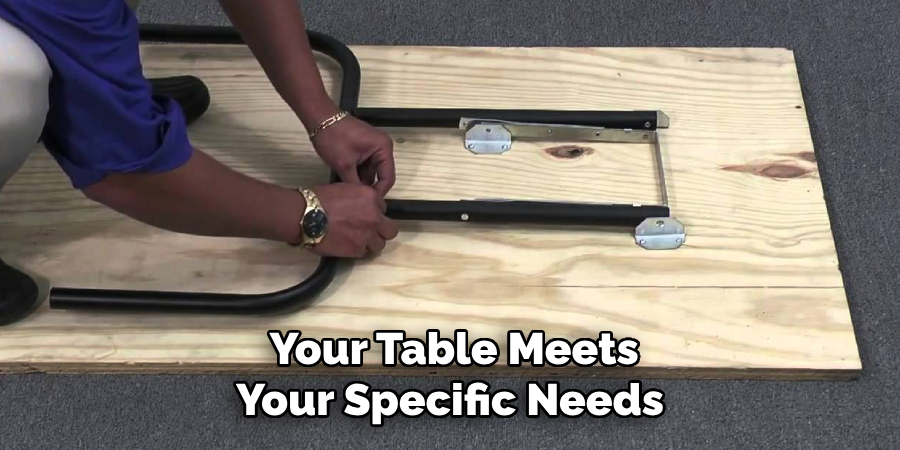
Before you start cutting any wood, measuring the height you desire for your table is crucial. Consider the typical use of your table and the space where it will be placed. For instance, a dining table typically ranges from 28 to 30 inches, while a workbench might be slightly taller to accommodate standing work. Use a measuring tape to ensure precision, as the height of the legs will directly affect comfort and functionality.
Mark the desired height on a wooden board using a pencil, making sure to account for the thickness of the tabletop that will be attached later. This careful planning step ensures that your table meets your specific needs, whether it’s for dining, craft work, or any other purpose.
Step 2. Cut the Wooden Boards for Legs:
With your measurements clearly marked, cut the wooden boards to the appropriate length for the table legs. Use a saw to make precise cuts along the markings you made earlier. Ensure that each leg is of equal size to maintain balance and stability once the table is assembled. You can label each leg for ease of assembly later on. Use sandpaper to smooth any rough edges after cutting, ensuring a clean, professional finish suitable for your interior or exterior setup.
Step 3. Attach Folding Brackets to the Legs:
After cutting and preparing the legs, the next step involves attaching folding brackets. These brackets are essential for enabling the legs to fold underneath the tabletop. Begin by choosing a suitable position on each leg where the bracket will be attached. Use a drill to create pilot holes that align with the bracket edges on the legs’ upper section. Ensure the brackets’ direction allows the legs to fold inward when not in use. Secure the brackets firmly using screws, checking that they operate smoothly without resistance. This step is crucial for ensuring your table remains stable and easily folded and stored without complication.
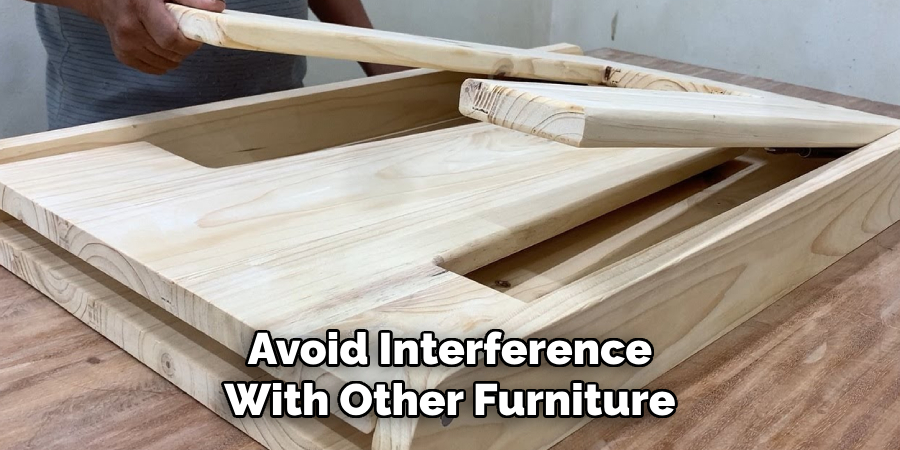
Step 4. Prepare the Tabletop for Leg Attachment:
Once the folding brackets are securely attached, it’s time to prepare the tabletop for leg attachment. Place the tabletop upside-down on a flat surface. Double-check the measurements and ensure you clearly know where each leg will be positioned. Mark the locations for the brackets on the underside of the tabletop, ensuring they align perfectly with the legs when folded. It’s important to leave adequate space along the tabletop’s edges to avoid interference with other furniture and allow easy folding. This positioning will facilitate proper support and ensure the legs align correctly when extended and stored.
Step 5. Attach the Legs to the Tabletop:
Now that the tabletop is prepared attach the legs using the folding brackets. Position each leg so that the bracket holes align with the marks on the underside of the tabletop. Use a drill to secure the brackets firmly with screws, ensuring the legs are sturdy and properly mounted. As you attach each leg, test the folding mechanism to confirm that it functions smoothly.
The legs should fold neatly beneath the tabletop without obstruction, providing a seamless transition between use and storage. Regular inspection of your setup during this step will help guarantee the durability and functionality of your folding table.
Step 6. Test the Table’s Stability and Functionality:
With all the legs attached, the next critical step is to test the table’s stability and functionality. Carefully turn the table upright and check each leg to ensure that it locks securely into place without wobbling. Apply light pressure in various directions to confirm that the table can withstand regular use without compromising its structure. Inspect each bracket to make sure it remains tight and the folding mechanism operates without friction or difficulty.
This is your opportunity to identify any adjustments or reinforcements needed to achieve optimal performance. Testing at this stage ensures that your folding table is efficient for storage and transport and practical for everyday use.
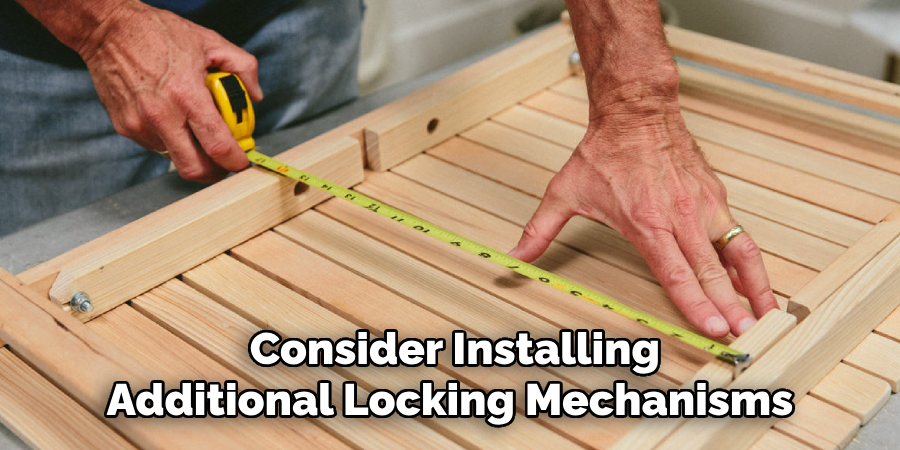
Step 7. Secure the Folding Mechanism:
After confirming the stability and functionality of the table, it’s essential to ensure that the folding mechanism is securely in place. This involves double-checking each folding bracket for tightness and functionality. If any brackets seem loose or unstable, use a screwdriver to tighten the screws, securing them firmly against the underside of the tabletop.
For added security, consider installing additional locking mechanisms, such as latches or bolts that can be engaged when the table is in use, providing extra peace of mind. This step is crucial in preventing accidental collapse and ensuring that your folding table remains reliable. Regular maintenance of the folding components will further prolong the life of your table, keeping it both functional and safe for various applications.
Step 8. Finishing Touches and Final Inspection:
Once the folding mechanism is securely fastened, it’s time to focus on the finishing touches to enhance the table’s aesthetic and durability. Consider applying a wood finish, such as paint, stain, or varnish, to protect the wood and complement your décor. Sand any remaining rough patches to ensure a smooth, blemish-free surface. After finishing, allow the table to dry completely in a well-ventilated area if using paint or varnish.
Finally, conduct a thorough inspection: practice folding and unfolding the table to ensure everything moves smoothly and remains stable. These final steps improve the appearance and ensure your folding table is ready for any occasion, delivering both style and utility.
Step 9. Routine Maintenance and Storage:
Proper maintenance and storage are vital to extending the life of your folding table and keeping it in excellent condition. Regularly inspect the table for any wear or damage, particularly around the folding mechanisms and leg attachments. Tighten any loose screws and replace any components showing significant signs of wear. Clean the surface with a soft cloth and mild cleaner to prevent the buildup of dirt or grime that could affect its functionality. Store the table in a dry place away from extreme temperatures and moisture when not in use, which could warp or damage the wood.
Step 10. Explore Creative Uses for Your Folding Table:
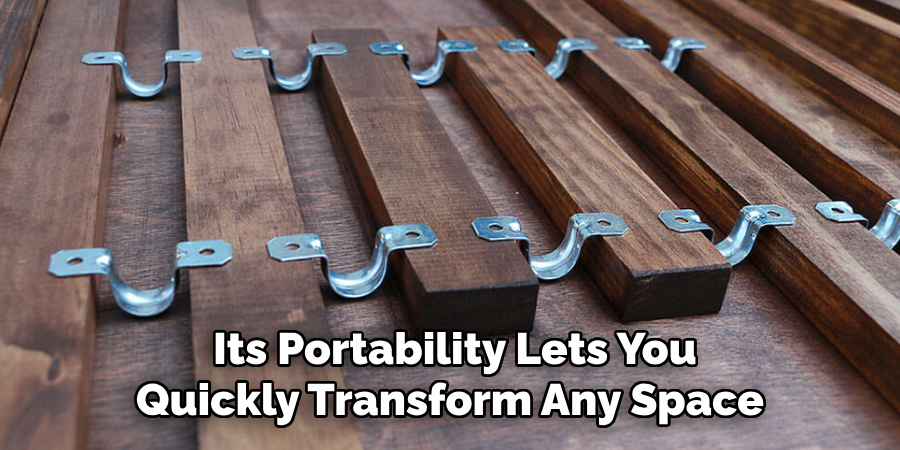
With your folding table complete and well-maintained, it’s time to explore its myriad creative uses. Beyond being a practical piece of furniture for dining or working, your folding table can adapt to various situations. Utilize it as an impromptu desk for remote work, a platform for outdoor picnics, or an extra serving station during festive gatherings. Its portability lets you quickly transform any space, making it ideal for camping trips or market stalls.
By following these steps, you can build a sturdy and versatile folding table that meets your specific needs.
5 Things You Should Avoid
- Using Inadequate Materials: Ensure you select robust materials that can support the weight expected for the table’s use. Using weak or brittle wood or substandard metal for the brackets can lead to premature failure.
- Incorrect Measurements: Avoid miscalculating in measuring and marking the positions for brackets and legs. Even slight errors can result in instability and uneven leg alignment, causing the table to wobble or fold improperly.
- Over-tightening Screws: While it’s crucial to secure the brackets and legs, over-tightening can strip the wood or damage the hardware, compromising the overall integrity of the table’s construction.
- Neglecting Regular Maintenance: Routine checks are vital to ensure all components are in working order. Ignoring maintenance can lead to unnoticed wear and tear, increasing the risk of collapse over time.
- Ignoring Weight Limitations: Be mindful of the table’s weight capacity. Excessive loads on the folding table can strain the legs and brackets, leading to damage or accidents.
Conclusion
How to make folding legs on a table is a rewarding DIY project that combines functionality with convenience.
By following the detailed steps, from selecting the suitable materials to performing routine maintenance, you ensure the creation of a durable and versatile piece of furniture. Each step—from measuring and cutting to finishing and inspecting—contributes to a table that serves practical purposes and adds value to your home or workspace.
With careful attention to detail and a commitment to ongoing care, your folding table will provide you with years of reliable service. Happy building!