
An egg chair, with its unique, cocoon-like shape and modern aesthetic, is a stylish and comfortable addition to any space. Whether you’re looking to create a cozy reading nook or add a statement piece to your living room, making an egg chair can be a rewarding DIY project.

In this guide on how to make egg chair, we’ll walk you through the steps needed to construct your own egg chair using commonly available materials and basic tools. Not only will you achieve a stunning piece of furniture, but you’ll also enjoy the satisfaction of having crafted it with your own hands.
What is an Egg Chair?
An egg chair is a popular type of hanging or suspended chair inspired by the shape of an egg. It typically consists of a curved, oval-shaped frame with a cushioned seat and backrest, often made from materials like rattan, wicker, or fabric. With its enveloping design, an egg chair offers a cozy and comfortable seating experience.
It was first designed in 1958 by Danish designer Arne Jacobsen for the lobby and lounge areas of the Radisson Blu Royal Hotel in Copenhagen. Since then, it has become a timeless piece of furniture that can be found in homes, offices, and outdoor spaces around the world.
Materials Needed
To make your own egg chair, you’ll need the following materials:
Metal or Wooden Frame:
The frame is the backbone of your egg chair and provides support for the seat and backrest. You can use metal or wooden rods to create the frame, depending on your preference and availability.
Cushioning:
Egg chairs are known for their comfortable seating, so you’ll need some materials to create cushions for the seat and backrest. This can include foam, cotton batting, or even old pillows.
Fabric:
Choose a durable and comfortable fabric to cover your cushions. You can opt for solid colors, patterns, or even textures to add visual interest to your egg chair.
Suspension Hardware:
Since an egg chair is meant to hang from the ceiling, you’ll need some sturdy hardware like chains or ropes to suspend it securely.
10 Steps on How to Make Egg Chair
Step 1: Prepare the Frame
Begin by deciding on the shape and size of your egg chair frame. Using a sturdy material like metal or wood rods, create a curved, oval-shaped frame that mimics the classic egg chair design. If you’re using metal, it’s advisable to weld the pieces together for a robust structure. For wooden frames, you can use screws and wood glue to ensure the pieces are securely fastened.

Make sure the base of your frame is flat and stable, as this will provide the necessary support for your chair. Once assembled, sand down any rough edges to prevent any potential injuries or fabric tears. This foundational step is crucial to ensure your egg chair is both sturdy and visually appealing.
Step 2: Cut the Cushioning
Once you have your frame prepared, it’s time to cut the cushioning materials for the seat and backrest. Measure the dimensions of your egg chair’s frame to determine the size and shape of the cushions. Using these measurements, mark and cut the foam or cotton batting to fit snugly within the frame.
For a more comfortable seating experience, consider using multiple layers of foam or adding extra padding. Ensure that each piece of foam fits well and provides ample support. If you’re reusing old pillows, make sure they are clean and in good condition. Once cut, set the cushioning pieces aside, as they will be covered with fabric later on in the process. Properly sized cushioning is key to achieving the cozy feel that egg chairs are known for.
Step 3: Cut and Sew the Fabric
After you have your cushioning ready, it’s time to cut and sew the fabric that will cover them. Measure and cut pieces of fabric for each cushion, making sure to leave some extra material for seam allowances. You can use a sewing machine or hand-sew the fabric together, depending on your skills and resources.
As you sew, make sure the fabric is pulled taut around the cushioning to achieve a smooth finish. Leave one side open so you can insert the foam or batting inside before sewing it closed. You can also add zippers or Velcro closures if you want removable covers for easy cleaning. Get creative with your fabric choices to add a personal touch to your egg chair.
Step 4: Attach the Cushions
With your cushion covers ready, it’s time to attach them to the frame. First, place the backrest cushion on the top of the frame and secure it tightly with ropes or chains. It’s essential to make sure that the backrest is in an upright position for optimal comfort.
Next, place the seat cushion at the bottom of the frame and hang it securely using suspension hardware. Make sure both cushions are evenly balanced for a stable seating experience. You can also add additional support by attaching straps from the corners of each cushion to different points on the frame.
Step 5: Add Finishing Touches
With the cushions attached, it’s time to add any finishing touches to your egg chair. You can wrap the exposed areas of the frame with rope or fabric for a more polished look. You can also paint or stain the frame to match your aesthetic.
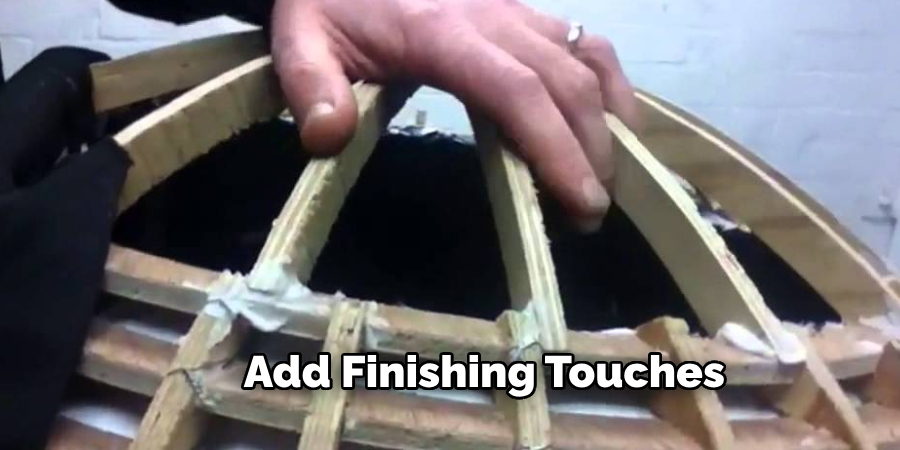
Additionally, you may want to consider adding a headrest pillow or footrest for extra comfort. This is where you can get creative and customize your egg chair according to your preferences.
Step 6: Hang Your Egg Chair
Once all the pieces are assembled, it’s time to hang your egg chair from the ceiling. Make sure you have a sturdy hook or beam that can support the weight of the chair and anyone sitting in it. Use appropriate hardware, such as eye bolts, chains, or ropes, to suspend the chair securely.
You can also use a stand or frame to hang your egg chair if you don’t have a suitable ceiling for mounting. Just make sure it’s sturdy and can support the weight of the chair.
Step 7: Test It Out
Before settling into your newly-made egg chair, give it a good test by sitting in it for a few minutes. Make any necessary adjustments to ensure its stability and comfort. Once you’re satisfied, you’re ready to enjoy your creation!
It’s essential to regularly check the suspension hardware and overall structure of your egg chair to ensure it remains safe for use.
Step 8: Maintenance Tips
To keep your egg chair looking beautiful and functioning well, there are some maintenance tips to keep in mind. Regularly clean the cushions and fabric covers according to their care instructions. Also, check the suspension hardware regularly for any signs of wear and tear.
If your egg chair is exposed to the elements, consider covering it or bringing it indoors during inclement weather. This will help prolong its lifespan and keep it in good condition.
Step 9: Repurpose Old Materials
Instead of buying new materials for your egg chair, consider repurposing old ones to make it more sustainable. You can use old pillows, blankets, or even curtains to create the perfect cushioning and fabric covers for your chair. Not only is this eco-friendly, but it also adds character and uniqueness to your creation.
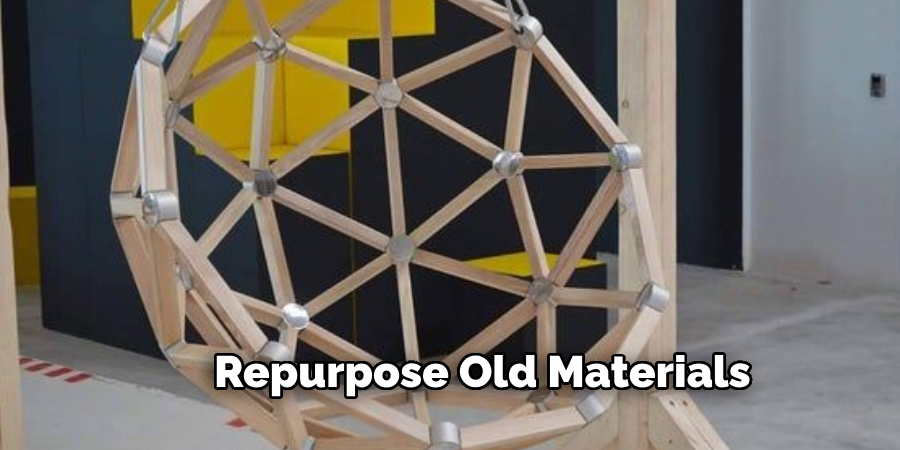
You can also get creative with the frame by using recycled materials like old bicycle wheels, hula hoops, or even PVC pipes. The possibilities are endless when it comes to repurposing old materials for your egg chair project.
Step 10: Enjoy Your Personalized Egg Chair
Congratulations! You’ve successfully made your very own egg chair from scratch. Not only is it a functional and comfortable seating option, but it’s also a unique piece of furniture that reflects your style and creativity. Invite friends and family over to enjoy your personalized egg chair and bask in the satisfaction of knowing you built it yourself.
Following these steps and tips on how to make egg chair, you can create an egg chair that is both aesthetically pleasing and sturdy. With some basic materials and a little bit of creativity, you can turn any space into a cozy spot to relax in your new DIY egg chair.
Frequently Asked Questions
Q: Can I Use Any Type of Fabric for My Egg Chair?
A: Yes, you can use a variety of fabrics such as cotton, canvas, or even outdoor fabric. Just make sure it is durable and comfortable to sit on. You can also experiment with different textures and patterns to add a unique touch to your egg chair.
Q: What Tools Do I Need to Make an Egg Chair?
A: You will need basic tools such as a saw, drill, screws, and measuring tape. If you plan on sewing the fabric covers yourself, you will also need a sewing machine or hand-sewing supplies.
Q: How Much Weight Can an Egg Chair Hold?
A: The weight capacity of an egg chair can vary depending on its design and the materials used. It’s essential to check the weight limit of your suspension hardware and frame before hanging it. Generally, most egg chairs can hold up to 300-400 pounds.

Conclusion
Creating your own egg chair can be a rewarding and enjoyable project. By following these detailed steps, you can build a unique, comfortable, and stylish piece of furniture that adds a touch of creativity to any space.
Not only will you have a cozy place to relax, but you’ll also have the satisfaction of knowing you crafted it with your own hands. Remember to regularly maintain your egg chair to ensure it remains safe and beautiful for years to come. Thanks for reading this article on how to make egg chair.