Are you looking for an easy and economical way to make your bathroom floor completely safe to walk on? Do you want a solution that doesn’t involve major renovation or extensive maintenance and upkeep? If so, then making the bathroom floor nonslippery is the perfect solution.
In this blog post, we will be discussing all of the simple steps you can take to create a safer surface in your bath area without breaking the bank. Read along as we discuss different materials, methods, and strategies for how to make bathroom floor non slippery – so that you can keep yourself safe without incurring extra expenses.
Importance of a Non-Slippery Bathroom Floor
Having a non-slippery bathroom floor is essential for safety. Slippery floors can cause falls and slips, leading to a range of serious injuries such as broken bones and head trauma. It is important to take steps to prevent these kinds of accidents by making sure that the bathroom floor has limited or no slippery areas.
This can be done by using special anti-slip flooring materials, treating the existing floors with a non-slippery solution, or simply making sure to thoroughly clean it on a regular basis. Additionally, adding area rugs and/or mats with rubberized backing can also help create traction and prevent slipping.
Not only does having a non-slippery bathroom floor provide safety benefits, it can also be beneficial in terms of comfort. Slippery floors are often uncomfortable to walk on, and can make it difficult to move around. Having non-slip surfaces can help make the bathroom a more comfortable place for everyone who uses it.
Overview of the Article’s Purpose and Structure
This article will provide an overview on to make bathroom floor non slippery. It will cover topics such as what causes a slippery bathroom floor, the different types of materials that can be used to make it less slippery, and various methods for application. Additionally, tips and tricks for maintaining a non-slippery bathroom floor over time will also be discussed in this article.
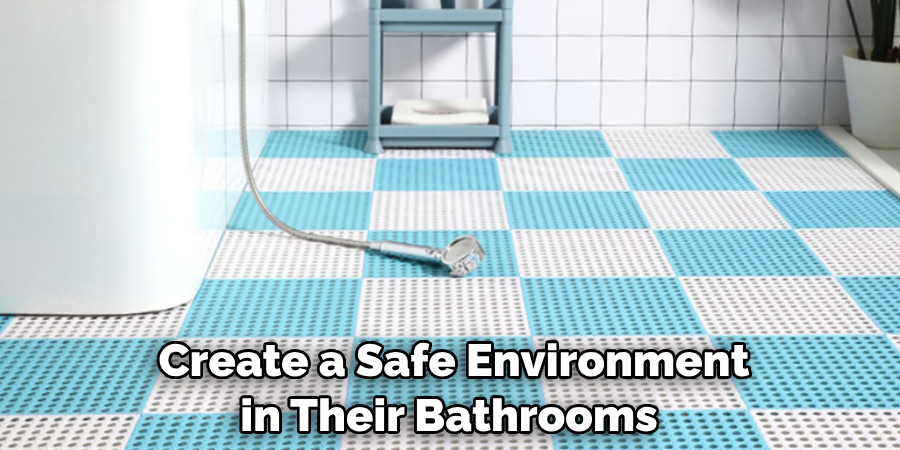
The goal is to provide readers with the necessary information they need to create a safe environment in their bathrooms and reduce any potential danger caused by slipping. By following the advice given here, readers should have no problem creating a bath space that is both comfortable and secure. Thank you for taking the time to read this article; let’s get started!
10 Methods How to Make Bathroom Floor Non Slippery
Method 1: Assess the Current Condition of Your Floor
Begin by assessing the current condition of your bathroom floor. Identify any areas that are particularly slippery or prone to water accumulation.
This evaluation will help you determine the necessary steps to make the floor safer. While evaluating the current condition of your bathroom floor, keep in mind that certain materials may require special treatments.
Method 2: Clean the Floor Regularly
Regular cleaning is essential to remove any soap residue, oils, or other substances that can contribute to a slippery floor. Use non-slip floor cleaners or mild detergents specifically formulated for bathroom surfaces.
This can help to reduce the build-up of slippery substances and make your bathroom floor less slippery. Make sure to dry the floor thoroughly after cleaning as standing water can make it slick. Additionally, consider a doormat to help absorb water from your feet and prevent slips and falls.
Method 3: Use Non-Slip Bathmats or Rugs
Place non-slip bathmats or rugs near the bathtub, shower, and sink areas. These mats have textured surfaces or rubberized backings that provide better traction and help prevent slipping. Be sure to choose mats that are designed for wet areas, as these materials are much more effective in preventing slipping.
Additionally, changing the bathmats and rugs periodically can help keep the floor clean and reduce bacteria, as well as provide a fresh look. Look for bathmats with bright colors, fun patterns or prints that can add to the decor of your bathroom.
Method 4: Install Grab Bars and Handrails
Installing grab bars and handrails near the bathtub, shower, and toilet can provide additional support and stability. These fixtures can assist in maintaining balance and prevent accidents on slippery surfaces.
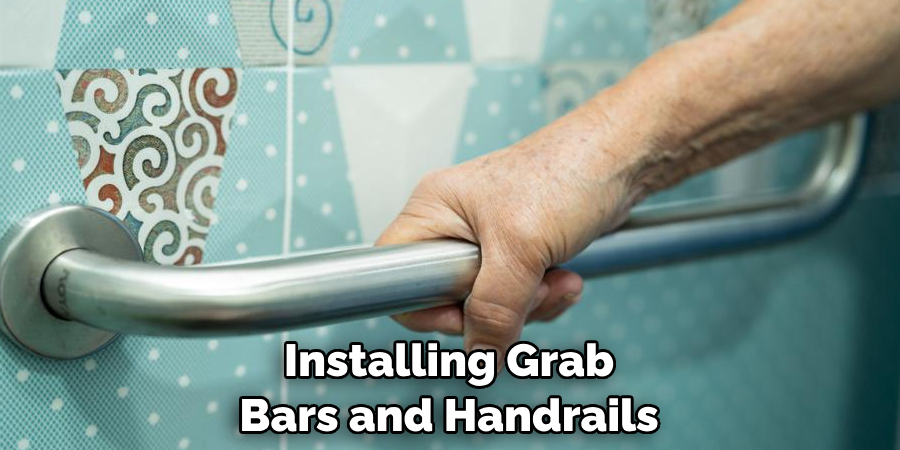
Many grab bars and handrails are designed to match the aesthetic of bathrooms, but they can also be painted or customized with different colors or designs. Grab bars are available in different shapes, sizes, and materials such as steel or aluminum. It is important to ensure the grab bars are securely mounted into the wall to provide maximum support.
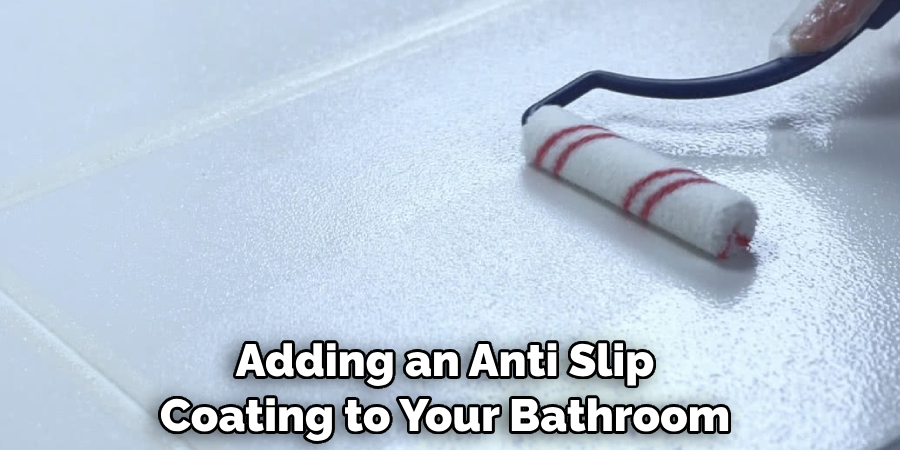
Method 5: Apply Non-Slip Coatings or Treatments
Consider applying non-slip coatings or treatments to your bathroom floor. These products create a textured surface that enhances traction and reduces the risk of slipping. Follow the manufacturer’s instructions for proper application and maintenance.
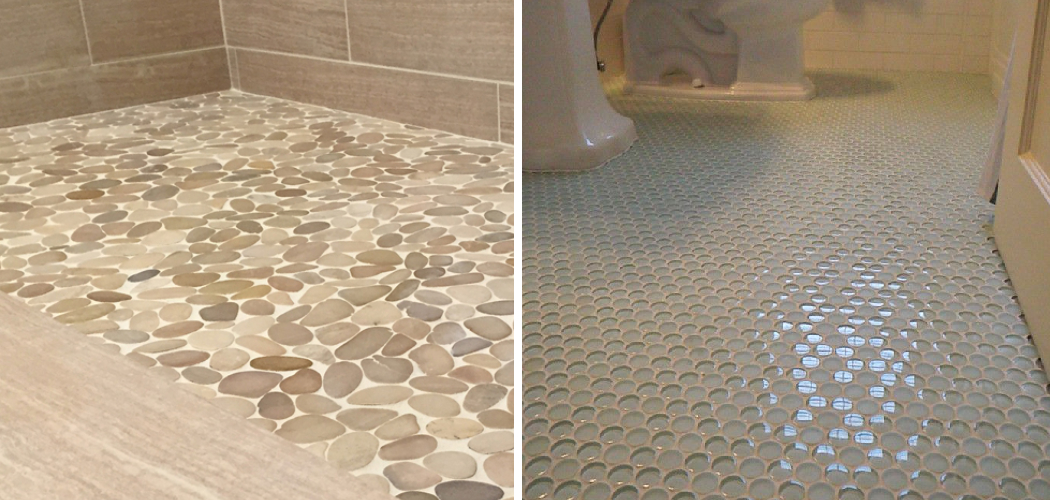
Method 6: Choose Slip-Resistant Flooring Materials
When renovating or selecting flooring for your bathroom, opt for slip-resistant materials. Look for tiles, vinyl, or other flooring options with high slip resistance ratings. These materials are designed to provide better traction and reduce the likelihood of accidents. When choosing these materials, be sure to select those that are appropriate for wet environments.
Method 7: Ensure Proper Drainage
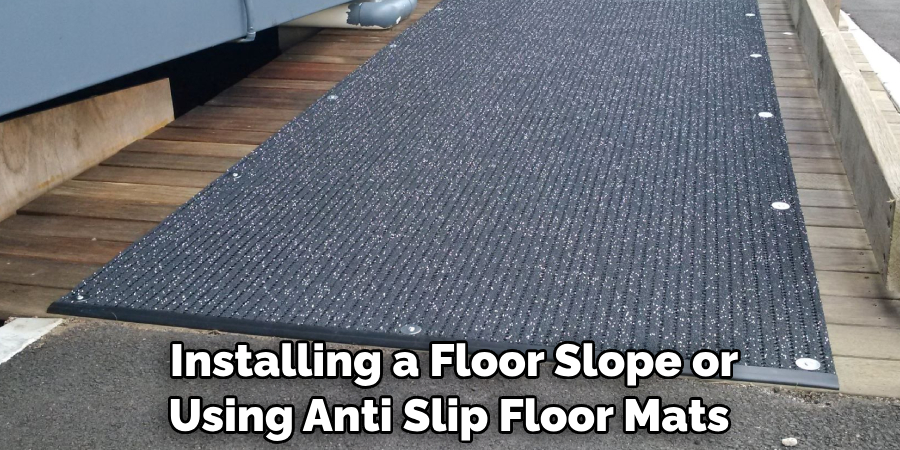
Proper drainage is crucial to prevent water accumulation on the bathroom floor. Make sure that drains are clear and functioning efficiently. Consider installing a floor slope or using anti-slip floor mats with drainage holes to promote water flow. Additionally, the use of a squeegee after each shower or bath can help eliminate excess water. Finally, cleaning the floor regularly will ensure that dirt and debris is not causing any wet spots that could create a slipping hazard.
Method 8: Use Anti-Slip Floor Treatments
Anti-slip floor treatments, such as adhesive strips or mats, can be applied to specific areas of your bathroom floor. These treatments add extra grip and reduce the risk of slipping, particularly in high-risk zones like the shower or bathtub. They are simple to apply and relatively inexpensive. For best results, follow the instructions of the manufacturer carefully when applying anti-slip treatments.
Method 9: Maintain Adequate Lighting
Ensure your bathroom is well-lit to improve visibility and reduce the chances of accidents. Install bright overhead lighting, task lighting near the vanity, and consider using motion sensor lights for nighttime visits. Additionally, you can add non-slip strips or decals with a glow-in-the-dark feature to make your floor more visible at night.
Method 10: Encourage Drying Time
Encourage proper drying time after using the shower or bathtub. Provide towels or bathmats for individuals to dry their feet before stepping onto the bathroom floor. Minimizing excess moisture on the floor surface can significantly reduce slipperiness. To keep the bathroom floor even drier, open windows or use a fan to increase air circulation. If the floor has a shower, install a shower curtain to reduce splashing and keep water off the floor.
Things to Consider When Making Bathroom Floor Non Slippery
1. Choose the Right Type of Flooring:
When considering how to make bathroom floor non slippery, it is important to choose a floor surface that offers the right level of slip-resistance. Many types of tile and vinyl offer slip-resistant surfaces. Carpet may also be an option but should only be used in low traffic areas or with an extra anti-slip treatment such as a spray on adhesive.
2. Consider Underlayment Options:
Underlayment can help to create added cushion and comfort which may reduce chances of slipping and falling when walking on the bathroom floor. A quality underlayment can also provide additional insulation that helps insulate against cold temperatures, something that many bathrooms deal with during winter months.
3. Add a Non-Slip Coating:
Adding an anti-slip coating to your bathroom floor is a great way to improve the overall slip resistance of the surface. These coatings can be applied in a variety of ways and are often available as spray-on or roll-on products that can be easily applied by the homeowner.
4. Keep Bathroom Floor Clean and Dry:
It goes without saying that keeping the bathroom floor clean and dry will help keep it from becoming slippery, but it’s worth repeating! Regularly sweeping and mopping your bathroom floor will help ensure that no dirt, soap scum, or other debris builds up over time which could lead to an increased chance of slipping or falling.
5. Place Non-Slip Mats and Rugs:
In areas that are more prone to slipping, such as in front of the bathtub, shower, or toilet, it is important to place non-slip mats and rugs. This will help ensure that there is a safe place for people to stand while using those areas, as well as providing an extra level of traction on potentially slippery surfaces.
By taking these simple steps into consideration when making the bathroom floor non-slippery, you can reduce the risks associated with slip and fall injuries in the home. Follow these tips for improved safety and peace of mind!
Some Common Mistakes When Making Bathroom Floor Non Slippery
When attempting to make a bathroom floor non slippery, there are some common mistakes that people often make.
One popular mistake is using the wrong product. Many people assume that any cleaning or anti-slip product will do the trick. In reality, different types of materials require specific products and techniques for optimal results. For example, tile floors may require deep cleaning followed by an application of an appropriate sealant or coating in order to reduce slipping risk.
Another mistake is not testing the product first. Before applying any product to your bathroom floor, it’s important to test it on a small area first in order to ensure that it won’t damage the surface and result in adverse consequences such as staining, discoloration or cracking.
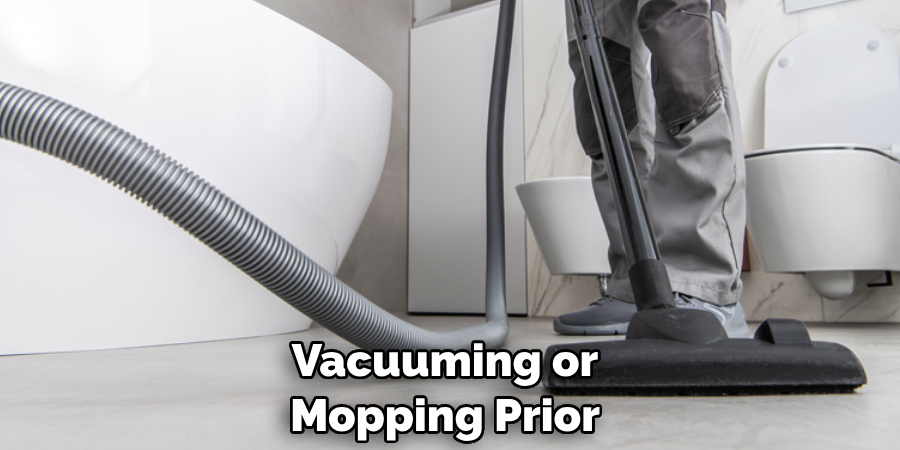
Finally, many people underestimate the importance of surface preparation. Before applying any anti-slip product, it is essential to thoroughly clean and dry the area in order to ensure optimal results and prevent future slipping risk. Depending on the type of floor material, this may involve scrubbing with a brush or chemical cleaner, as well as vacuuming or mopping prior to the application of the anti-slip product.
By avoiding these common mistakes when making a bathroom floor non-slippery, you can help ensure that your bathroom is safe and secure for years to come.
Conclusion
Ultimately, having a non-slip bathroom floor is key to ensuring your safety and the safety of your loved ones. With the right knowledge, you can easily keep your bathroom safe without spending too much money. As seen from this post, there are DIY solutions you can use, such as rugs or paints, as well as products made specifically for slip prevention.
Choose whichever works best for your specific needs and spend some time making sure that your bathroom is a safe place! Don’t wait until it’s too late to invest in these preventive measures. Hopefully, this article gave you some helpful tips about how to make bathroom floor non slippery successfully, so now that you have the proper knowledge on how to get the job done, why not give it a try today?